Bokeh is defined as “the blurred quality or effect seen in the out-of-focus portion of a photograph taken with a narrow depth of field“. With a standard lens, the bokeh is circular-shaped and can be more visible when you use a wide aperture, such as ƒ/1.4, ƒ/2.0, etc. One really fun thing you can do with your cameras is to create your own DIY filter to give the background bokeh a different shape. There are several different ways you can craft this, but the basics behind it are simple:
- Use black cardboard
- Cut out a shape in the cardboard
- Put the cardboard with a cut shape in front of your lens
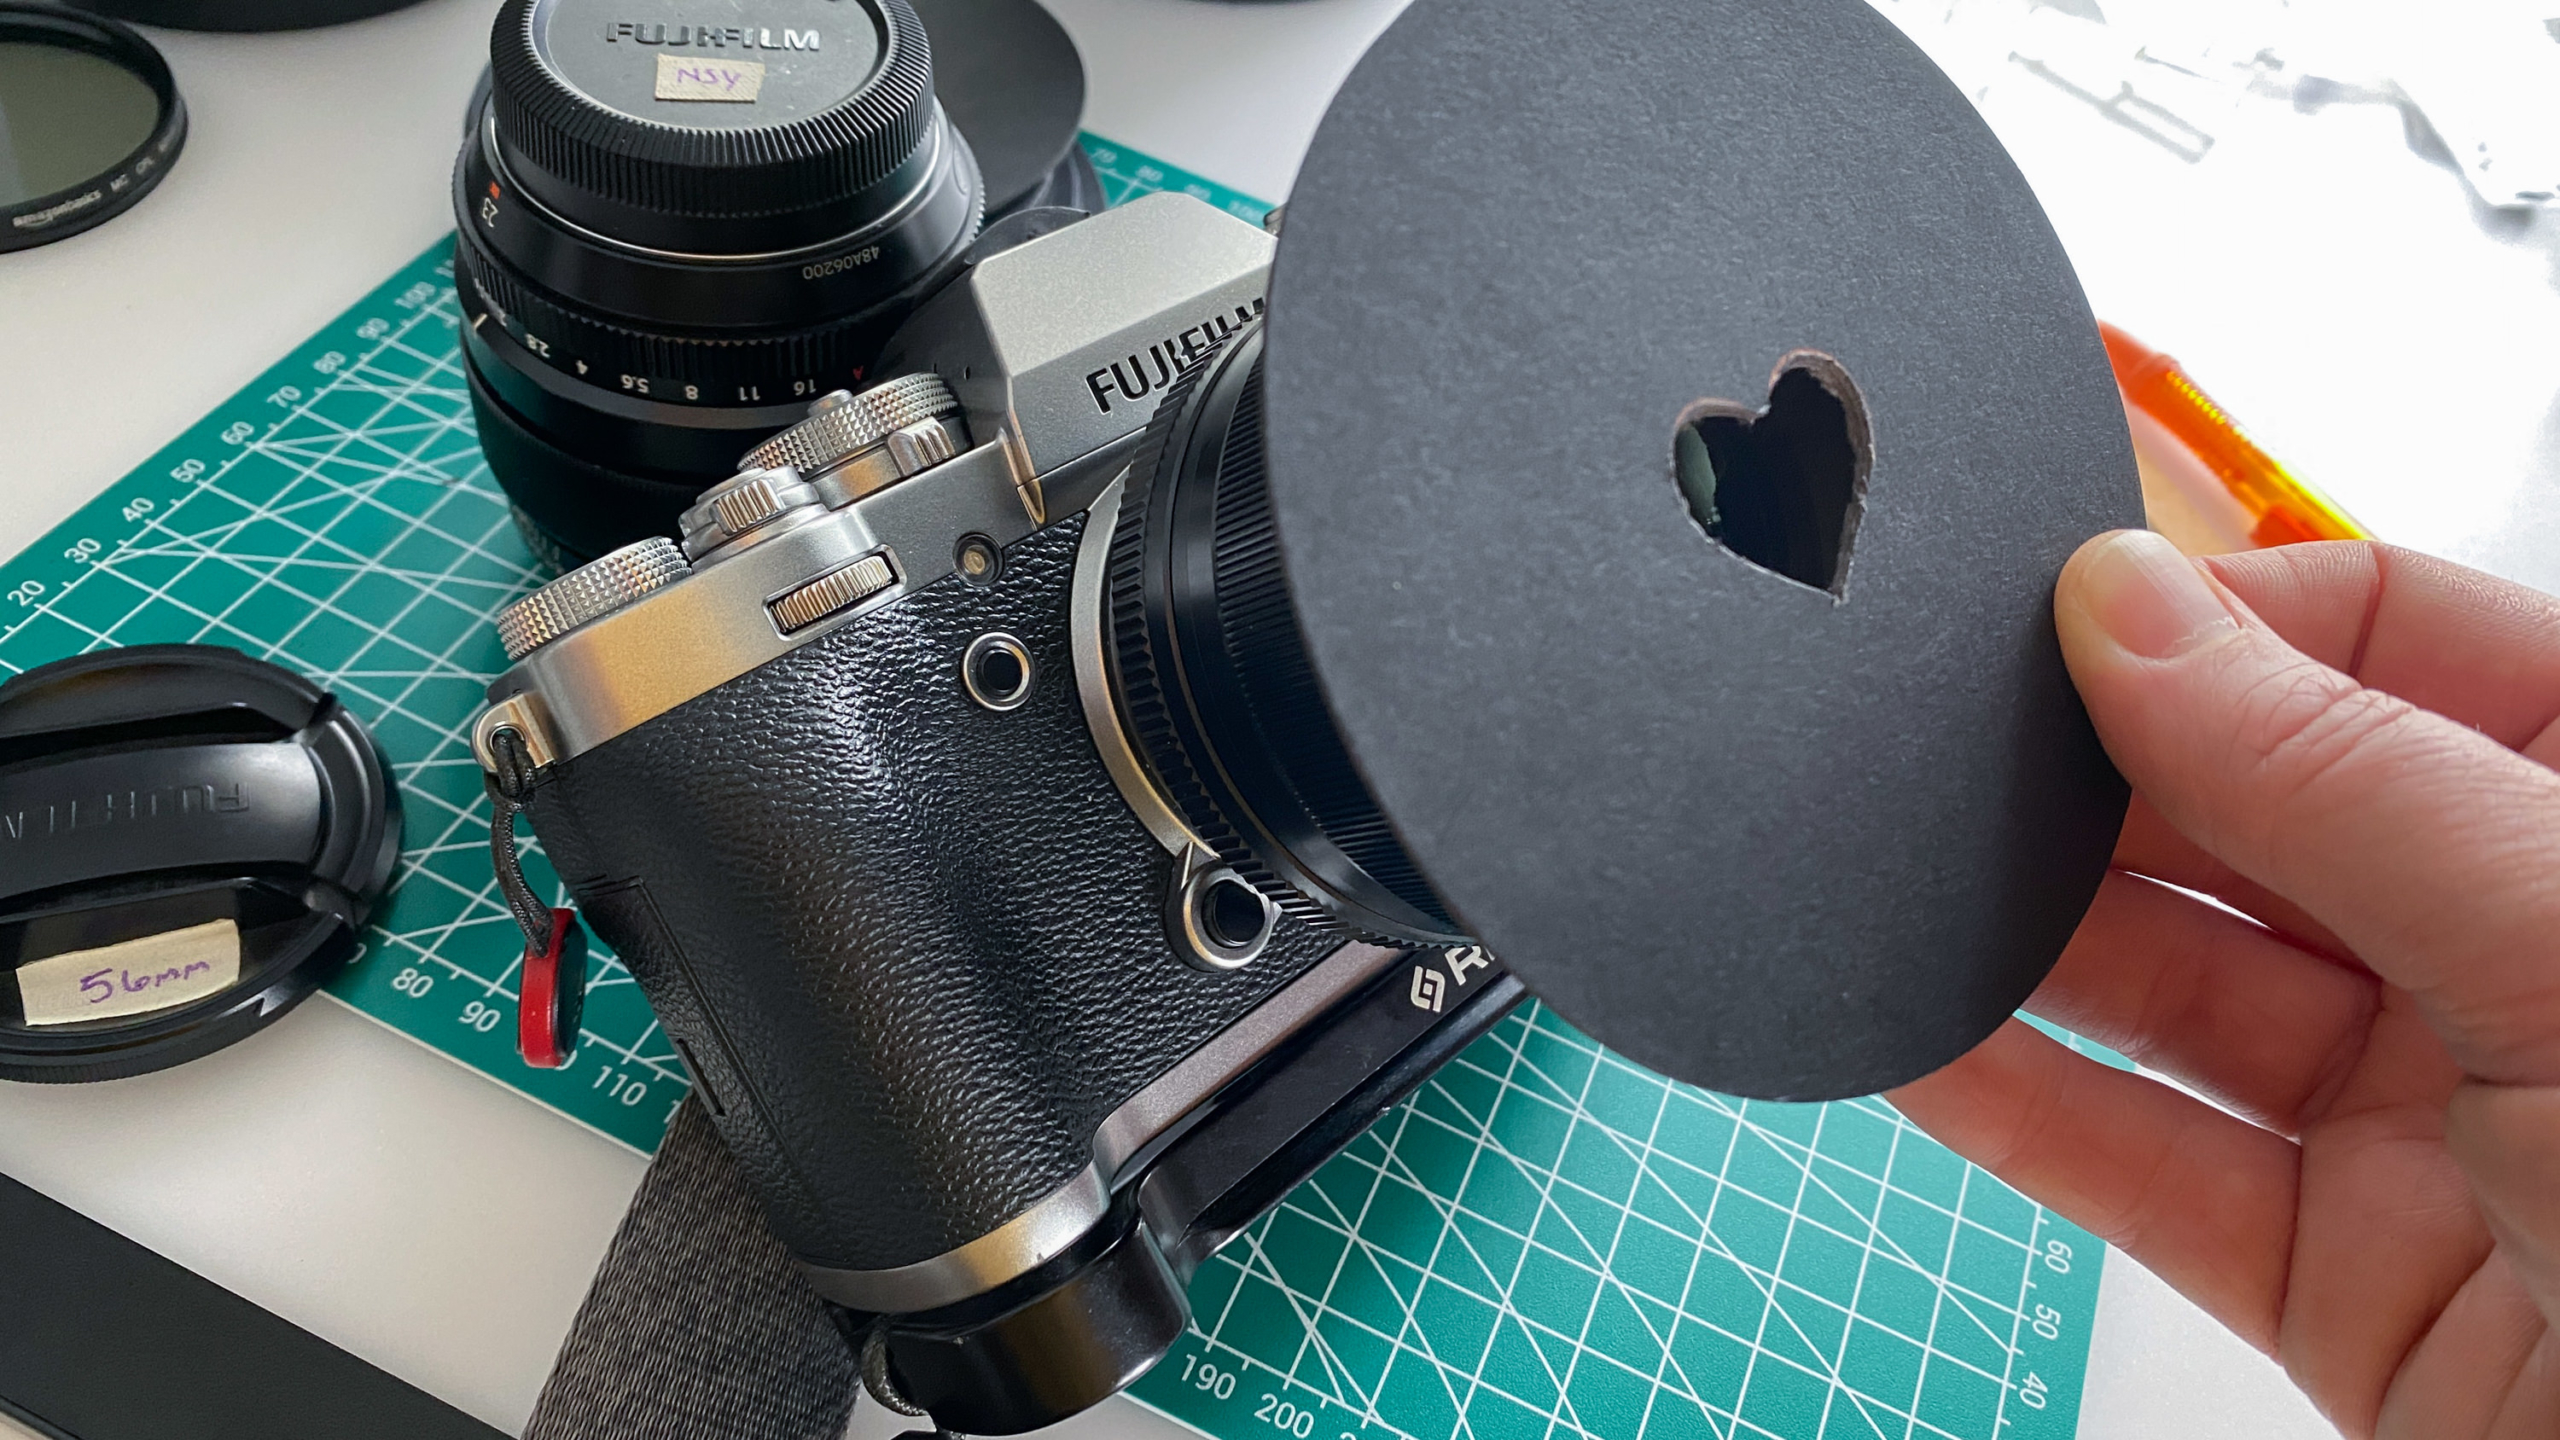
I chose to create the most simple, portable, and easy-to-use shaped bokeh filter out there. Some tutorials show how to create a “base” filter holder that sits on your lens, but you might need to create multiples in different sizes to work with all of your lenses. The method here makes a simple shaped filter that you hold in front of your lens to get the same effect. It requires that you hold your camera one-handed, but you can also use a tripod if you need extra support.
Here are the steps I used to create my DIY “shaped bokeh” filter:
Step 1: Collect your materials
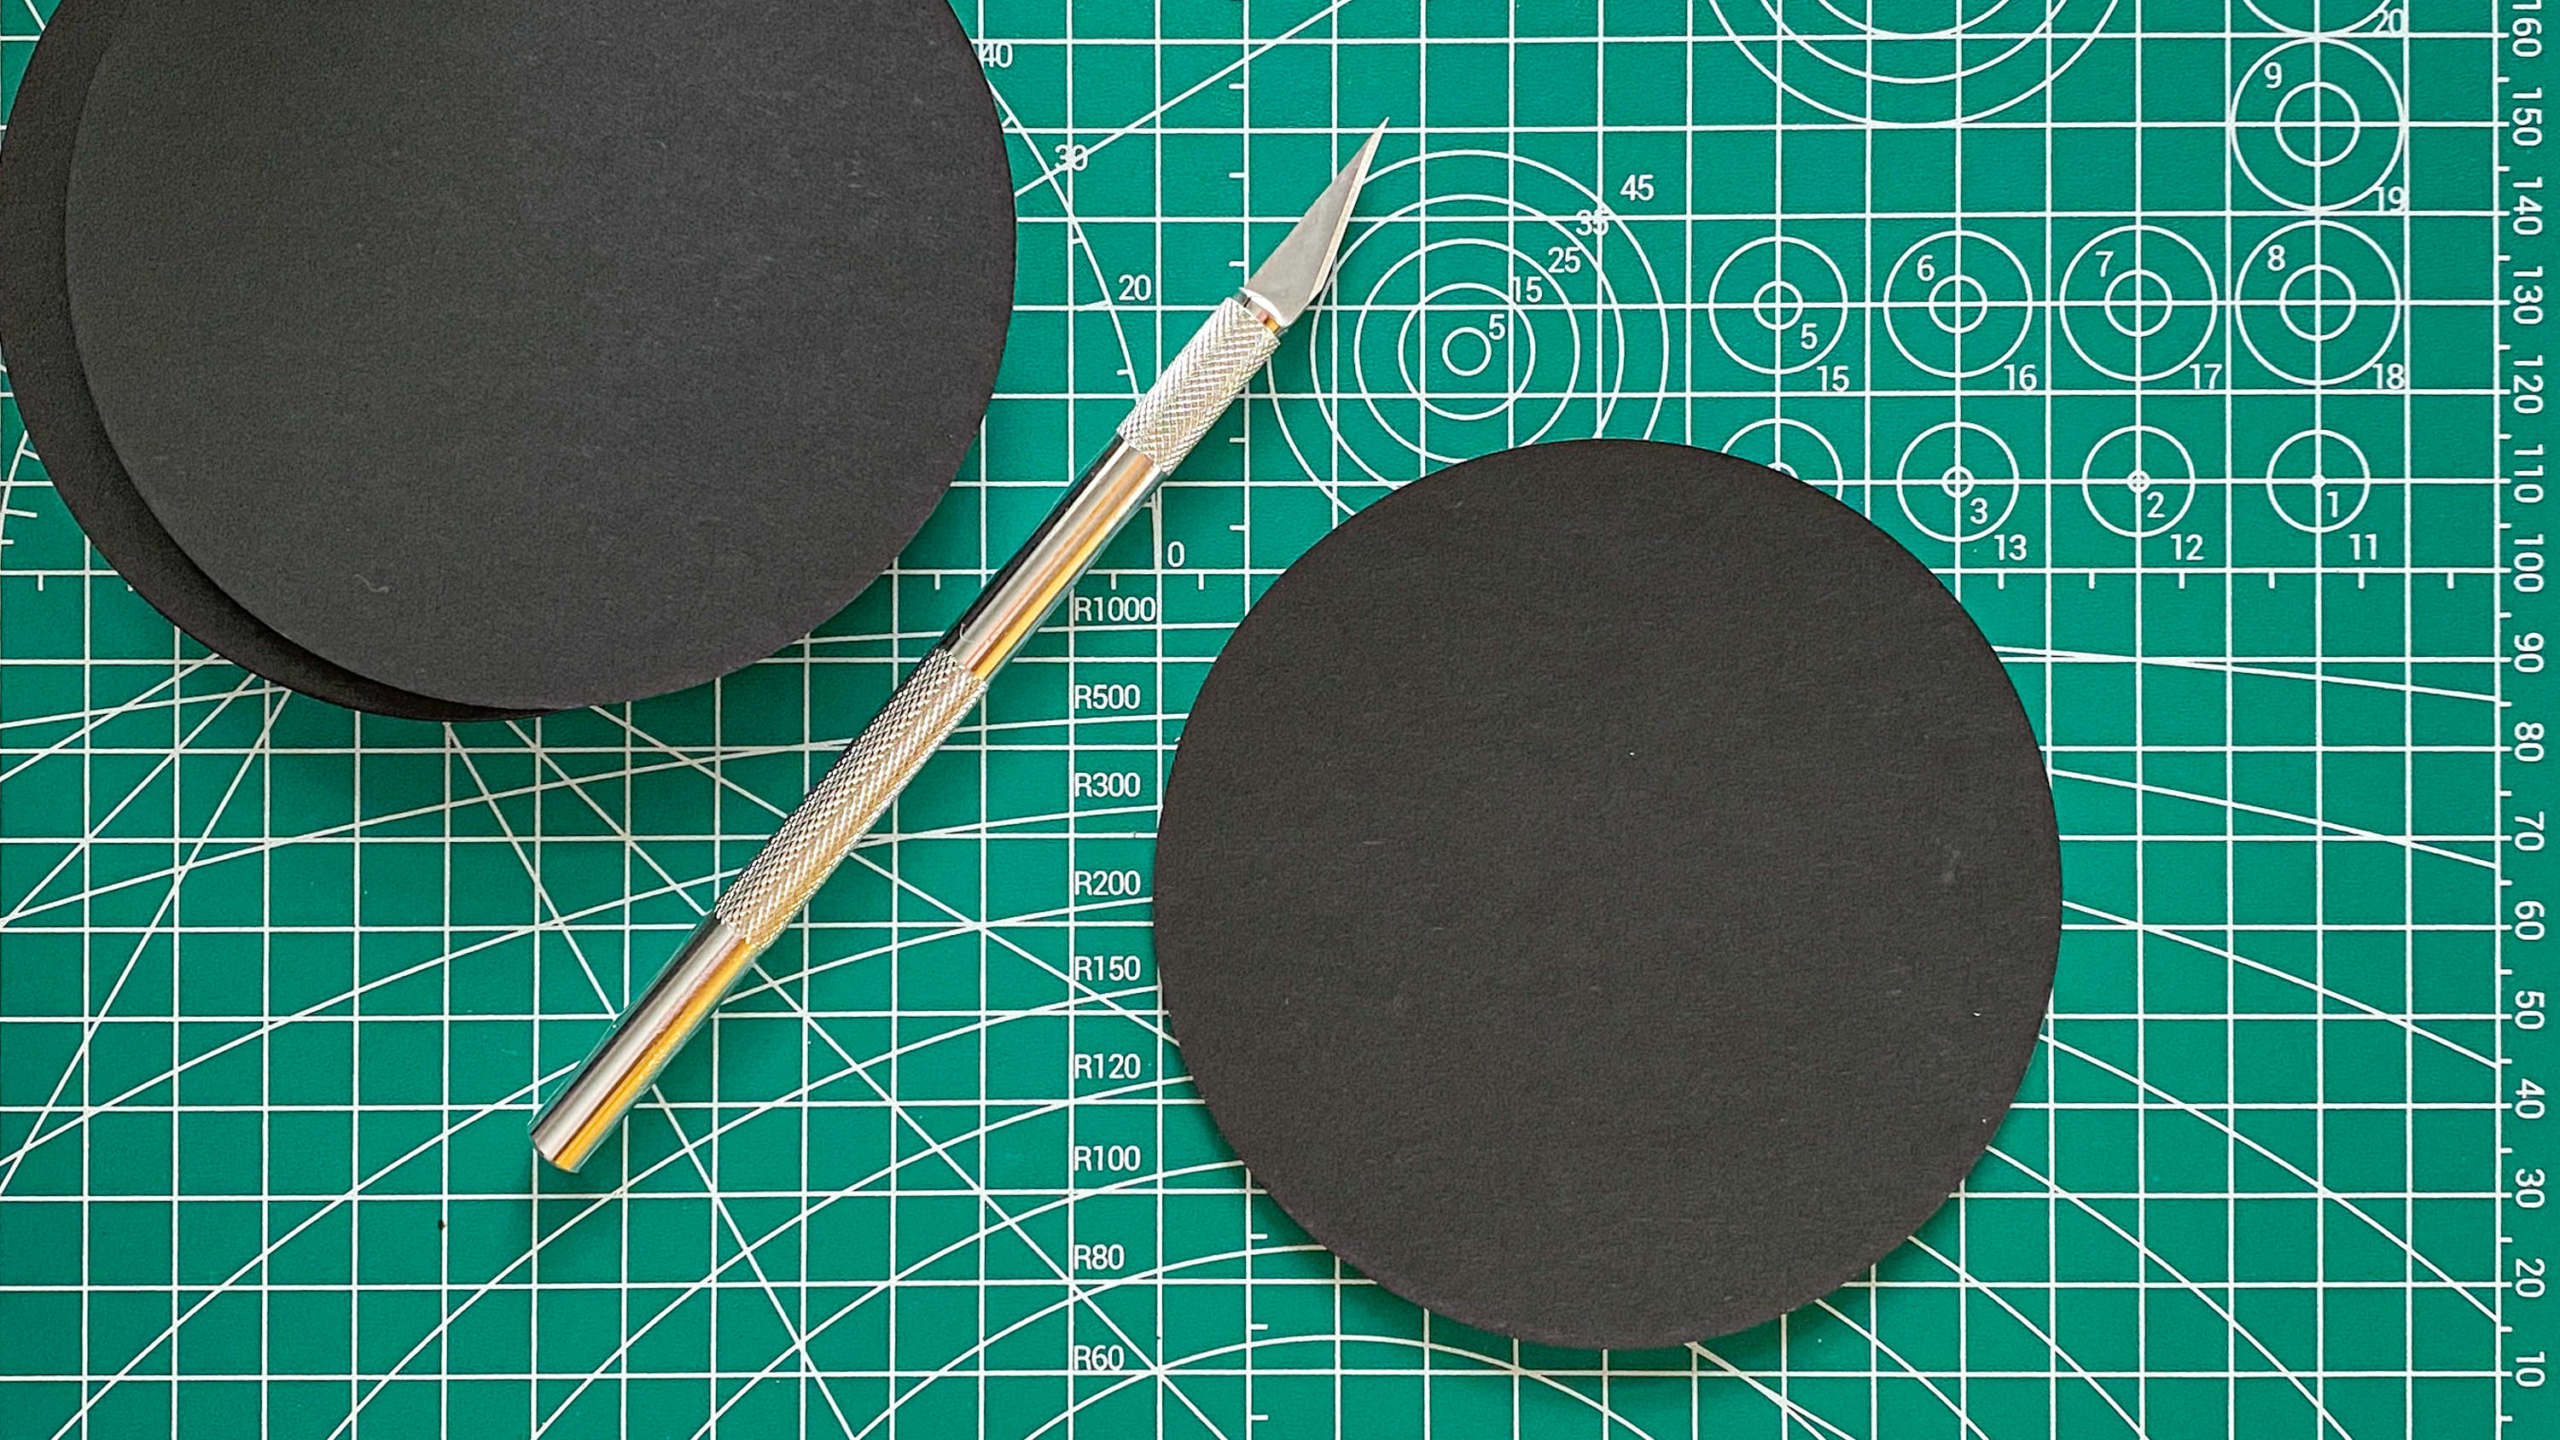
The first thing you want to do is collect the materials you will use to make your shaped bokeh. You need only a few things: black cardstock and a craft knife to cut shapes. I’m using small black circular cardboard cutouts, along with a simple craft knife and mat (all purchased for less than $20 on Amazon). You also want to make sure that the cardboard is stiff so it doesn’t flop around if you hold it upright with one hand.
Here’s the list of what I’m using:
- 4-inch round black cardstock (Amazon link)
- Exacto knife with craft mat (Amazon link)
Step 2: Draw an outline of a shape
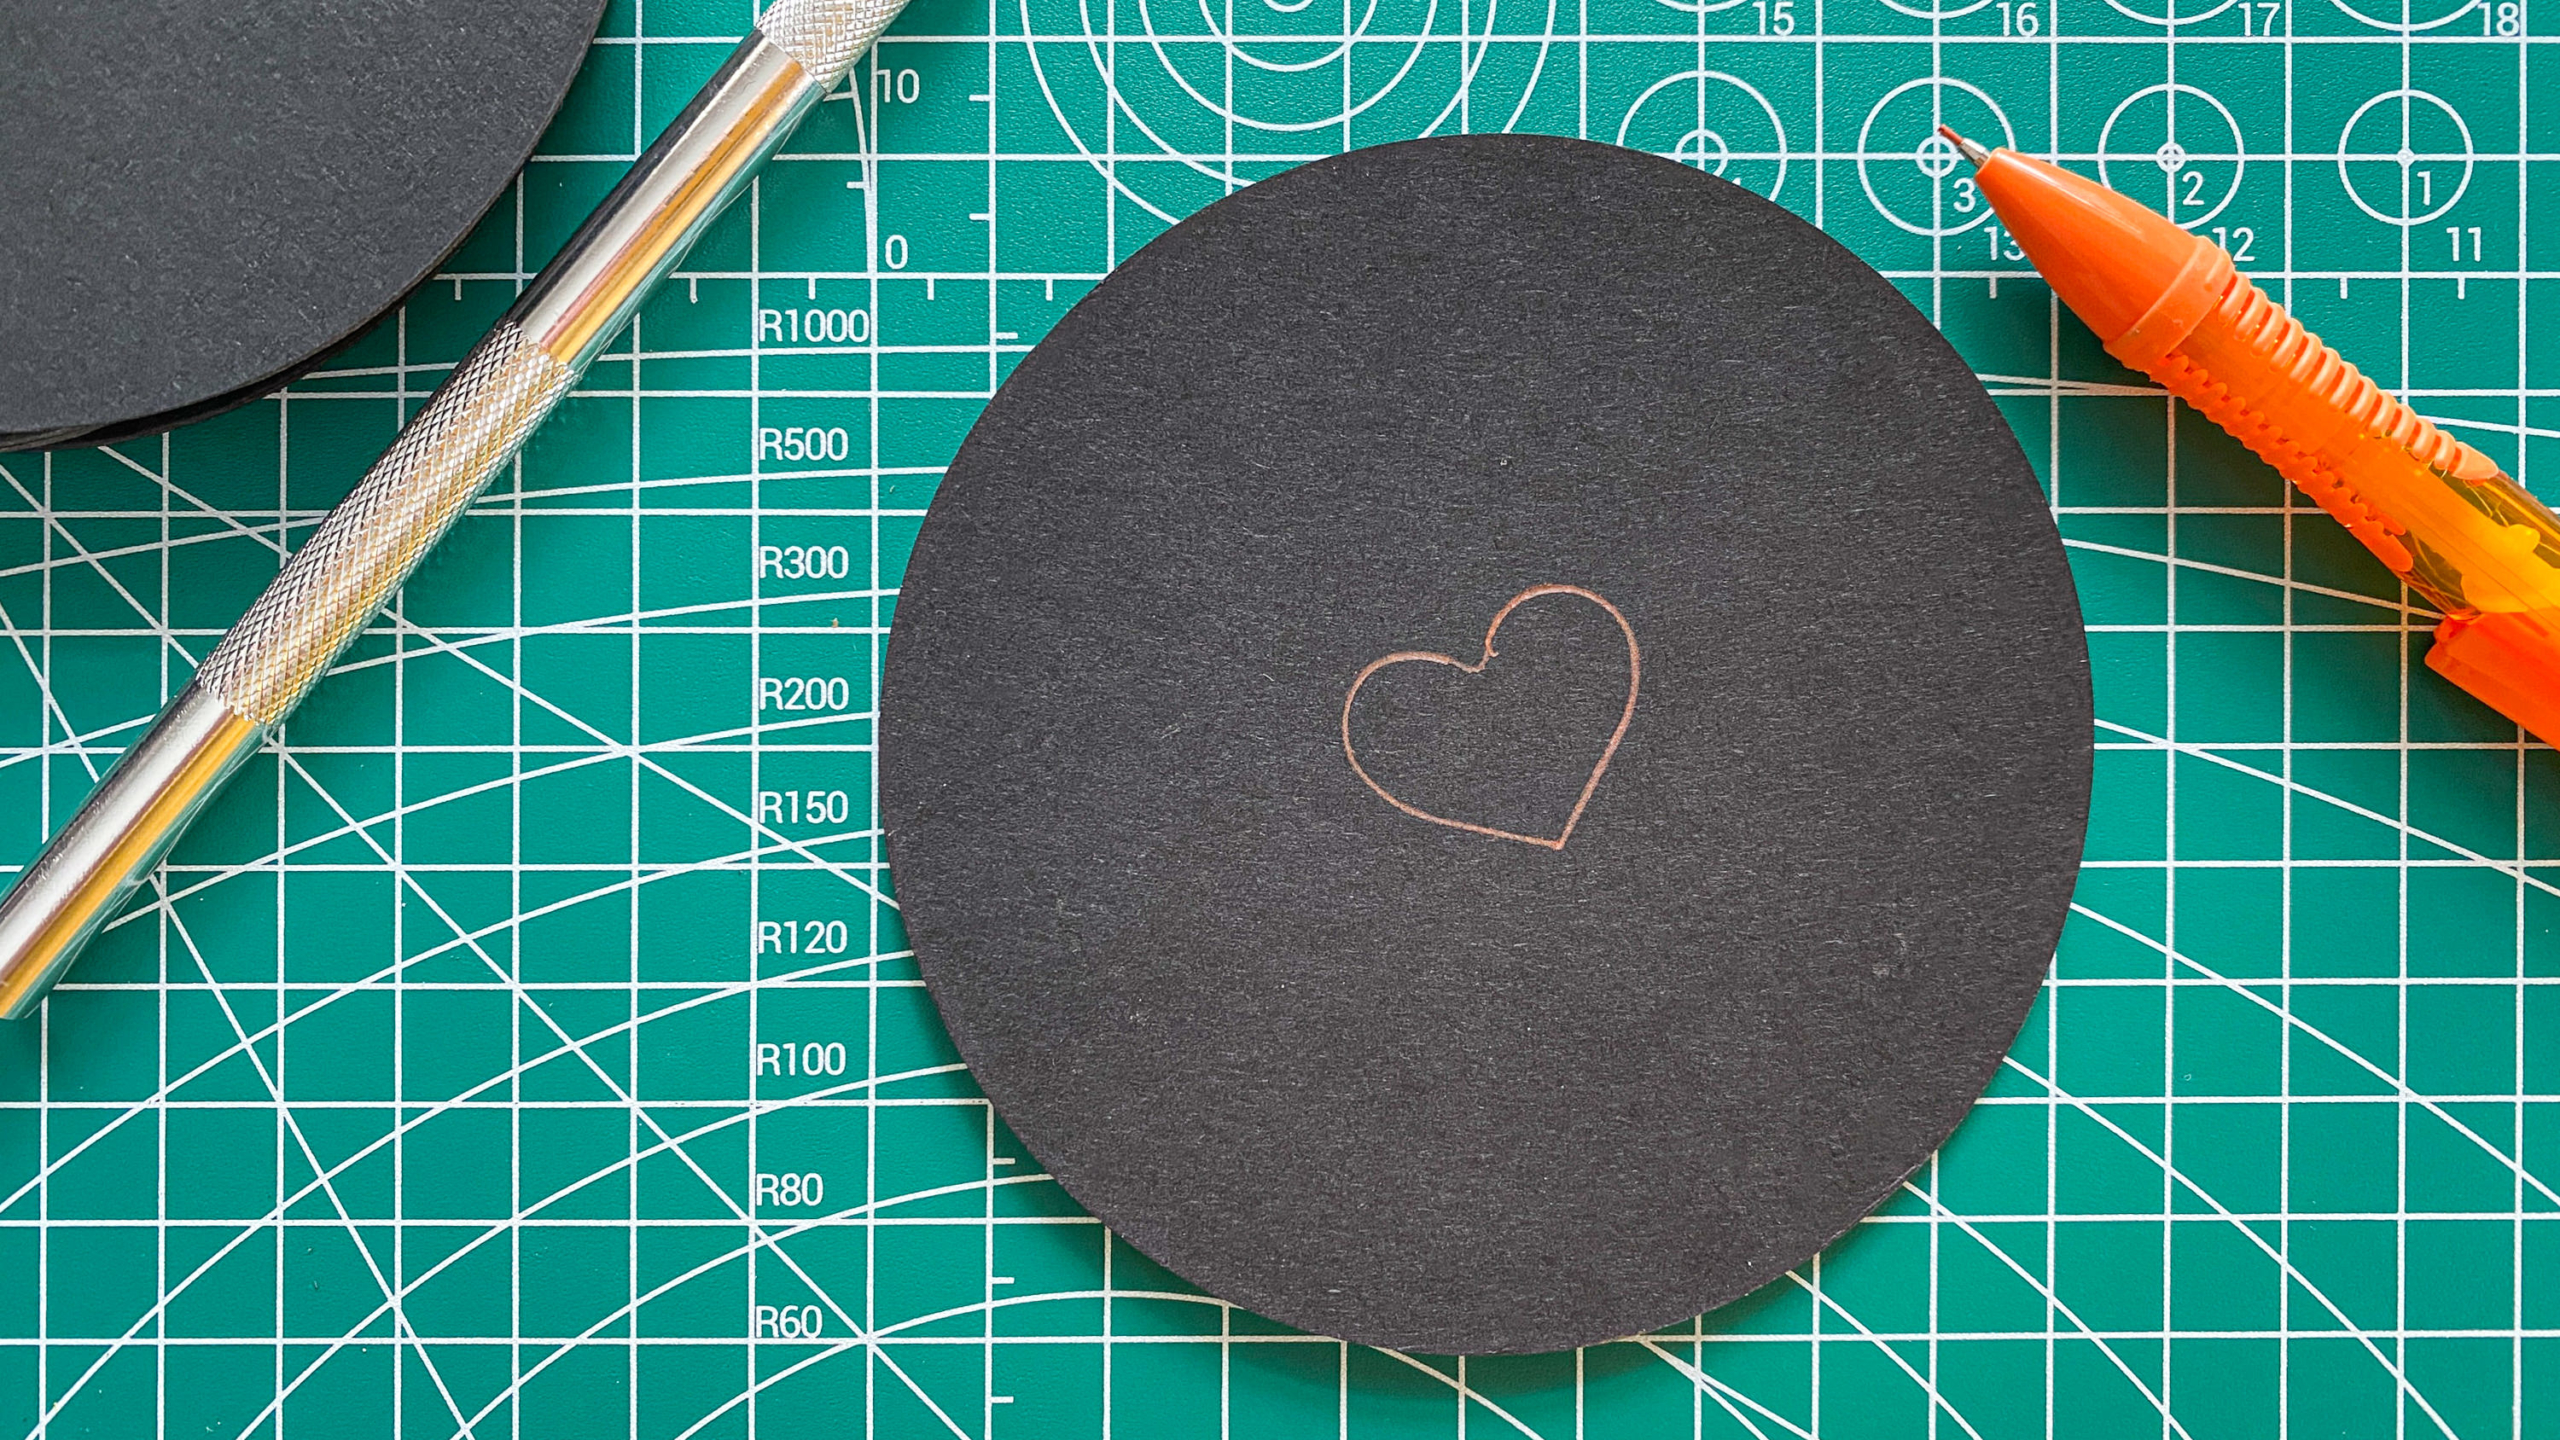
Use a pencil or pen to draw an outline of a shape on your cardboard. You can either do this free-hand or trace an object that you have around the house. A few things to keep in mind:
- The larger your shape, the larger the bokeh shapes will be in your image.
- Make sure that the shape is not larger than the front element of your lens.
Step 3: Cut the shaped bokeh with a craft knife
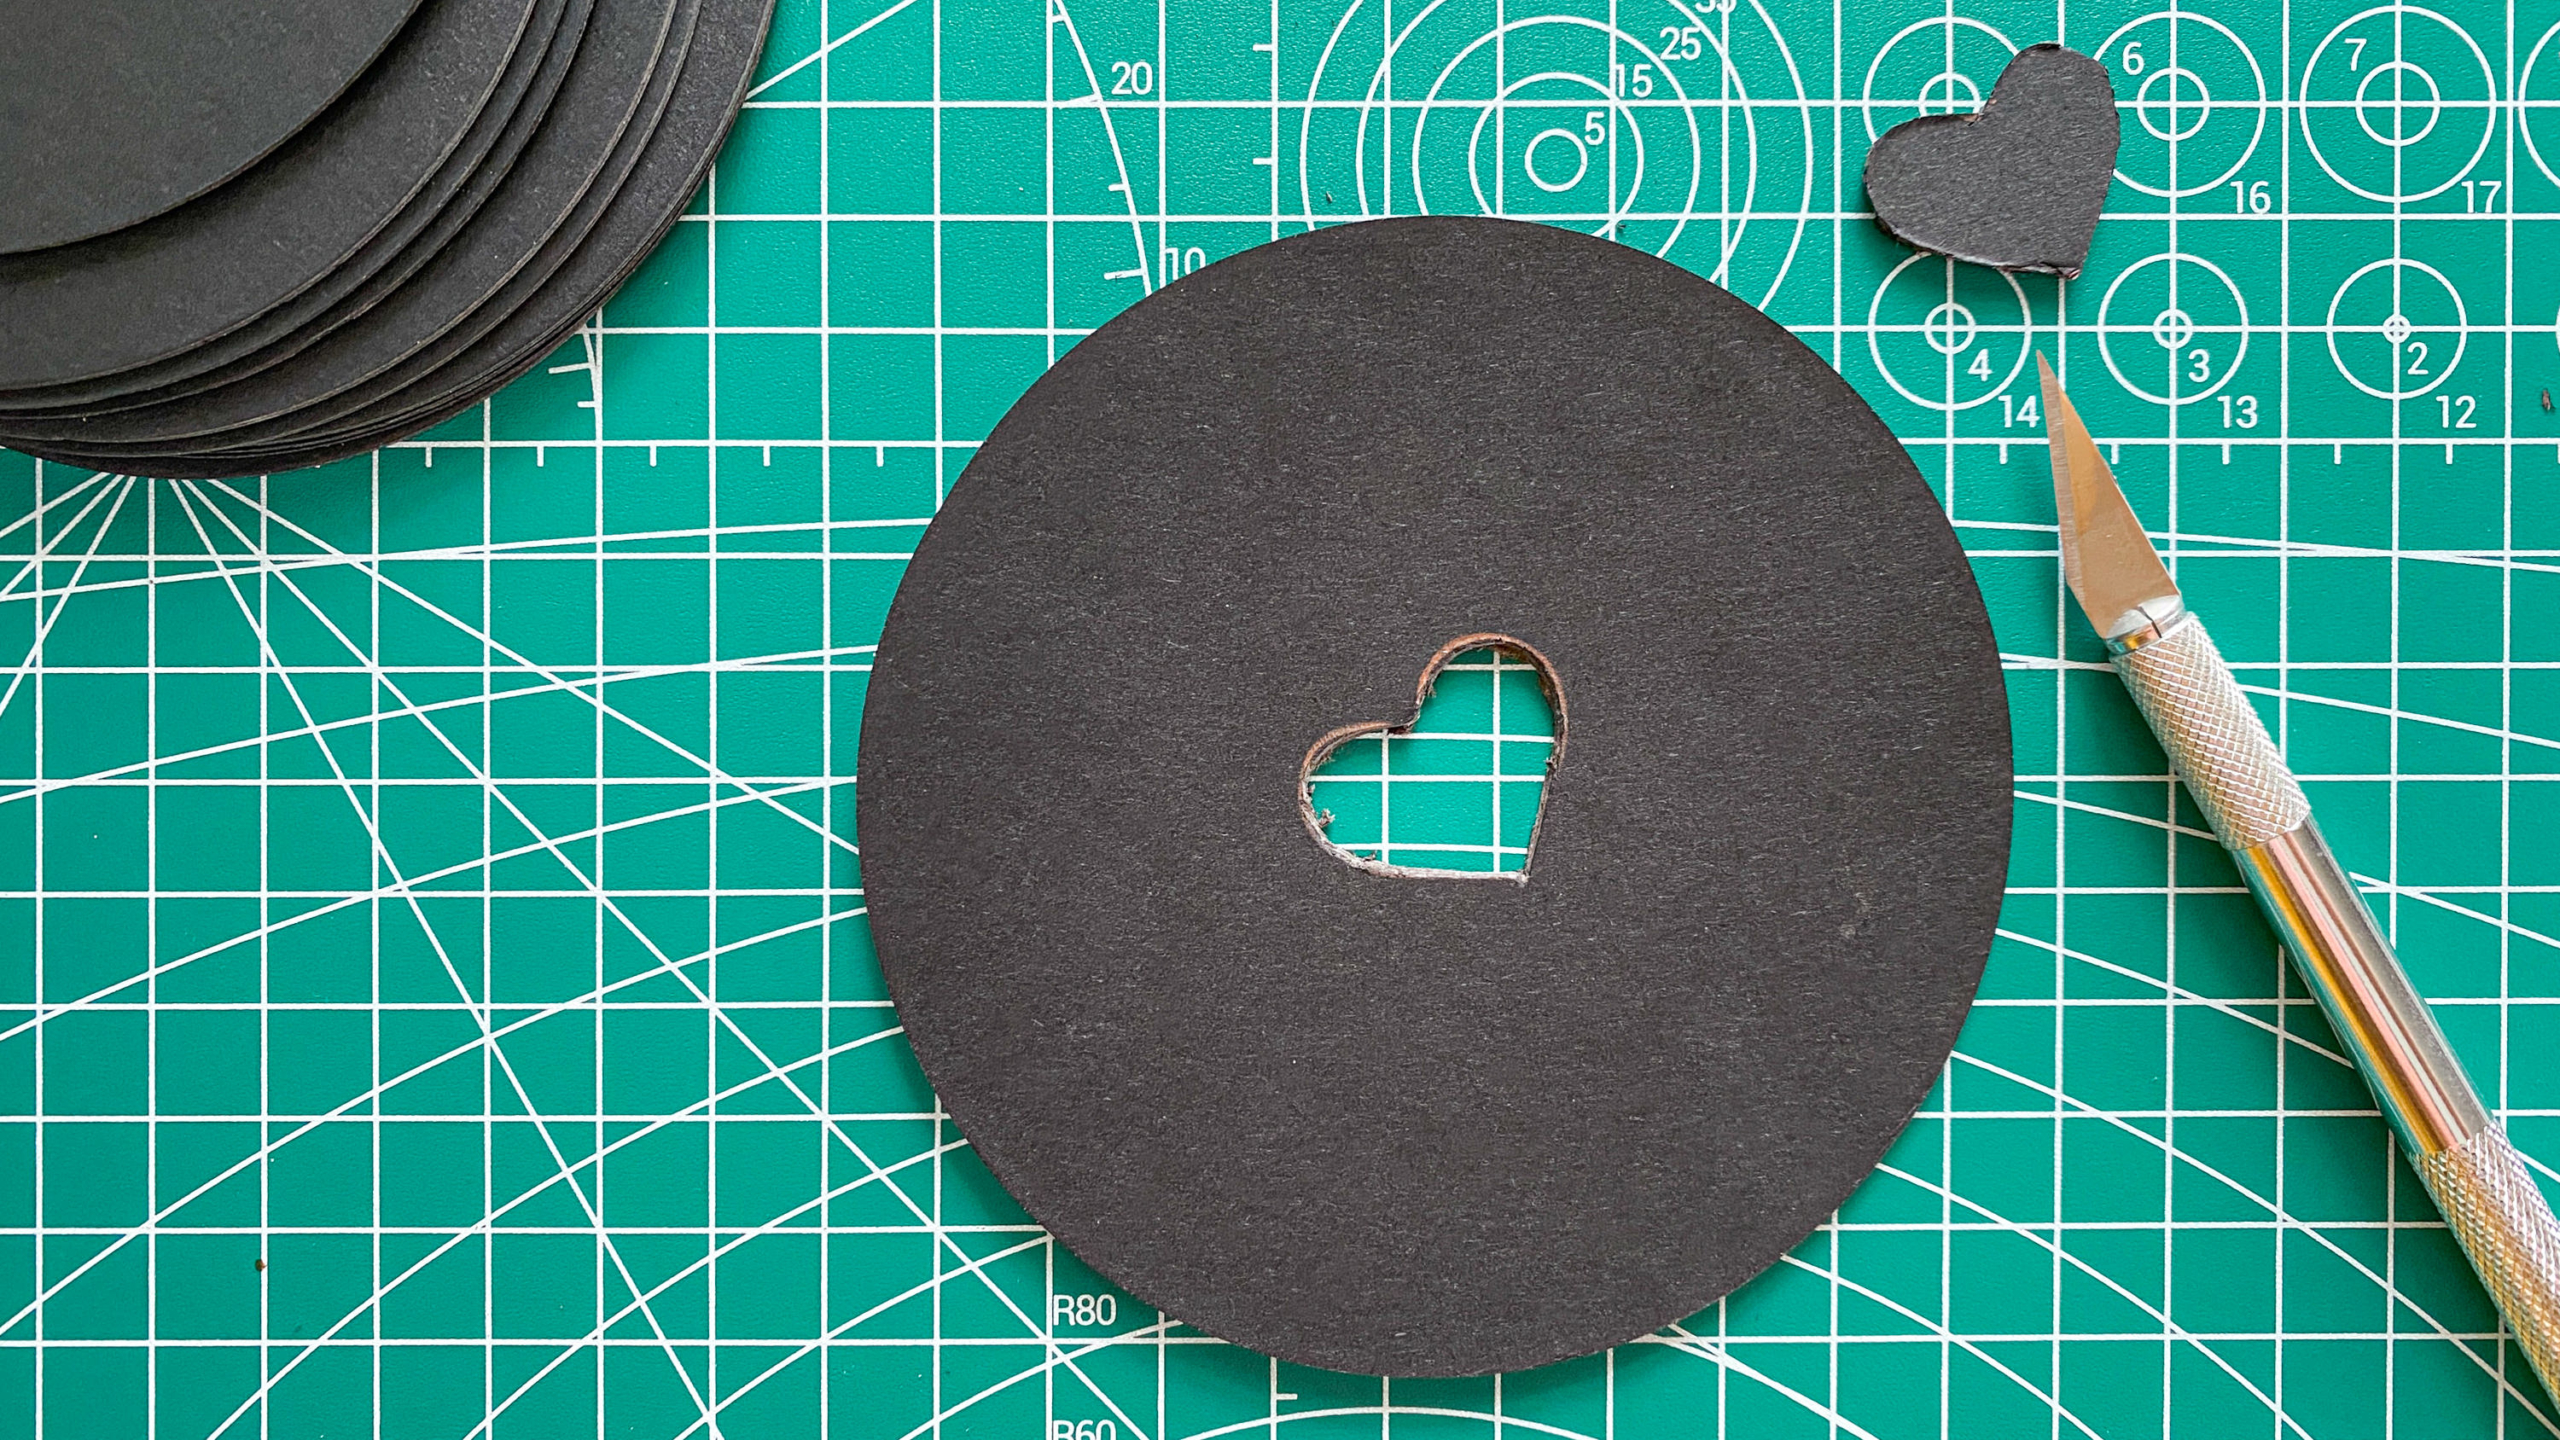
Using your craft knife, carefully cut the shape out of the cardboard.
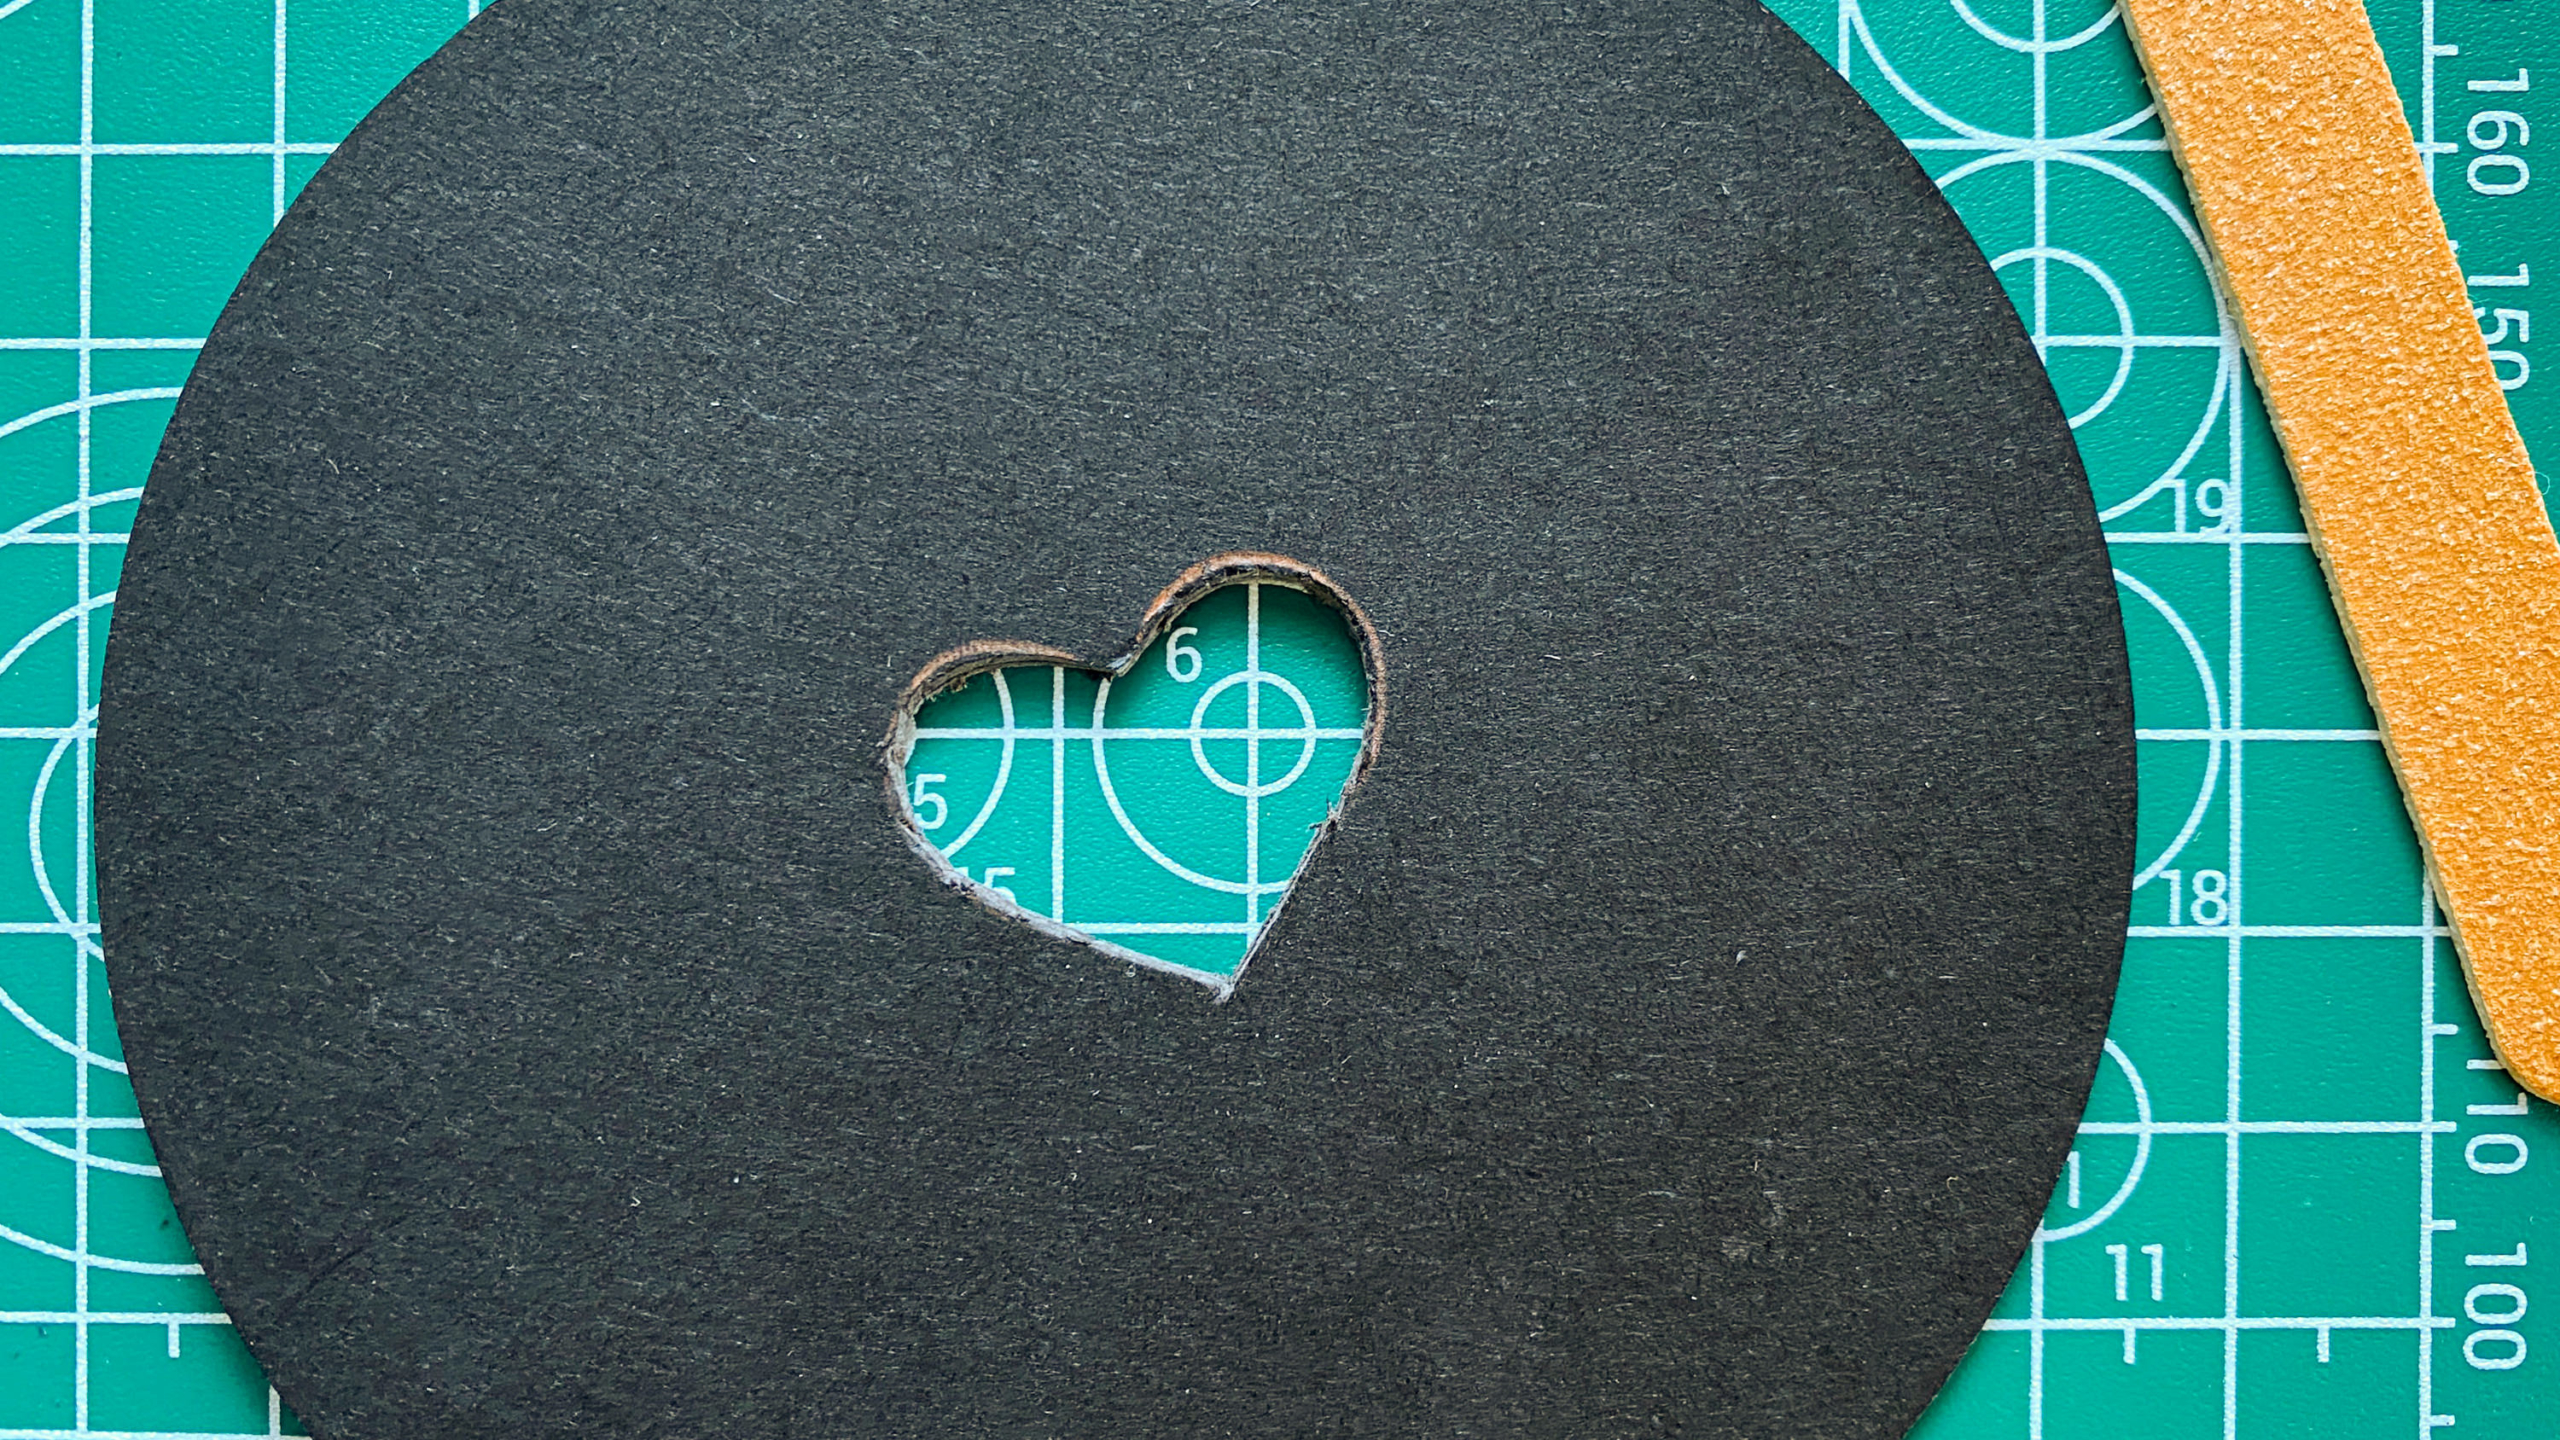
You’ll want to make sure that the edges of your cut are clean and smooth, otherwise, they will show up in the bokeh. Here I used a nail file to smooth the edges a bit. (This example could probably use even more cleaning up since you can still see some of the jaggy edges along the insides of the heart cutout.)
Step 4: Use your new shaped bokeh filter with a photograph
Now comes the fun part! Let’s get your camera set up to use your new filter:
- You’ll want to use a lens that is at least 50mm (for a crop sensor camera). Anything too wide will show the edges of your cardboard. You might need to experiment with this, depending on the camera and lenses you have to work with.
- To get the best results, set your aperture to its widest setting.
- Now, to use your new filter, simply hold the card over the front of your lens and create your photos. Make sure it is flushed up against the lens so no light peeks through on the sides.
And that’s it! Now you can create multiple DIY shaped bokeh filters and carry them around with you to use when the setting works.

Nicole is a photographer, published author, and educator specializing in Lightroom, Photoshop, and photography. She is best known for her books on food photography but is widely versed in various photographic genres, including landscape, nature, stock, travel, and experimental imagery.



Very cool!. Thanks Nicole and Happy New Year to you and yours.
Thank you! Happy New Year!
What a cute idea! TY…and Happy 2022!
Thank you for sharing this nice idea. I will try. I wish you health and peace for 2022.