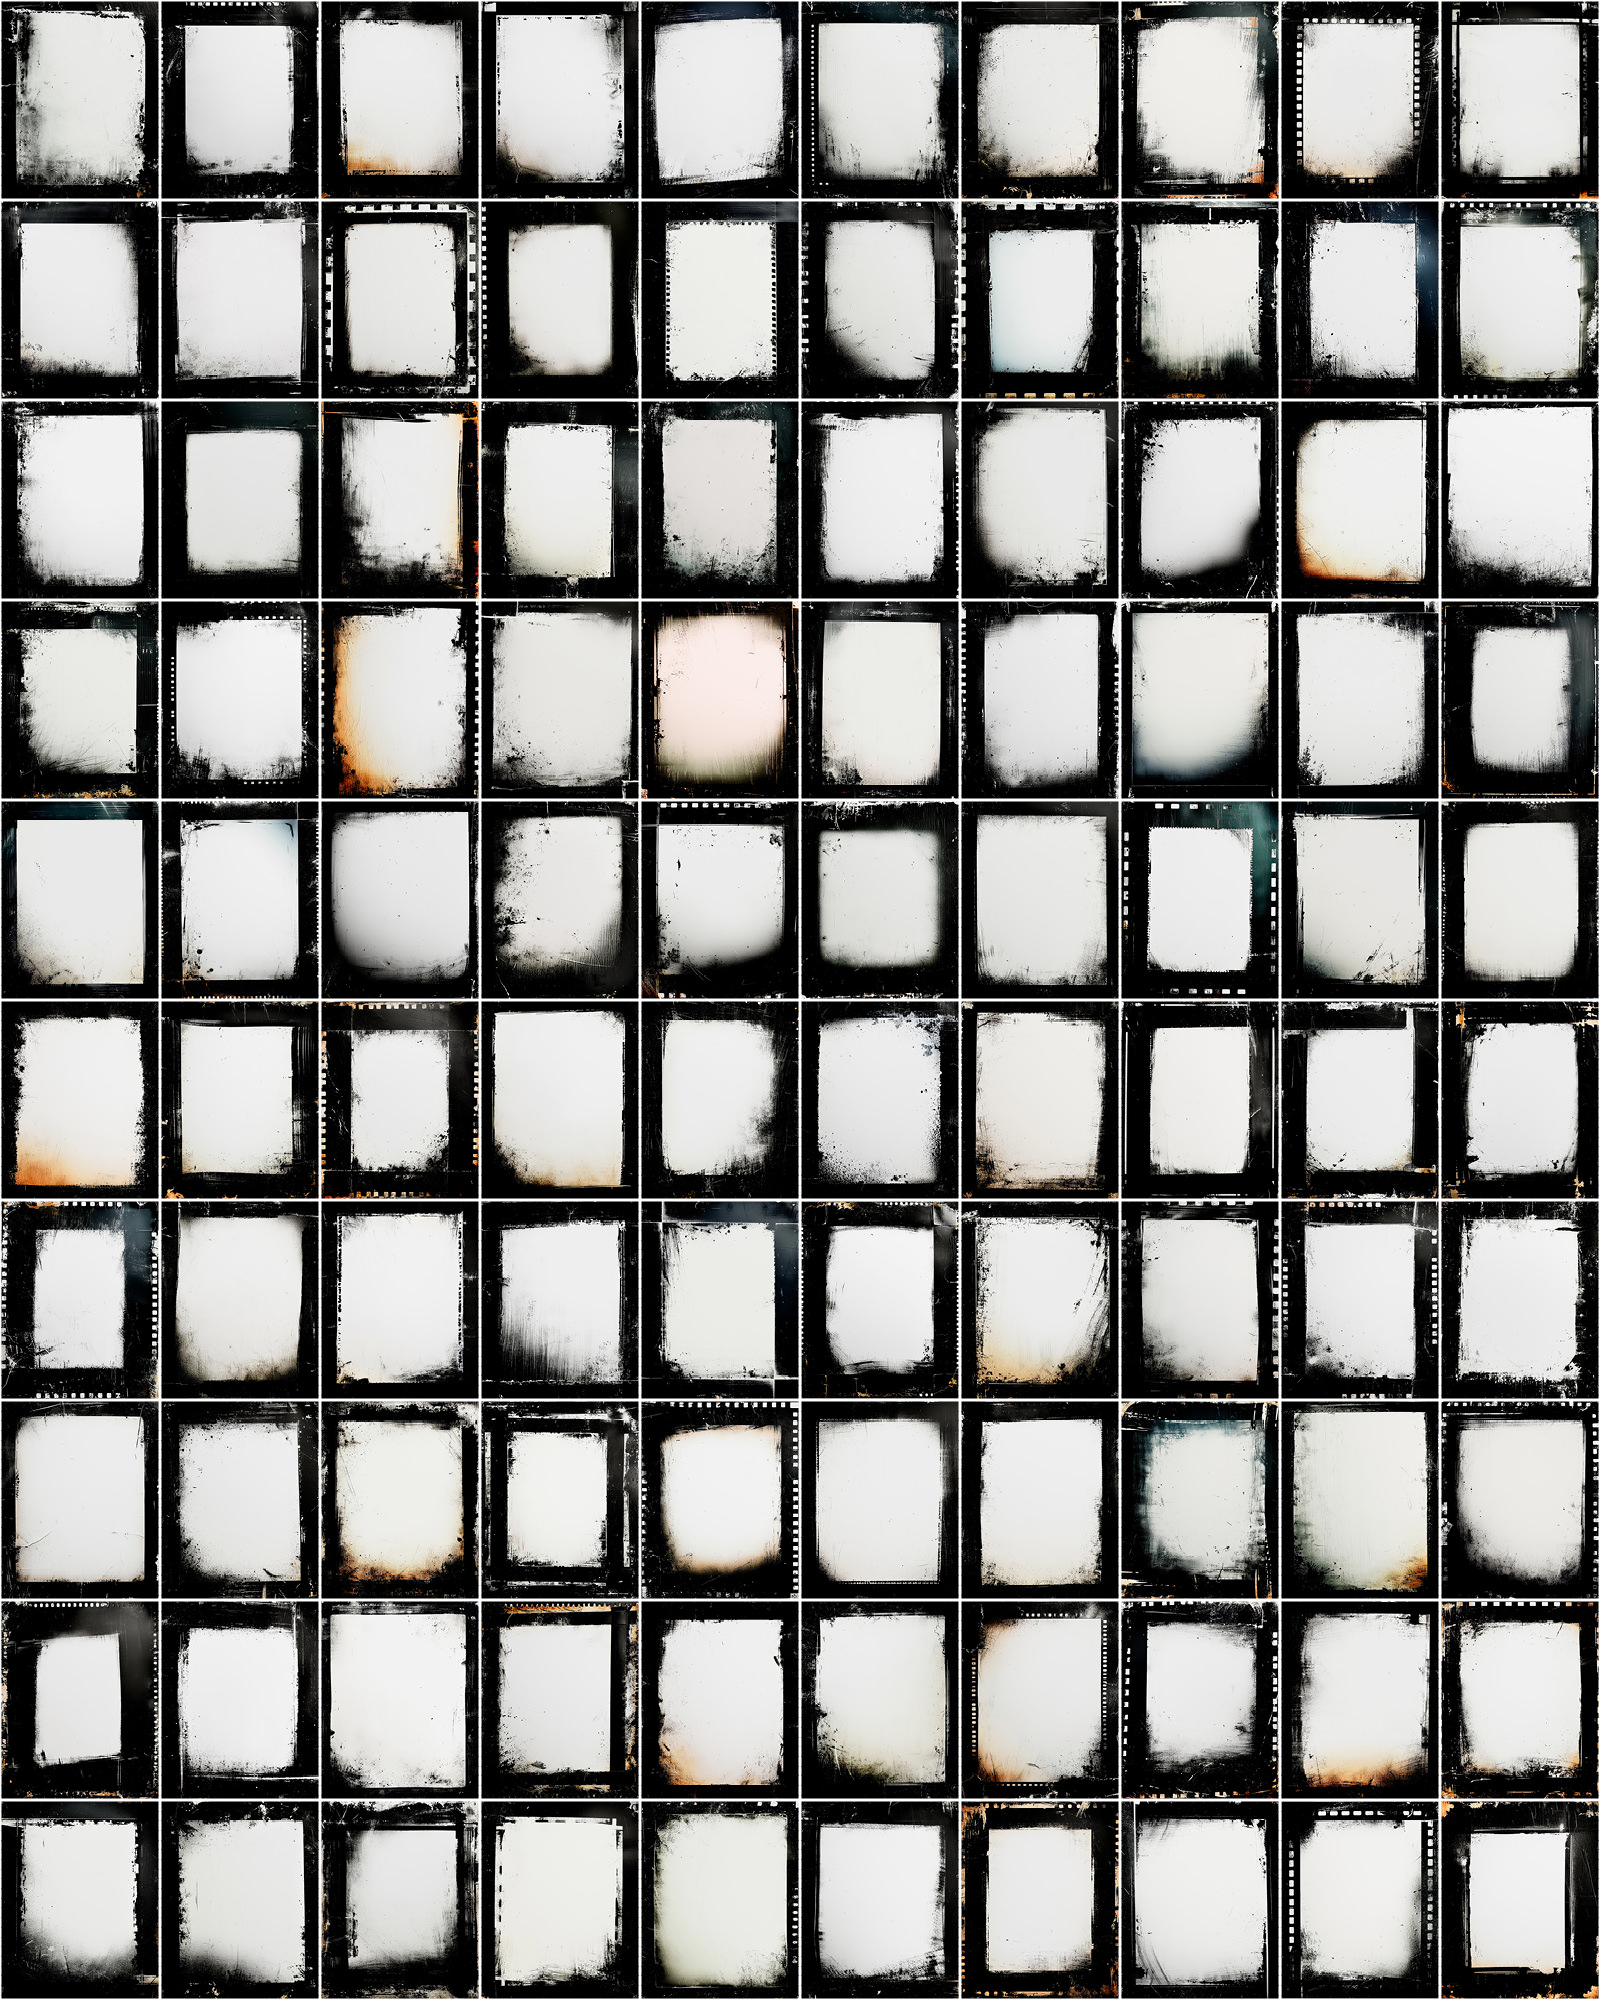
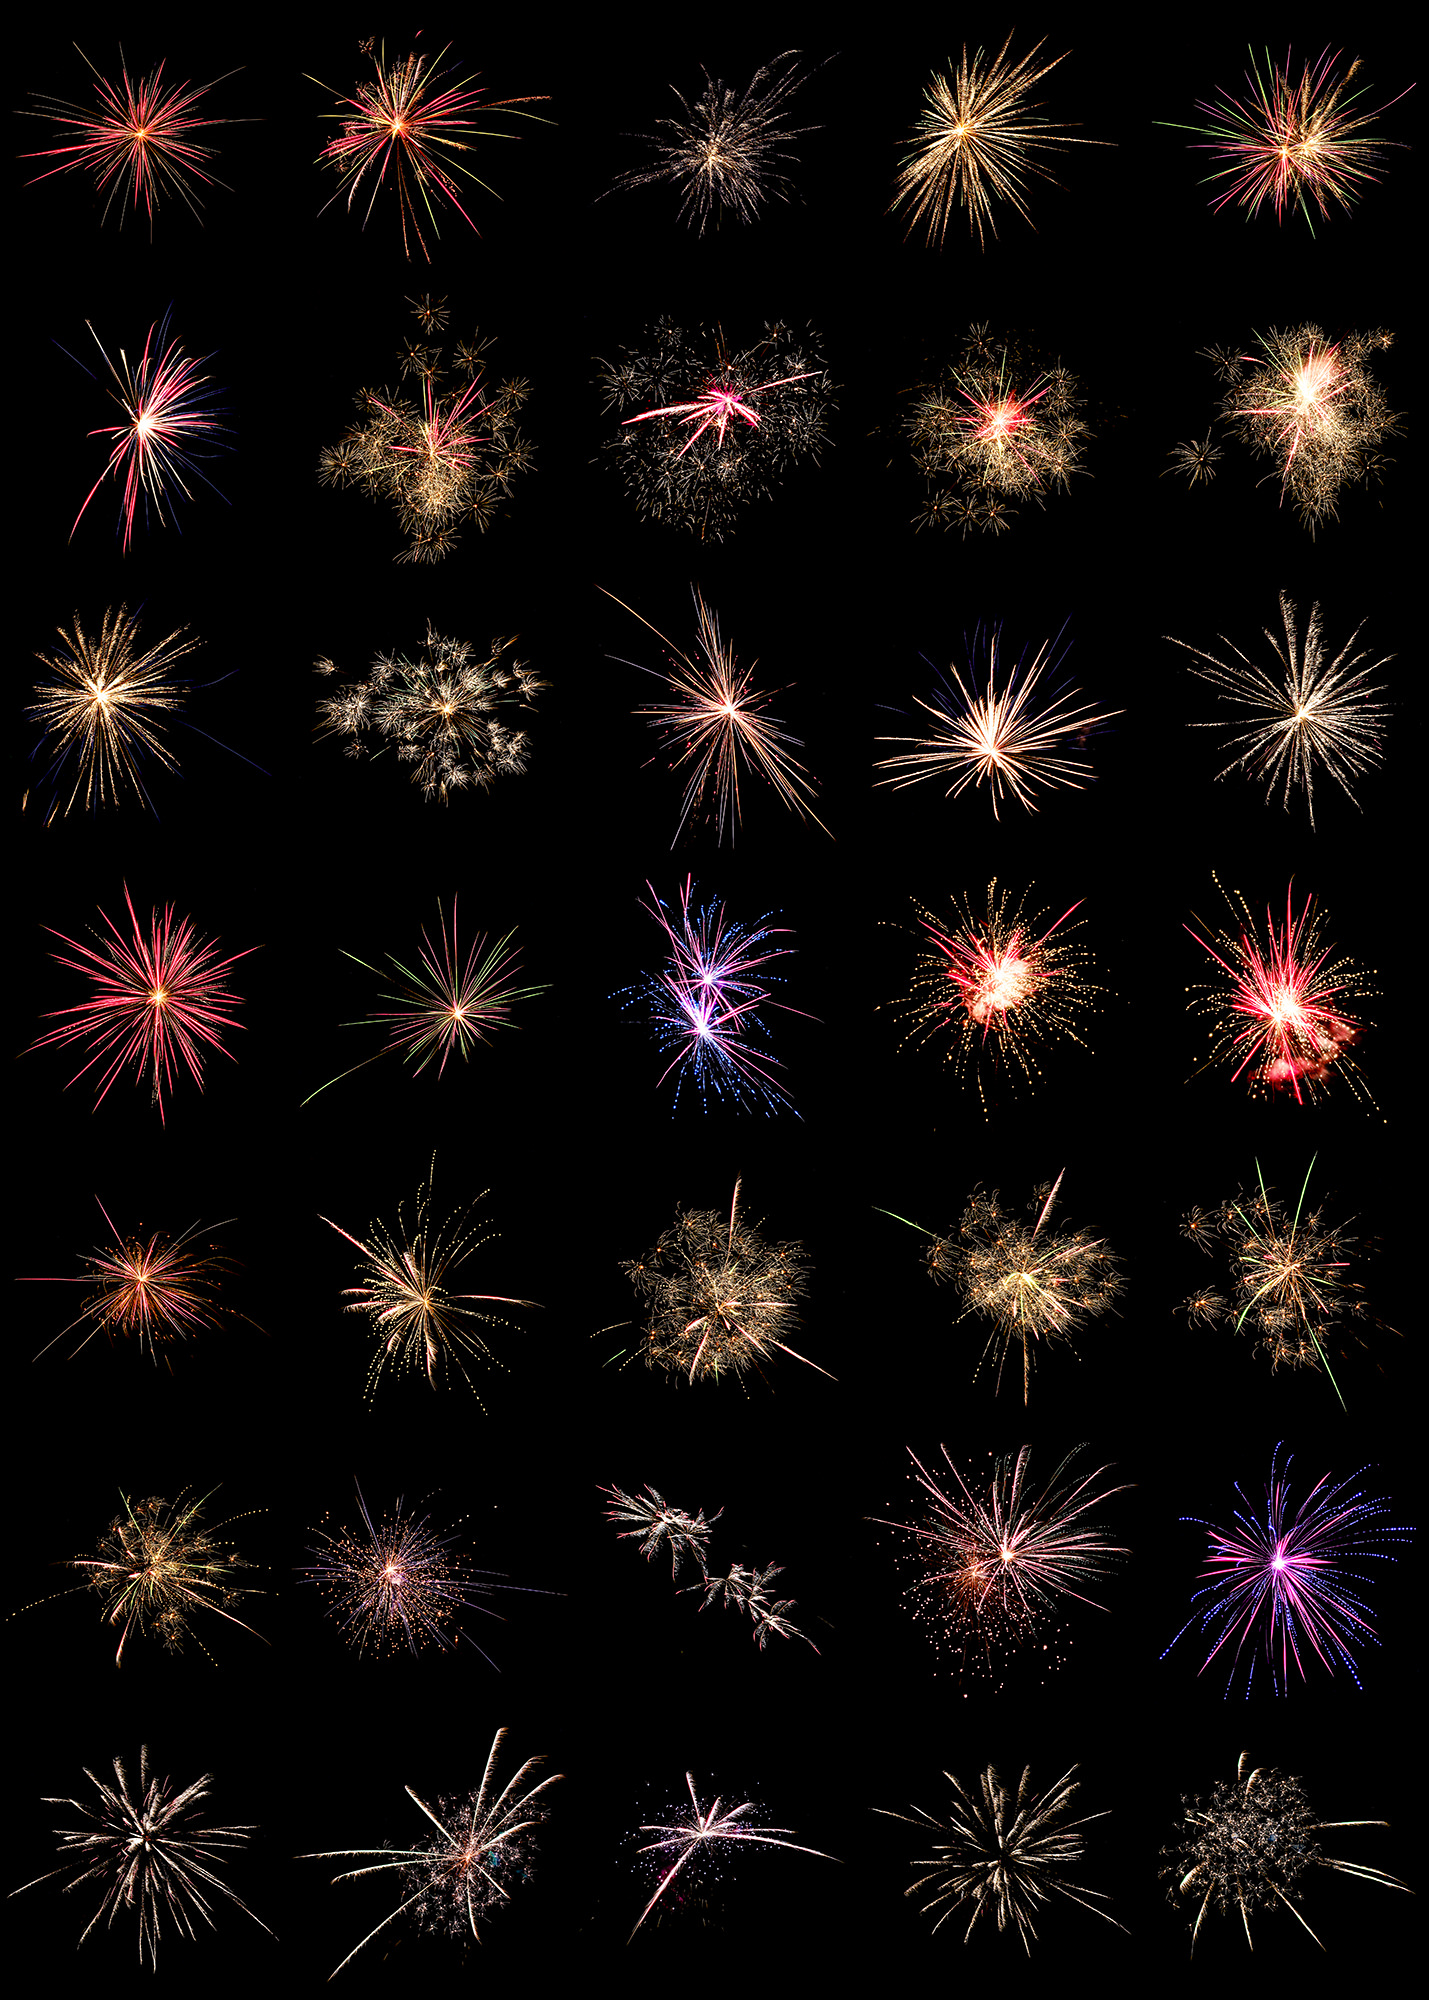
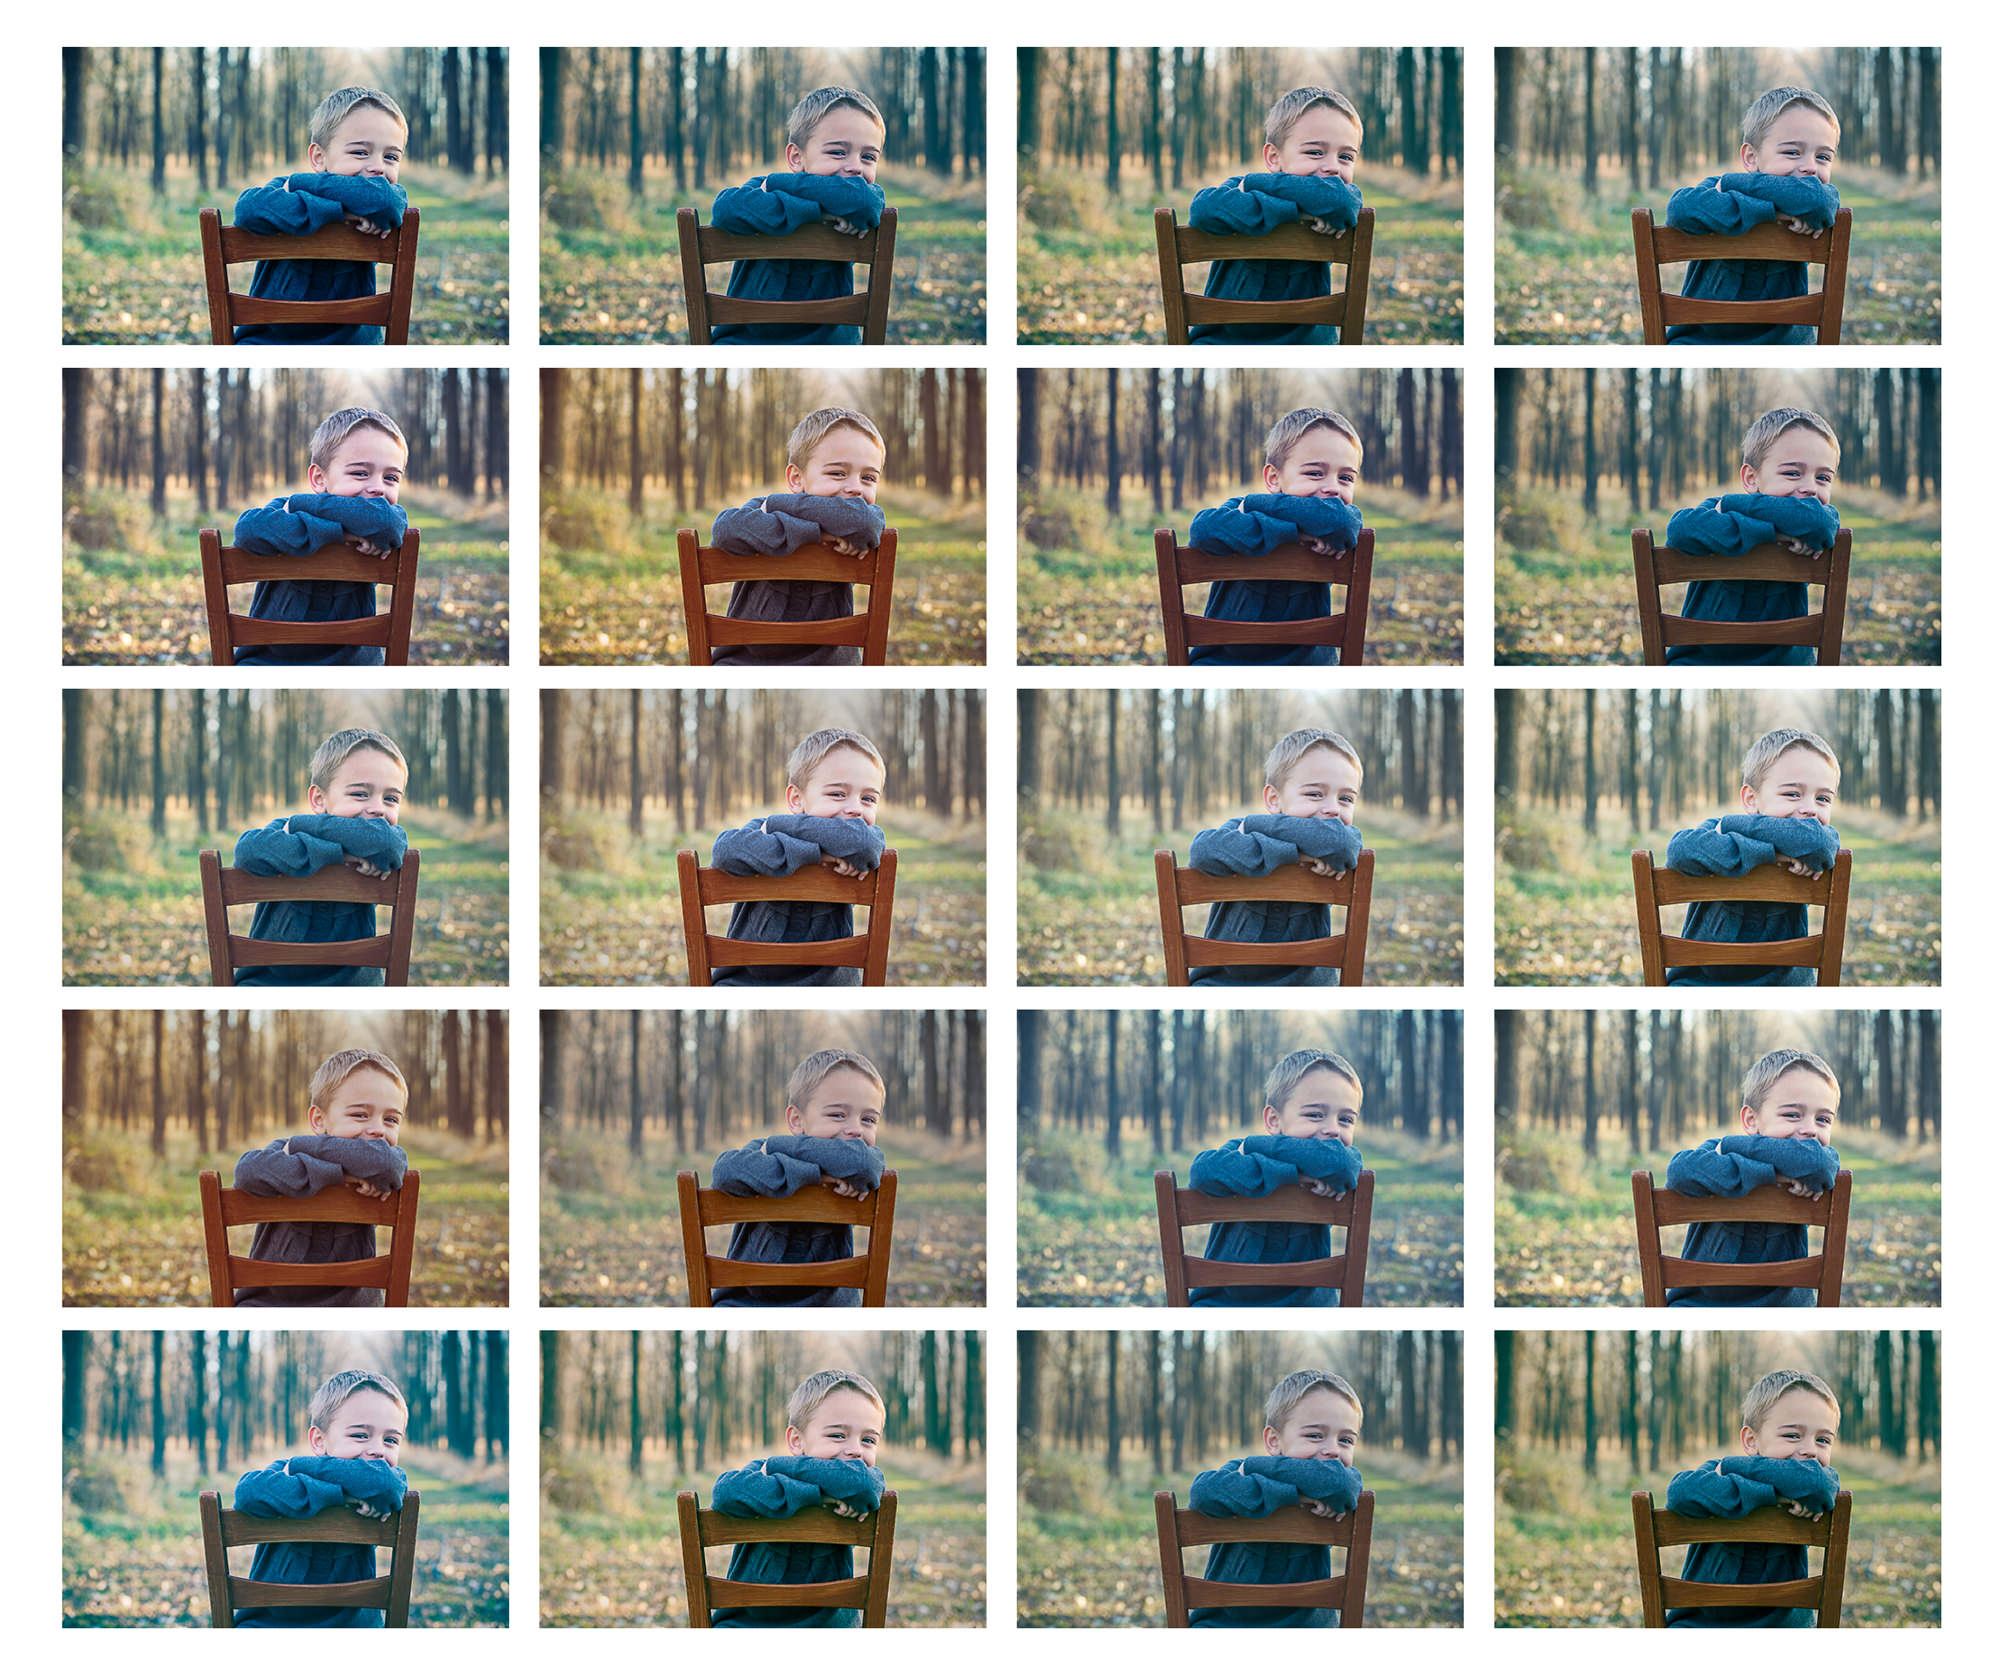
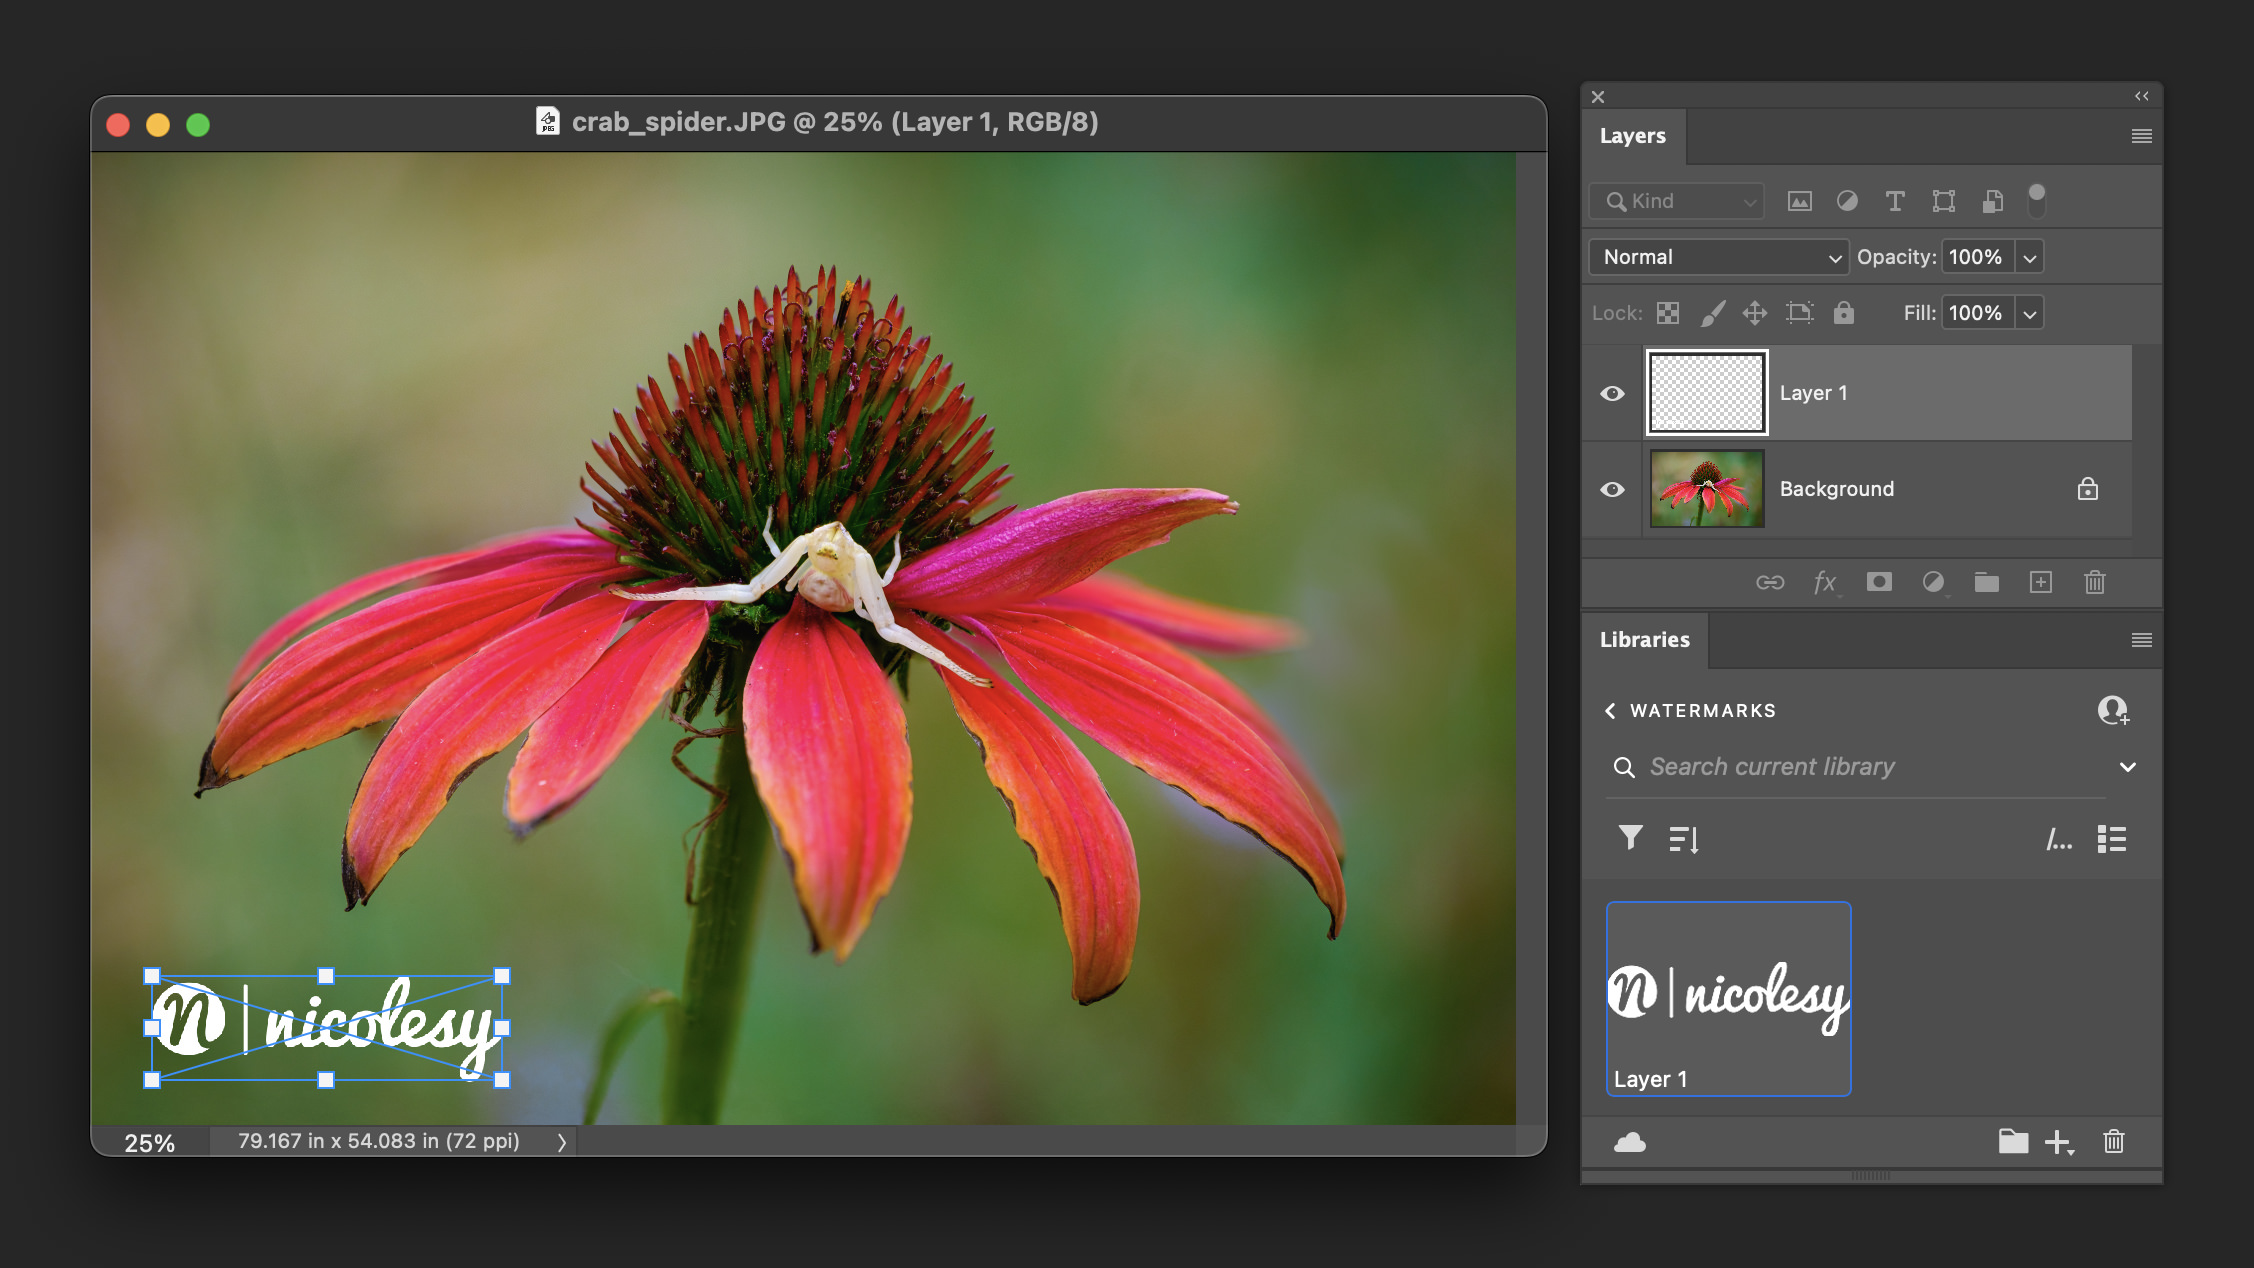
Click the image above to view all sample files full-size.

Rainbow Sky Overlays

$30.00

Product Details:

Description:

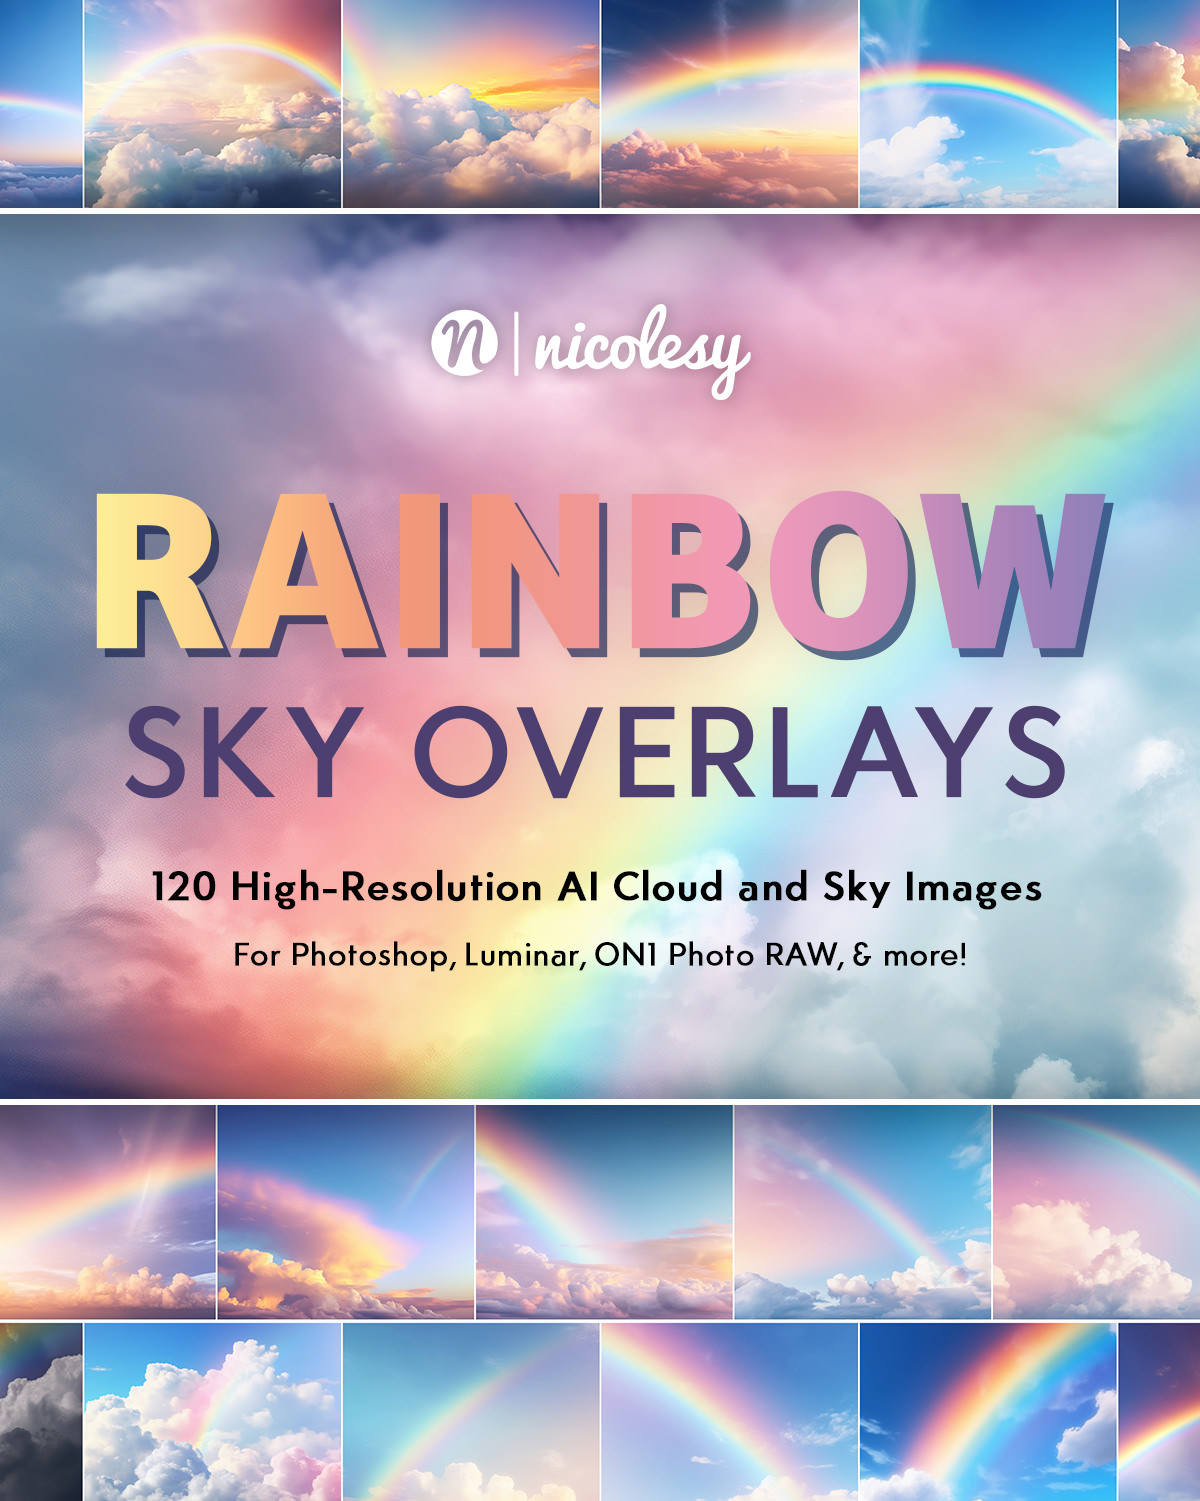
120 AI-Generated Sky Overlays

Delivery method:

Digital download

Compatible with:

All layer-based photo applications, including (but not limited to) Photoshop, Photoshop Elements, Affinity Photo, Luminar, ON1 Photo RAW

Filetypes included:

JPEG, .sky

Rainbow Sky Overlays

Set of 120 High-Resolution AI Rainbow Sky Overlays

This pack of 120 AI-generated rainbow sky overlays is the perfect addition to your collection. With your purchase, you get 120 high-resolution JPEG files, and you will receive step-by-step instructions on using your sky files in Luminar AI, ON1 Photo RAW, and Photoshop to make using these sky overlays a breeze.

Included with this purchase:

  • Sky Image Files: 120 cloud overlays (JPEG, 6000px wide, 16:9 aspect ratio).
  • Photoshop Sky files: Easily install your sky overlays into the Photoshop CC “Sky Replacement” tool with this .sky file. (Requires Photoshop version 22.0 or later)
  • Installation instructions: Written instructions detailing how to add the sky overlays into ON1 Photo RAW, Luminar AI, and Luminar Neo to use in the sky replacement presets for those programs, as well as installing and using the .sky presets in Photoshop. (Click here to view these instructions.)

How to use the Rainbow Sky Overlays

Learn how to install and apply your sky overlays using Photoshop, Luminar AI/Neo, and ON1 Photo RAW. These files are JPEGs, so they are fully compatible with all other photography software that allows you to work with layers or add new sky overlays.

Photoshop

Importing and adding skies using Photoshop

Your purchase includes a preset file (.sky) that can easily be imported into the Photoshop Sky Replacement filter. Here’s how to install your sky files, and how to apply a sky to your image using this feature. (Note: This technique requires Photoshop version 22.0 or later.)
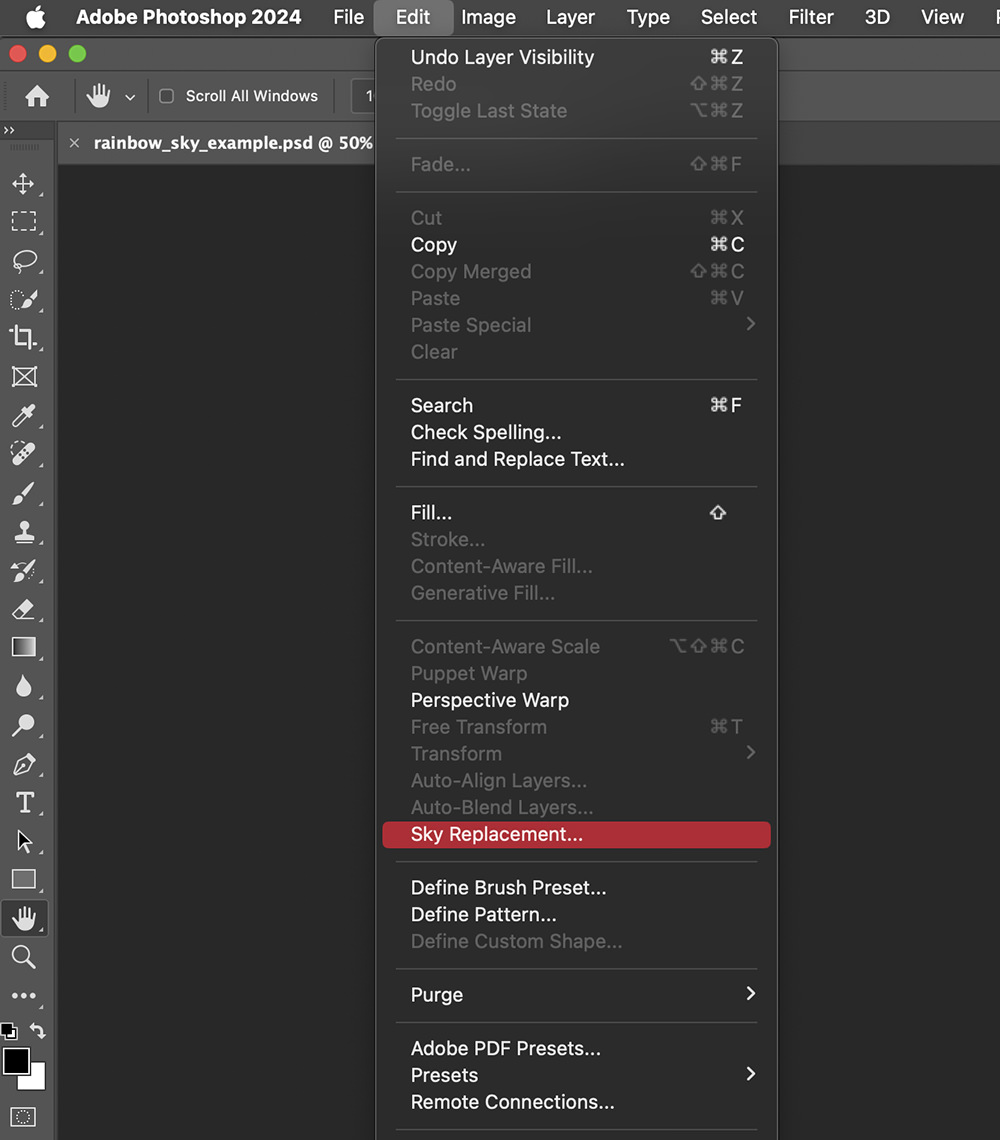
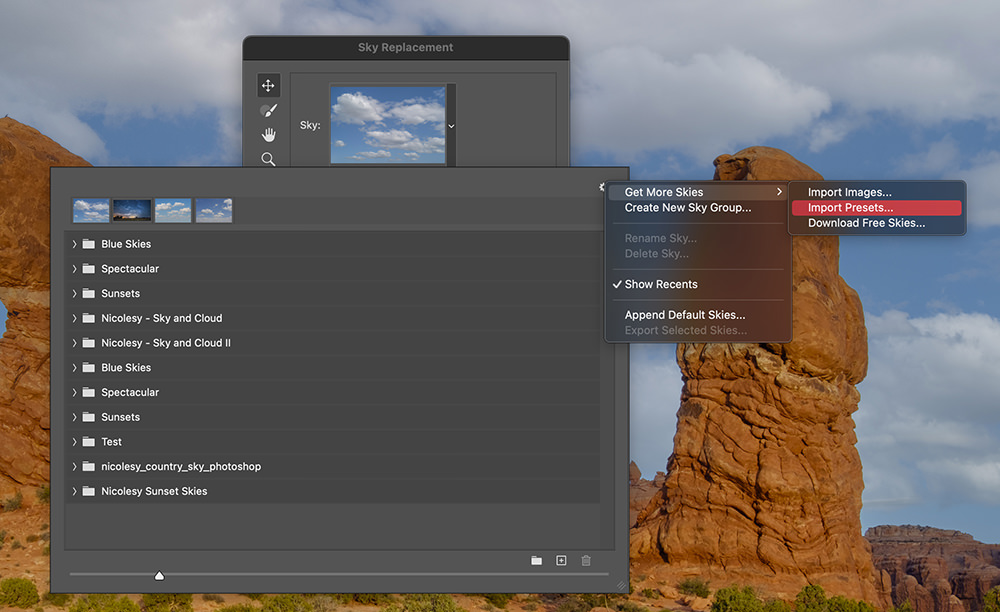
Step 1: Open your photo into Photoshop

Open a photo with a visible sky in Photoshop. Then, go to Edit > Sky Replacement.

Note: If this is greyed out, you must open a photo with a sky that Photoshop recognizes as a sky.

Step 2: Access the Import window

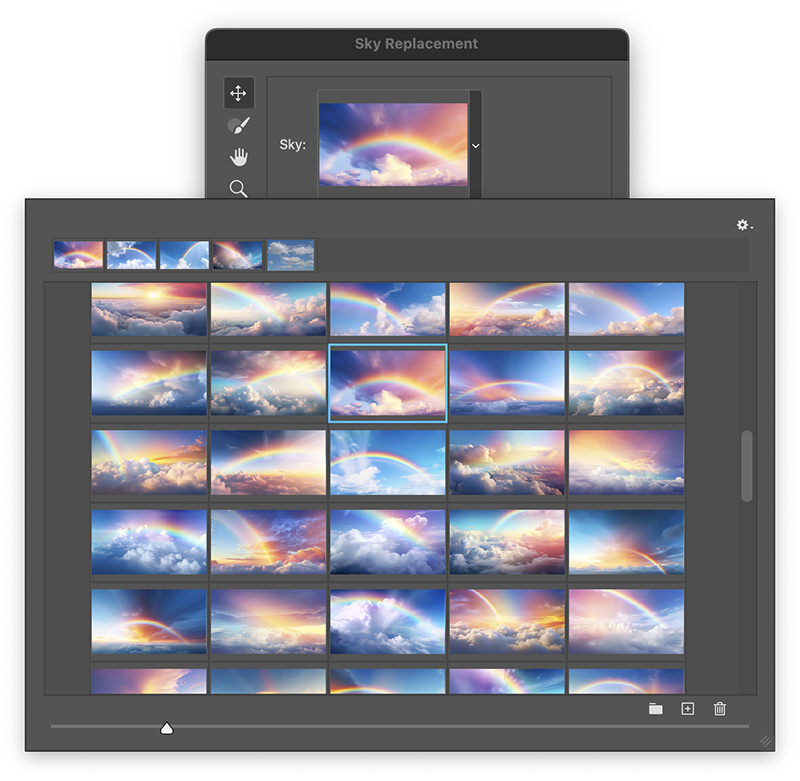
Click the image thumbnail at the top of the Sky Replacement window to view the sky files available on your device.

Then, click the small gear icon on the top-right of this popup. Select Get More Skies > Import Presets.

Step 3: Import the .sky file

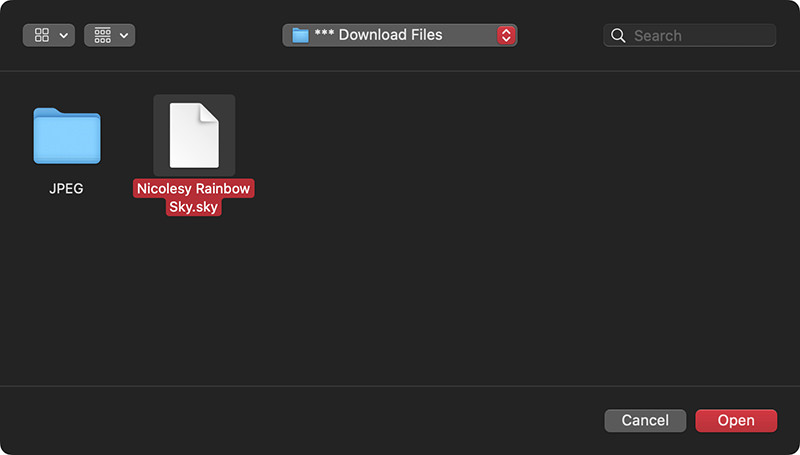
Navigate to the Nicolesy Rainbow Sky.sky file and click Open. Your sky files are now imported into Photoshop.

Step 4: Apply a sky overlay

Now that your sky overlays are imported, you can add one to your photo.

Click the image thumbnail at the top of the Sky Replacement window to view the sky files available on your device. Navigate to the one you want to use and click the thumbnail to add it to your photo.

Step 5: Adjust the sky settings

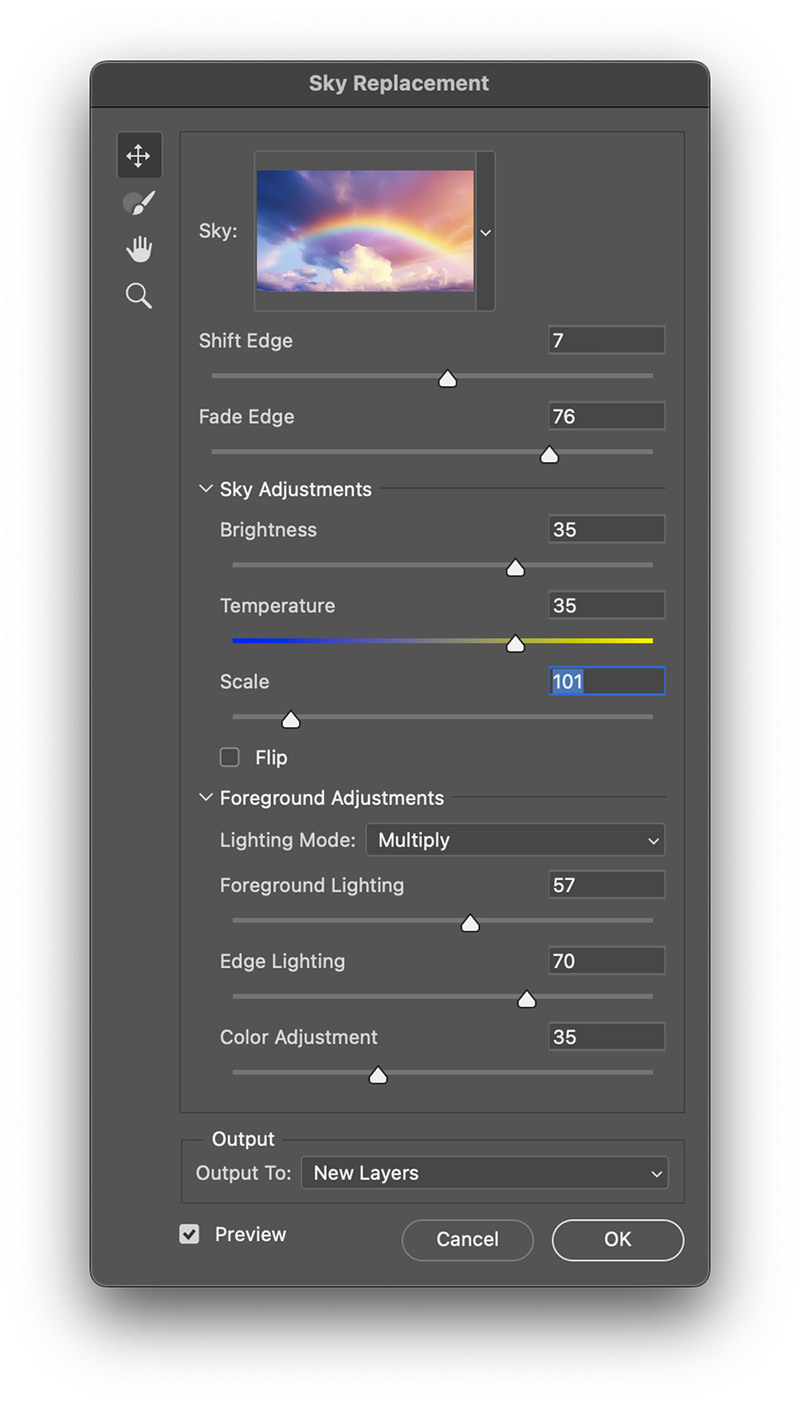
Use the settings in the Sky Replacement window to adjust the settings of your sky and foreground image to match the replacement with your photo. Make sure that the Preview button is selected in the lower-left of this window so you can see the changes happening as you make them.

When finished, click OK and your new sky will be added to your image.

Luminar

Importing and adding skies using Luminar

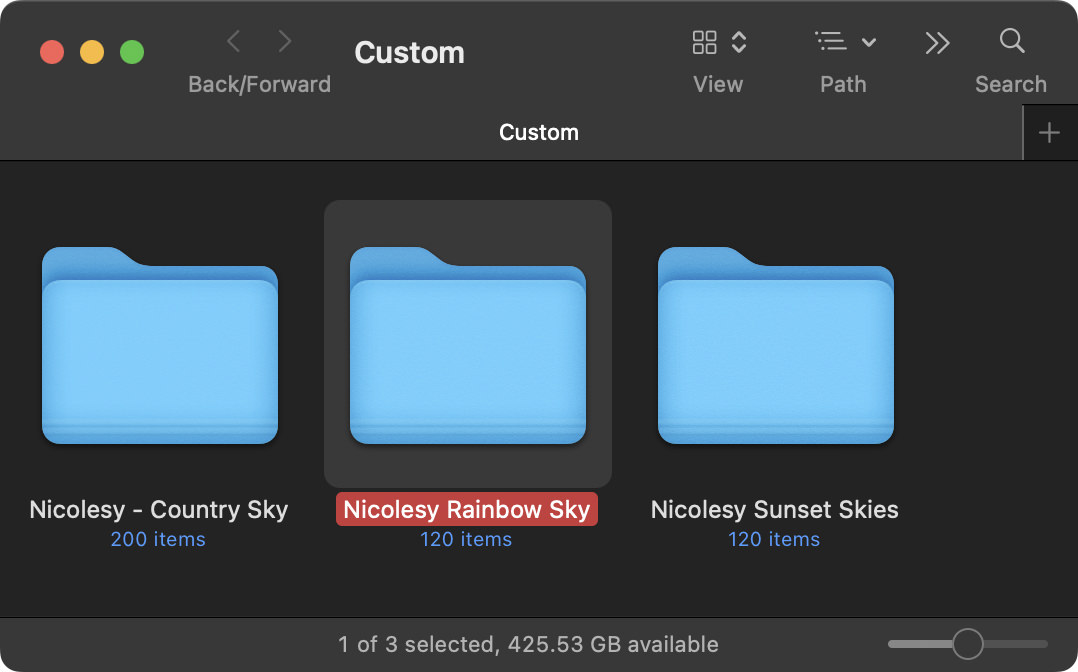
The JPEG files included with your purchase can be added to the Sky AI tool in both Luminar AI and Luminar Neo. You’ll first import them into the Custom folder, and then use the Sky Replacement filter to apply them.

This works in both Luminar AI and Luminar Neo.
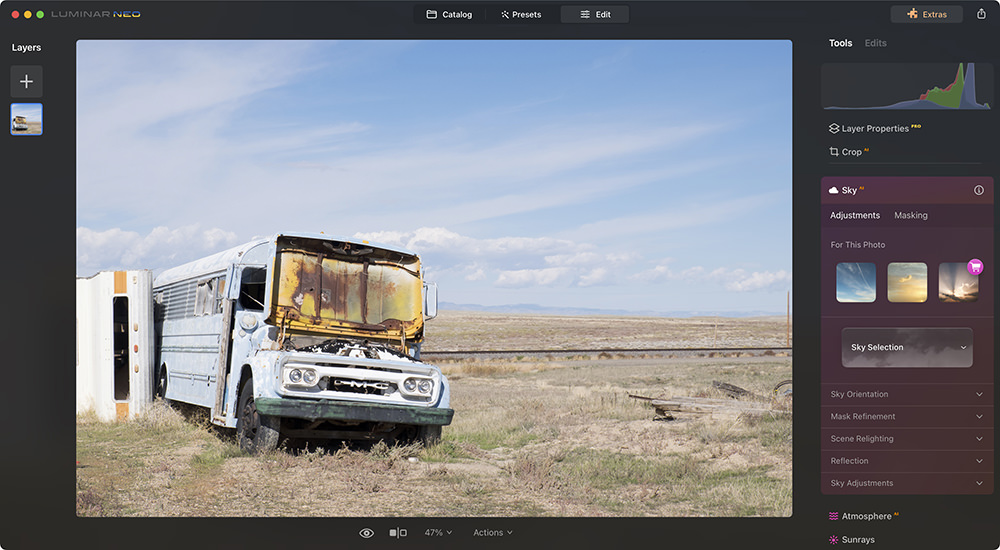
Step 1: Access the Sky AI tool

Open Luminar with a photo that has a visible sky, and click Edit at the top of the screen. Then, scroll down until you locate the Sky AI filter.

Step 2: Import the skies into the Custom folder

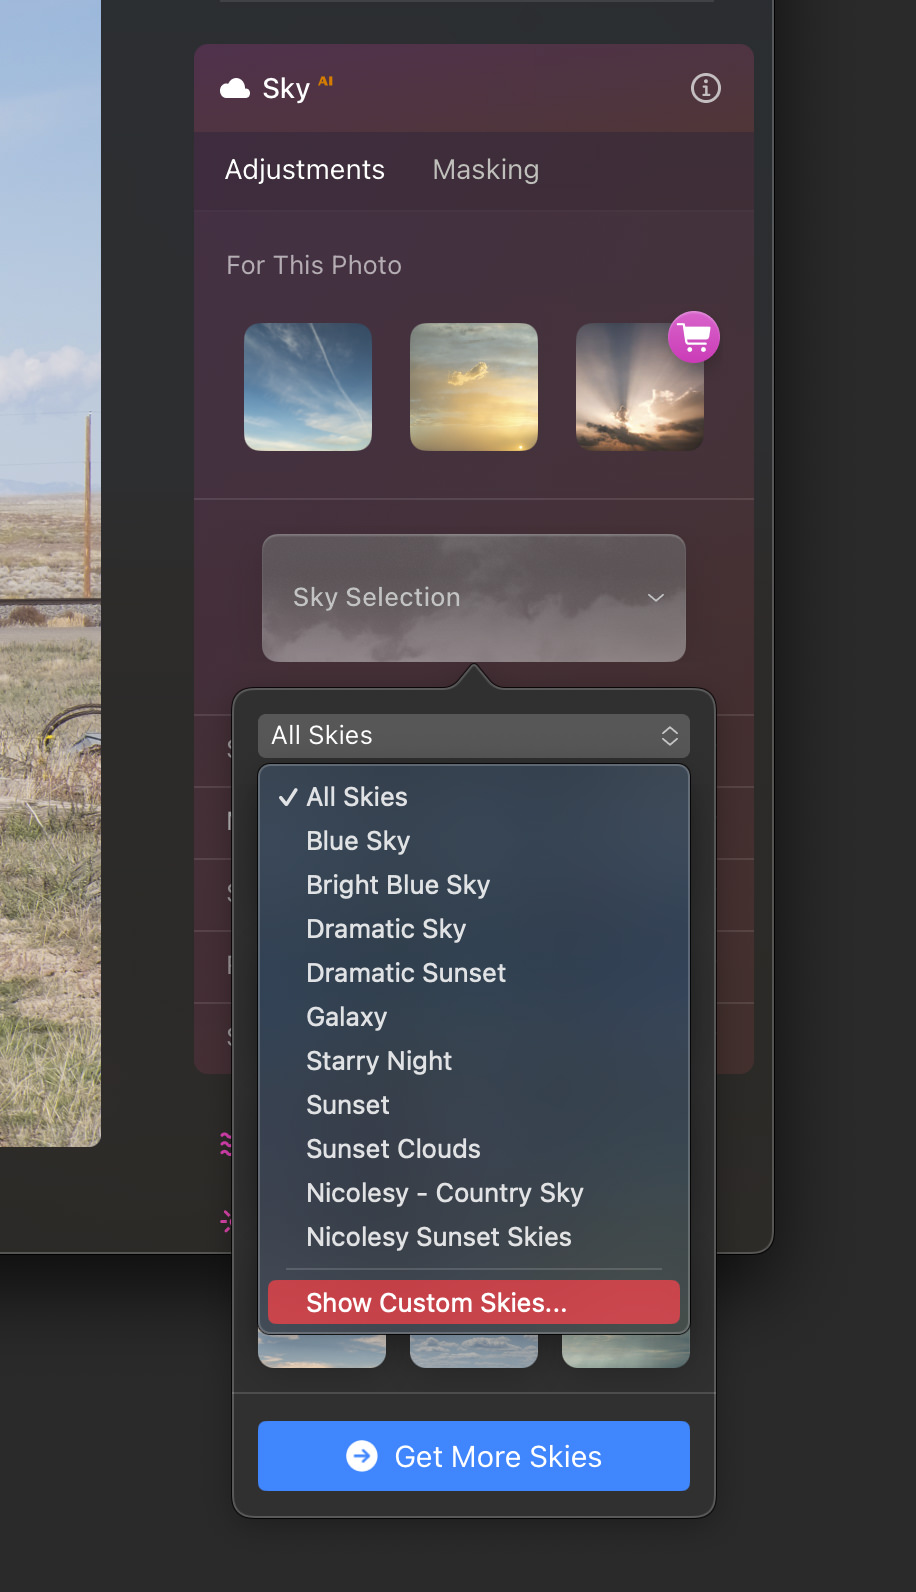
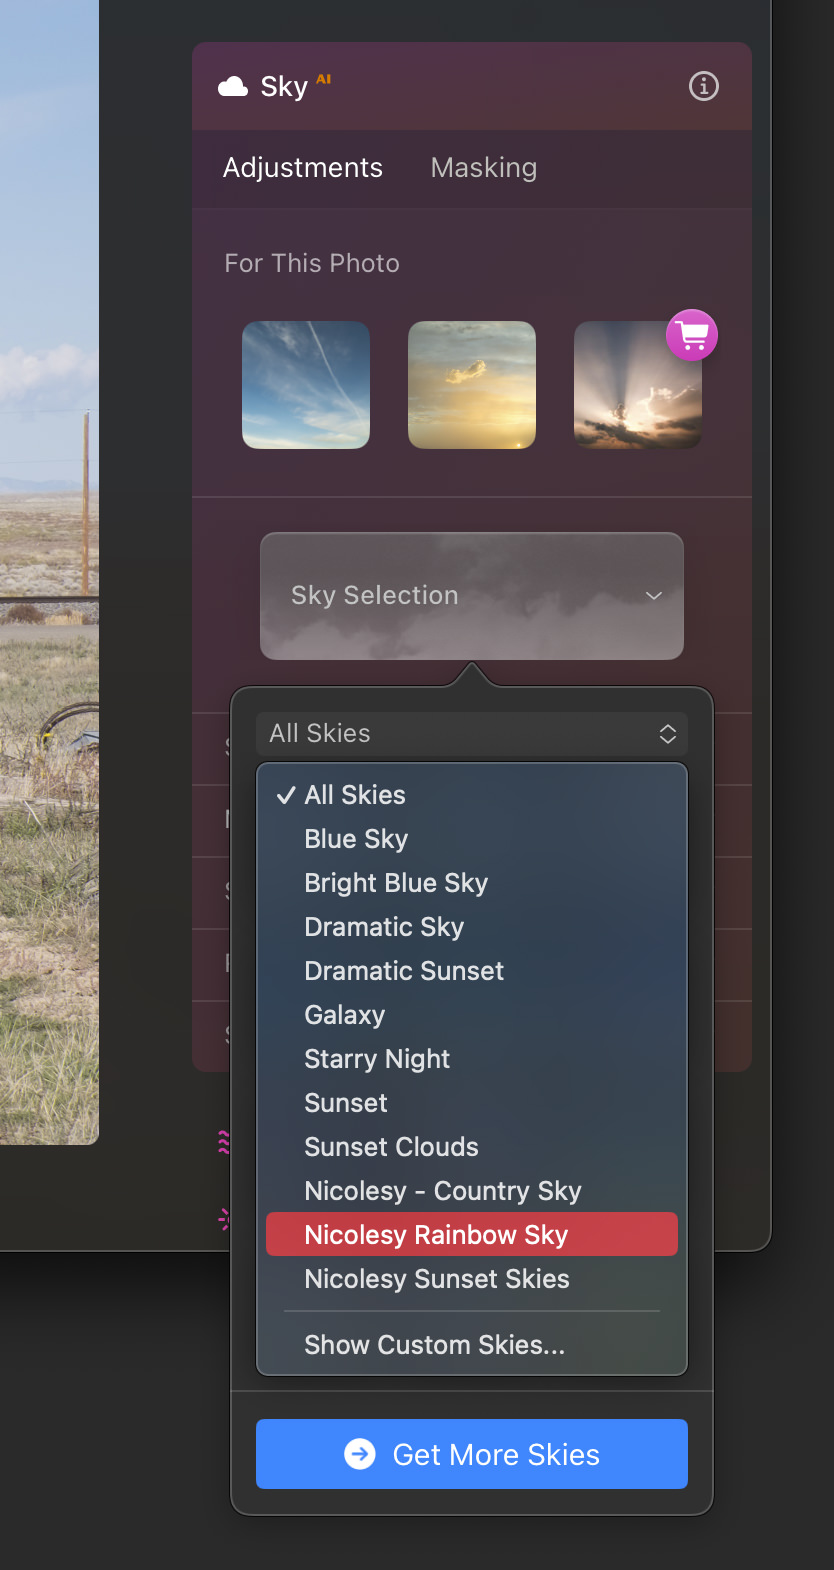
Click the Sky Selection drop-down, and then the secondary drop-down within this popup. Select Show Custom Skies.

Step 3: Import the skies into the Custom folder

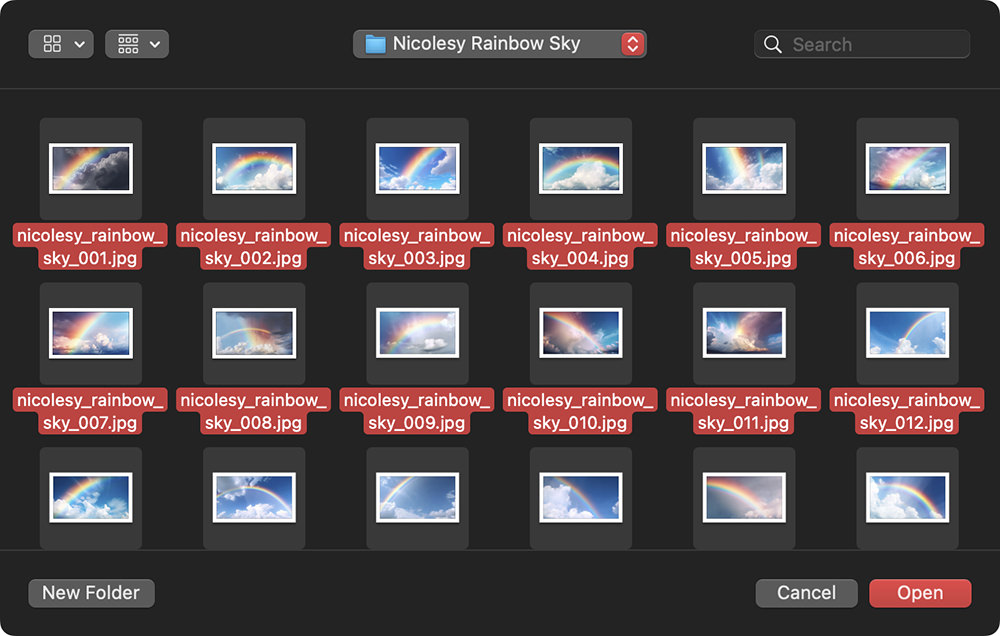
A new window will open on your desktop. Now, access the folder of sky JPEG files from your computer, and copy the entire folder over to the Custom folder. (You can rename the folder as needed.)

Step 4: Add a new sky to your image

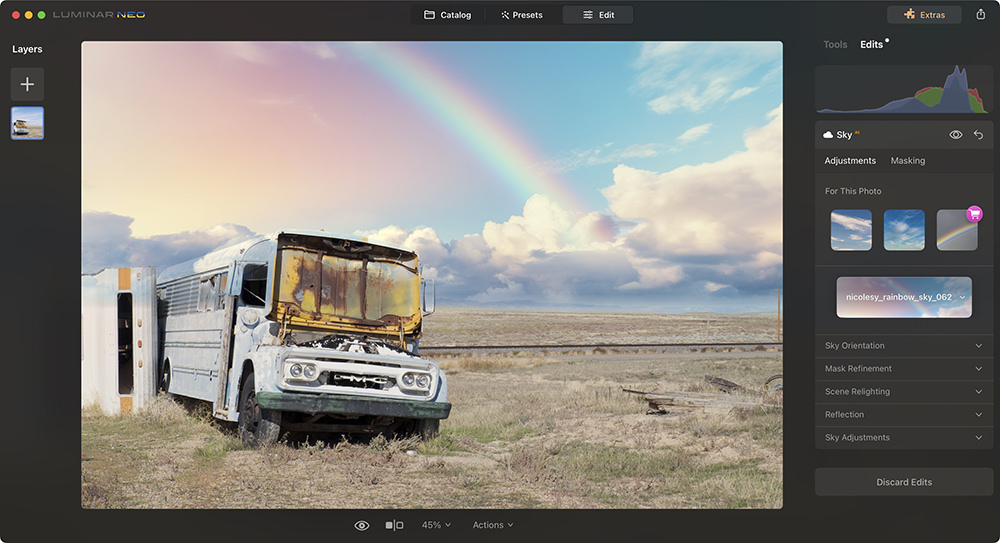
Now that your new skies are added to the custom folder, they will appear within the Sky AI filter. Select this folder from the drop-down, then select the sky image you want to apply from the thumbnails.

Adjust your settings as needed within the filter and you now have a beautiful rainbow added to your scene!

ON1 Photo RAW

Importing and adding skies using ON1 Photo RAW

To use the sky overlays in ON1 Photo RAW, you’ll first import the JPEG files into the “Manage Extras” folder. Then, you can use the Sky Replacement panel to add the new skies to your photos.
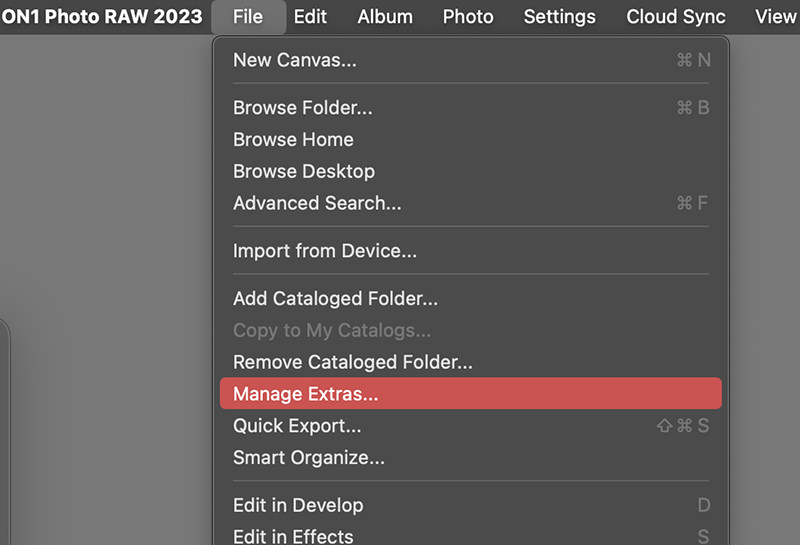
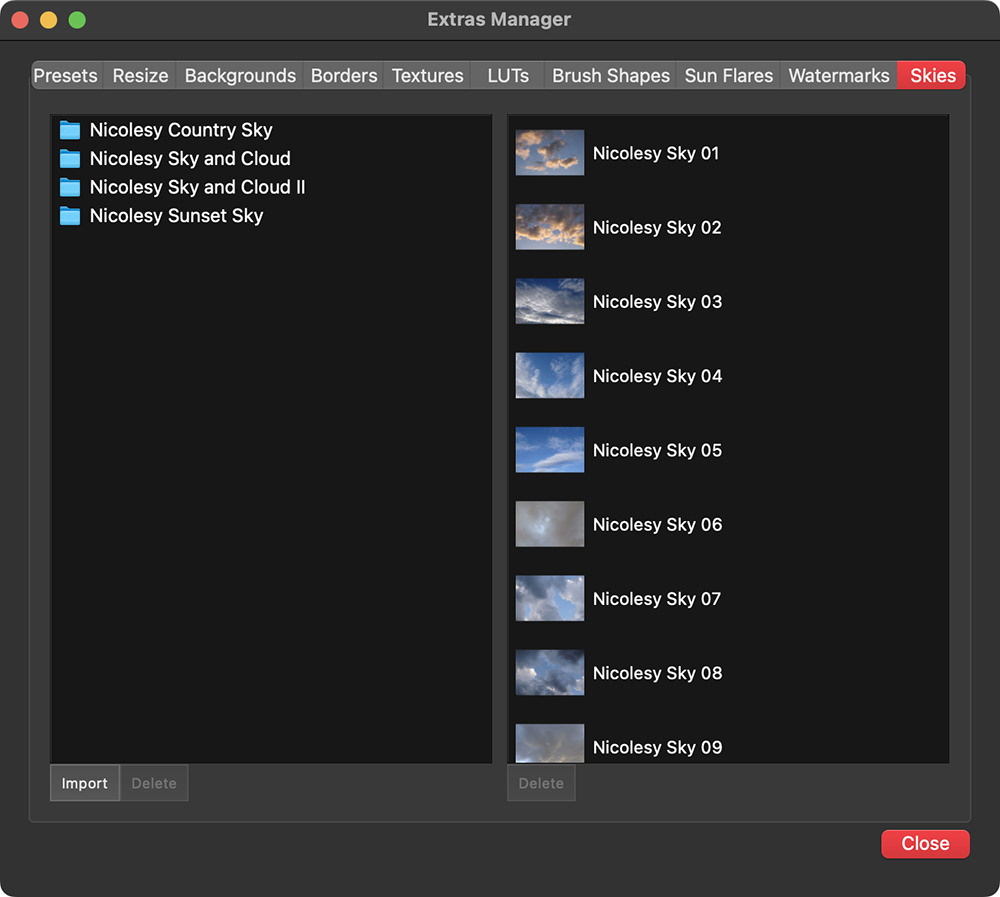
Step 1: Access the “Manage Extras” window

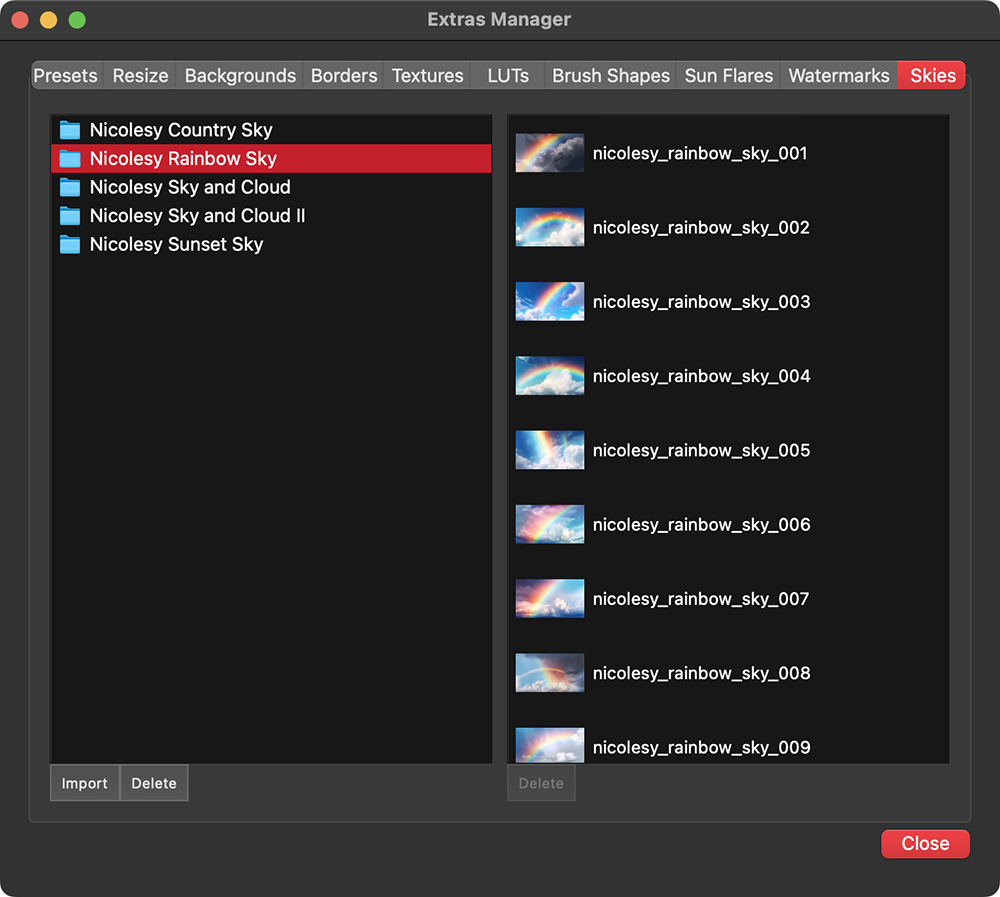
Open ON1 Photo RAW in the Browse module and go to File > Manage Extras.

Step 2: Access the “Skies” tab

At the top of the Extras Manager, click the Skies tab. This is where you will add all of your sky files.

Step 3: Import the sky overlays

On the bottom-left, click Import. Navigate to the Nicolesy Rainbow Sky JPEG folder. Open the folder and select all of the skies you want to import; then click Open.

In the Choose Category window, click the drop-down and select Add Category. Give your folder a name and click OK twice. The sky files will now import into the Extras Manager.

Step 4: Add a sky in ON1 Photo RAW

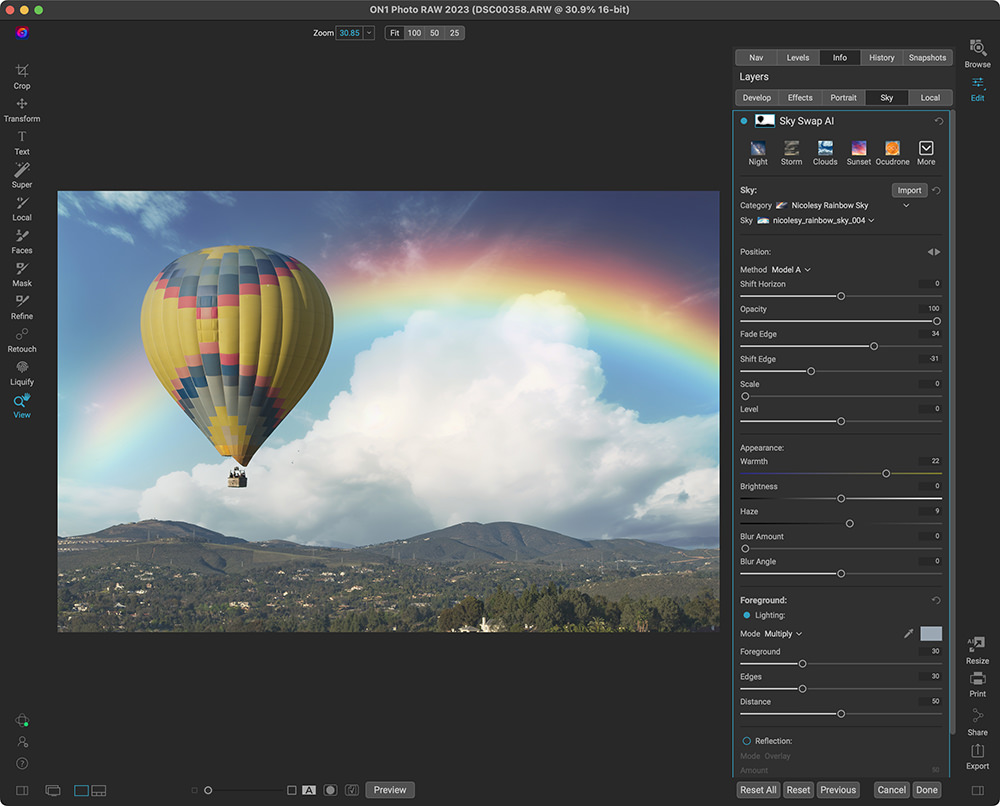
Open a photo into the Edit module and access the Sky panel.

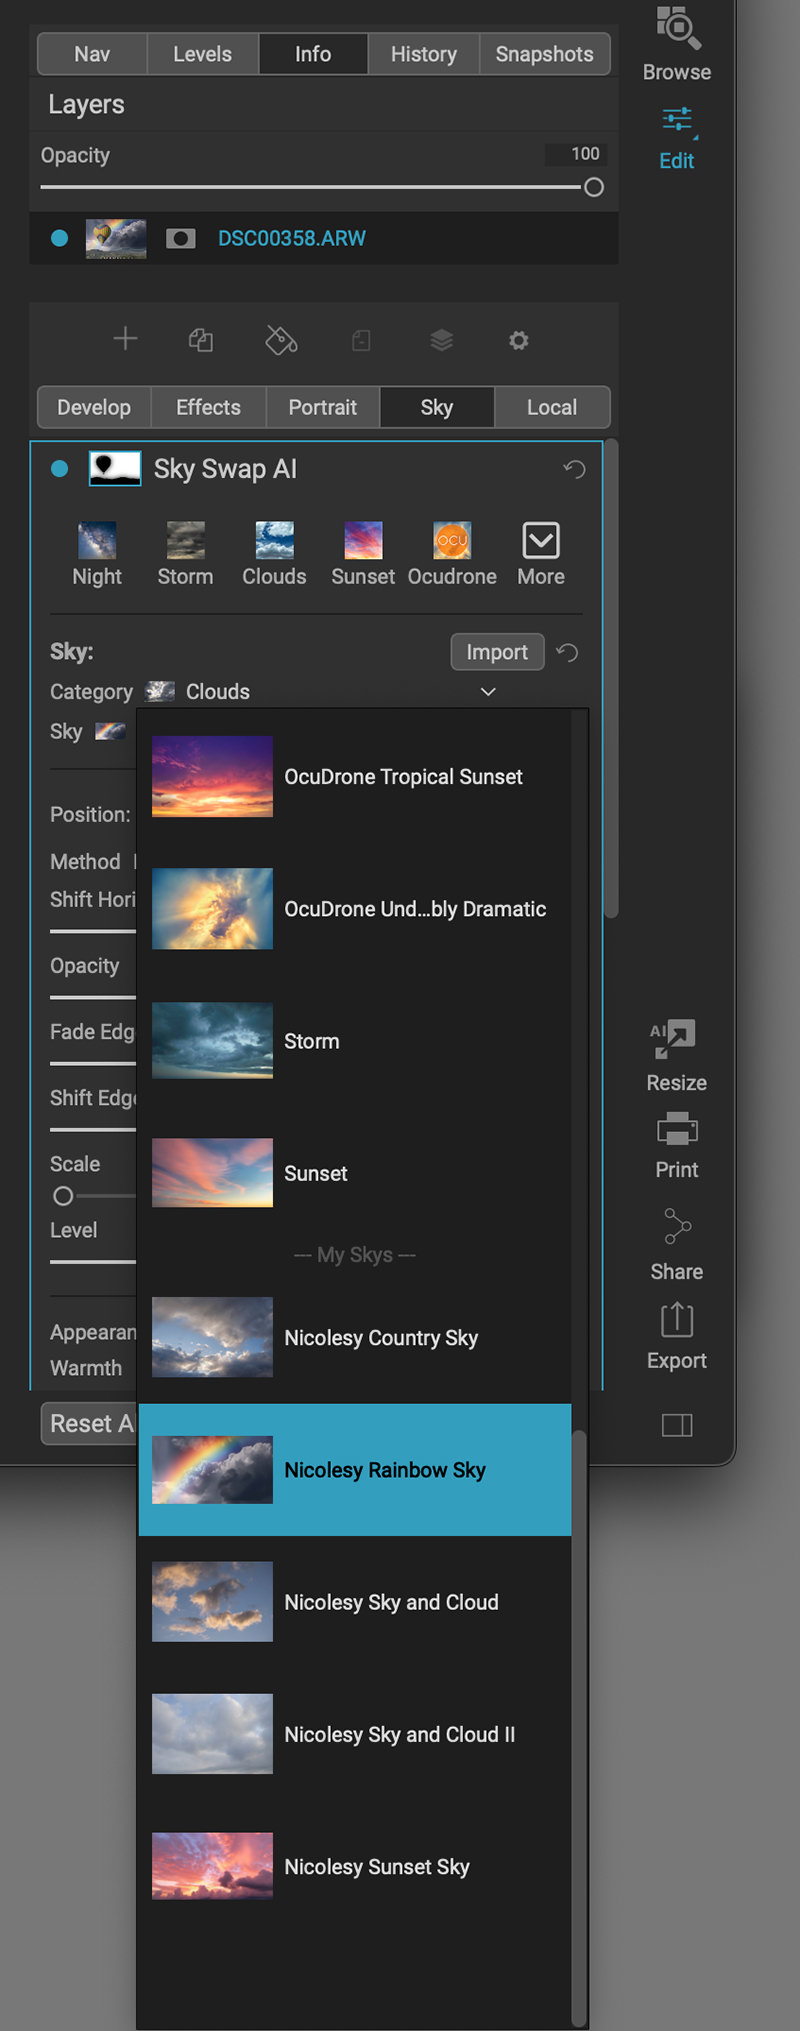
Use the Category drop-down, select the category of the skies you just imported.

Then, use the Sky drop-down to select the individual sky you want to apply. Adjust the settings in this panel to finalize your photo and create a finished effect.

Purchase Rainbow Sky Overlays today:

Customer Reviews

Featured Products