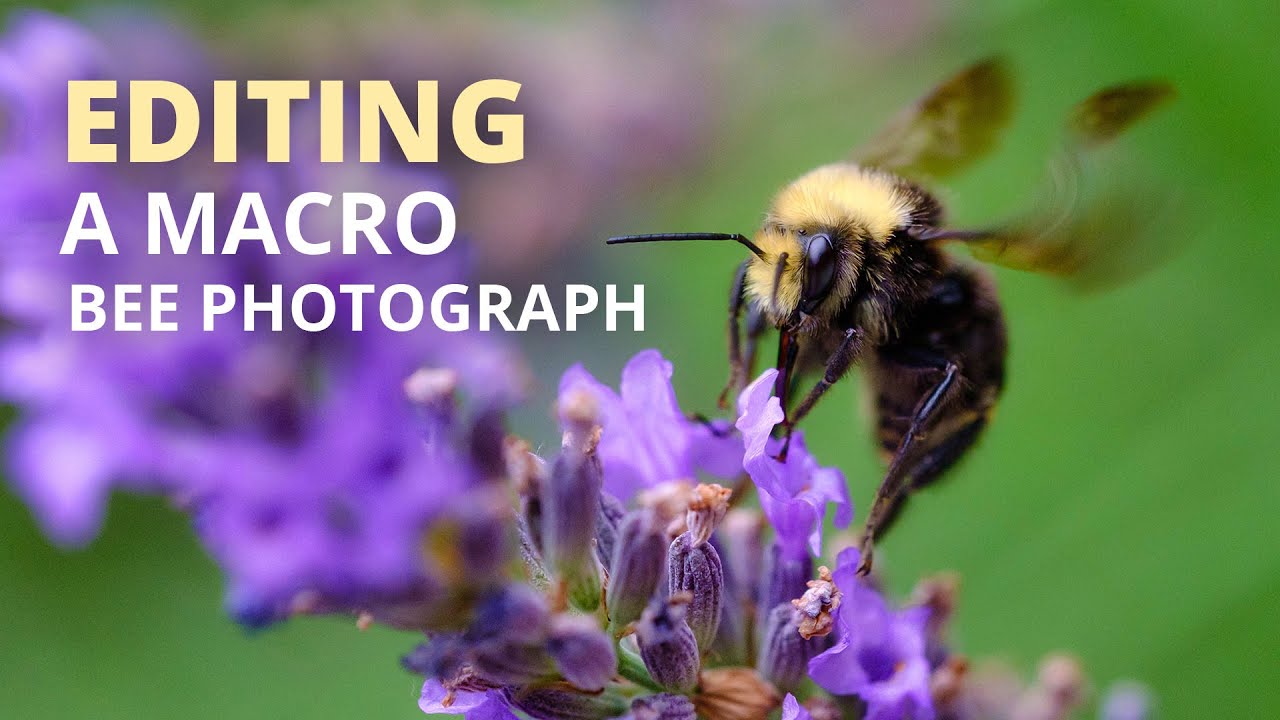
One of my absolute favorite things to photograph in the Spring and Summer are bees and bugs flying around flowers and plants. It’s a fun challenge and now it’s even easier with my brand-new Fujifilm 80mm macro lens. I am in LOVE with this lens and it’s making my photography so much easier. I can’t wait to give it a spin in the dahlia fields later this month!


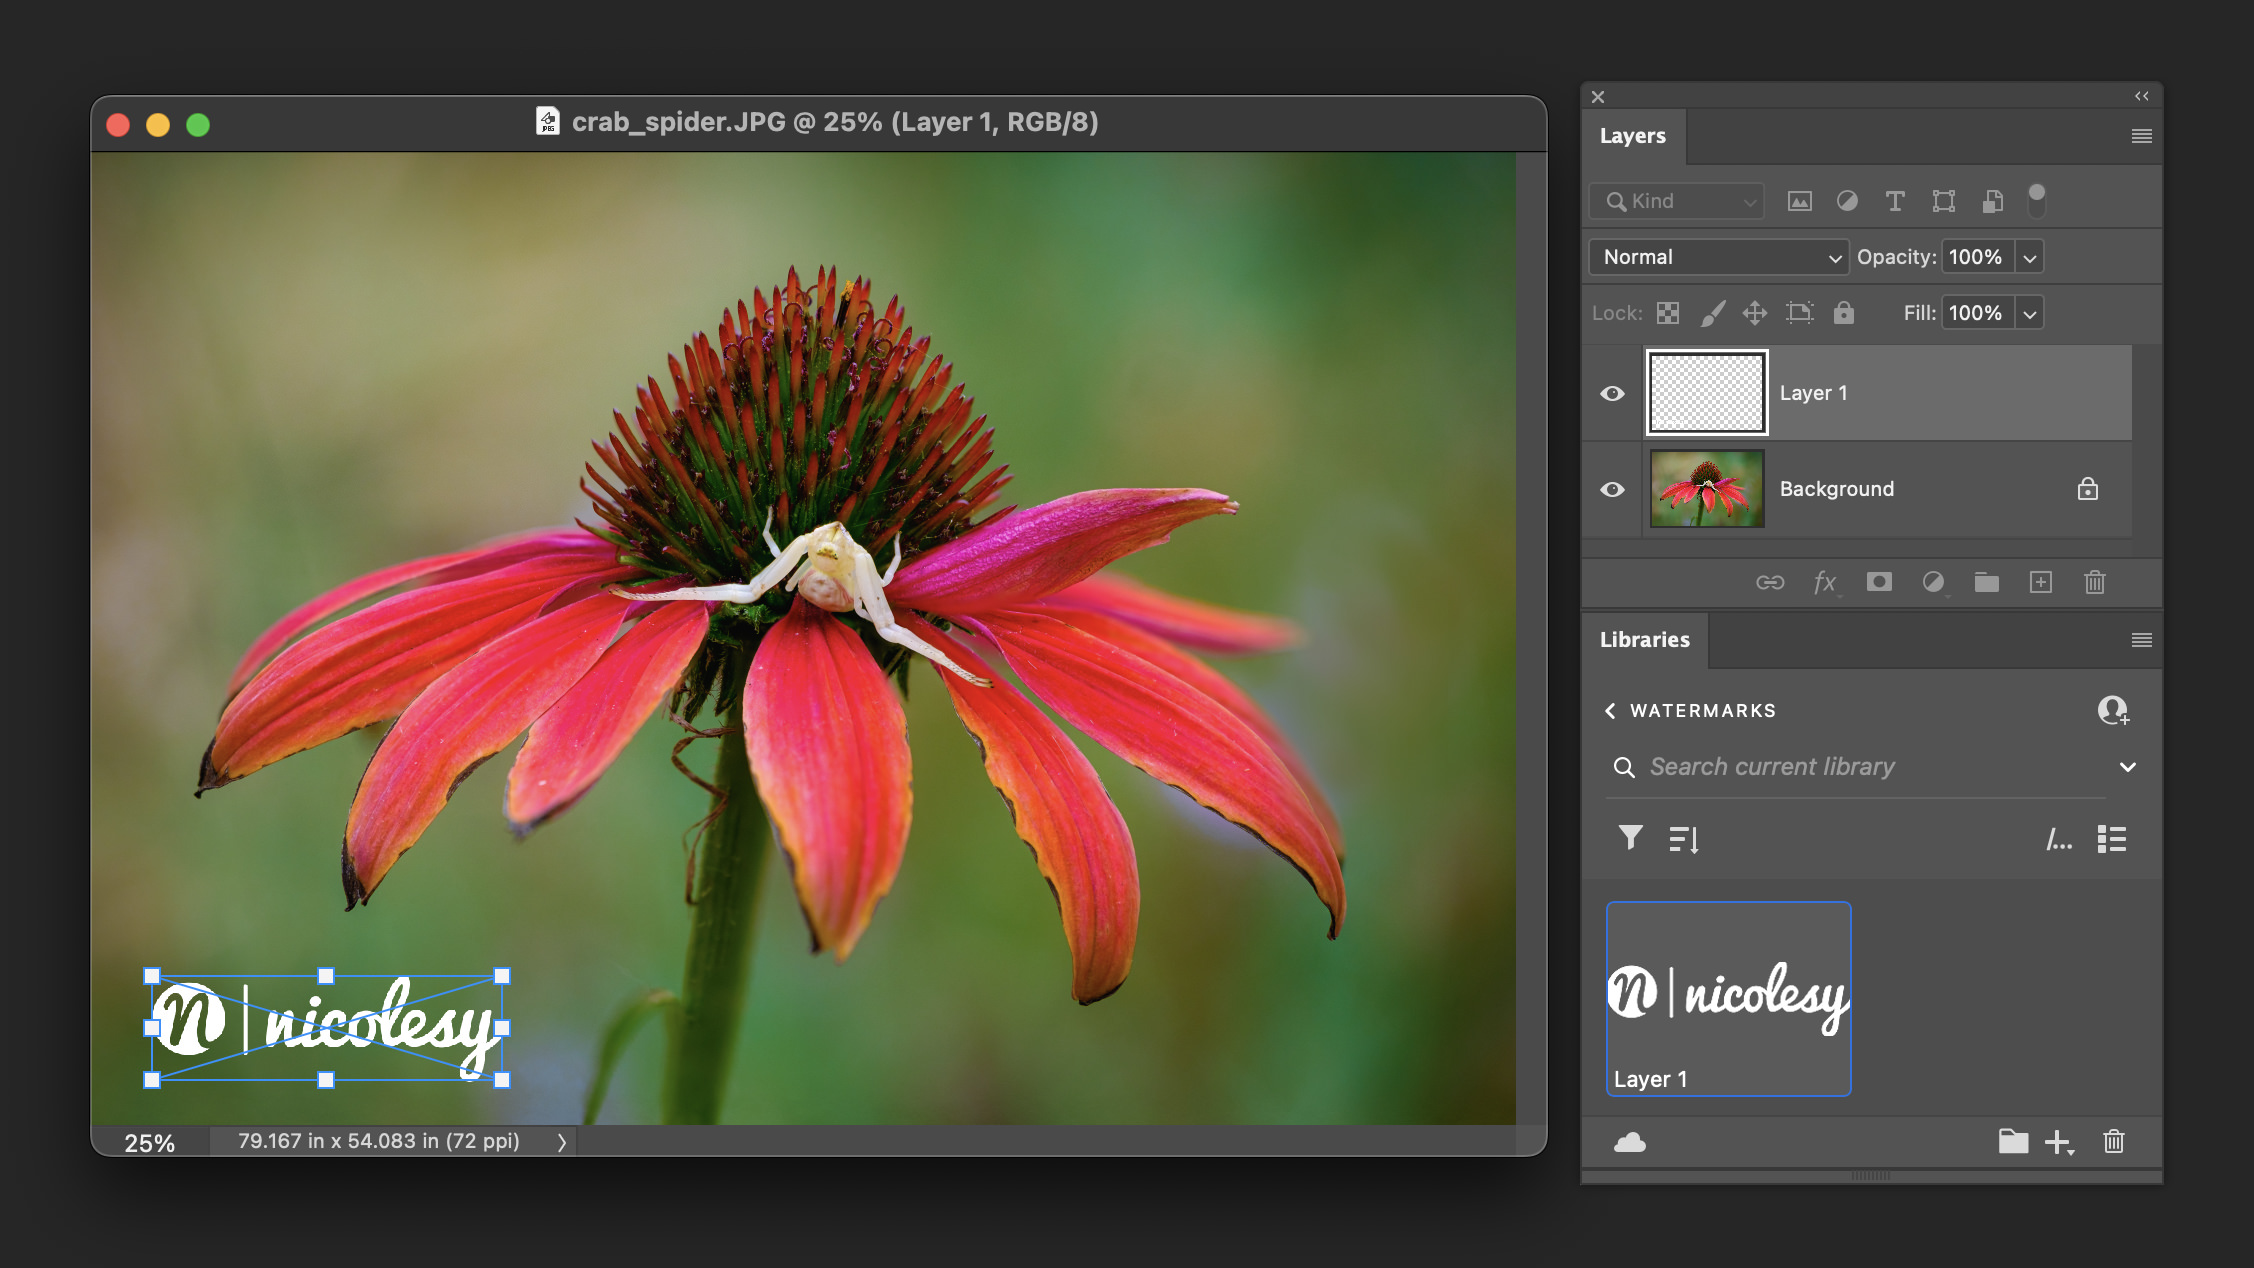
This edit shows a very typical walkthrough of my normal edits for this type of image. I start out in Lightroom, and then bring the image to Photoshop as a “pass-through” so that I can apply Luminar 4 edits to a smart object layer. Using Luminar as a plugin with a smart object in Photoshop retains the editability of those edits so that I am able to go back and make adjustments to the original filters and tools I applied. If I were to go to Luminar directly from Lightroom, the layer would be flattened so I would not be able to edit the filters and tools in Luminar if I needed to. Here are the basic steps I took to create the final image from this video:
- Lightroom: Cropping
- Lightroom: Selecting a camera profile
- Lightroom: Basic tone and color enhancements
- Lightroom: Noise reduction
- Photoshop: Creating a smart object
- Luminar 4: Adding filters
Watch the Video:
One of my absolute favorite things to photograph in the Spring and Summer are bees and bugs flying around flowers and plants. It’s a fun challenge and now it’s even easier with my brand-new Fujifilm 80mm macro lens. I am in LOVE with this lens and it’s making my photography so much easier. I can’t wait to give it a spin in the dahlia fields later this month!


This edit shows a very typical walkthrough of my normal edits for this type of image. I start out in Lightroom, and then bring the image to Photoshop as a “pass-through” so that I can apply Luminar 4 edits to a smart object layer. Using Luminar as a plugin with a smart object in Photoshop retains the editability of those edits so that I am able to go back and make adjustments to the original filters and tools I applied. If I were to go to Luminar directly from Lightroom, the layer would be flattened so I would not be able to edit the filters and tools in Luminar if I needed to. Here are the basic steps I took to create the final image from this video:
- Lightroom: Cropping
- Lightroom: Selecting a camera profile
- Lightroom: Basic tone and color enhancements
- Lightroom: Noise reduction
- Photoshop: Creating a smart object
- Luminar 4: Adding filters
Watch the Video:

Nicole is a photographer, published author, and educator specializing in Lightroom, Photoshop, and photography. She is best known for her books on food photography but is widely versed in various photographic genres, including landscape, nature, stock, travel, and experimental imagery.





You have just changed my workflow forever. I had no idea that you could retain the ability to re-edit in Luminar by going through Photoshop this way. Absolutely brilliant. Thank you
That makes me so happy to hear, I’m glad I was able to help!
Hi what version of Lightroom are you using thanks ????
I’m using Lightroom CC (Classic), the most updated version as of this recording.
I really enjoyed watching your video and edits. I always learn from your teachings. Thank you!
Thanks for this. Your ebooks are good but I always get more practical help from the videos.