The direction of your light is incredibly important when photographing food. Certain angles of light will help shape the scene and can also be the difference between a successful image, and one that is just “meh”. In this article, I will be sharing examples of three different types of light: backlight, front light, and side light.
Back Light
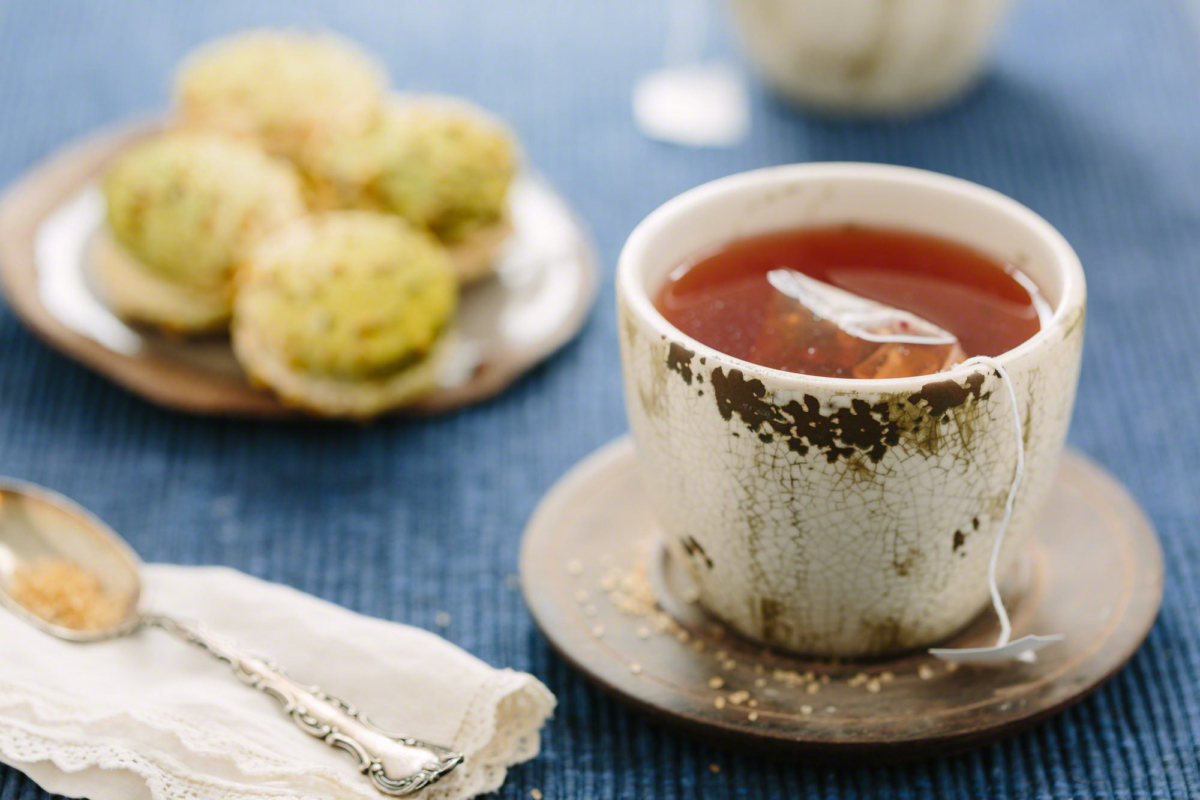
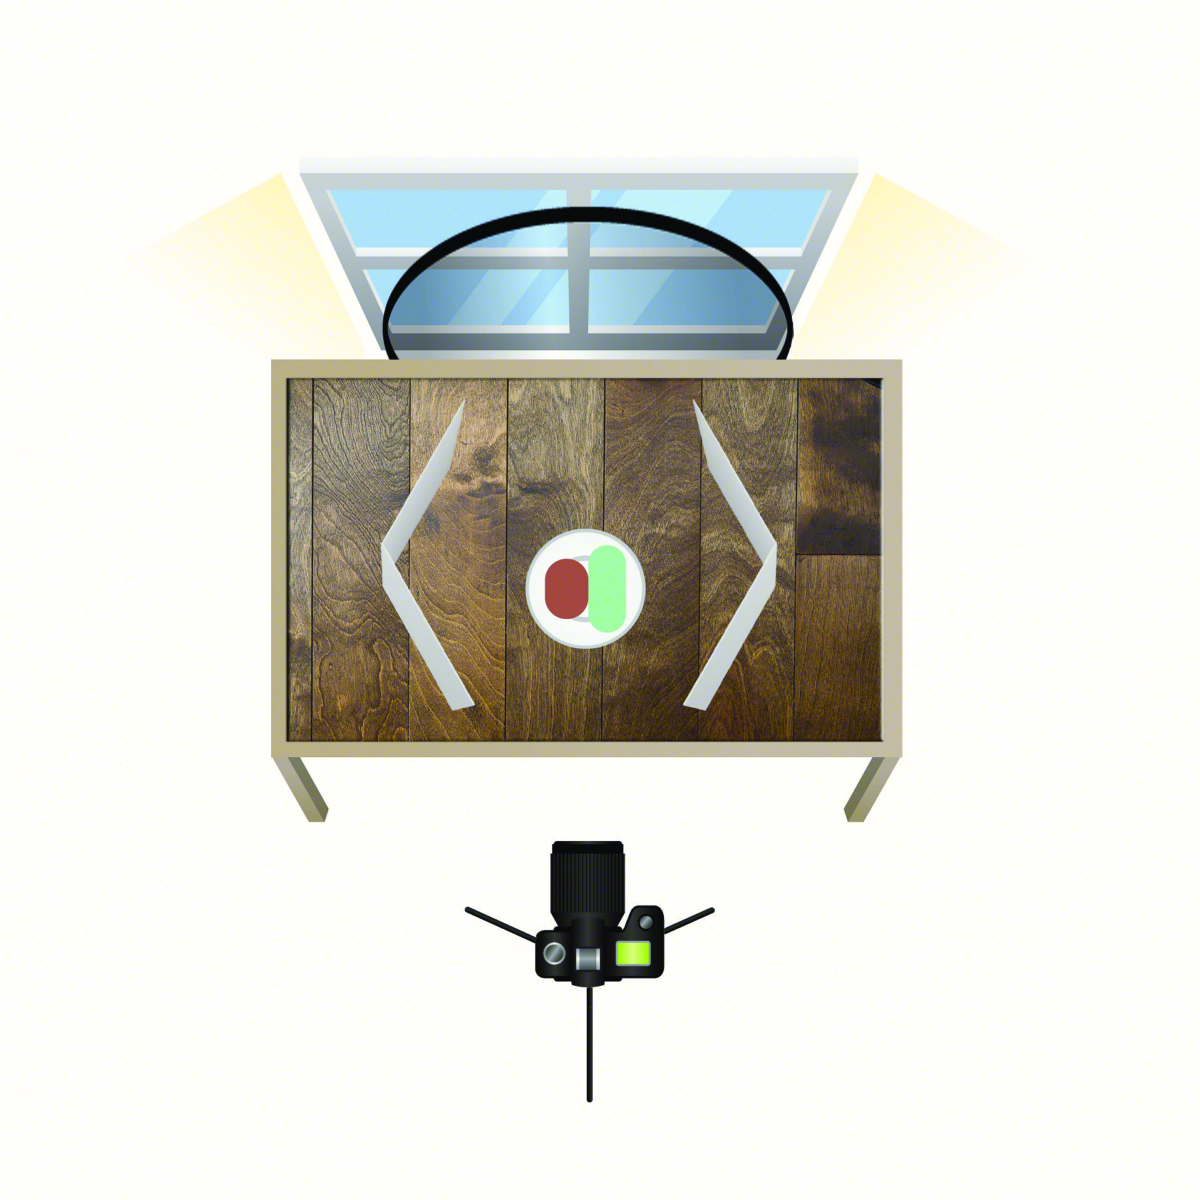
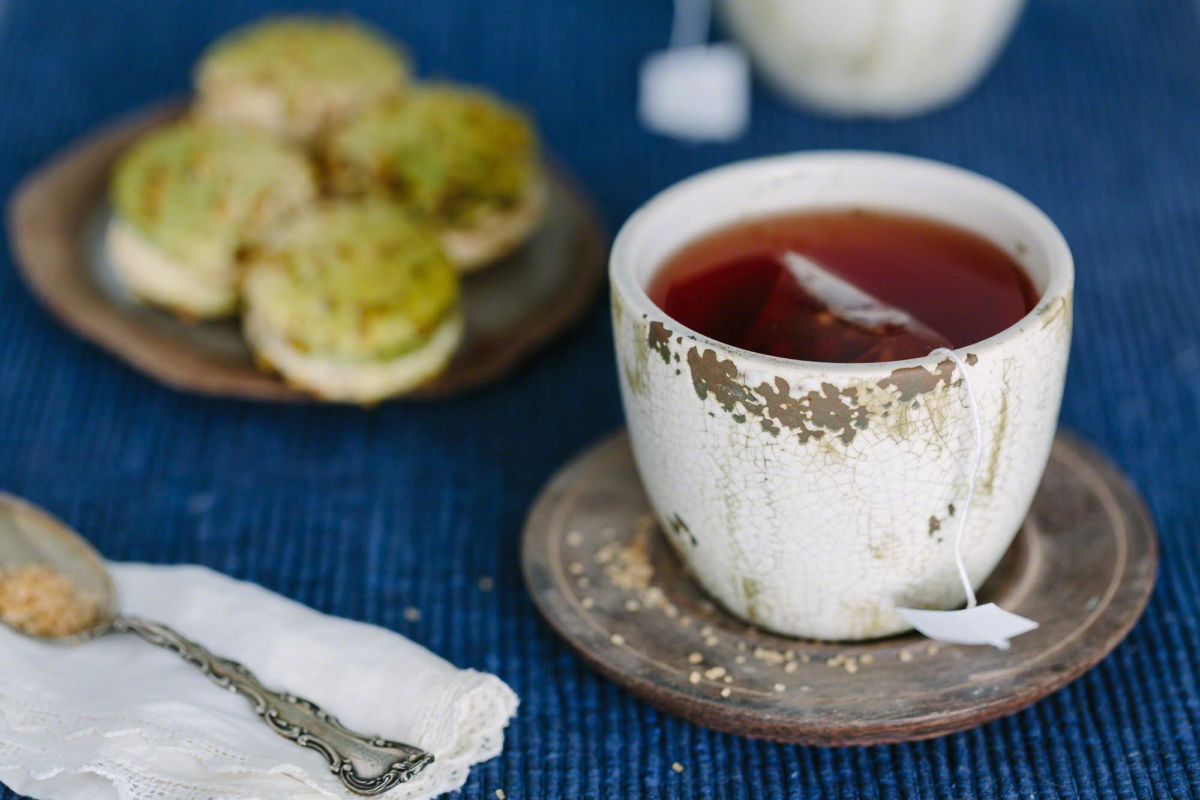
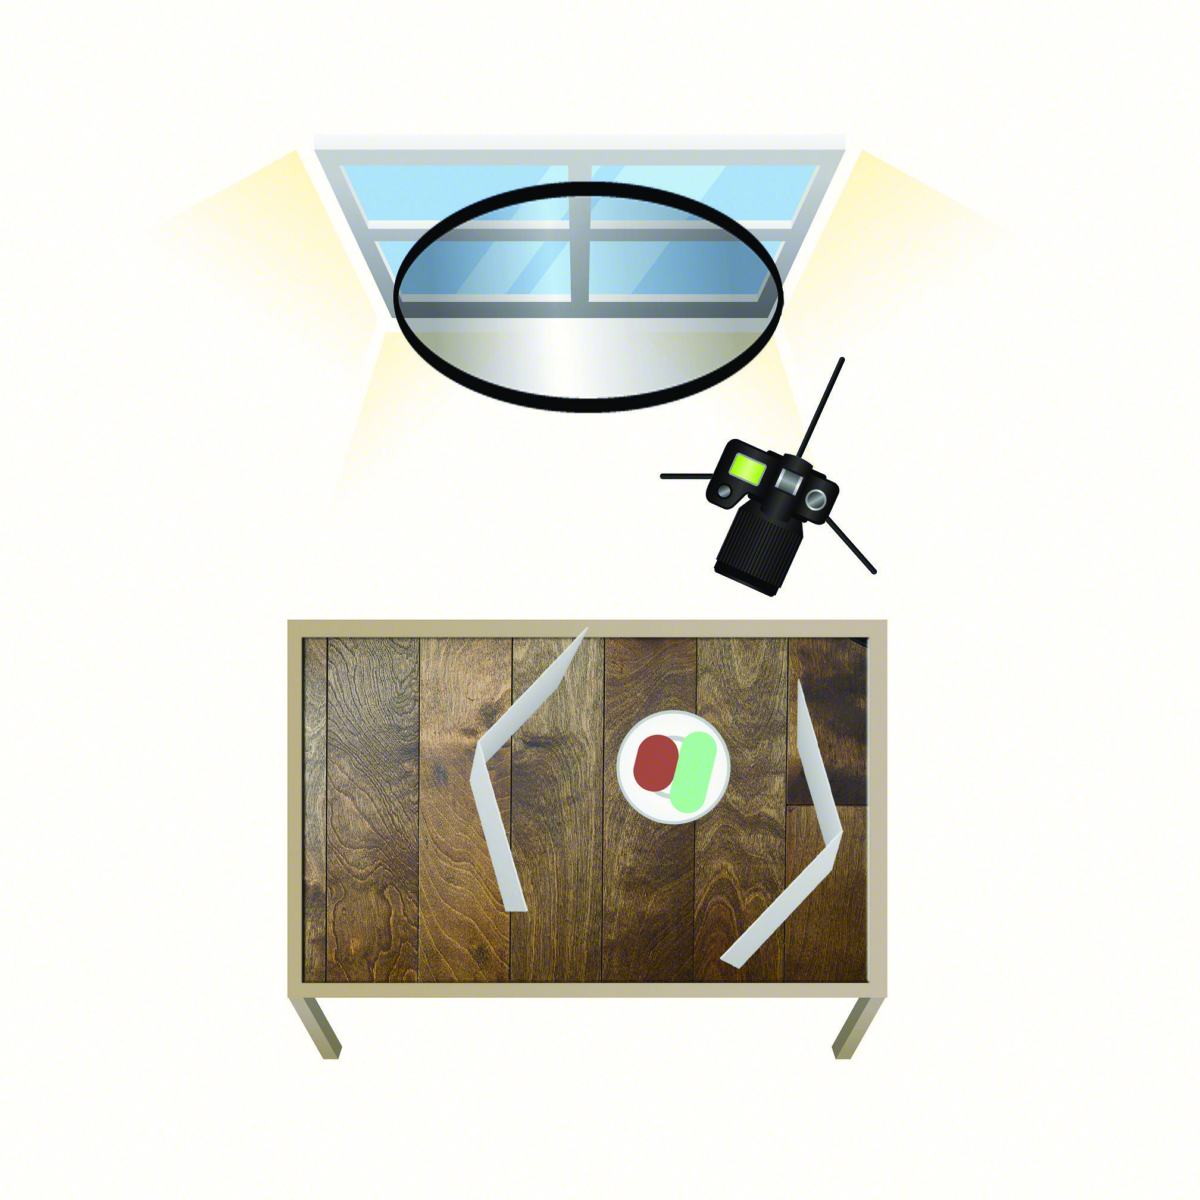
Placing the light behind your subject is a common setup and one I have used quite a bit. It is good to highlight and rim the food and works well for images with leafy herb garnishes (such as mint or basil) as the light can shine through and light up through the leaf. Plus, it allows you to really flood the background with a lot of light, brightening up your photograph.
- Back Light — © Nicole S. Young (nicolesy.com)
Side Light
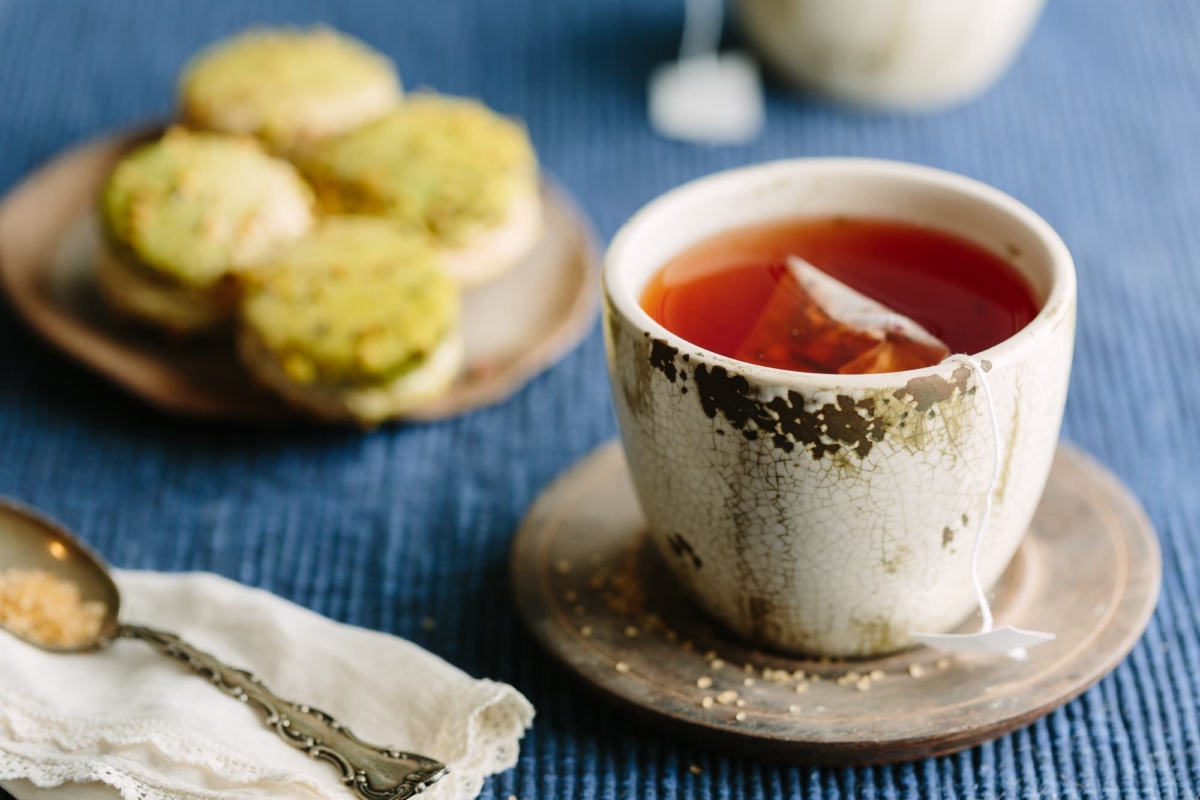
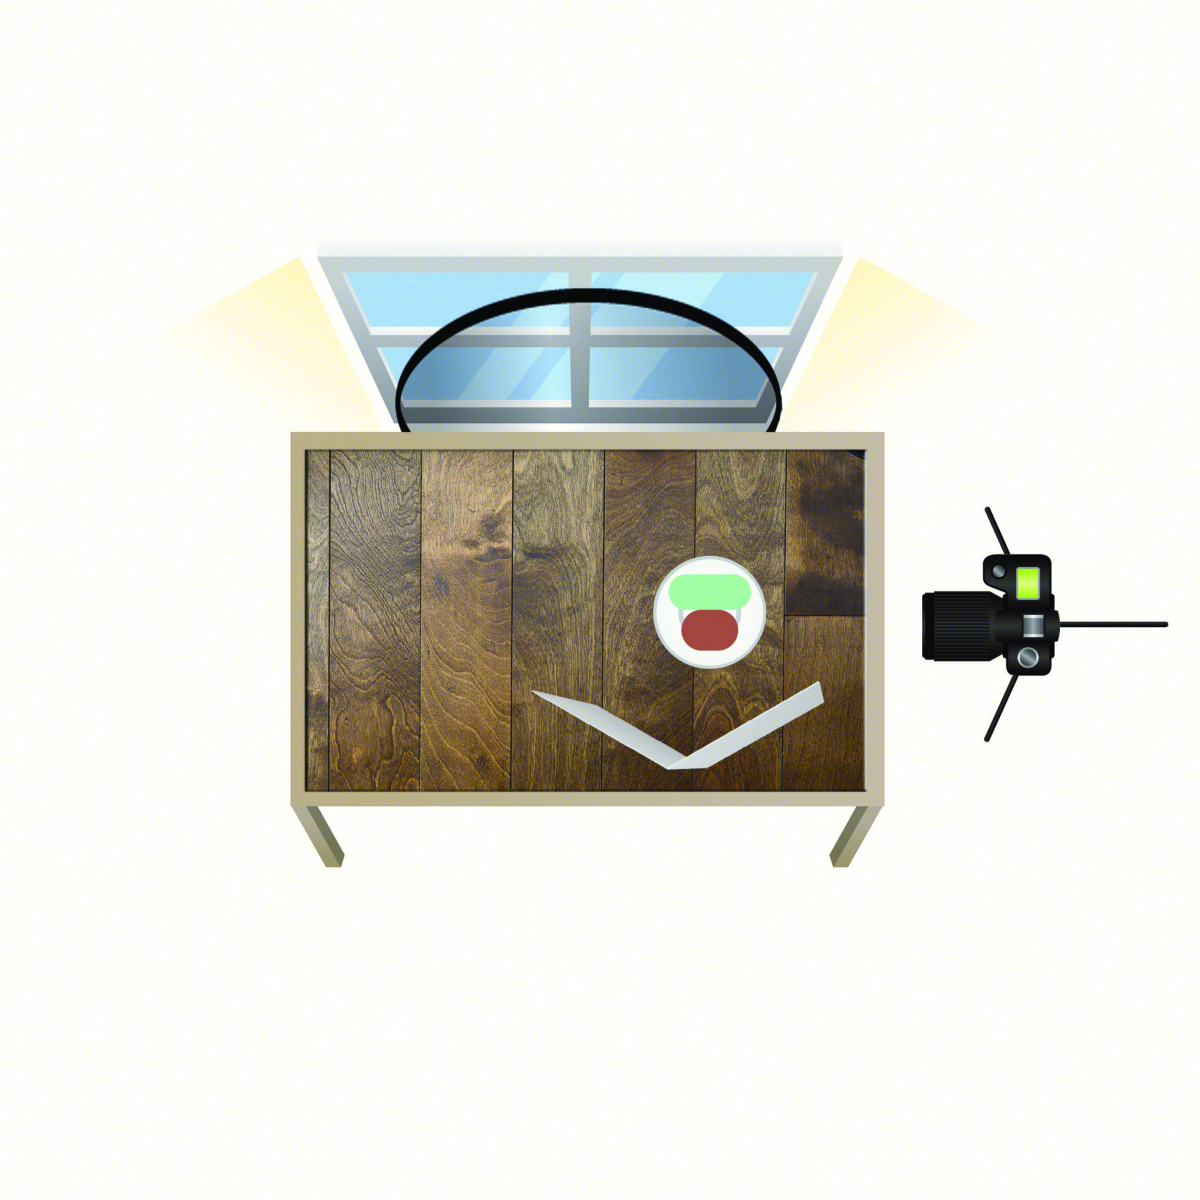
Just like with backlight, side light is another great choice and is one of my favorite setups. It is especially great for foods with clear or flat liquid surfaces, as it tends to prevent distracting reflections on the liquid itself. It also adds a very nice shadow to the side of the subject, which can either be tamed with reflectors or left as-is for a more dramatic shot.
- Side Light — © Nicole S. Young (nicolesy.com)
Front Light
One direction of light you may want to avoid is front light. Granted, in the right conditions (such as a space that is very well-lit in all directions) this may work okay, but in the example I have here it is not ideal. I photograph my food in a corner of my office, and the only significant light source comes from just one window. With this setup, the light shines only in the foreground and falls off into darkness in the back, leaving the image flat.
- Front Light — © Nicole S. Young (nicolesy.com)


Nicole is a photographer, published author, and educator specializing in Lightroom, Photoshop, and photography. She is best known for her books on food photography but is widely versed in various photographic genres, including landscape, nature, stock, travel, and experimental imagery.





Hey Nicole not sure if you realise but you put the backlight photo twice instead of including an example of side light.
Whoops, good catch! Thanks :)