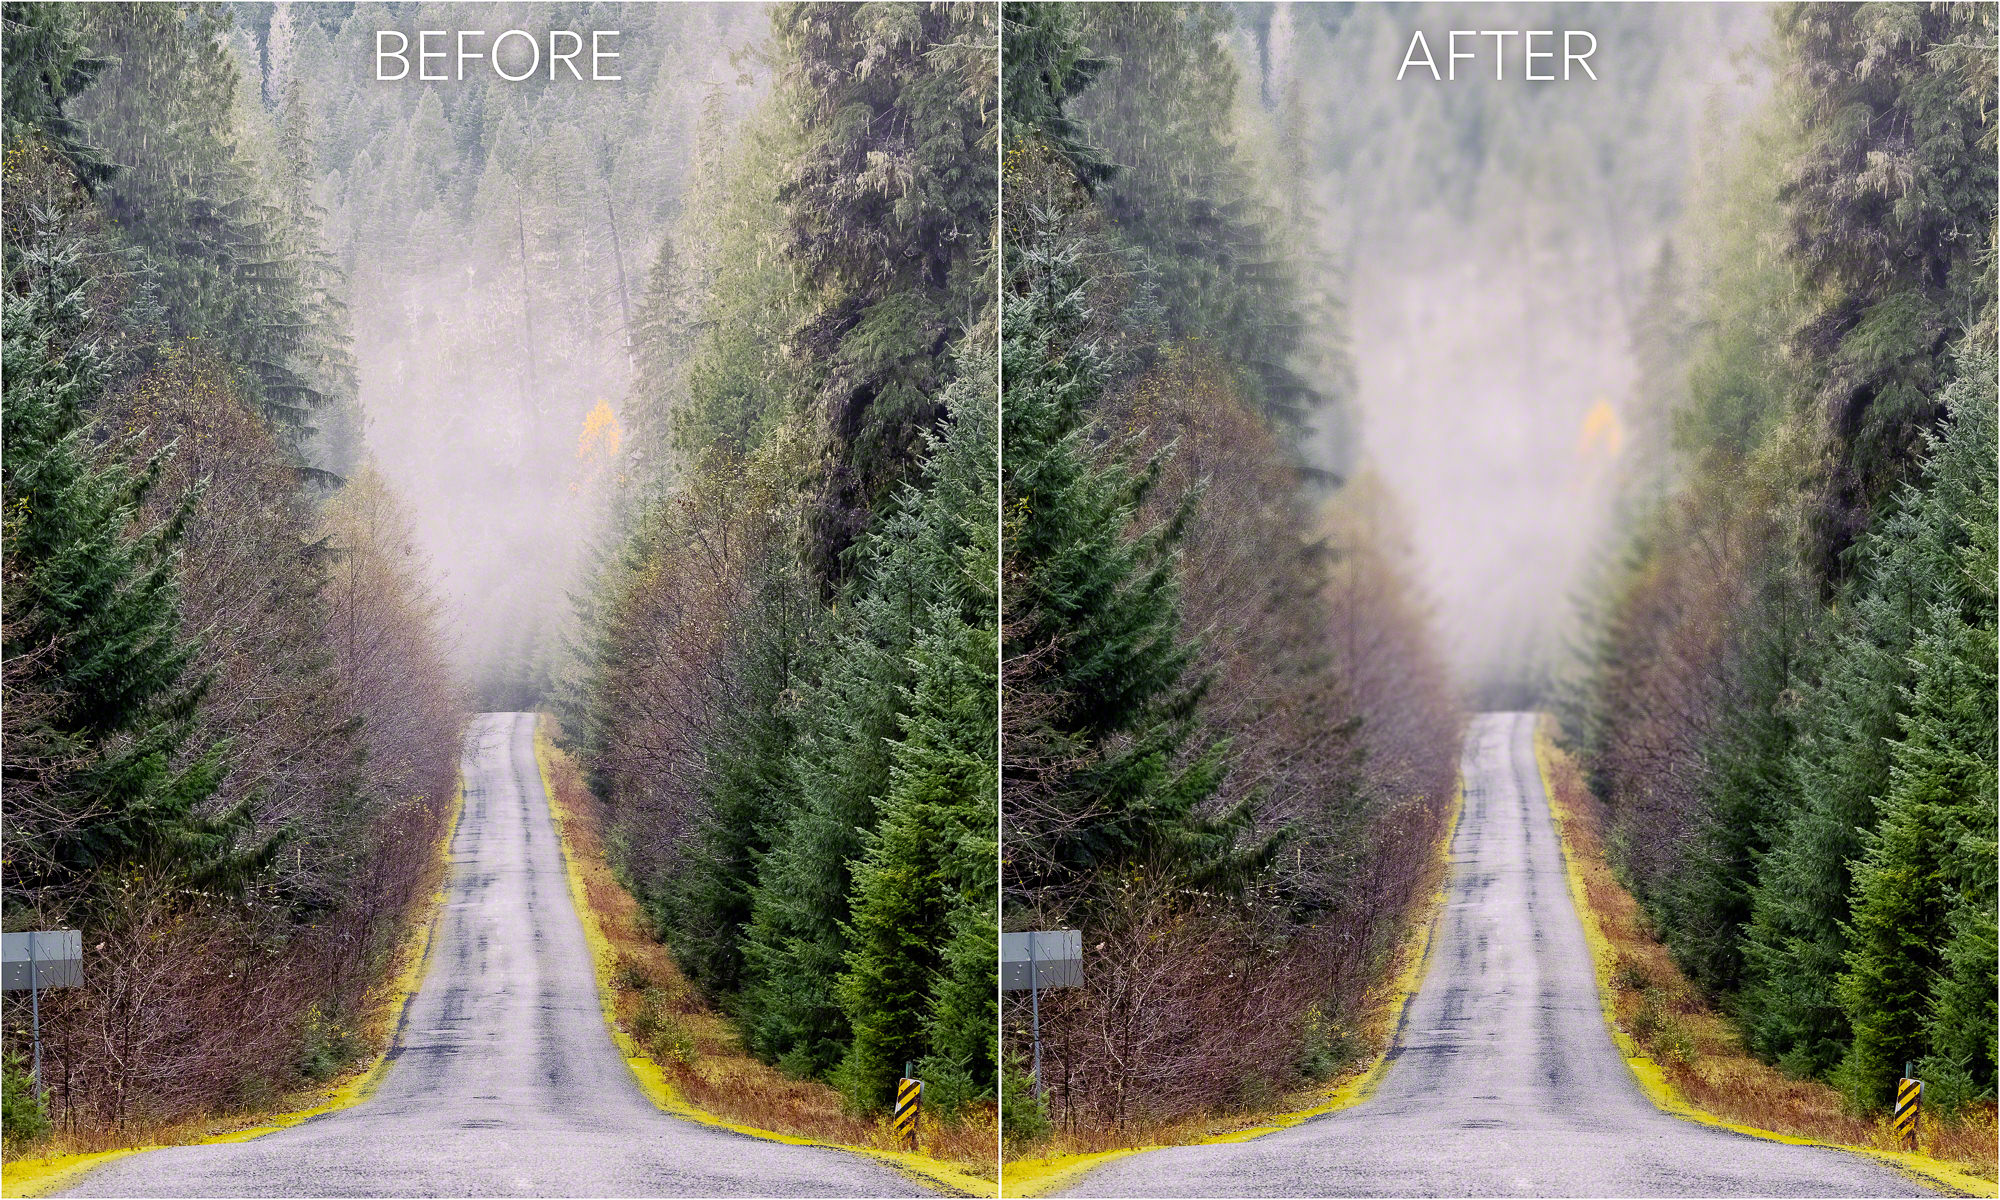
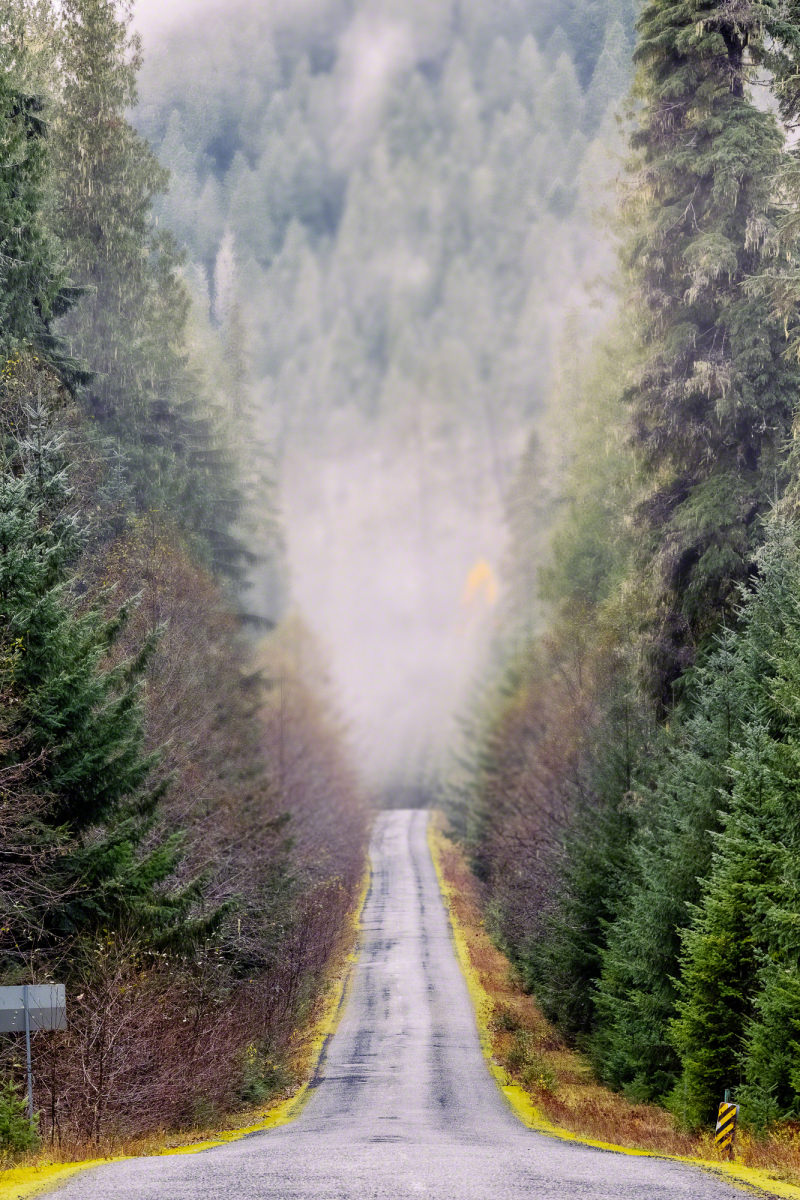
In this tutorial, I’m going to show you how to add a shallow depth of field effect to a landscape photograph using the Tilt-Shift Blur Filter in Adobe Photoshop, and then refine it with layer masking. This effect works best on images that have leading lines, allowing the blur to easily fade into the distance.
1. Convert the Layer to a Smart Object
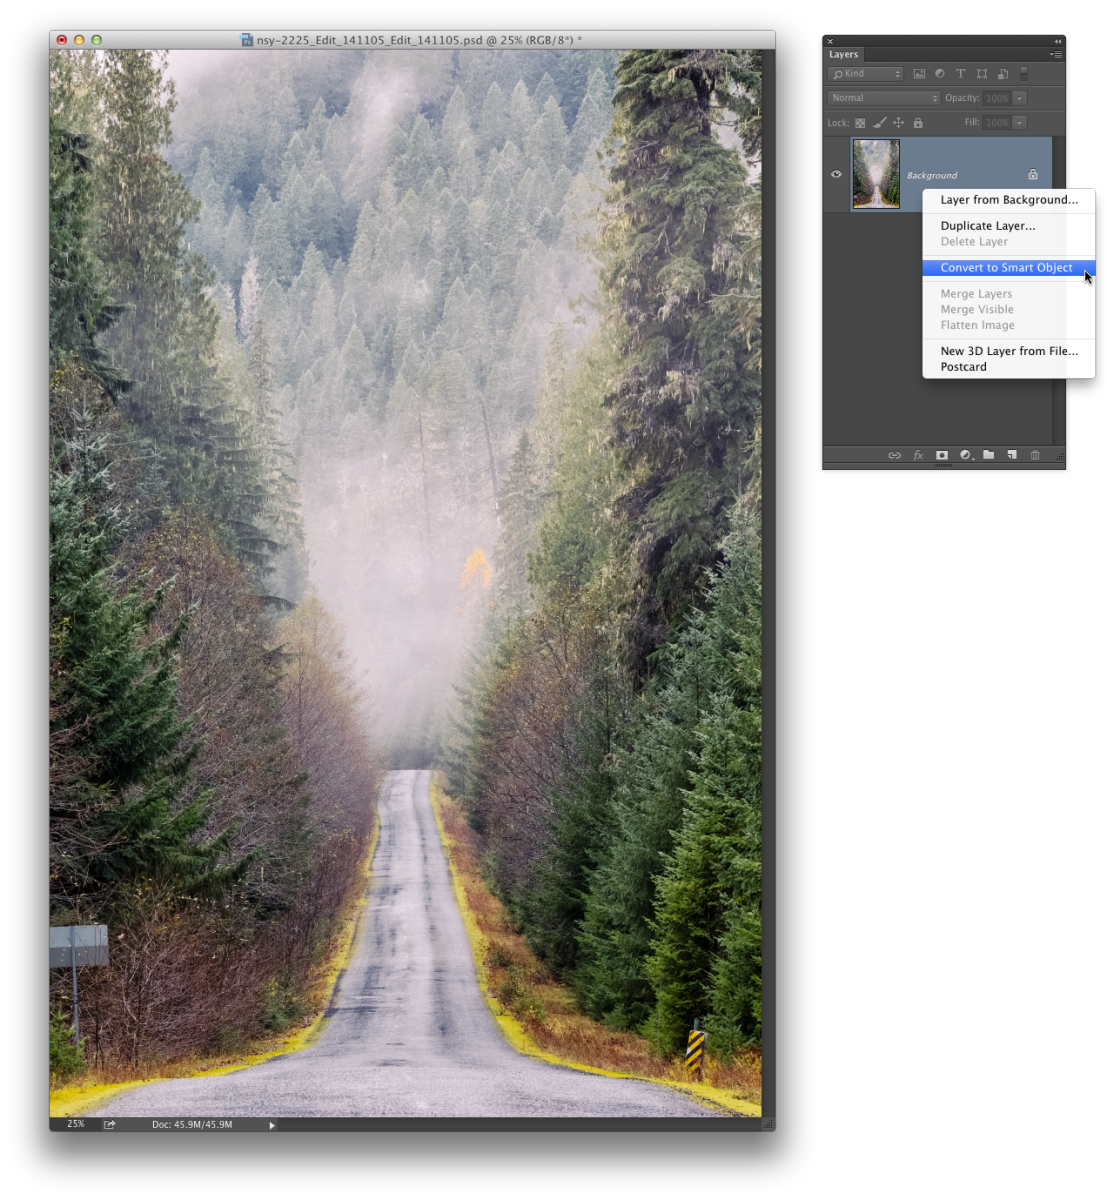
I will start with my photo opened up inside of Photoshop CC. When I add filters to images, such as the Blur Lab filter in Adobe Photoshop, I want to make sure that I am also working non-destructively. That is why I prefer to convert the layer to a Smart Object.
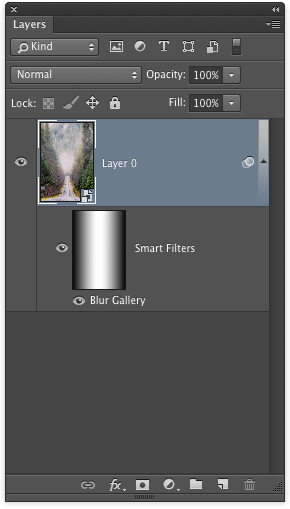
To do this, I right-click over the layer I want to convert (in this case, the Background layer) in the Layers panel, and select Convert to Smart Object.
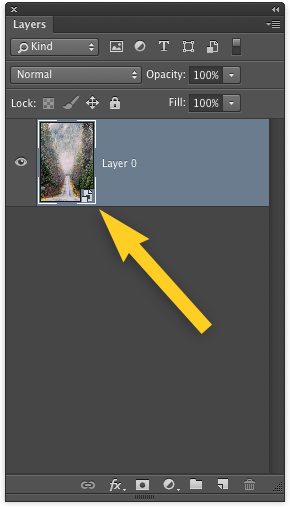
After converting the layer, a small icon will appear in the bottom-right corner of the layer’s thumbnail icon, indicating that this layer is now a Smart Object:
2. Add the Blur
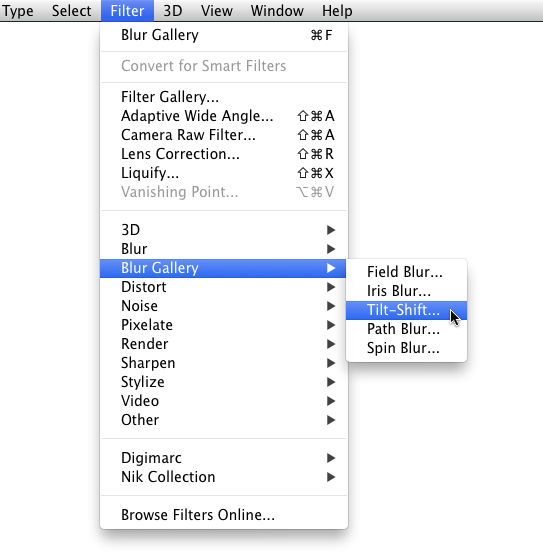
Next, I add the blur. I go to Filter > Blur Gallery > Tilt Shift.
3. Edit the Blur
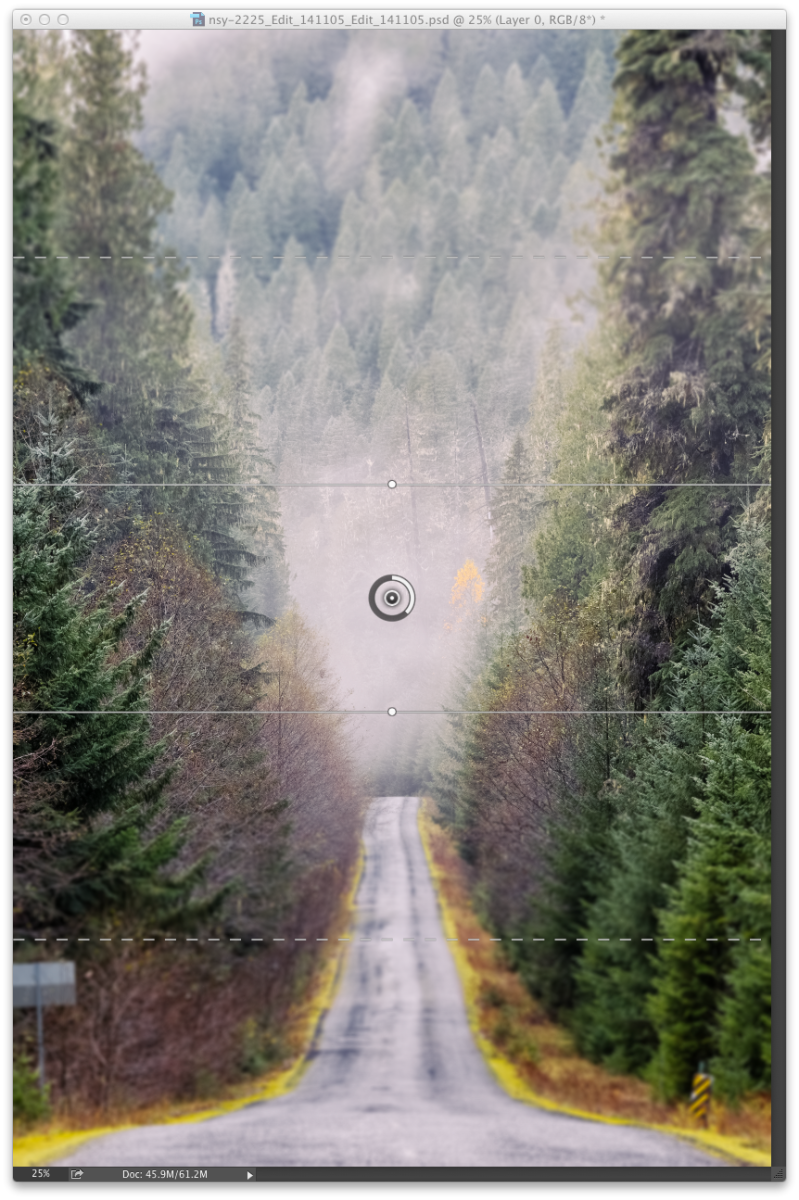
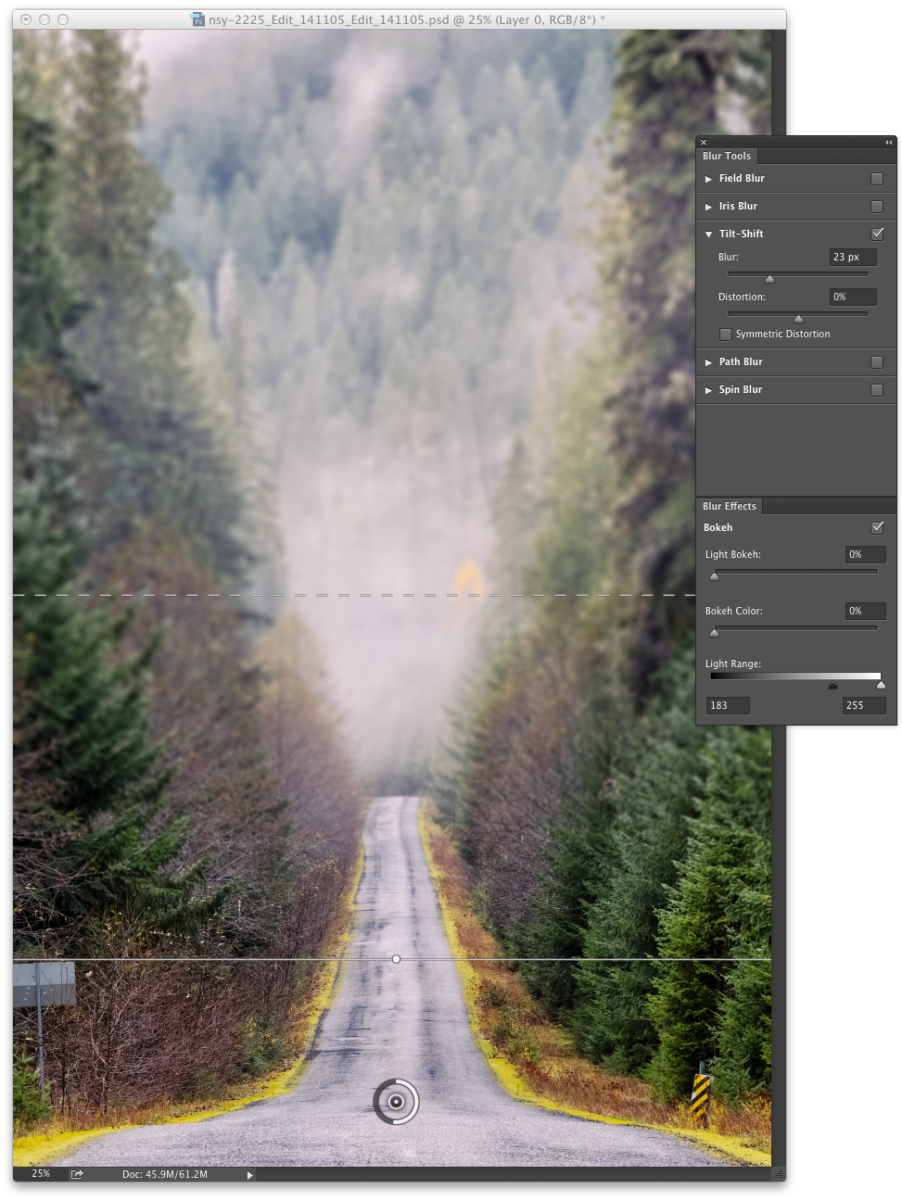
The default blur “pin” is placed in the center of the image. I want to make the blur appear as if it starts from the front portion of the photo, so I relocate the pin so that it sits closer to the bottom. I also move the top solid line slightly upwards to extend the in-focus area, and also extend the dotted line upwards a bit to increase the feather. Then, I increase the Blur amount to +23.
When I’m finished, I click OK at the top of the screen.
4. Mask the Blur
In order to make this blur look more realistic, I need to mask out the blur from the trees on the right and left areas of the image. To do this, I first click on the Filter Mask so that a border appears around it. This shows me that the mask is active.
Then, I select the Gradient tool from the toolbar, and make sure that my foreground color is set to black. At the top, in the tool options, I select Linear Gradient, and set the gradient to “Foreground to Transparent”.
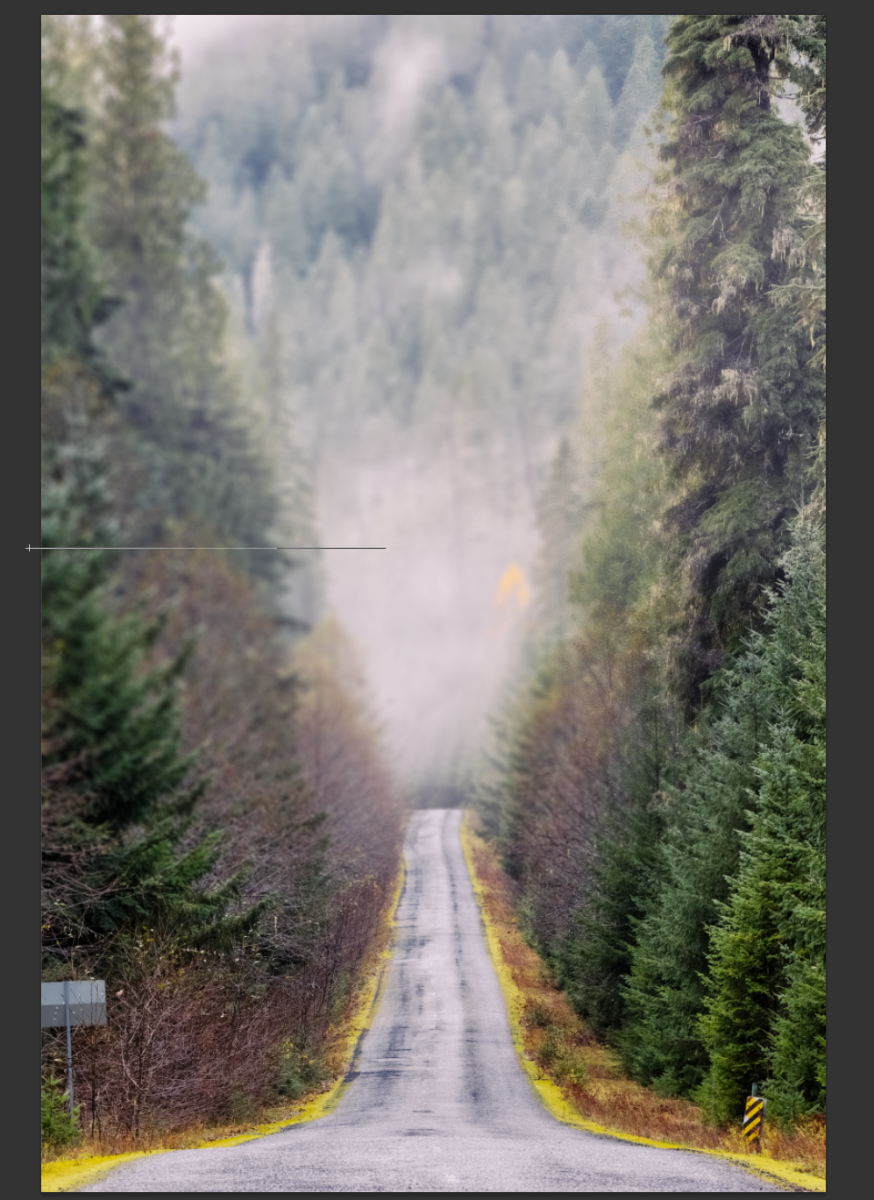
Then, I draw a straight, horizontal line on the right side of the image, starting at the edge and releasing at the middle of the image. This adds a gradient to the right side. I repeat this step on the left.
Final Image
My final image now has a soft blur that extends gradually into the distance.

Nicole is a photographer, published author, and educator specializing in Lightroom, Photoshop, and photography. She is best known for her books on food photography but is widely versed in various photographic genres, including landscape, nature, stock, travel, and experimental imagery.

