When I photograph food the one thing I don’t want to do is blow-out/over-expose/clip any large areas of the frame. When you overexpose the highlights in a photograph you are pushing those pixels so that they are 100% pure white (255, 255, 255 on the RGB color scale). Even if you are photographing something that is actually white, you still don’t want to overexpose the whites because you will lose precious shadow detail in those areas. (One exception to this would be if you are isolating your subject on a white background in a studio environment.)
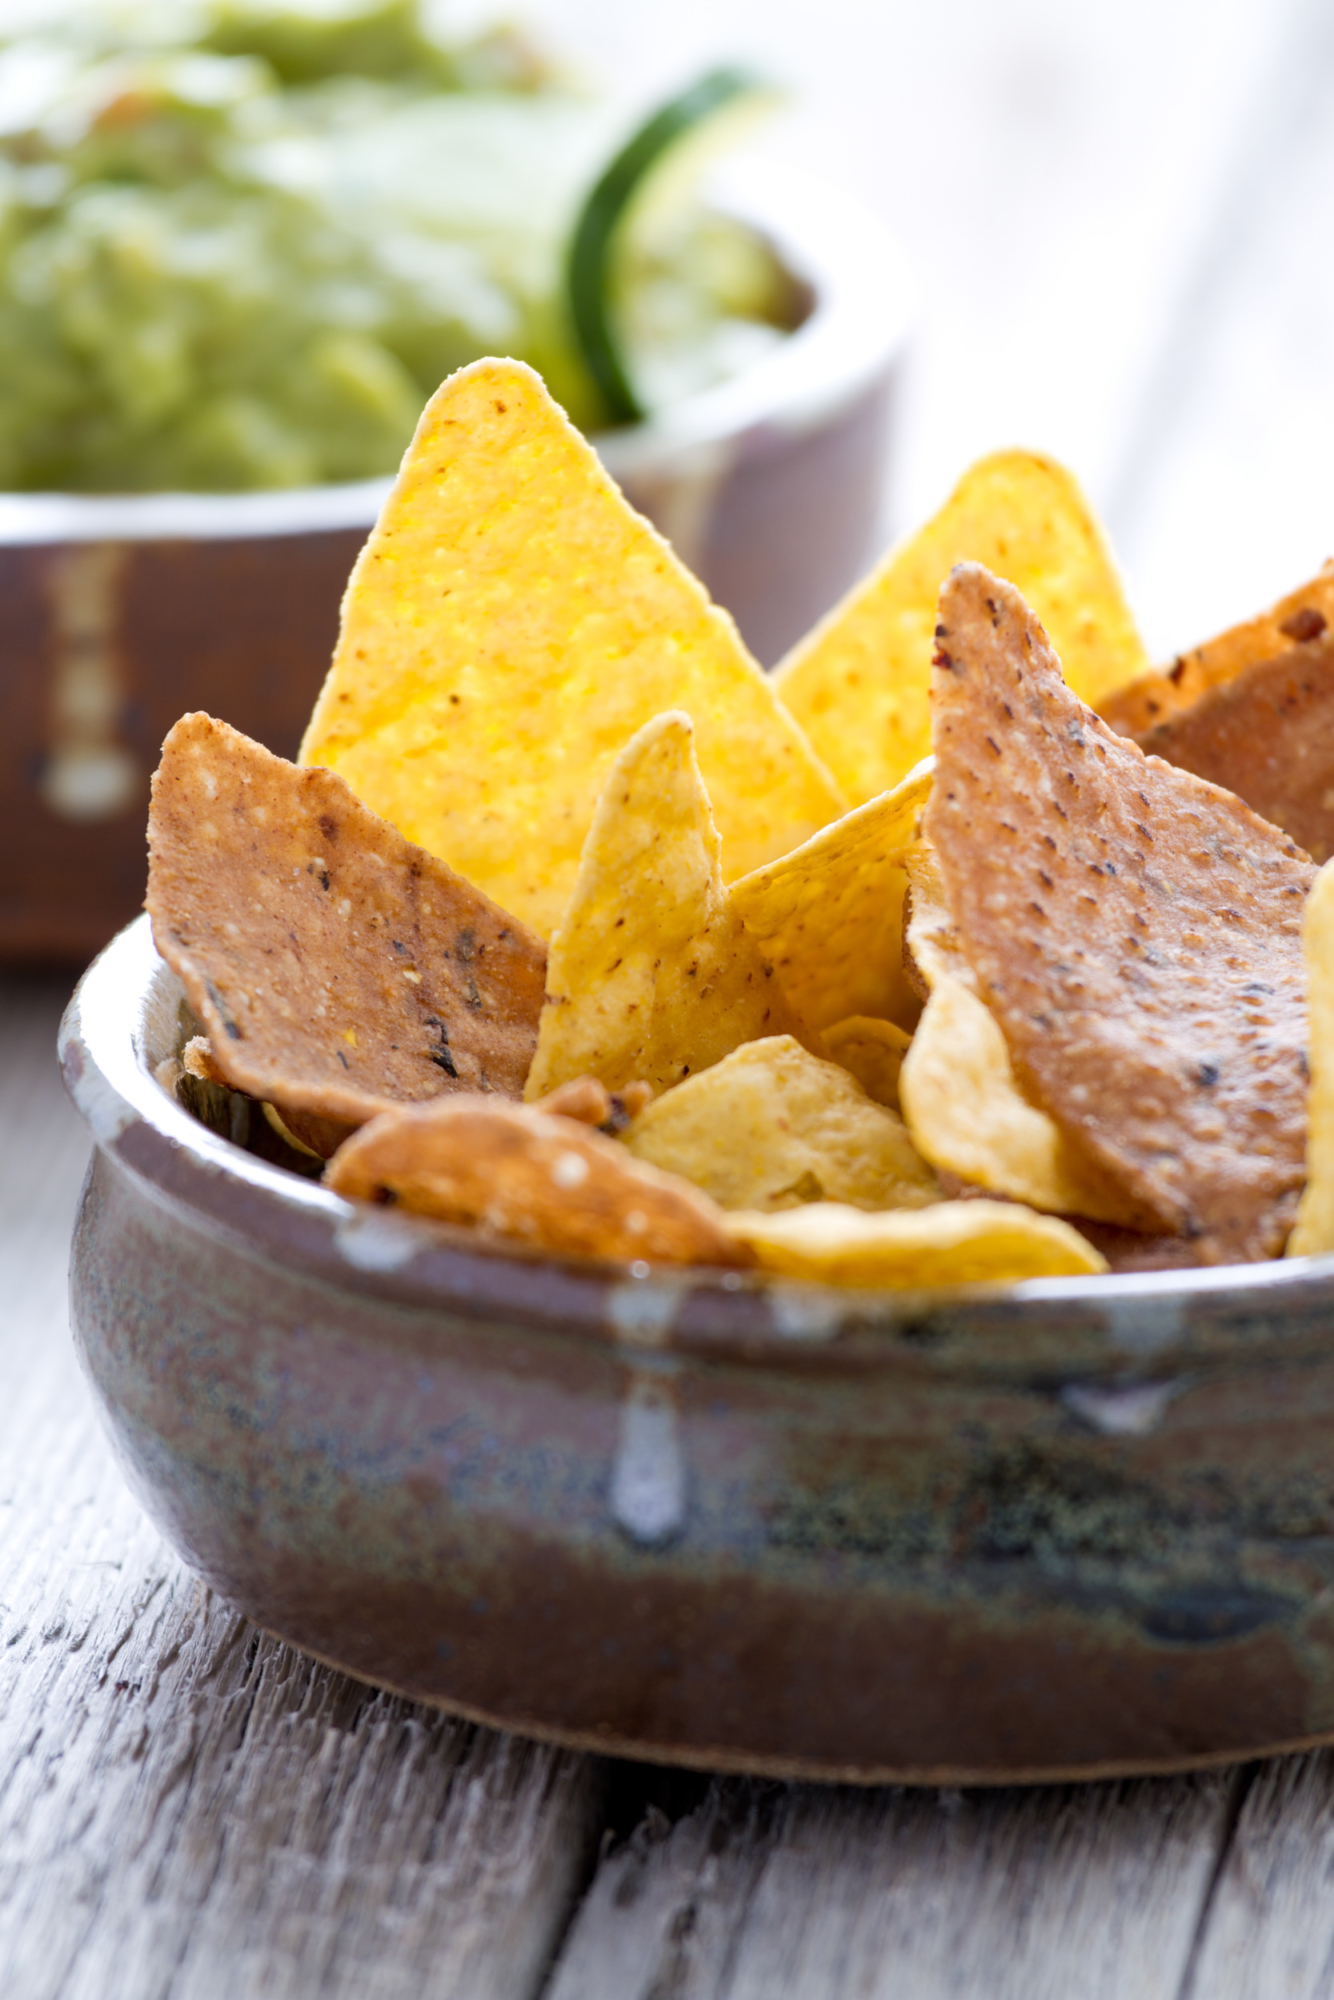
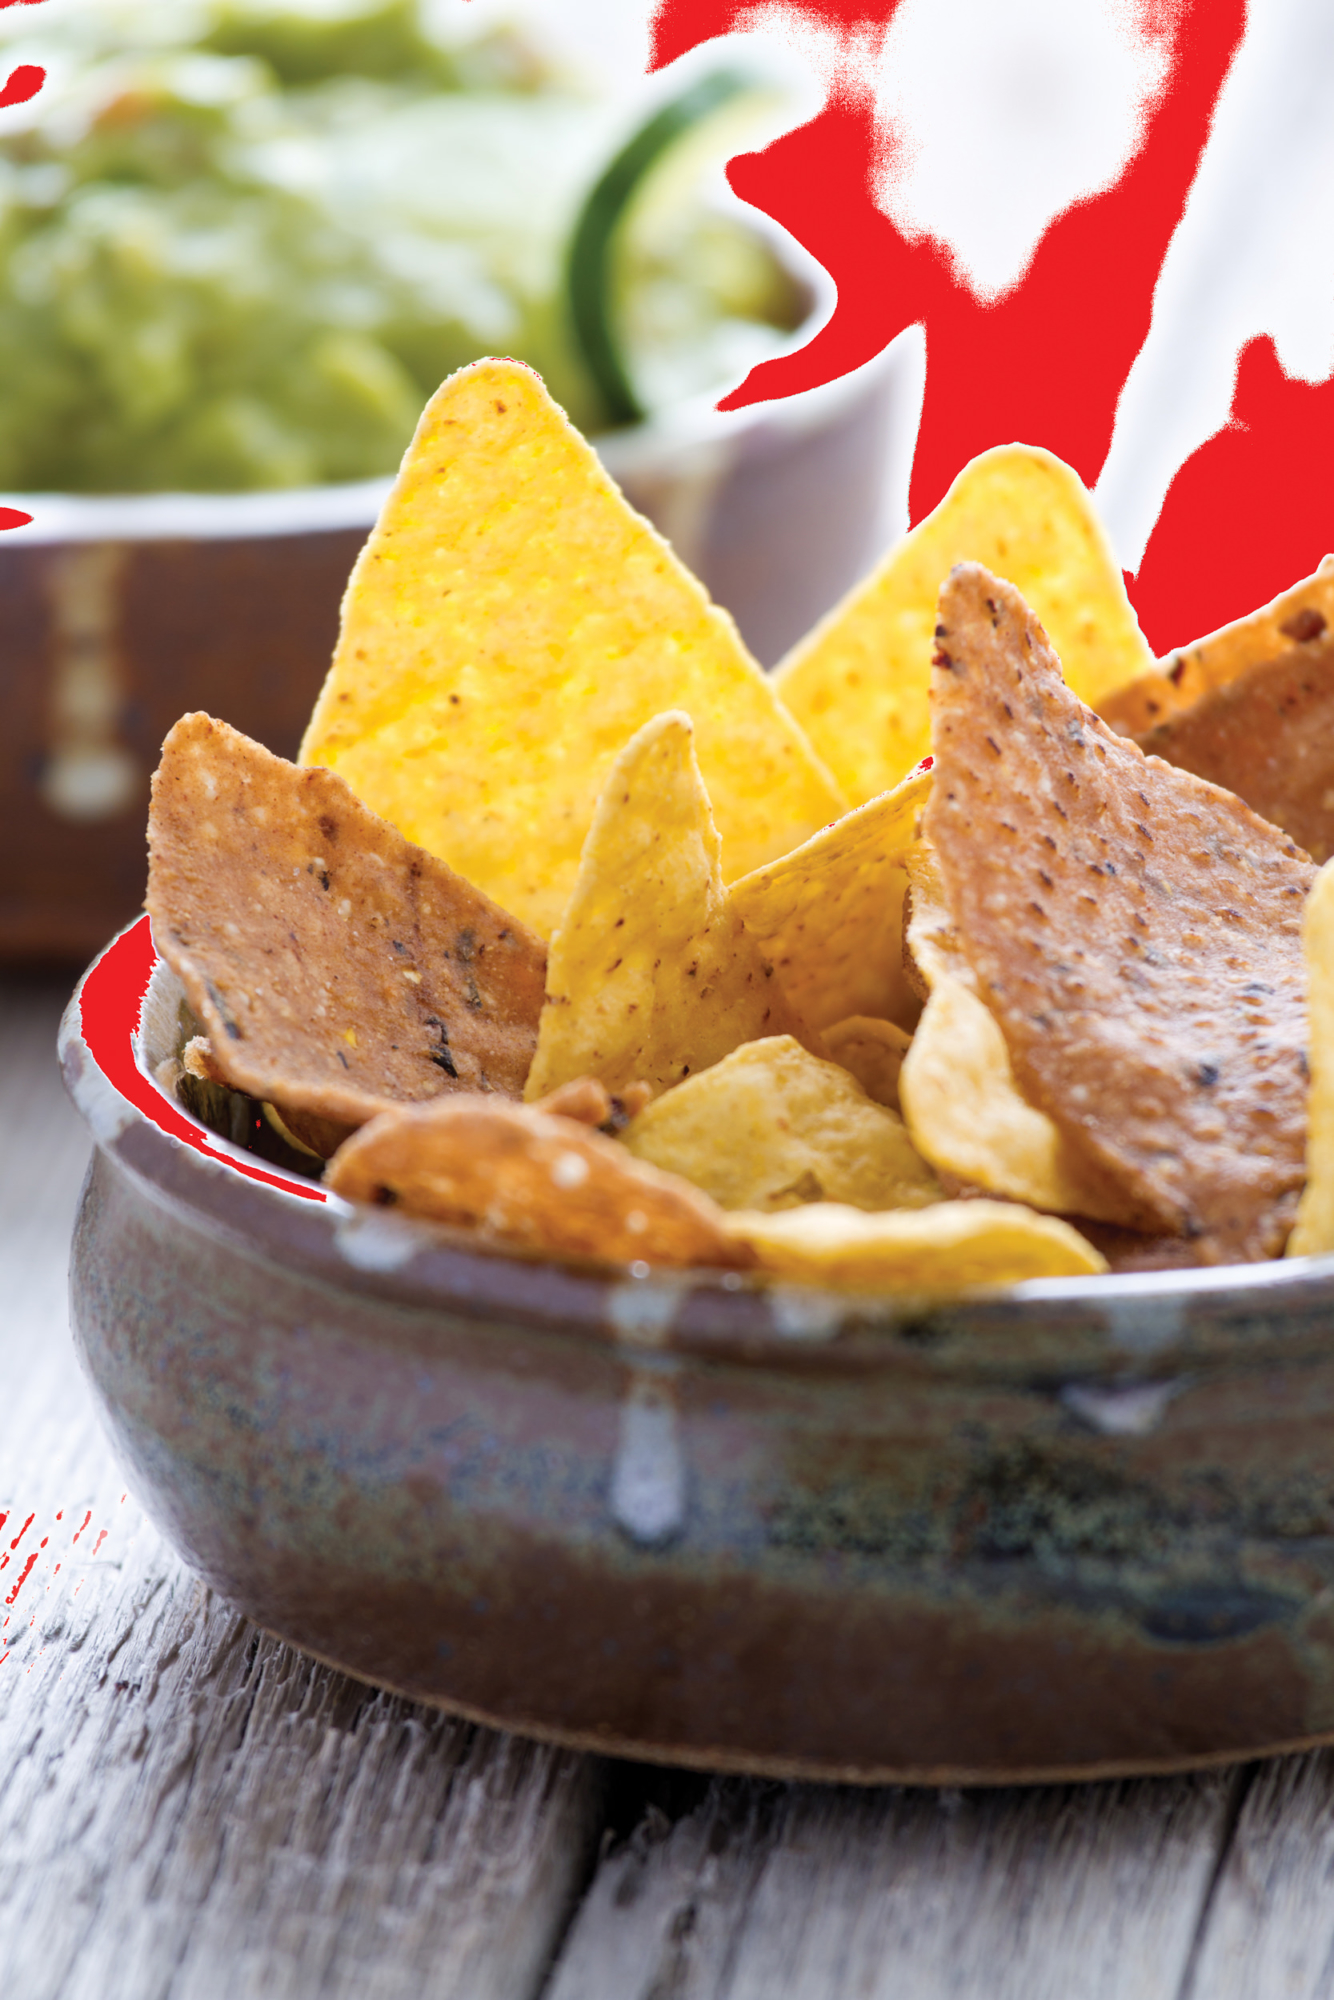
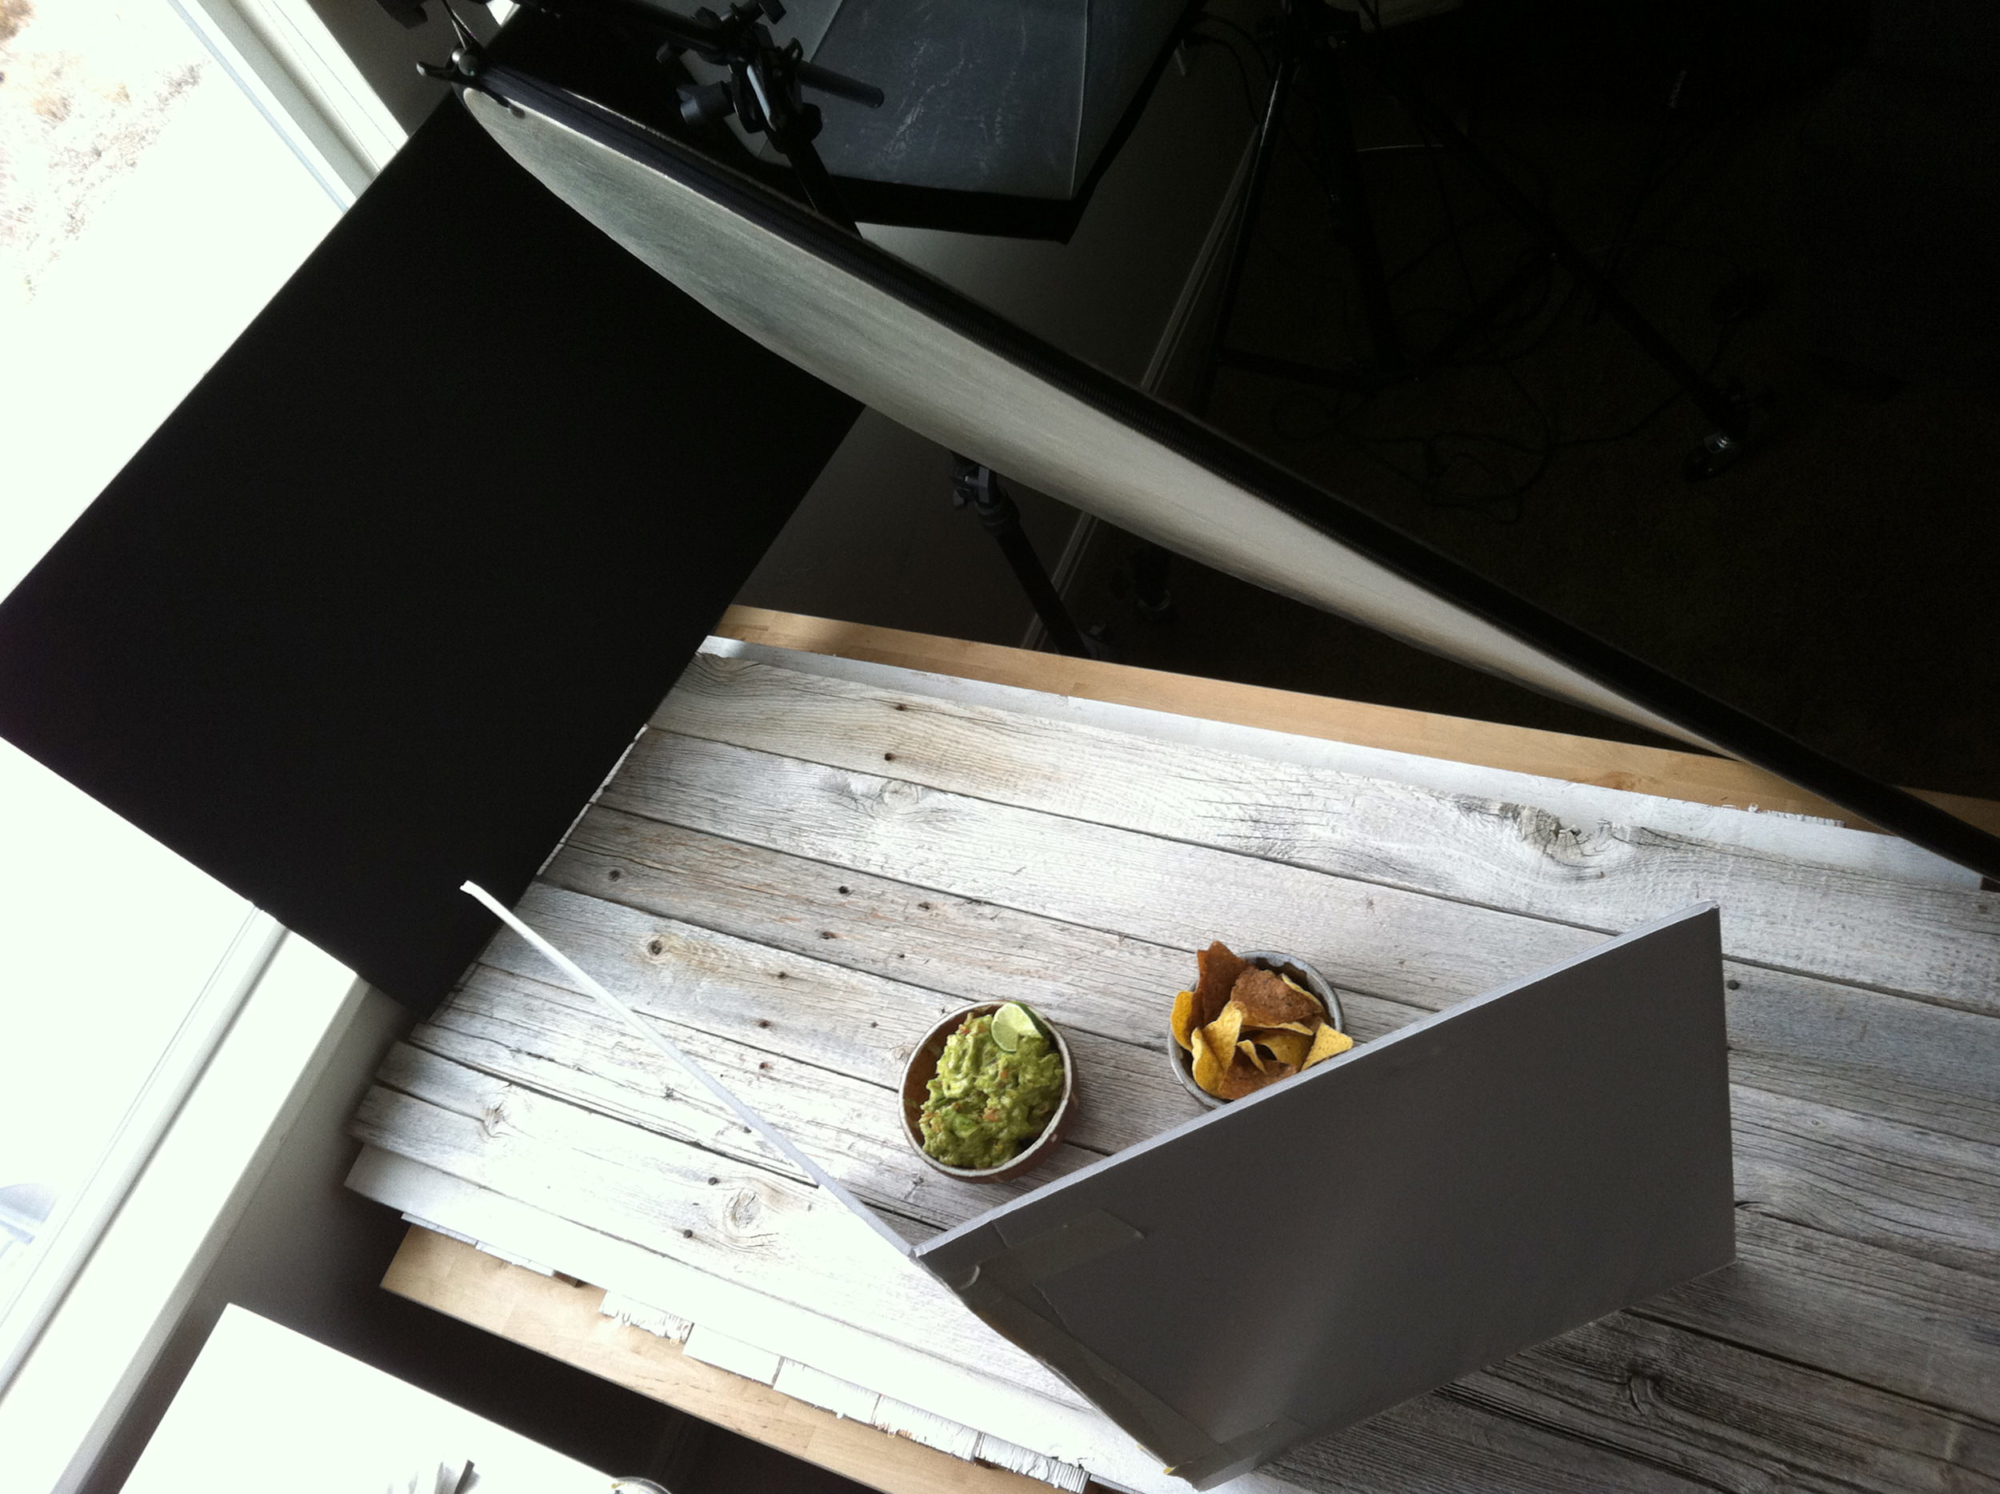
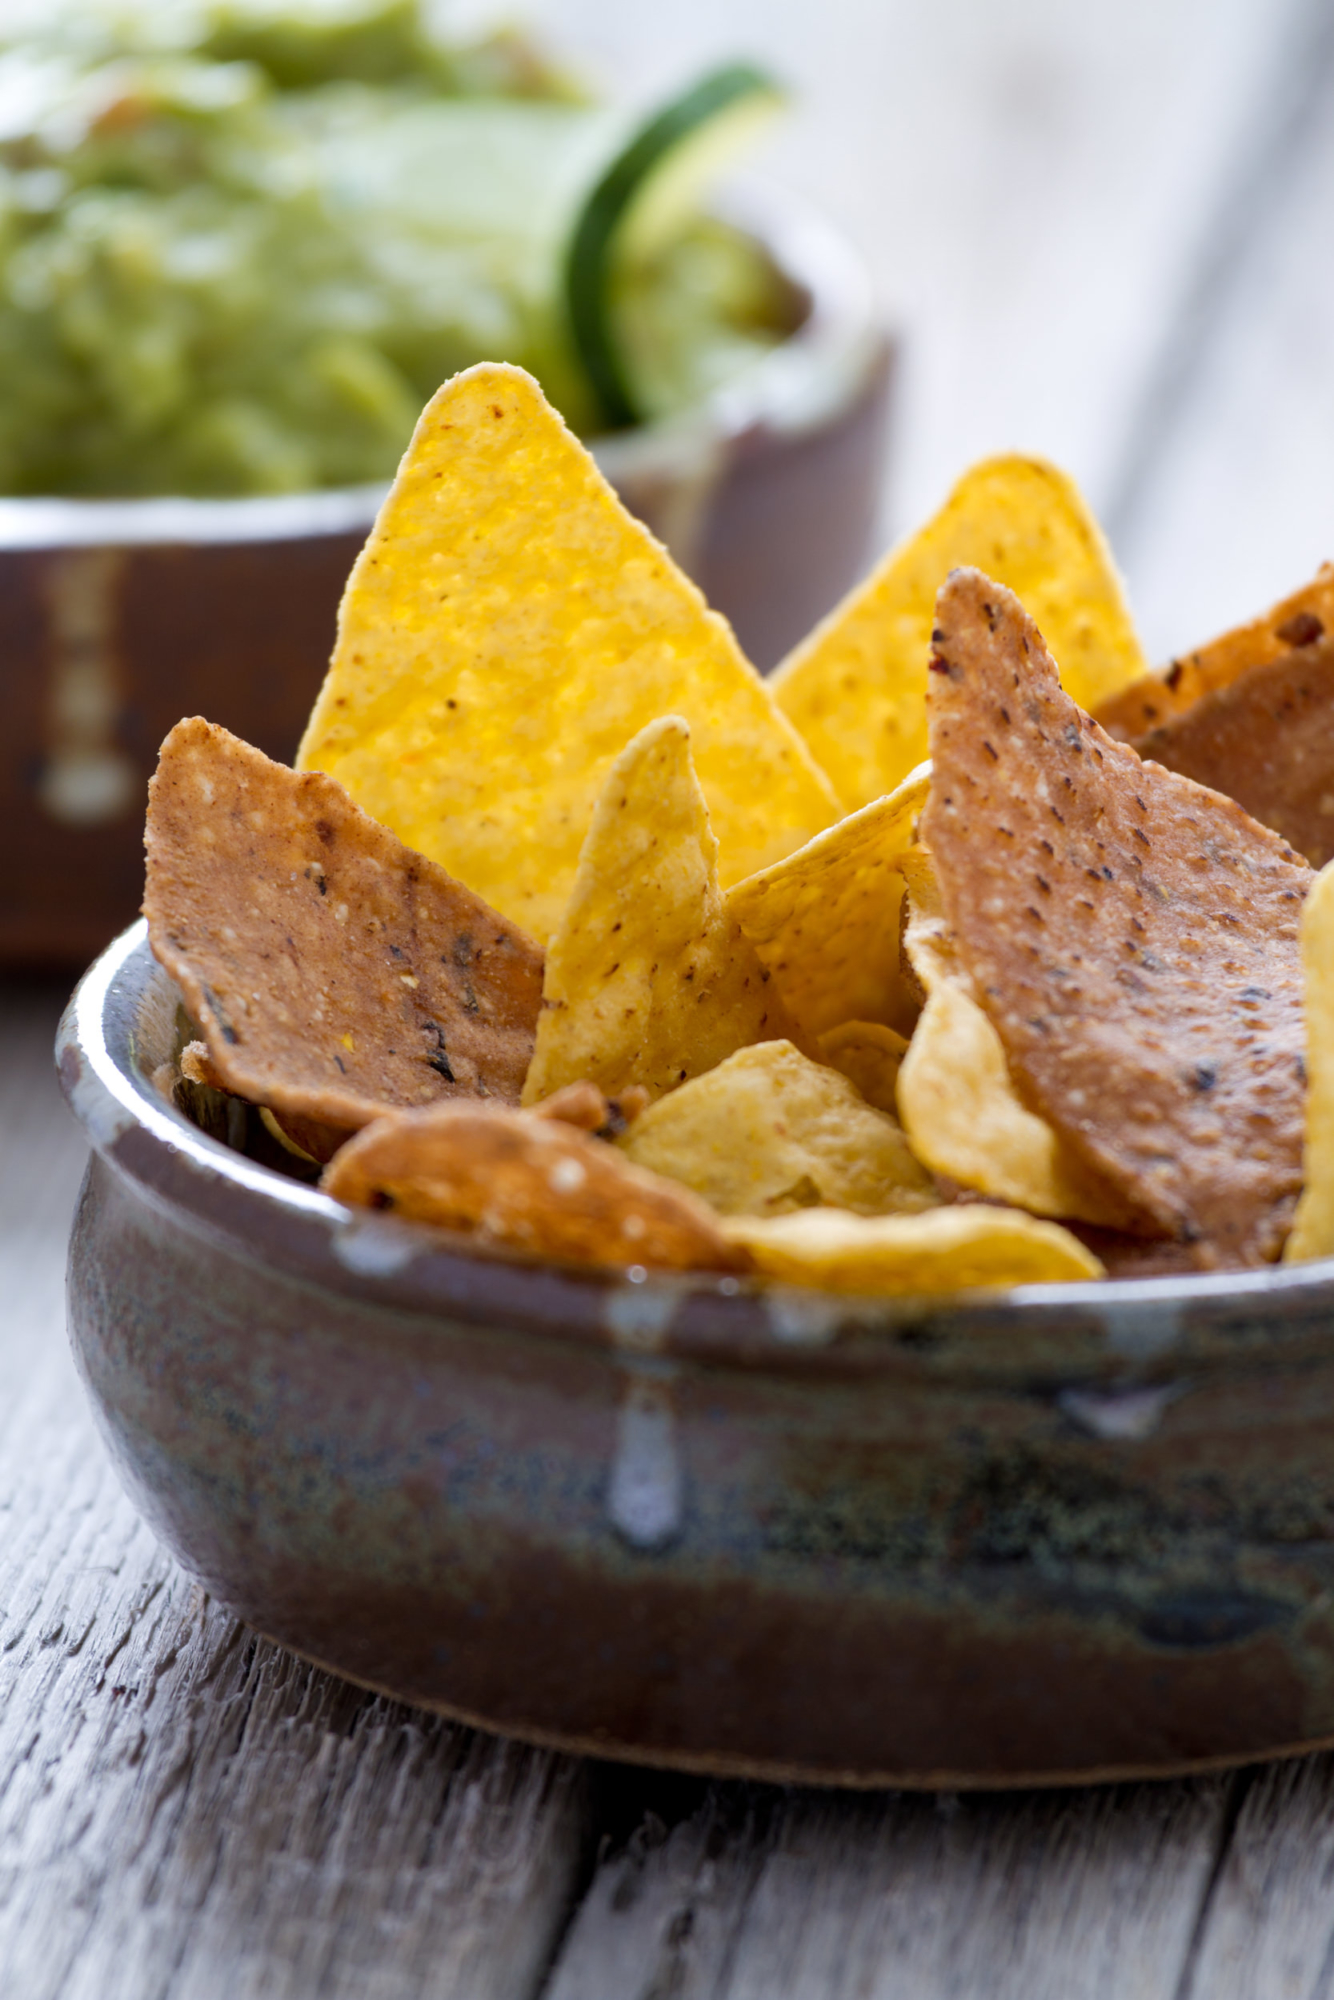
The food photos above were photographed with the exact same settings, one with an over-exposed background, and one with a well-balanced exposure. The basic lighting setup, as you can see in the behind-the-scenes image, was window-light with the use of reflectors in the front of the food for fill-light (here’s a pulled-back image of my living room so you can see the size of the entire window).
- The background in this photo is overexposed.
- The red areas represent the overexposed portions of the image.
- I added a black card to the background to block some light (a white card would also work).
- Now the background shows detail and is not overexposed.
Red Areas: The red you see in the images are the areas that are overexposed. For the first photo I had a good exposure on the food in the foreground but the background was way washed out. In the second “fixed” photo there is very little red, with the exception of a highlight along the rim of the bowl (which doesn’t really bother me). You can view the overexposed whites (and also the underexposed blacks) while editing your photos in pretty much any RAW editing software, and you can also enable a “highlight” alert on most SLRs that makes it really easy to spot the clipped highlights. (Check your camera manual for more information specific information on enabling the highlight alert on your brand/model of camera.)
Histogram: Check the histogram in your photos. If the tones on your image are pushed all the way to the right, the whites are “clipped”. You should strive for a more balanced histogram, indicated by a full “mountain range” from left to right.
The Fix: Since the too-bright-light was mostly coming in from the top-right table-top area of the photo, I dropped a piece of black foam core down behind it to cut out that “wash” of light hitting the table. The window is tall enough that the light still poured in from above the piece of black foam core, and I only lost a very small amount of light back-lighting the bowl of chips up front.

Nicole is a photographer, published author, and educator specializing in Lightroom, Photoshop, and photography. She is best known for her books on food photography but is widely versed in various photographic genres, including landscape, nature, stock, travel, and experimental imagery.




Yet another great blog post Nicole for us aspiring food photographers.
I was amazed when I went to masterclass for Nikon cameras that the lecturer also said not to overexpose on the right hand side of a histogram. He also said you have to be as close as possible as there is more info in the whites of a picture than in the blacks. Is this your policy too, to lean towards the whiteside than blacks, when it comes to histograms? thanks for all your tips and advice
I don’t usually worry too much about the blacks, probably because I don’t photograph a lot of dark objects and will also usually add fill-light while photographing. If I were photographing someone wearing a black shirt, or who had black hair (for example) then I would be careful to not clip the blacks in the image (far left side of the histogram) as well.
The next time I go to a restaurant, I’m bringing a lighting set up. I’m curious to know what they would say.
I was eating out last night at a small teriyaki place. They took their own photos which I started critiquing (in my head, of course) and was itching to offer to retake the shots.
I absolutely love your blog and now I think I’m a dynamite food photographer (at home).
Thanks Nicole for yet another good lesson in food photog. Re the statement “close as possible as there is more info in the whites of a picture than in the blacks”…this is contrary to my experience and what I have heard from other pros
I think it just depends on what you photograph, as my reply to the other comment was basically that I don’t usually have a lot of blacks (or clipped blacks) in my images so it’s not usually something I worry about.
I think incorporating the histogram/”red areas’ was brilliant and quickly got the message of the lesson over to the reader. I wish I saw more of that with examples. Good job.