Applying borders in Luminar
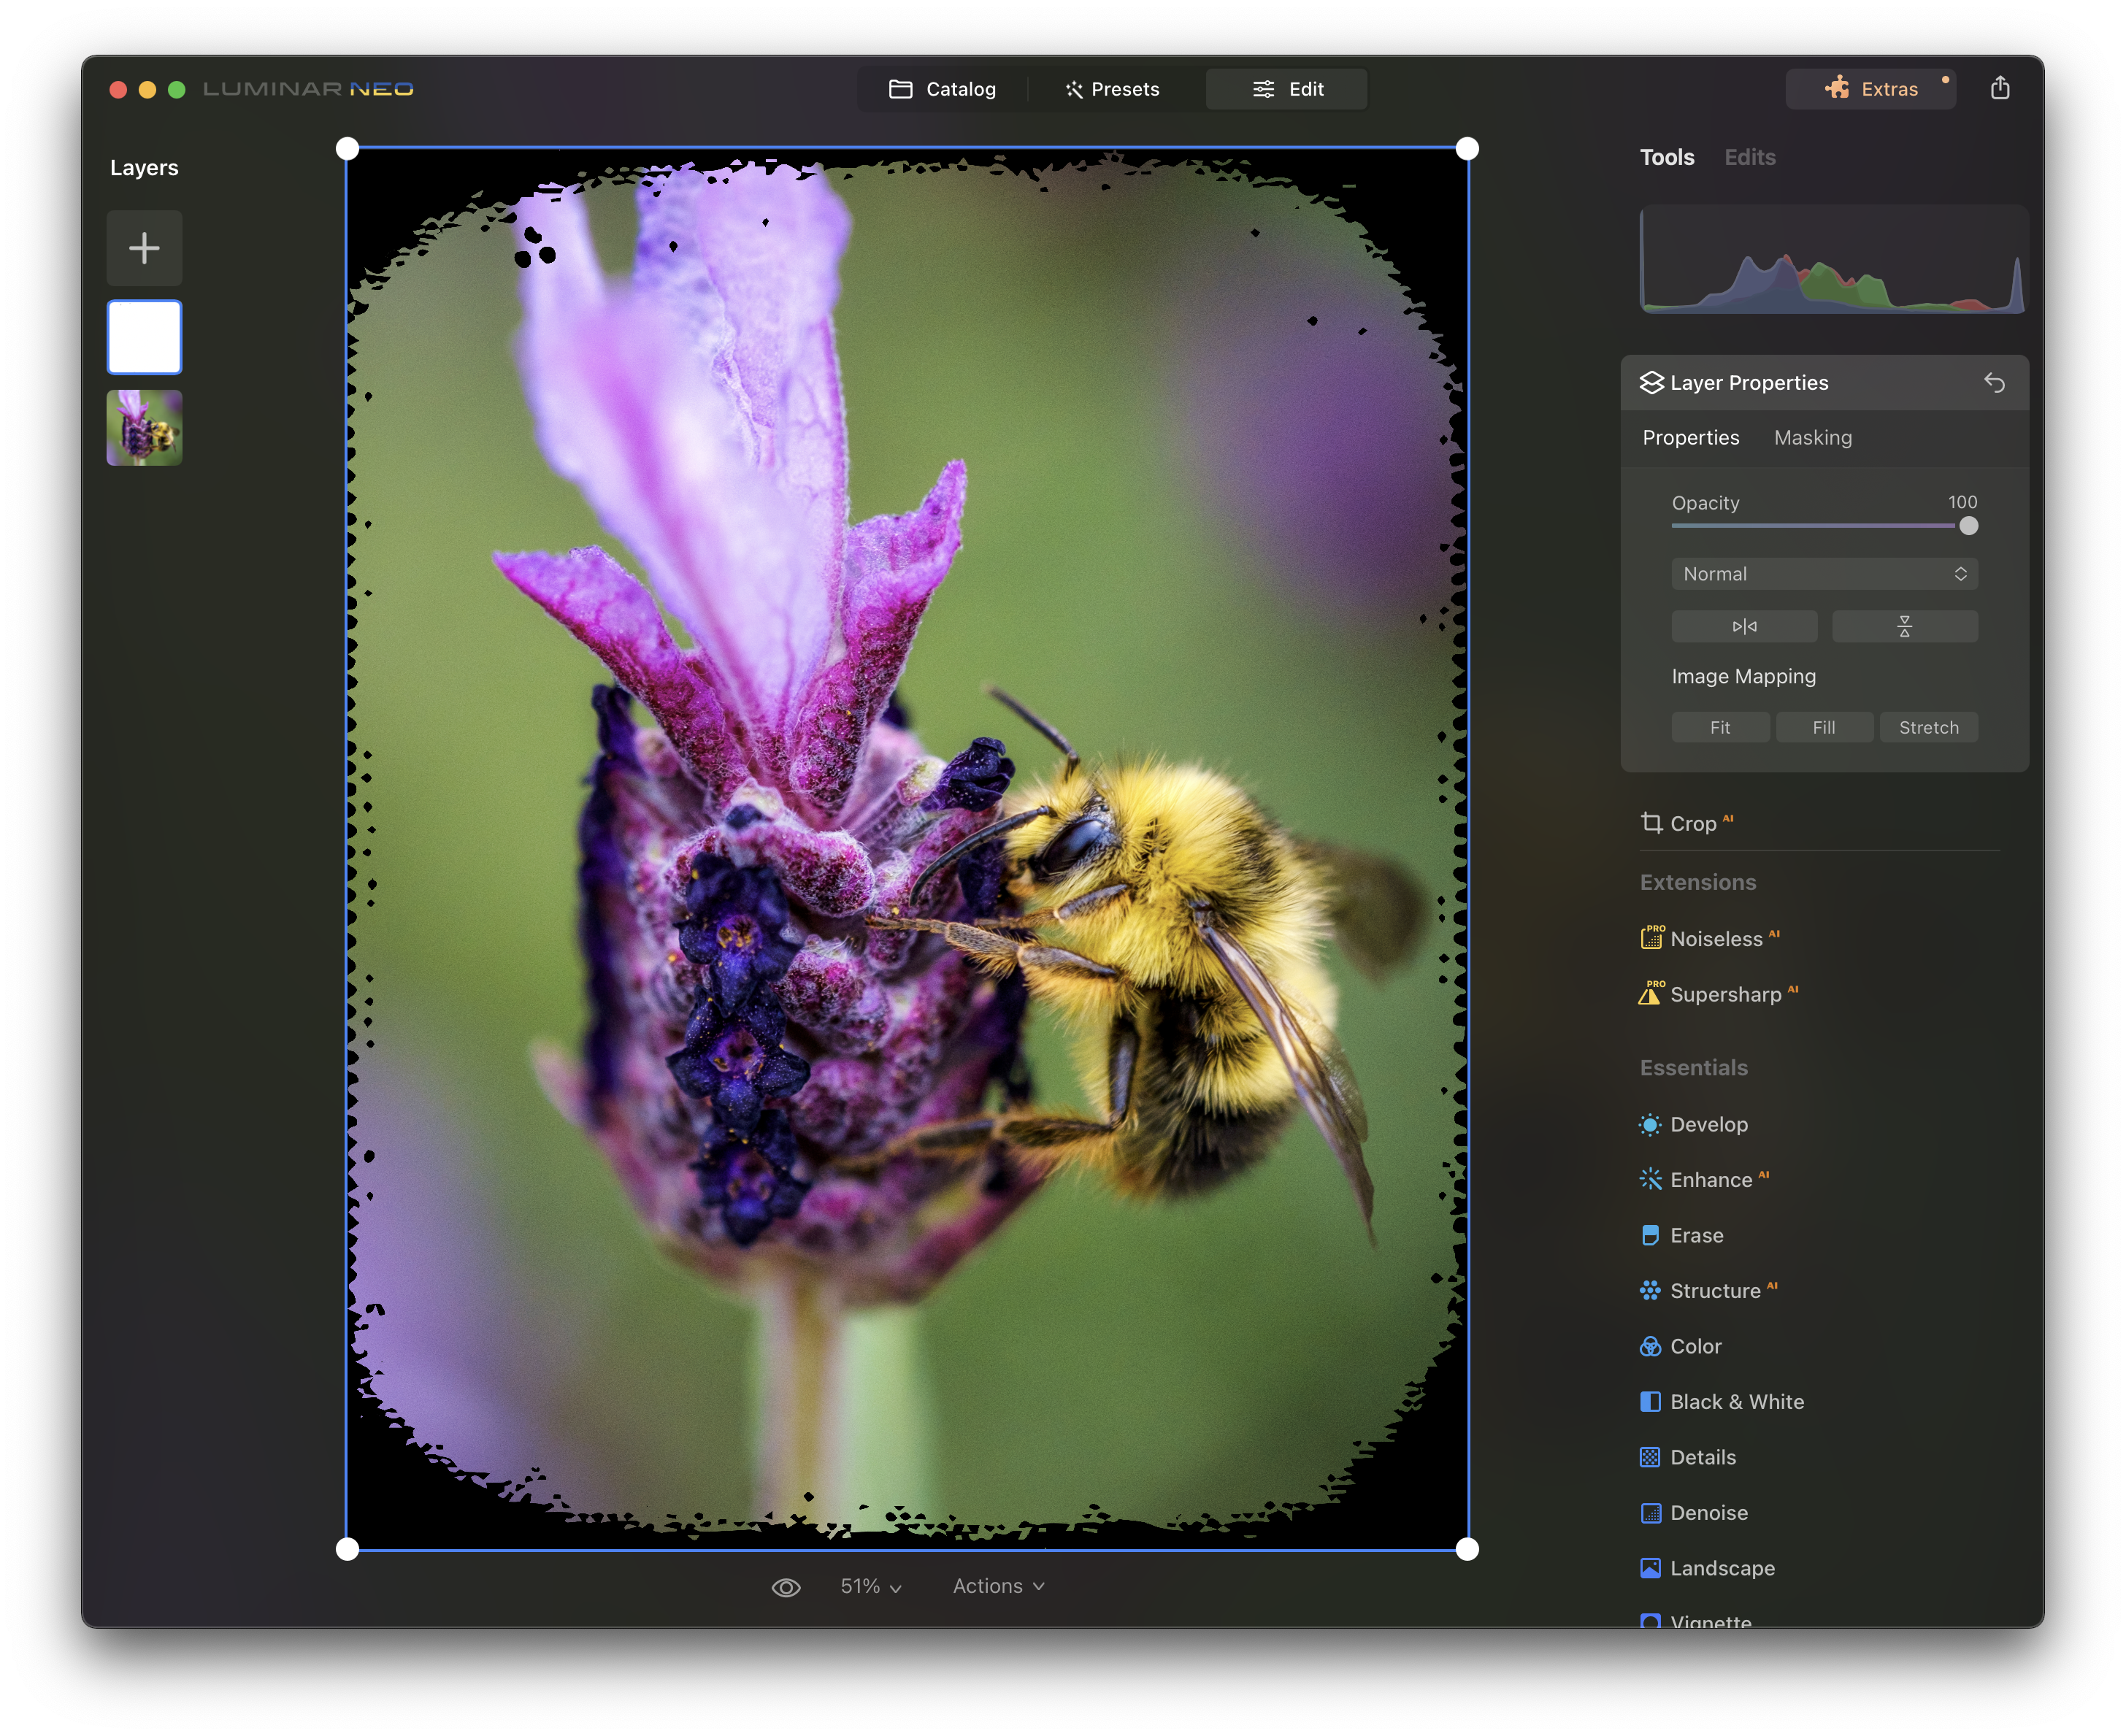
Luminar Neo:
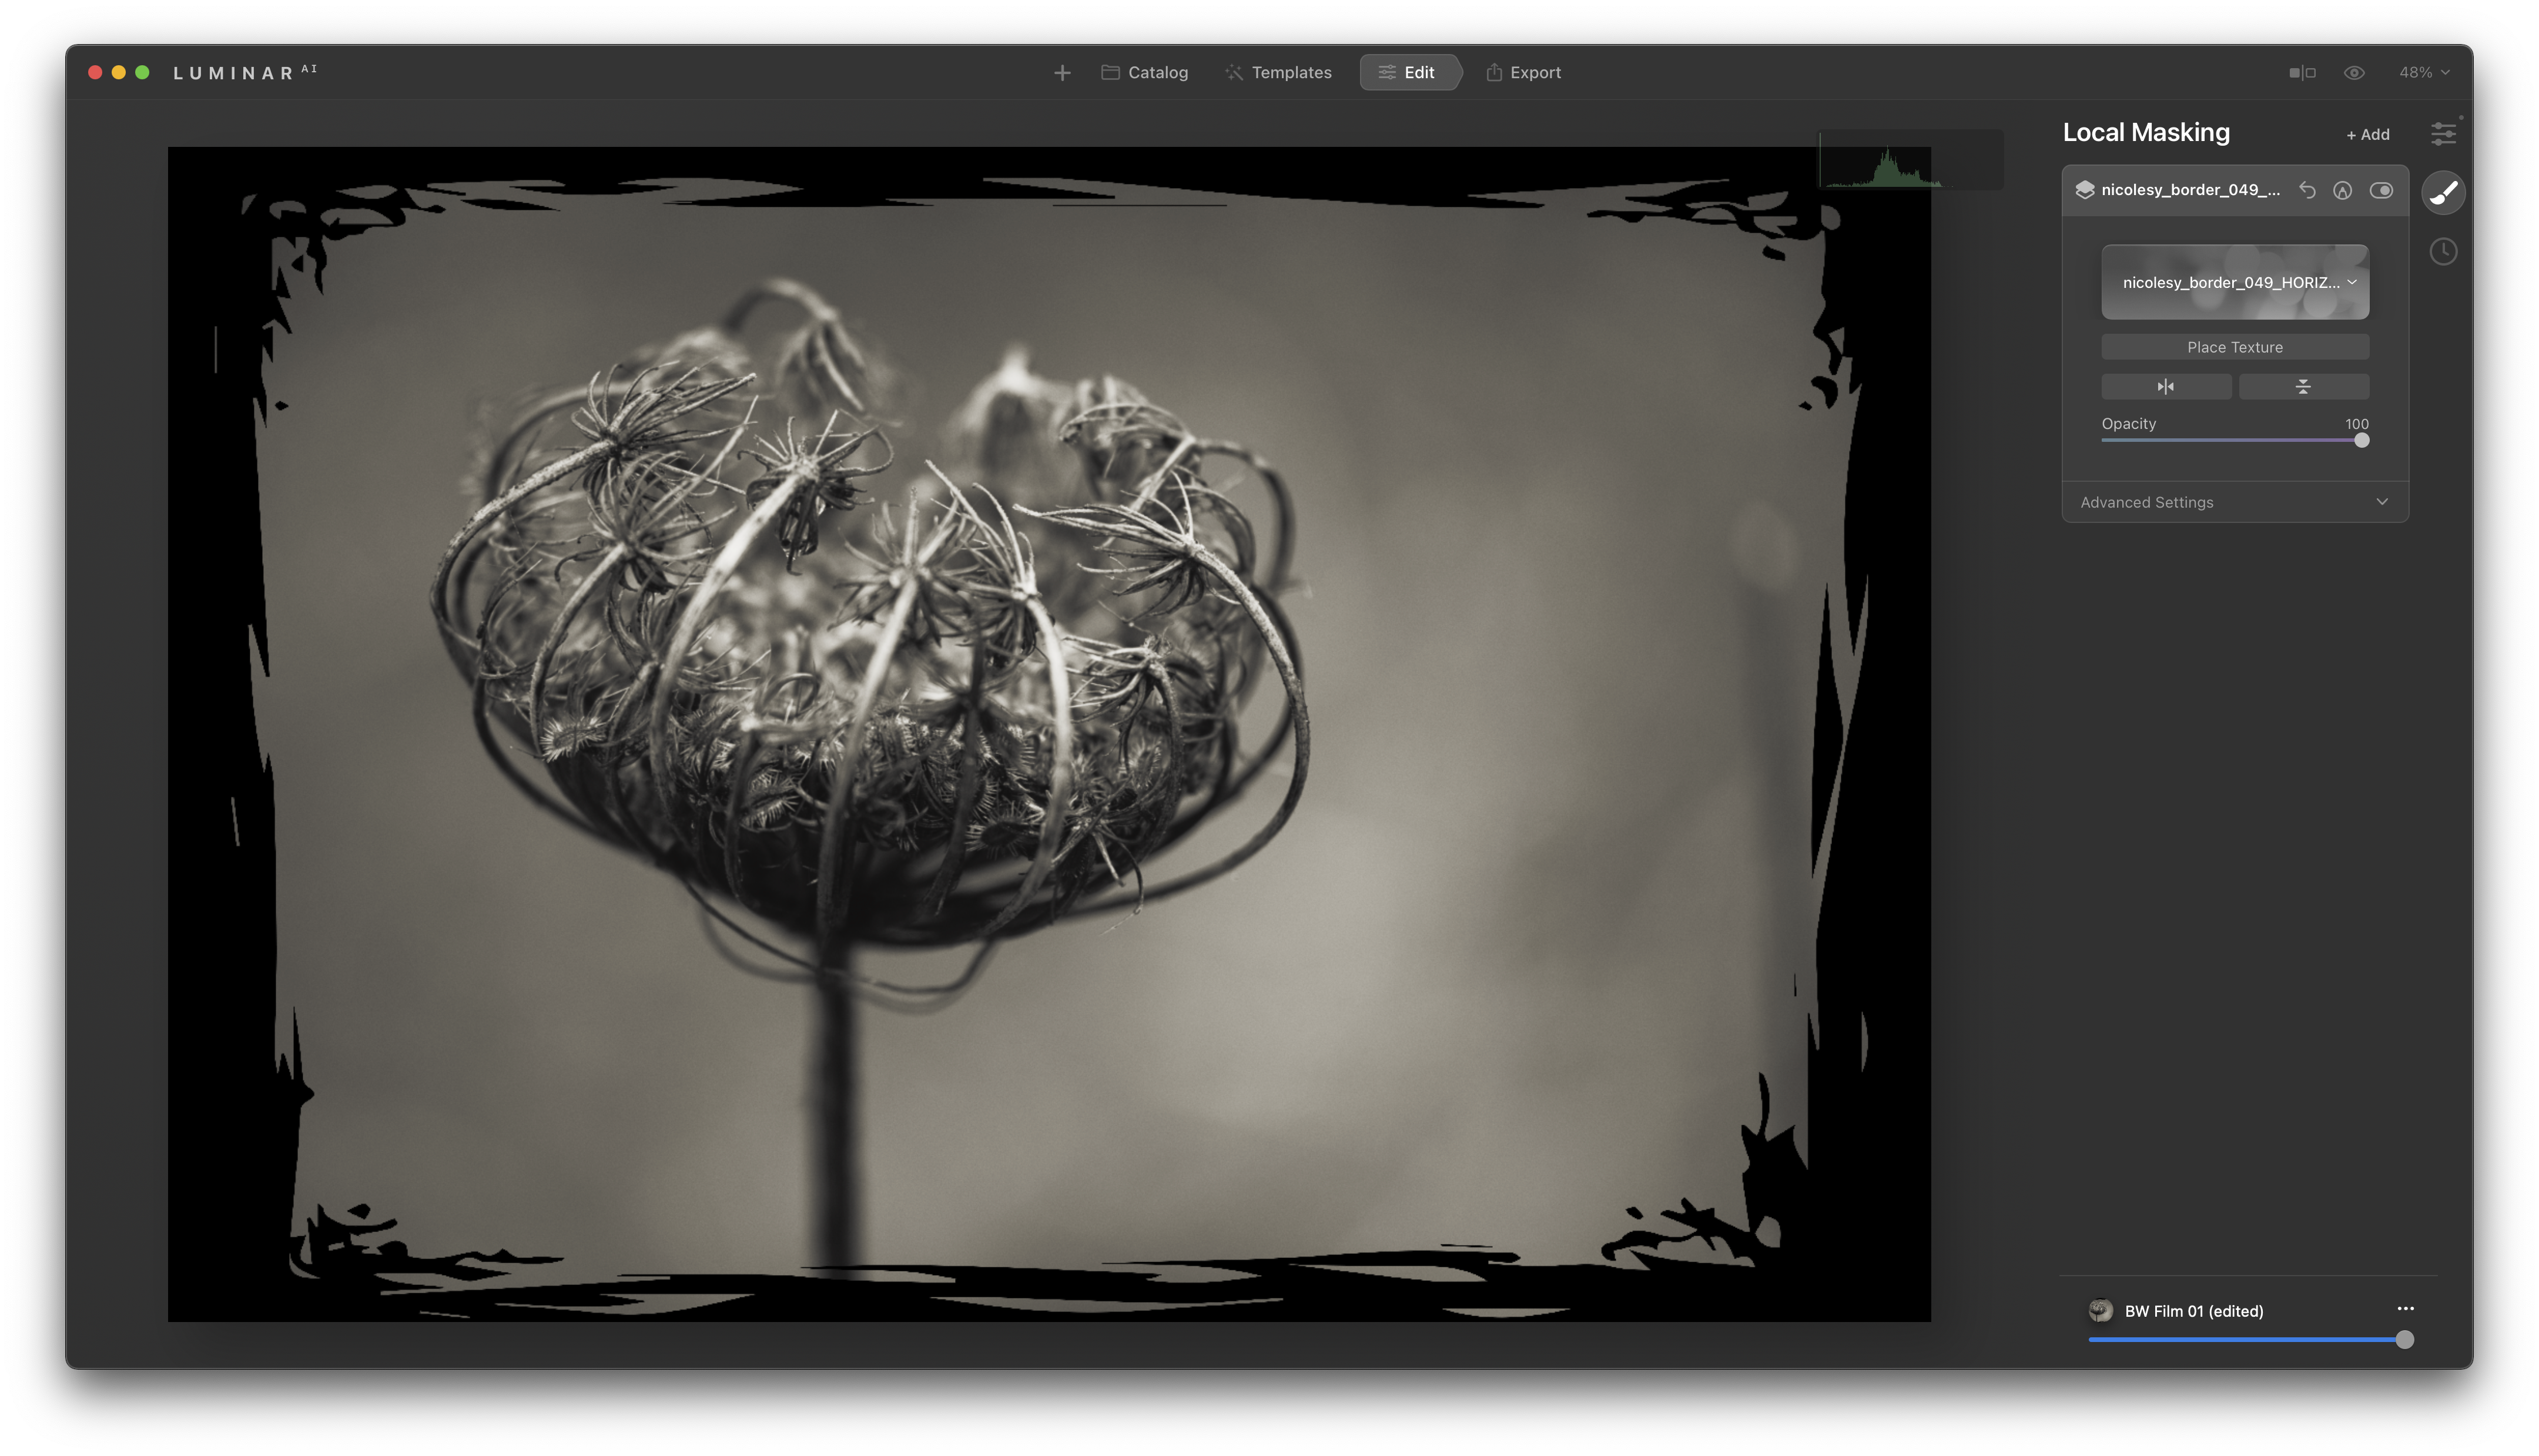
Luminar AI:
Start out by opening a photo into Luminar AI and click the Edit panel at the top.
On the right, click the Local Masking icon.
Click Add and choose Texture.
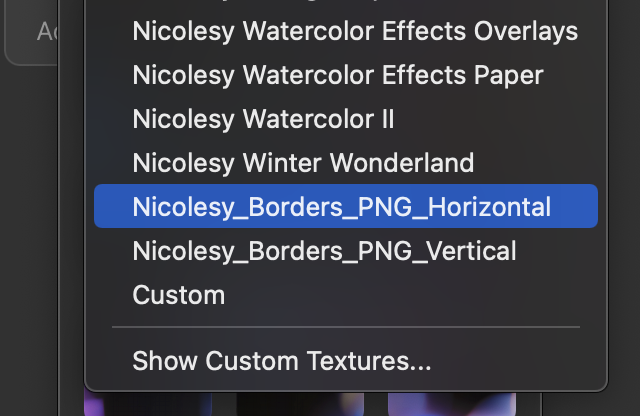
In the Texture Selection drop-down, click it a few times until you see “Show Custom Textures.”
Drag and drop (or copy and paste) the PNG border files into this folder. When you go back to Luminar AI, the border files will be available.
Choose one of the borders from the drop-down list, and the border will be applied.
You will likely also want to increase the Opacity to 100%, and if you need to resize the border, click Place to resize it.