If you want to give your image rounded corners in Photoshop, this tutorial below will help you! You can read through the written tutorial below for the basic instructions or watch the full-length video to see how it works and learn additional tips on customizing the corners and saving the file with transparency.
How to add rounded corners
Here is a step-by-step tutorial on adding rounded corners to a photograph using Photoshop 2023. If you want to watch the video to see this process in-depth, as well as view some other tips on customizing the corners and saving it as a transparent file, please click here to view it on YouTube.
Step 1: Add a rectangle to your photo
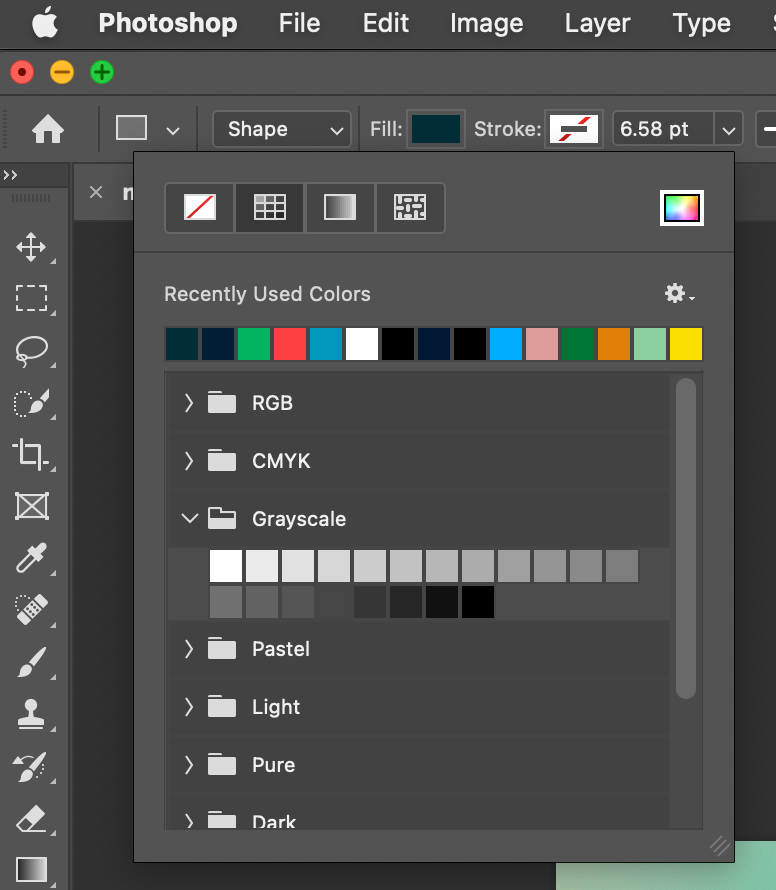
Begin by activating the Rectangle tool in the toolbar. In the options at the top, set the Fill to a solid color (it doesn’t matter which color you use, as it won’t be visible in your final image), and make sure that the Stroke is set to No Color.
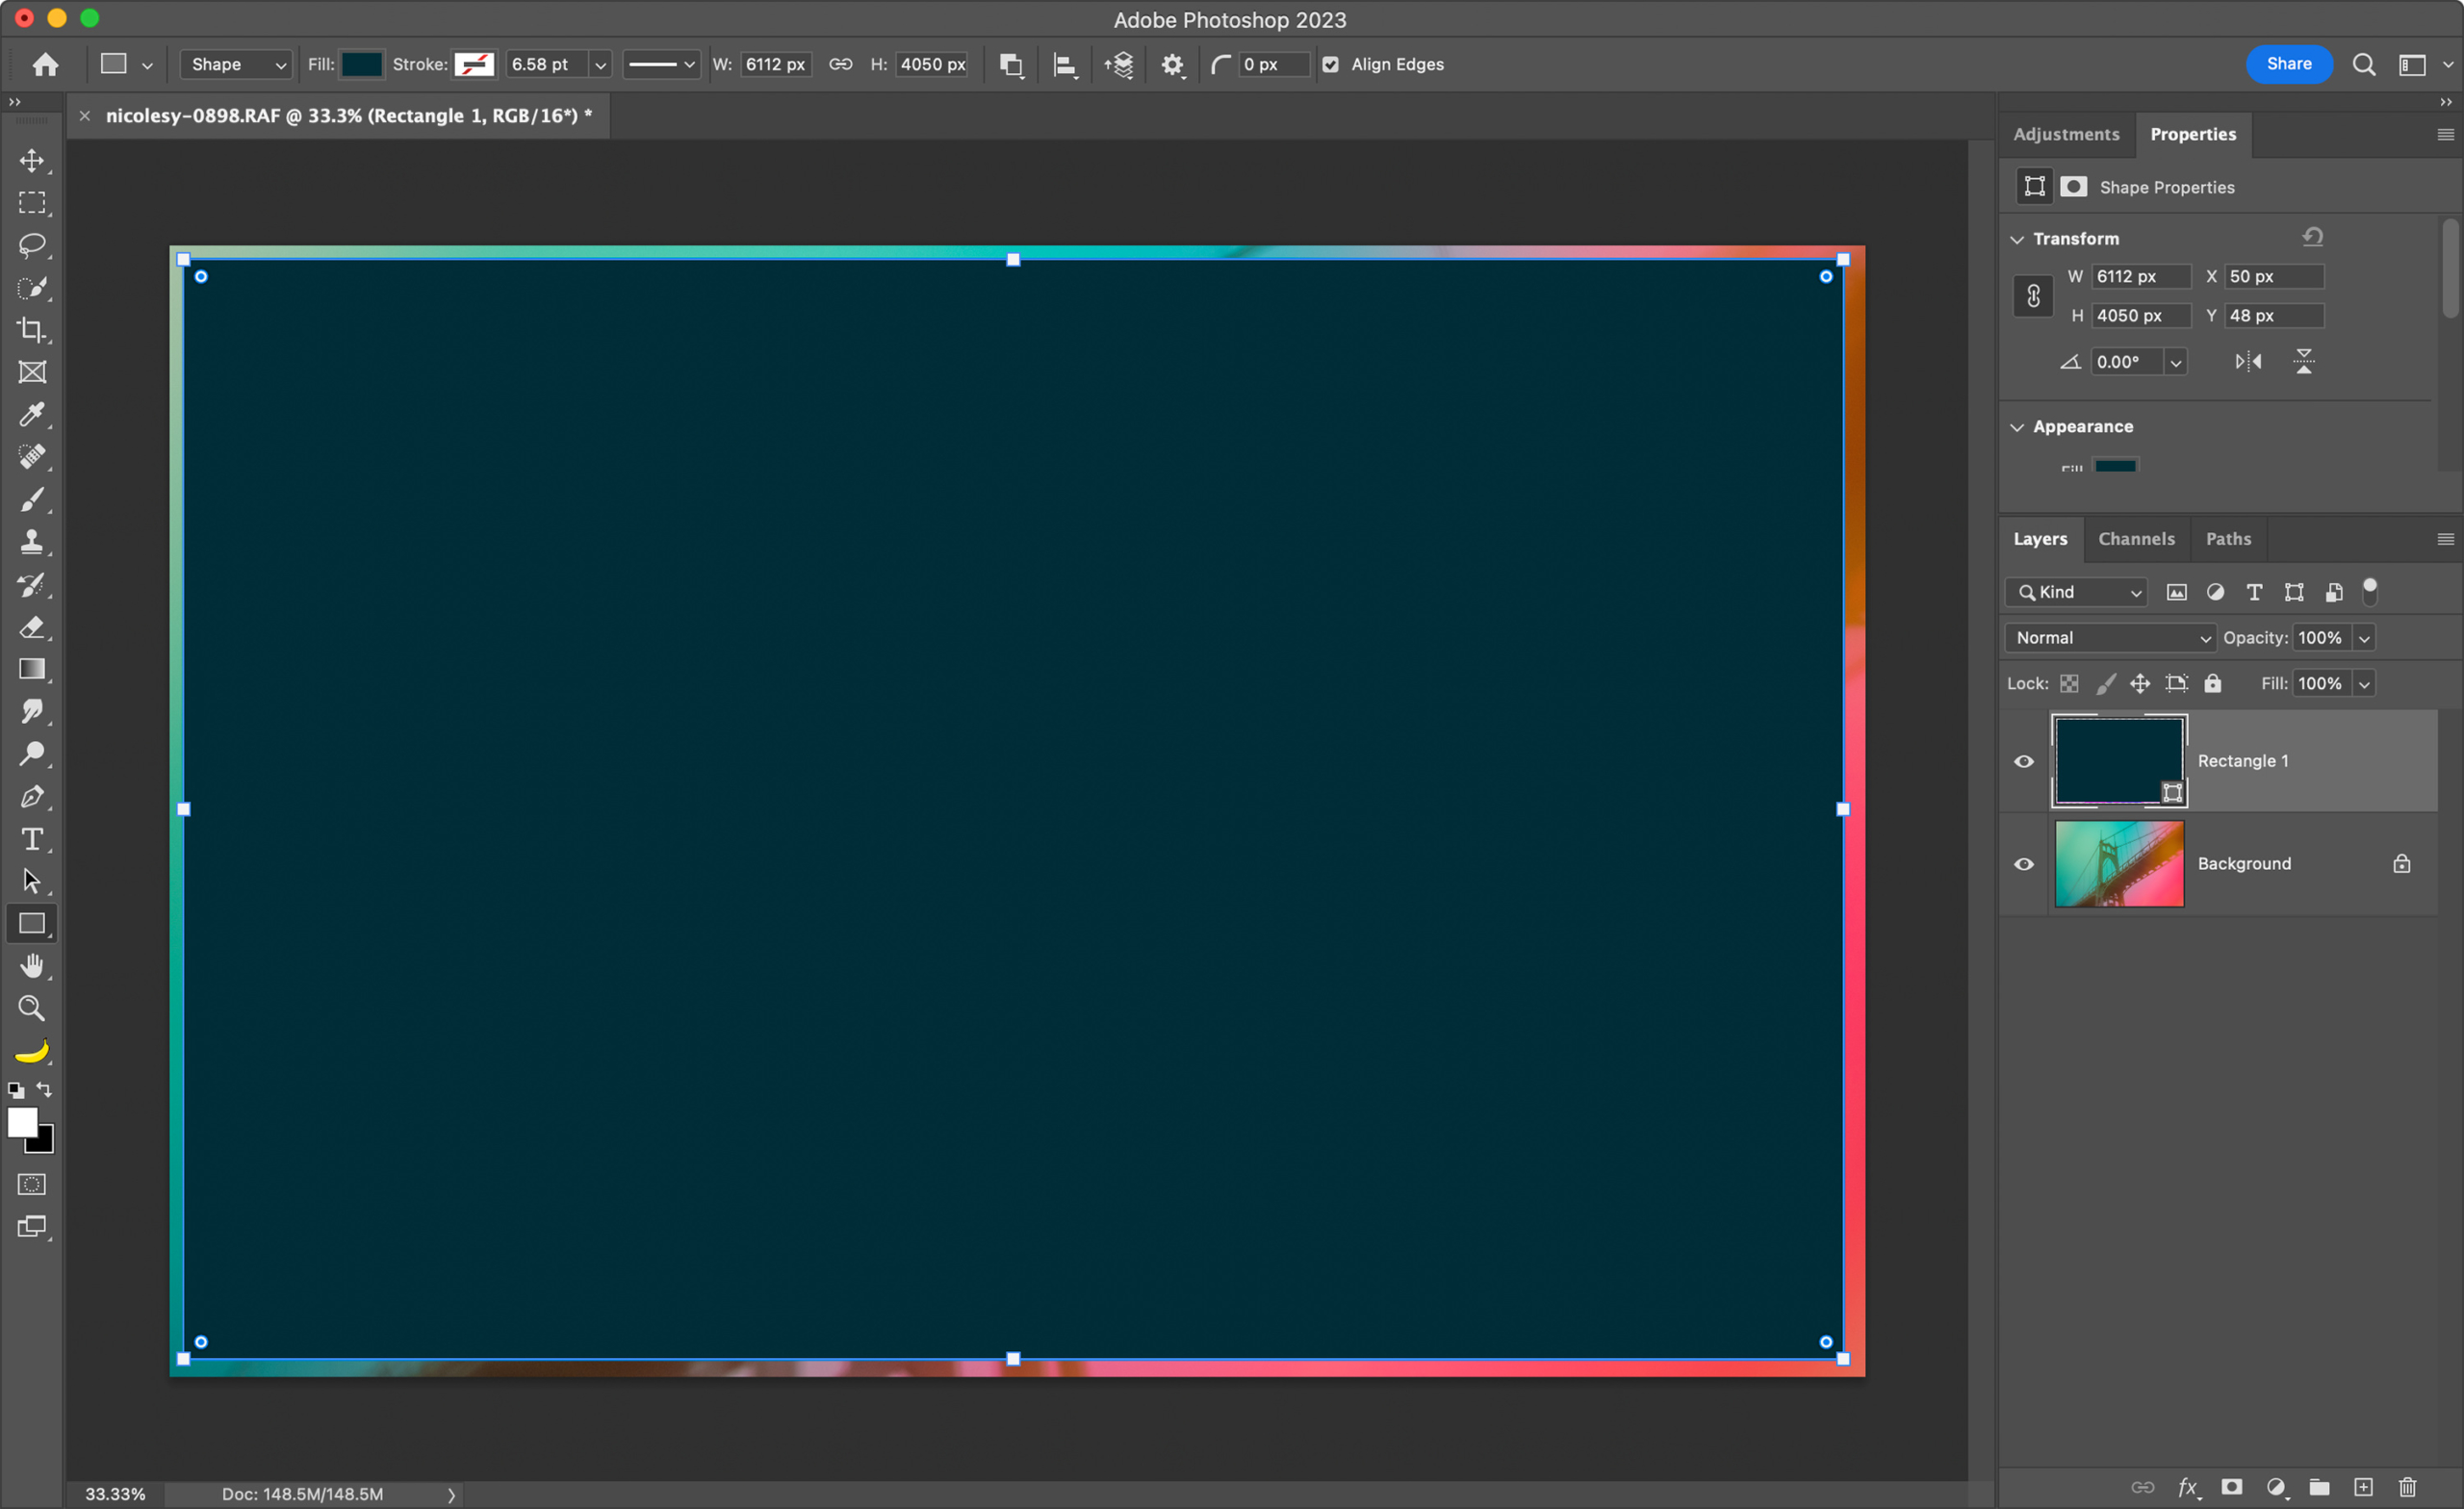
Then, draw a rectangle over your image.
Step 2: Create the rounded corners
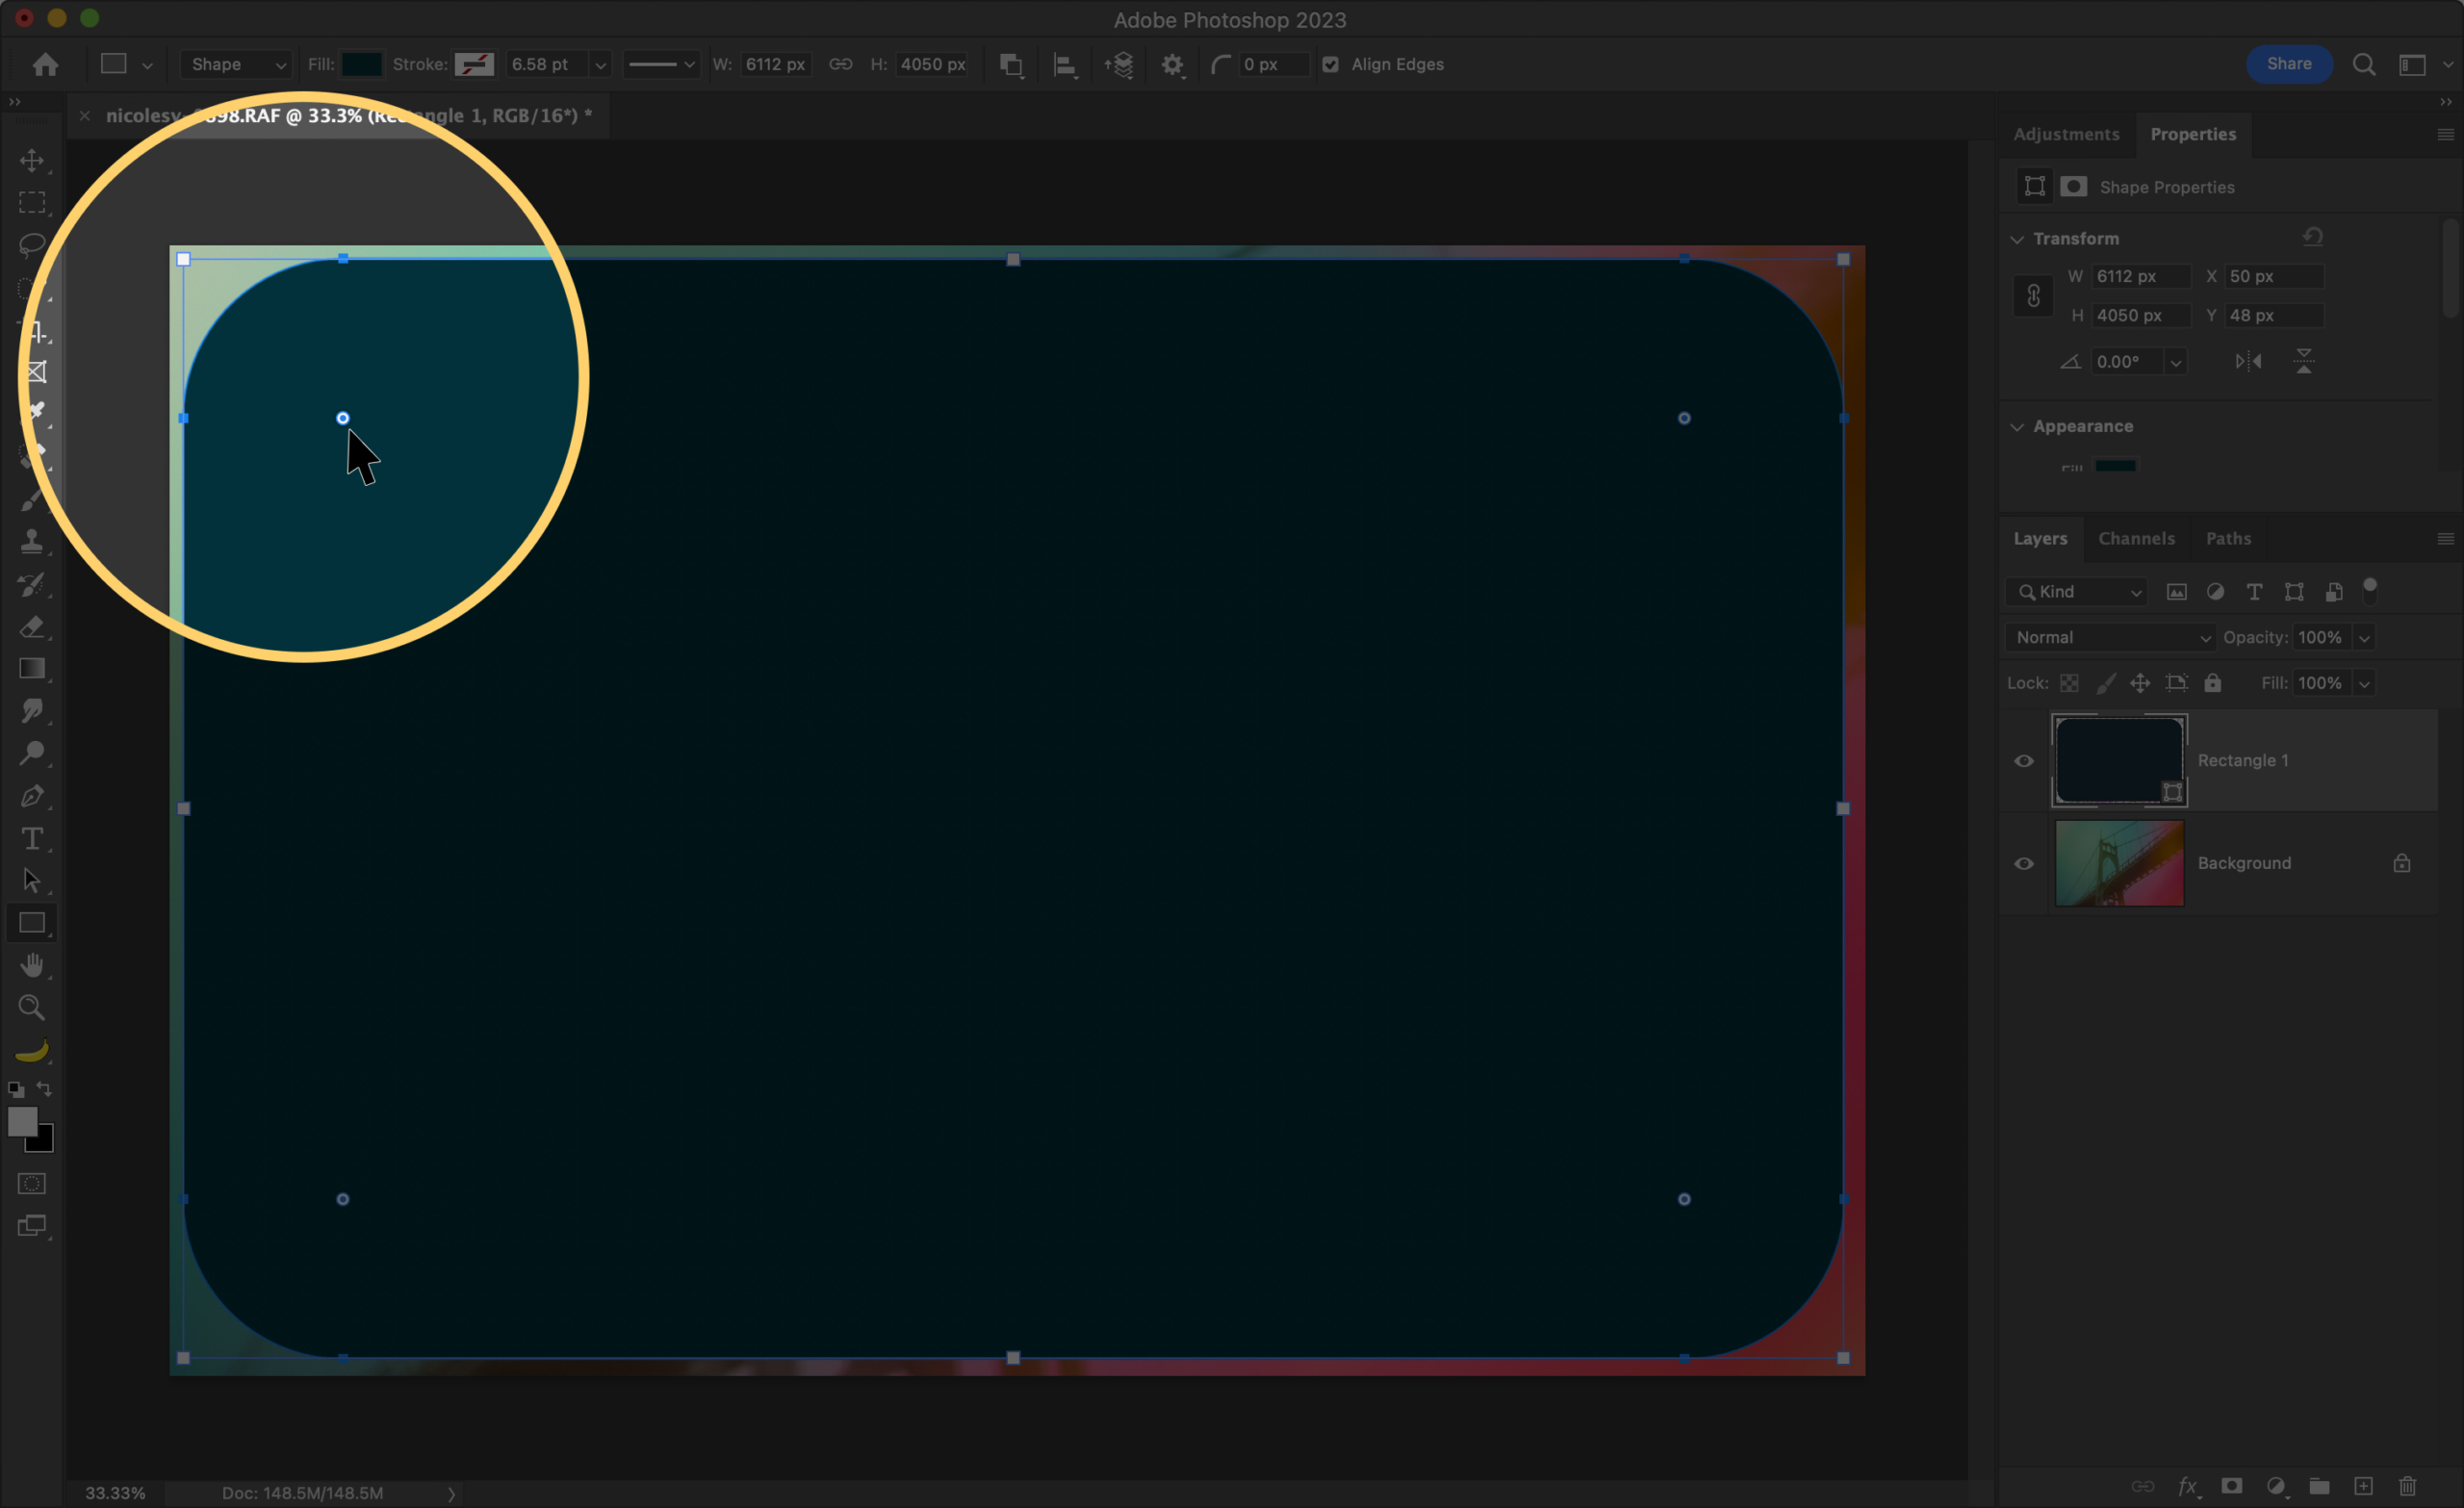
Next, hover over the small circle near one of the corners, and drag it toward the center of the rectangle. This creates the rounded corner effect on all four corners.
Tip: To only adjust one corner at a time, press and hold the OPT (Mac) or ALT (Win) key as you click and drag the corner.
Step 3: Clip the photo to the rectangle
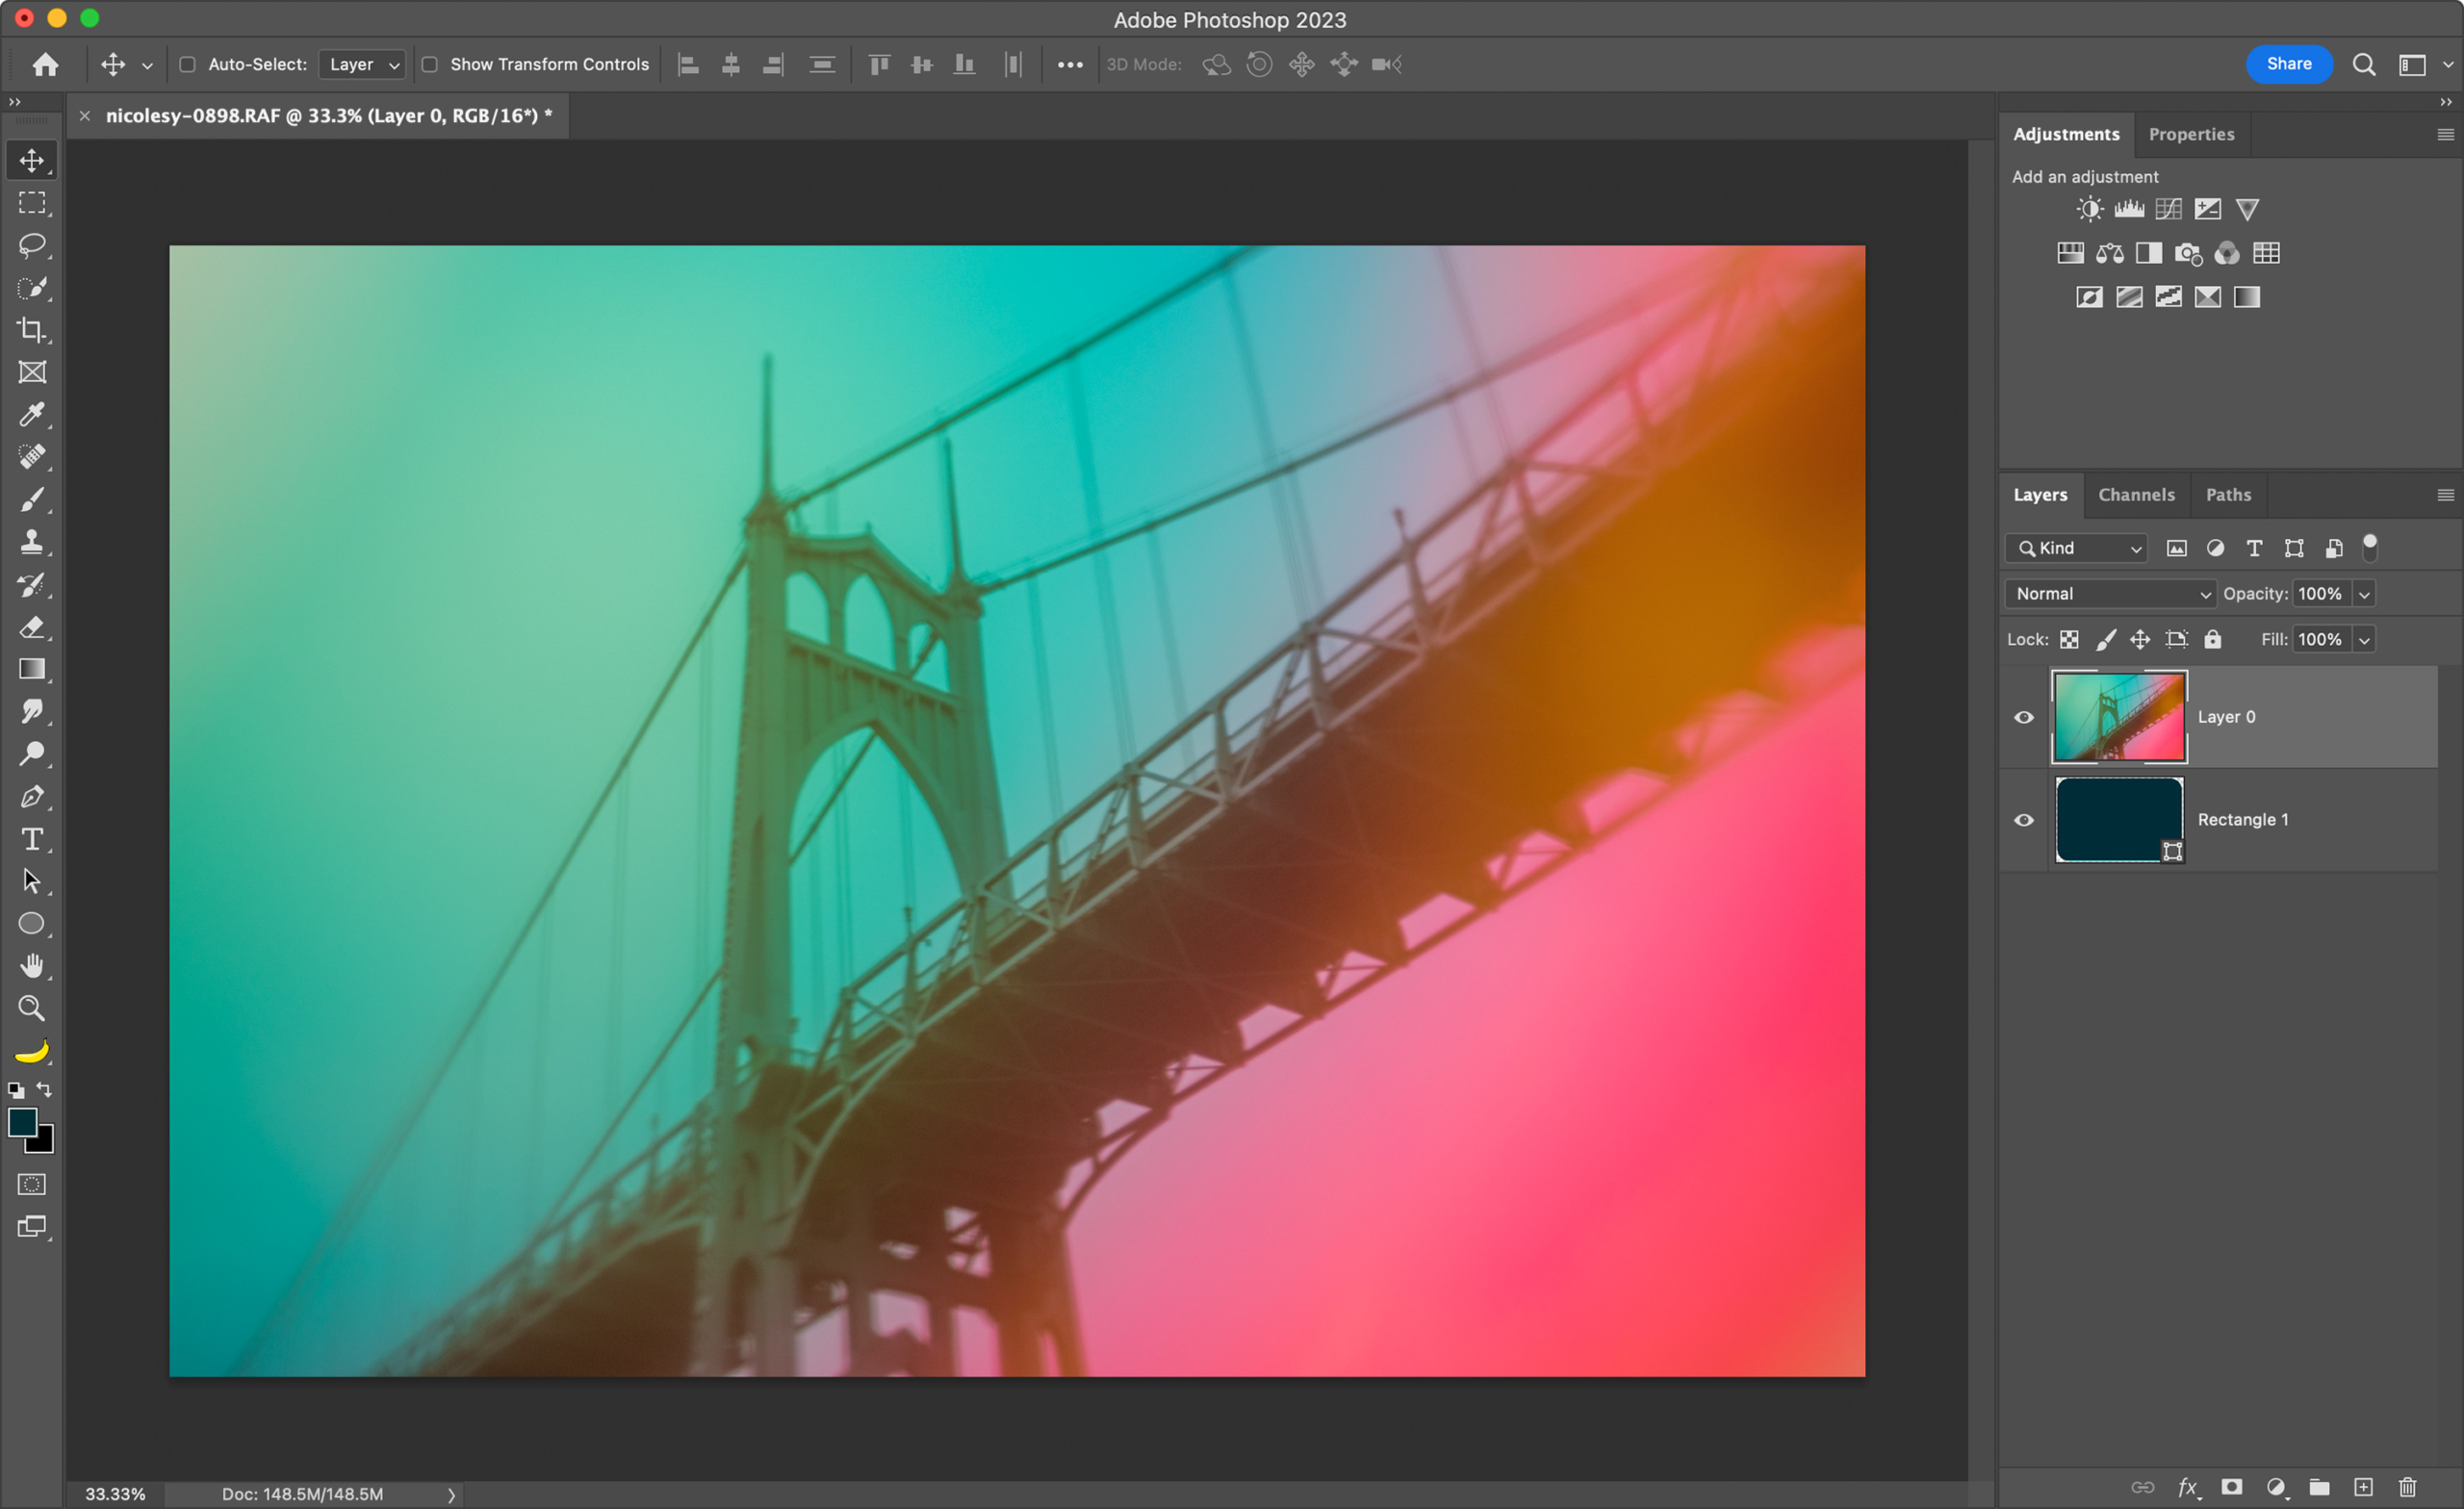
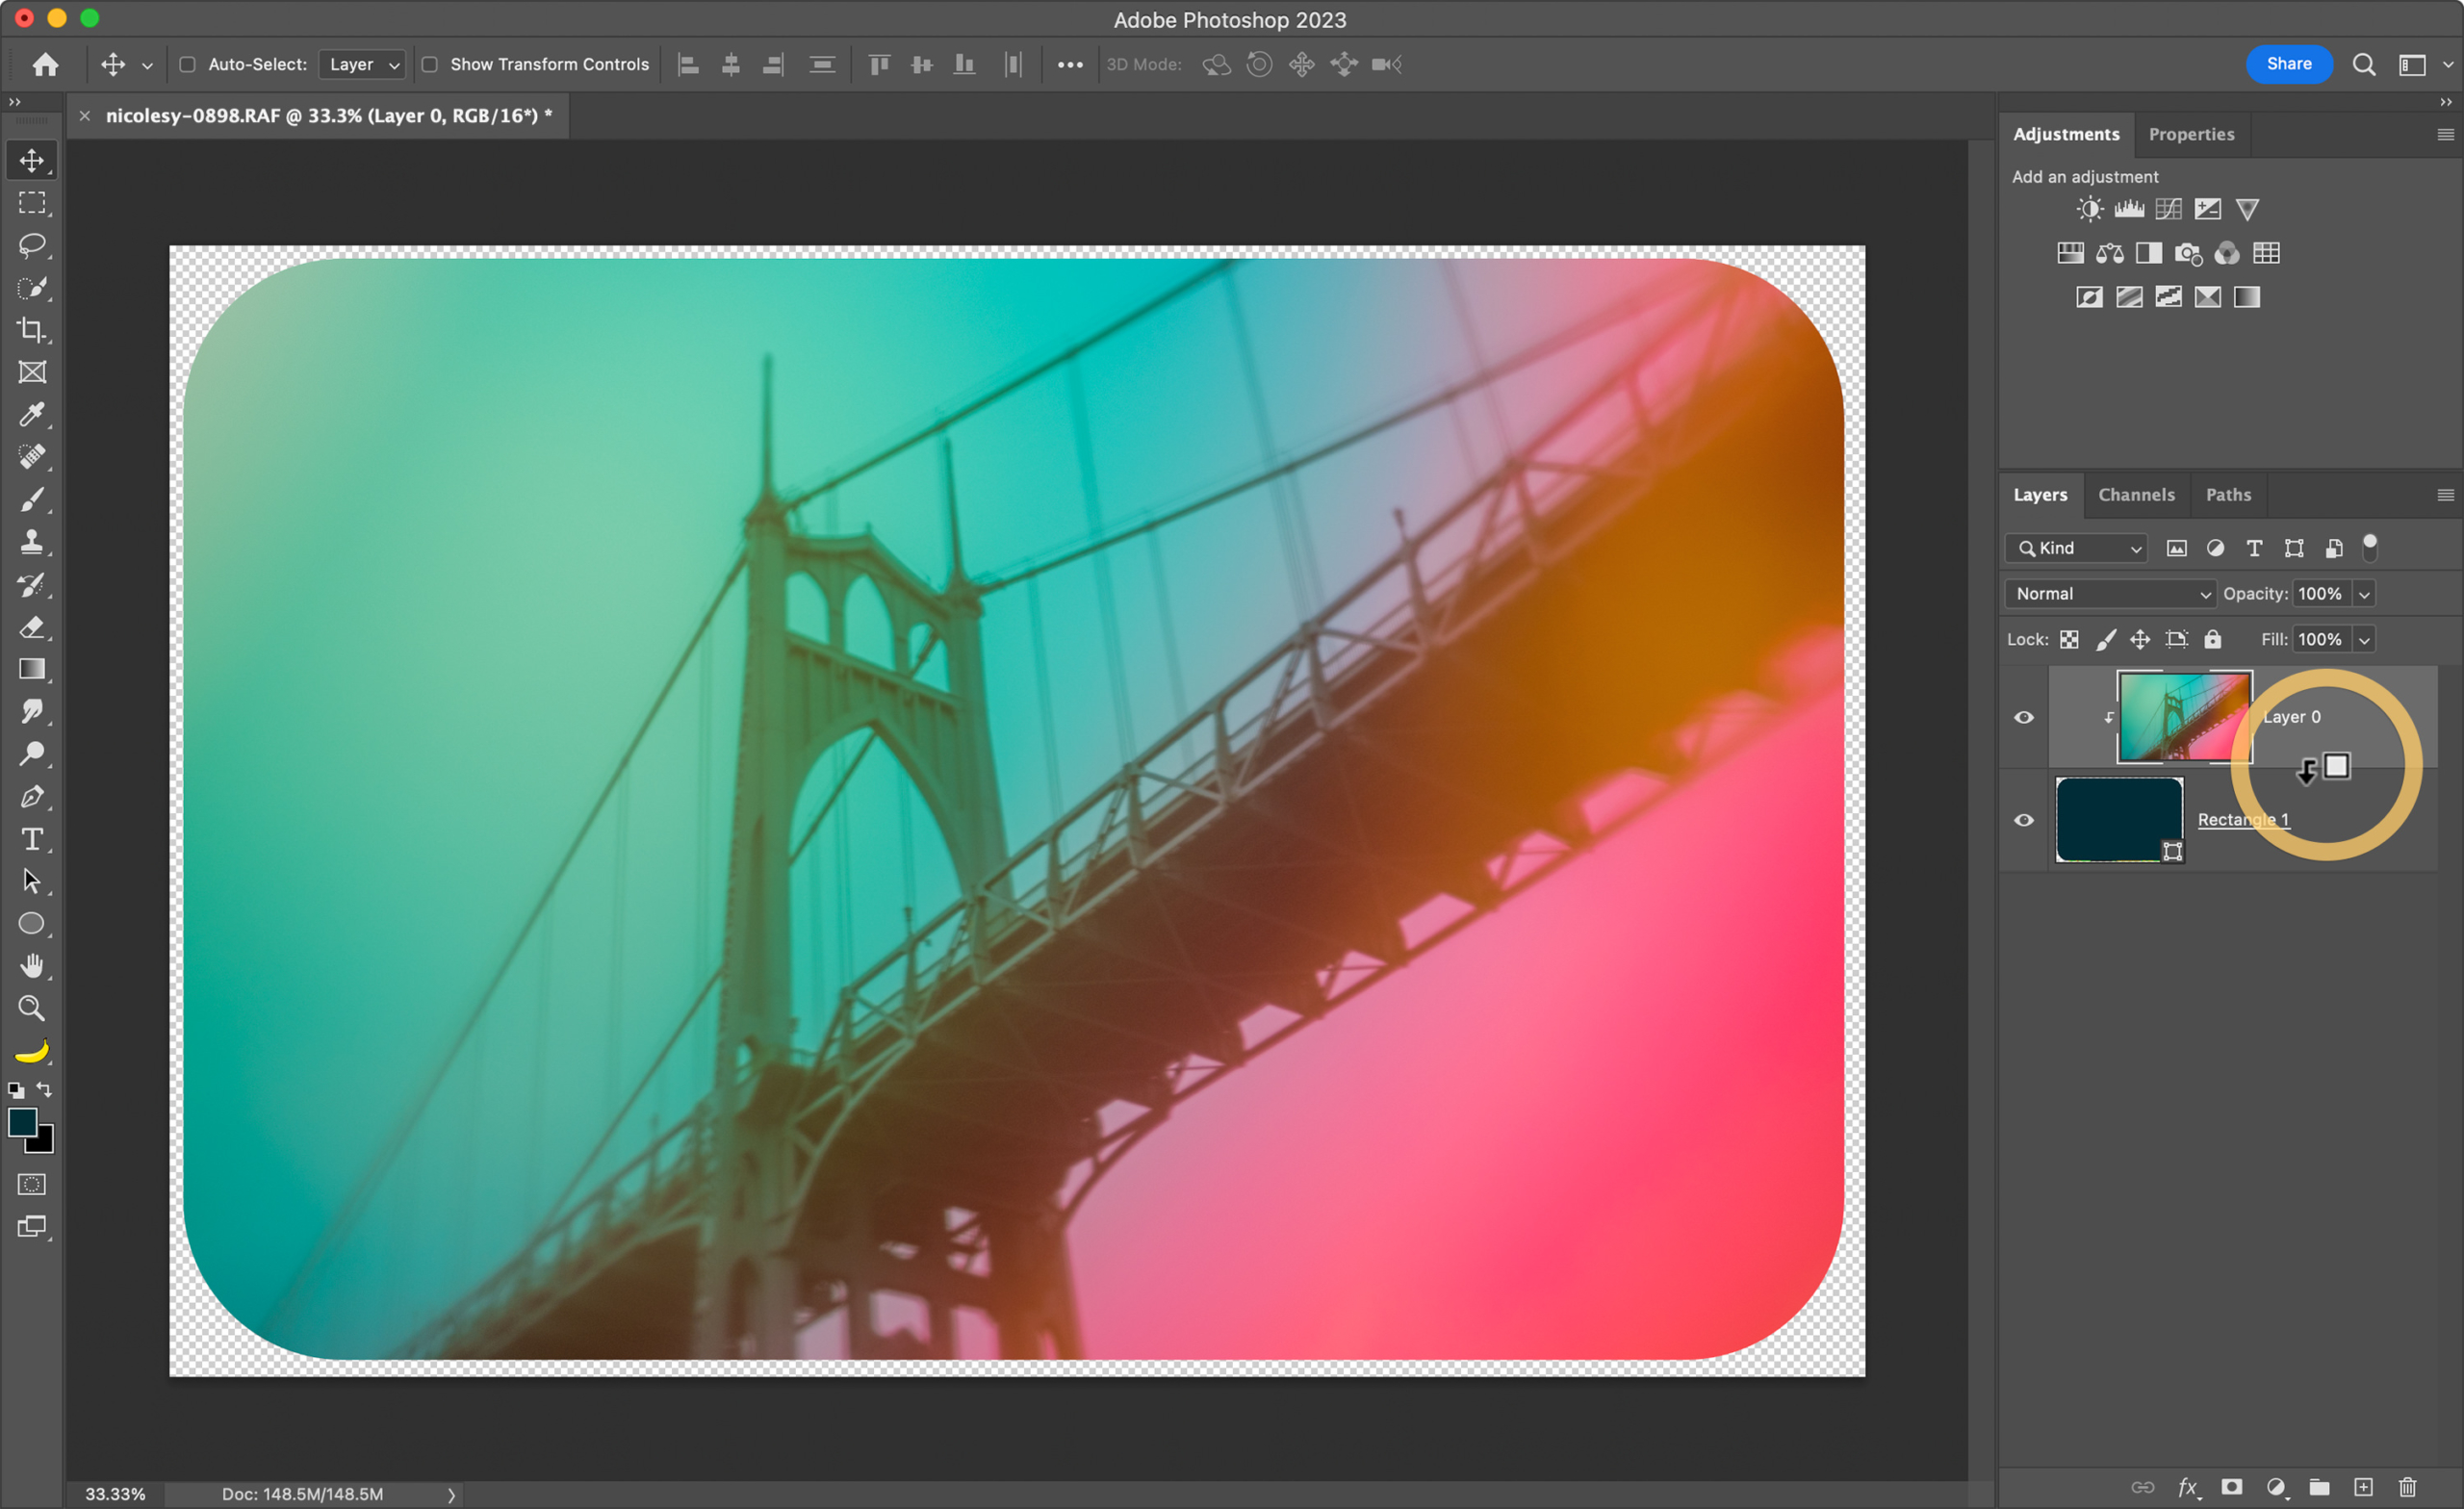
Now it’s time to add the photo to the rectangle. Begin in the Layers panel; if your image layer is locked, click the lock icon to unlock it. Then, drag the image layer so that it is above the rectangle.
Then, hover in-between the two layers while pressing the Opt (Mac) or Alt (Win) key. When the icon changes, click and it will clip the photo to the rectangle.
If you want to give your image rounded corners in Photoshop, this tutorial below will help you! You can read through the written tutorial below for the basic instructions or watch the full-length video to see how it works and learn additional tips on customizing the corners and saving the file with transparency.
How to add rounded corners
Here is a step-by-step tutorial on adding rounded corners to a photograph using Photoshop 2023. If you want to watch the video to see this process in-depth, as well as view some other tips on customizing the corners and saving it as a transparent file, please click here to view it on YouTube.
Step 1: Add a rectangle to your photo
Begin by activating the Rectangle tool in the toolbar. In the options at the top, set the Fill to a solid color (it doesn’t matter which color you use, as it won’t be visible in your final image), and make sure that the Stroke is set to No Color.
Then, draw a rectangle over your image.
Step 2: Create the rounded corners
Next, hover over the small circle near one of the corners, and drag it toward the center of the rectangle. This creates the rounded corner effect on all four corners.
Tip: To only adjust one corner at a time, press and hold the OPT (Mac) or ALT (Win) key as you click and drag the corner.

Step 3: Clip the photo to the rectangle
Now it’s time to add the photo to the rectangle. Begin in the Layers panel; if your image layer is locked, click the lock icon to unlock it. Then, drag the image layer so that it is above the rectangle.
Then, hover in-between the two layers while pressing the Opt (Mac) or Alt (Win) key. When the icon changes, click and it will clip the photo to the rectangle.

Nicole is a photographer, published author, and educator specializing in Lightroom, Photoshop, and photography. She is best known for her books on food photography but is widely versed in various photographic genres, including landscape, nature, stock, travel, and experimental imagery.







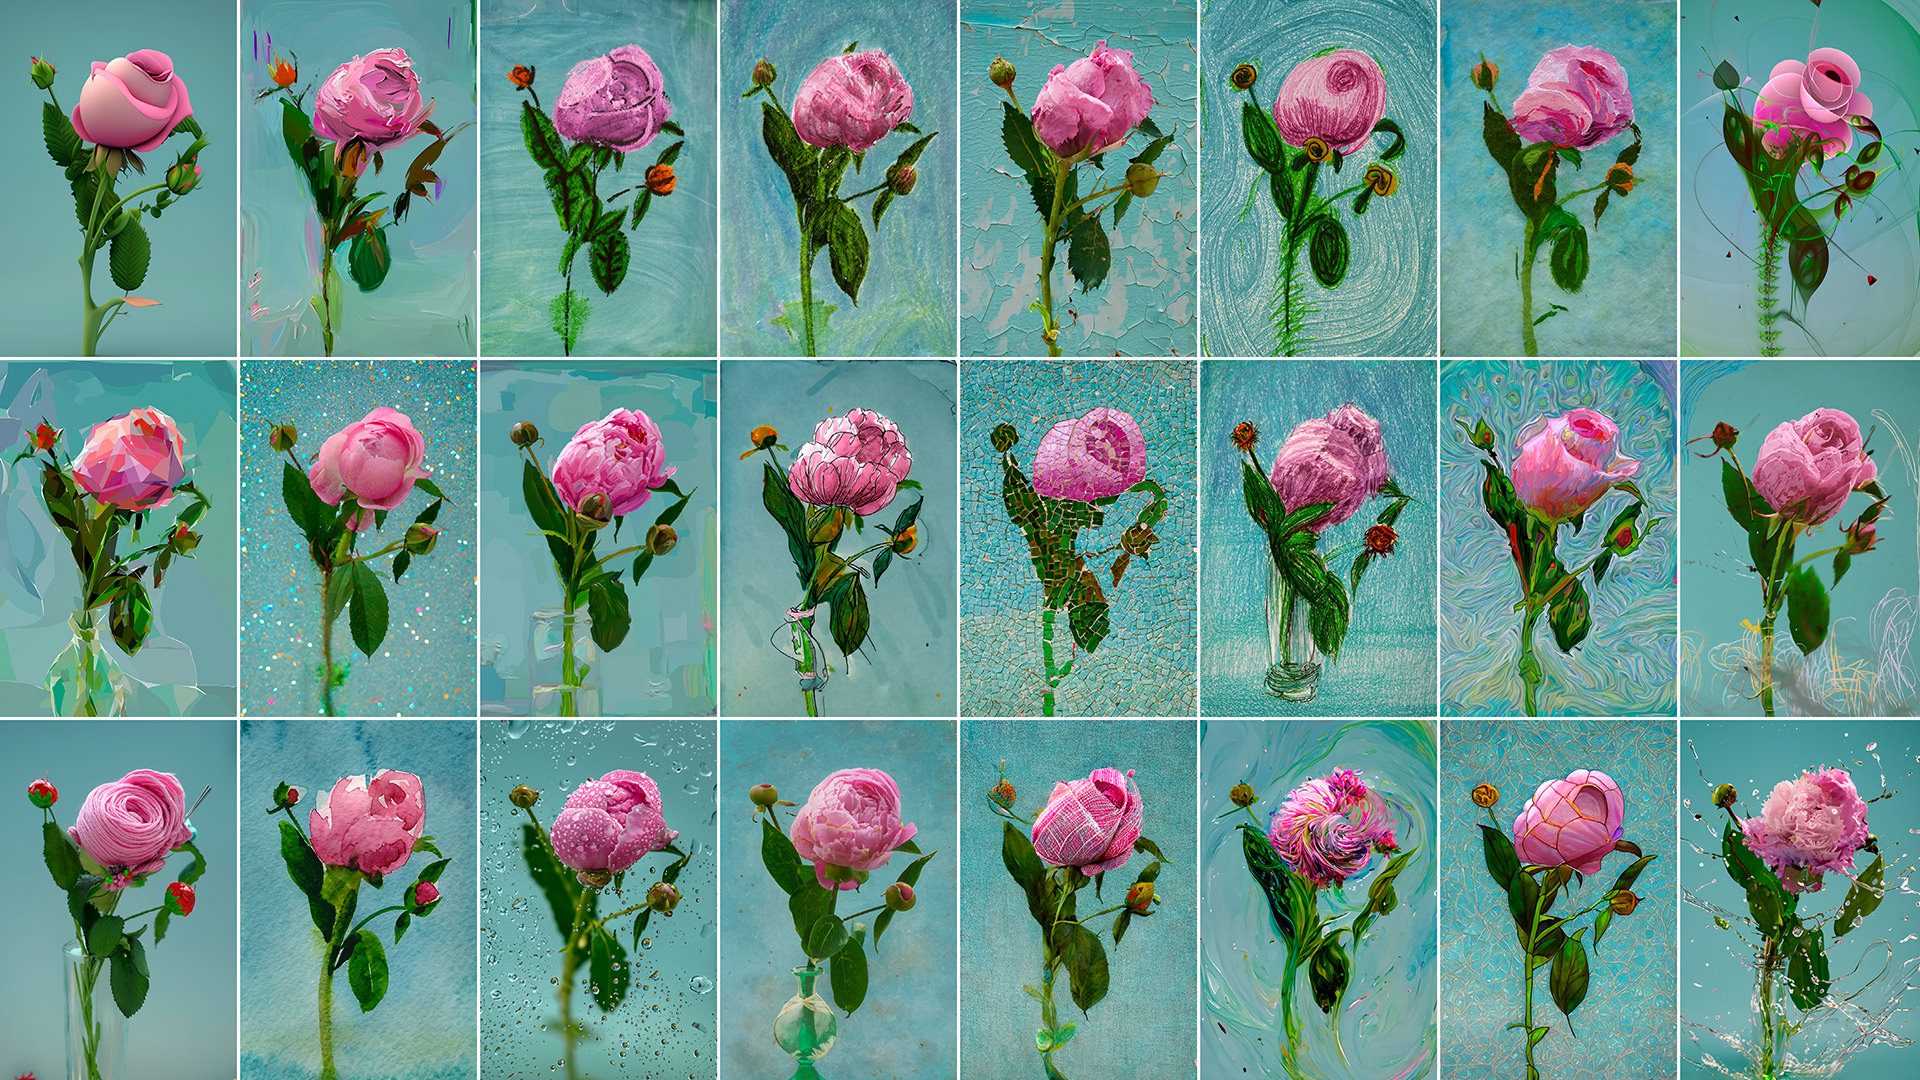

Thank you Nicole, that’s fantasktic! May I be able to use this with your Collages in Lightroom or just use it in PS?
If you re-import the photos into Lightroom, they should work with the collages. The cells in the collage will need to be in the same ratio as the images for the corners to appear. It would be easier in Photoshop … I know you are looking forward to a collage pack for Photoshop, and I’m going to begin working on it!