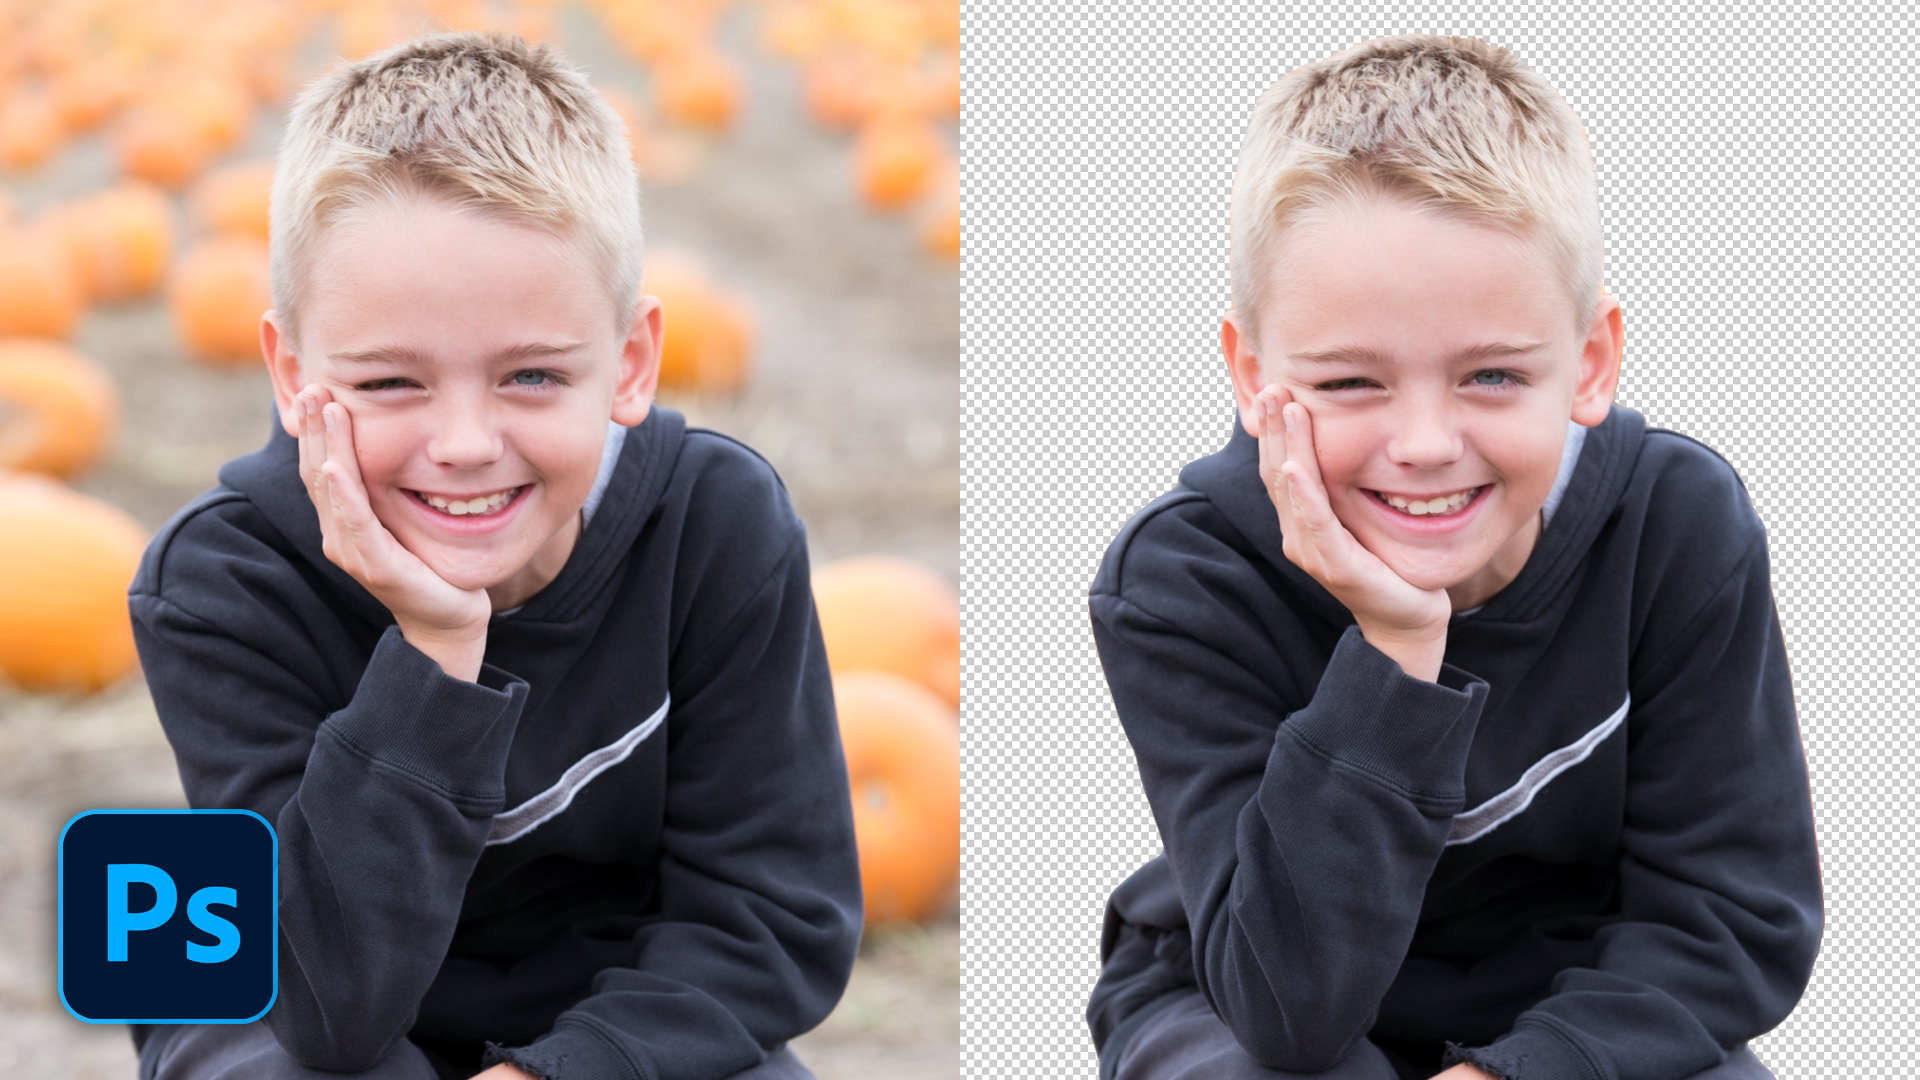
I can remember when masking in Photoshop was a chore. After all, I’ve been using the program for over 25 years, and it used to be a lot more involved. There were fewer (and less accurate) automatic selection tools, AI was not really a thing (at least with photography post-processing), and the process took forever.
But now, there are a LOT of easy-to-use tools that make it so easy to get a great start on your masking (or do all of the work for you with only a few clicks!). If you struggle to create selections and masks in Photoshop, these tools will soon become your best friends. You can create an automatic selection of the subject, the sky, and even the focus area of your image.
These tools are only the handful of methods that you can create masks to use in YOUR Photoshop edits. Whether you want to create a composite, mask hair, or create detailed selective edits to your images, layers and masks are your biggest friend in Photoshop.
Take a peek at the video below (or watch it over on YouTube) to get the skinny on these easy-to-use tools. And, if you still have questions, please drop a comment below this post.
Automatic Selections in Photoshop — Watch the tutorial:
By the way, I have something coming very soon that is perfect if you are looking to improve your masking skills in Photoshop. You can sign up below to be among the first group that will be notified about this offer when it is released.

Nicole is a photographer, published author, and educator specializing in Lightroom, Photoshop, and photography. She is best known for her books on food photography but is widely versed in various photographic genres, including landscape, nature, stock, travel, and experimental imagery.





Looks like a great course. Do you recommend converting photo to smart object before making changes?
It depends on what you’re doing. For a quick sharpening effect (like I did with this video), I usually don’t worry about Smart Objects, but if you want to be able to change it later then it might be a good idea. They increase file size so that’s a consideration. If it’s something you want to be able to change (such as bring into a third-party app or redo the adjustments later on) then it might be a good idea to first convert to a Smart Object.
Thanks! I’m looking forward to the course. I took your 2 minute Lightroom series. You are a great teacher.
Thanks! You made it sound so easy. It helped to see how you used the mask. It was simple enough for me easily understand.
I’m happy you found it helpful!
Thanks Nicole.
The video was very informative and helpful but your speaking was way too fast.
Since I’m elderly and hard of hearing I had trouble fully understanding your speech.
Is it possible to slow it down so others like me can follow you better?
Nonetheless it was still a good video. Thank you.
Hi Roy, when watching it on YouTube, you can use the controls to slow down the video. There are also automatically-generated closed captions for this video that might help as well.
I learned so much more about how to use the Selection tools than I knew before. I was only using the Object Selection at about half its potential. Thanks for such an easy to understand video.
That’s so good to hear, glad it was helpful!
Hi Nicole, thank you for this lesson. I practiced with a photo and the technique for sharpening made a big difference. I wanted to ask if you provide pdf documentation with your courses.
Hi Cathy, the course is video, but I do include a PDF workbook to go along with it. It does not have full instruction like the videos do (that would be an eBook, which this course does not include), but you can print it and take notes to make it easier to follow along with.