
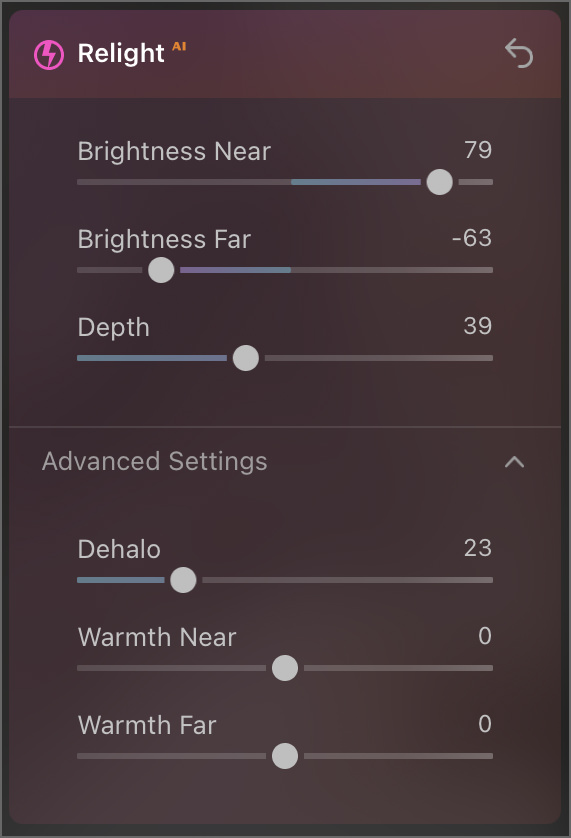
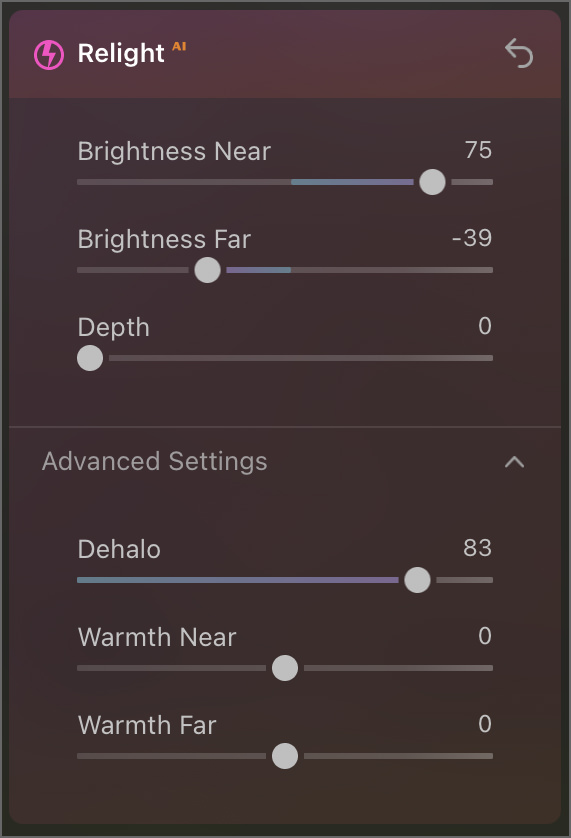
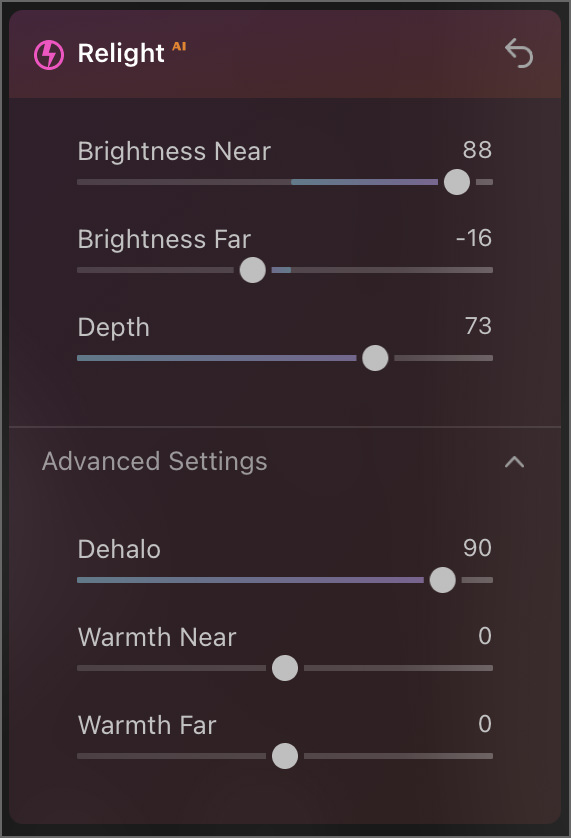
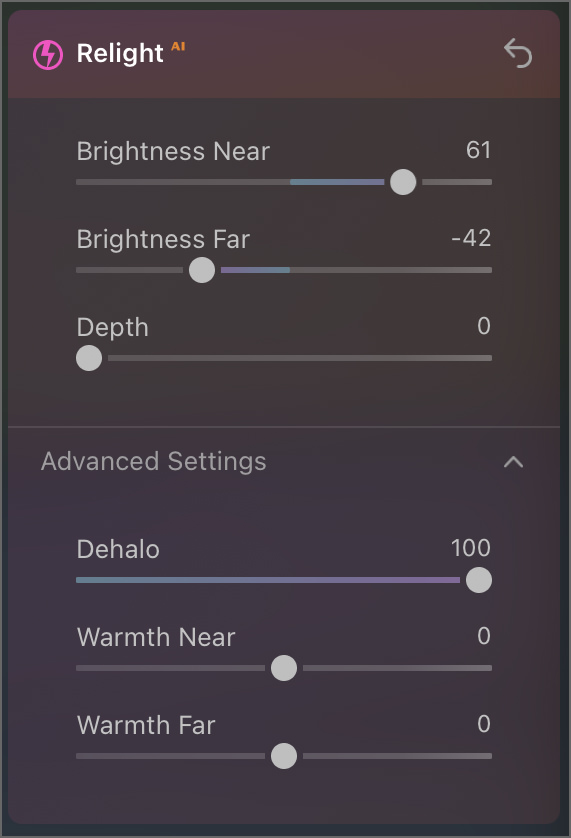
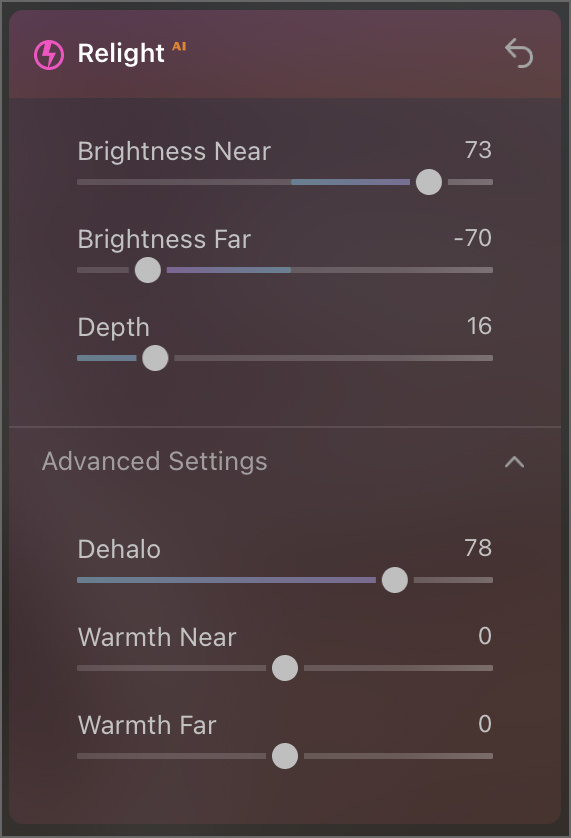
I just got my hands on a very early version of Luminar Neo, so I’ve been able to play around with a few of the tools they have. One of these tools that I think is fantastic is the Relight AI tool. This tool uses AI to find the subject in a photo and adjust the light in both the foreground (subject) and background. After experimenting with this tool, here are some of the things I’ve learned about it and how to use to get the best results:
Once the software is fully-functional, it will be interesting to see how well this tool plays with the other tools. I’m hopeful that it will be useful with landscapes, food, and wildlife images as well!
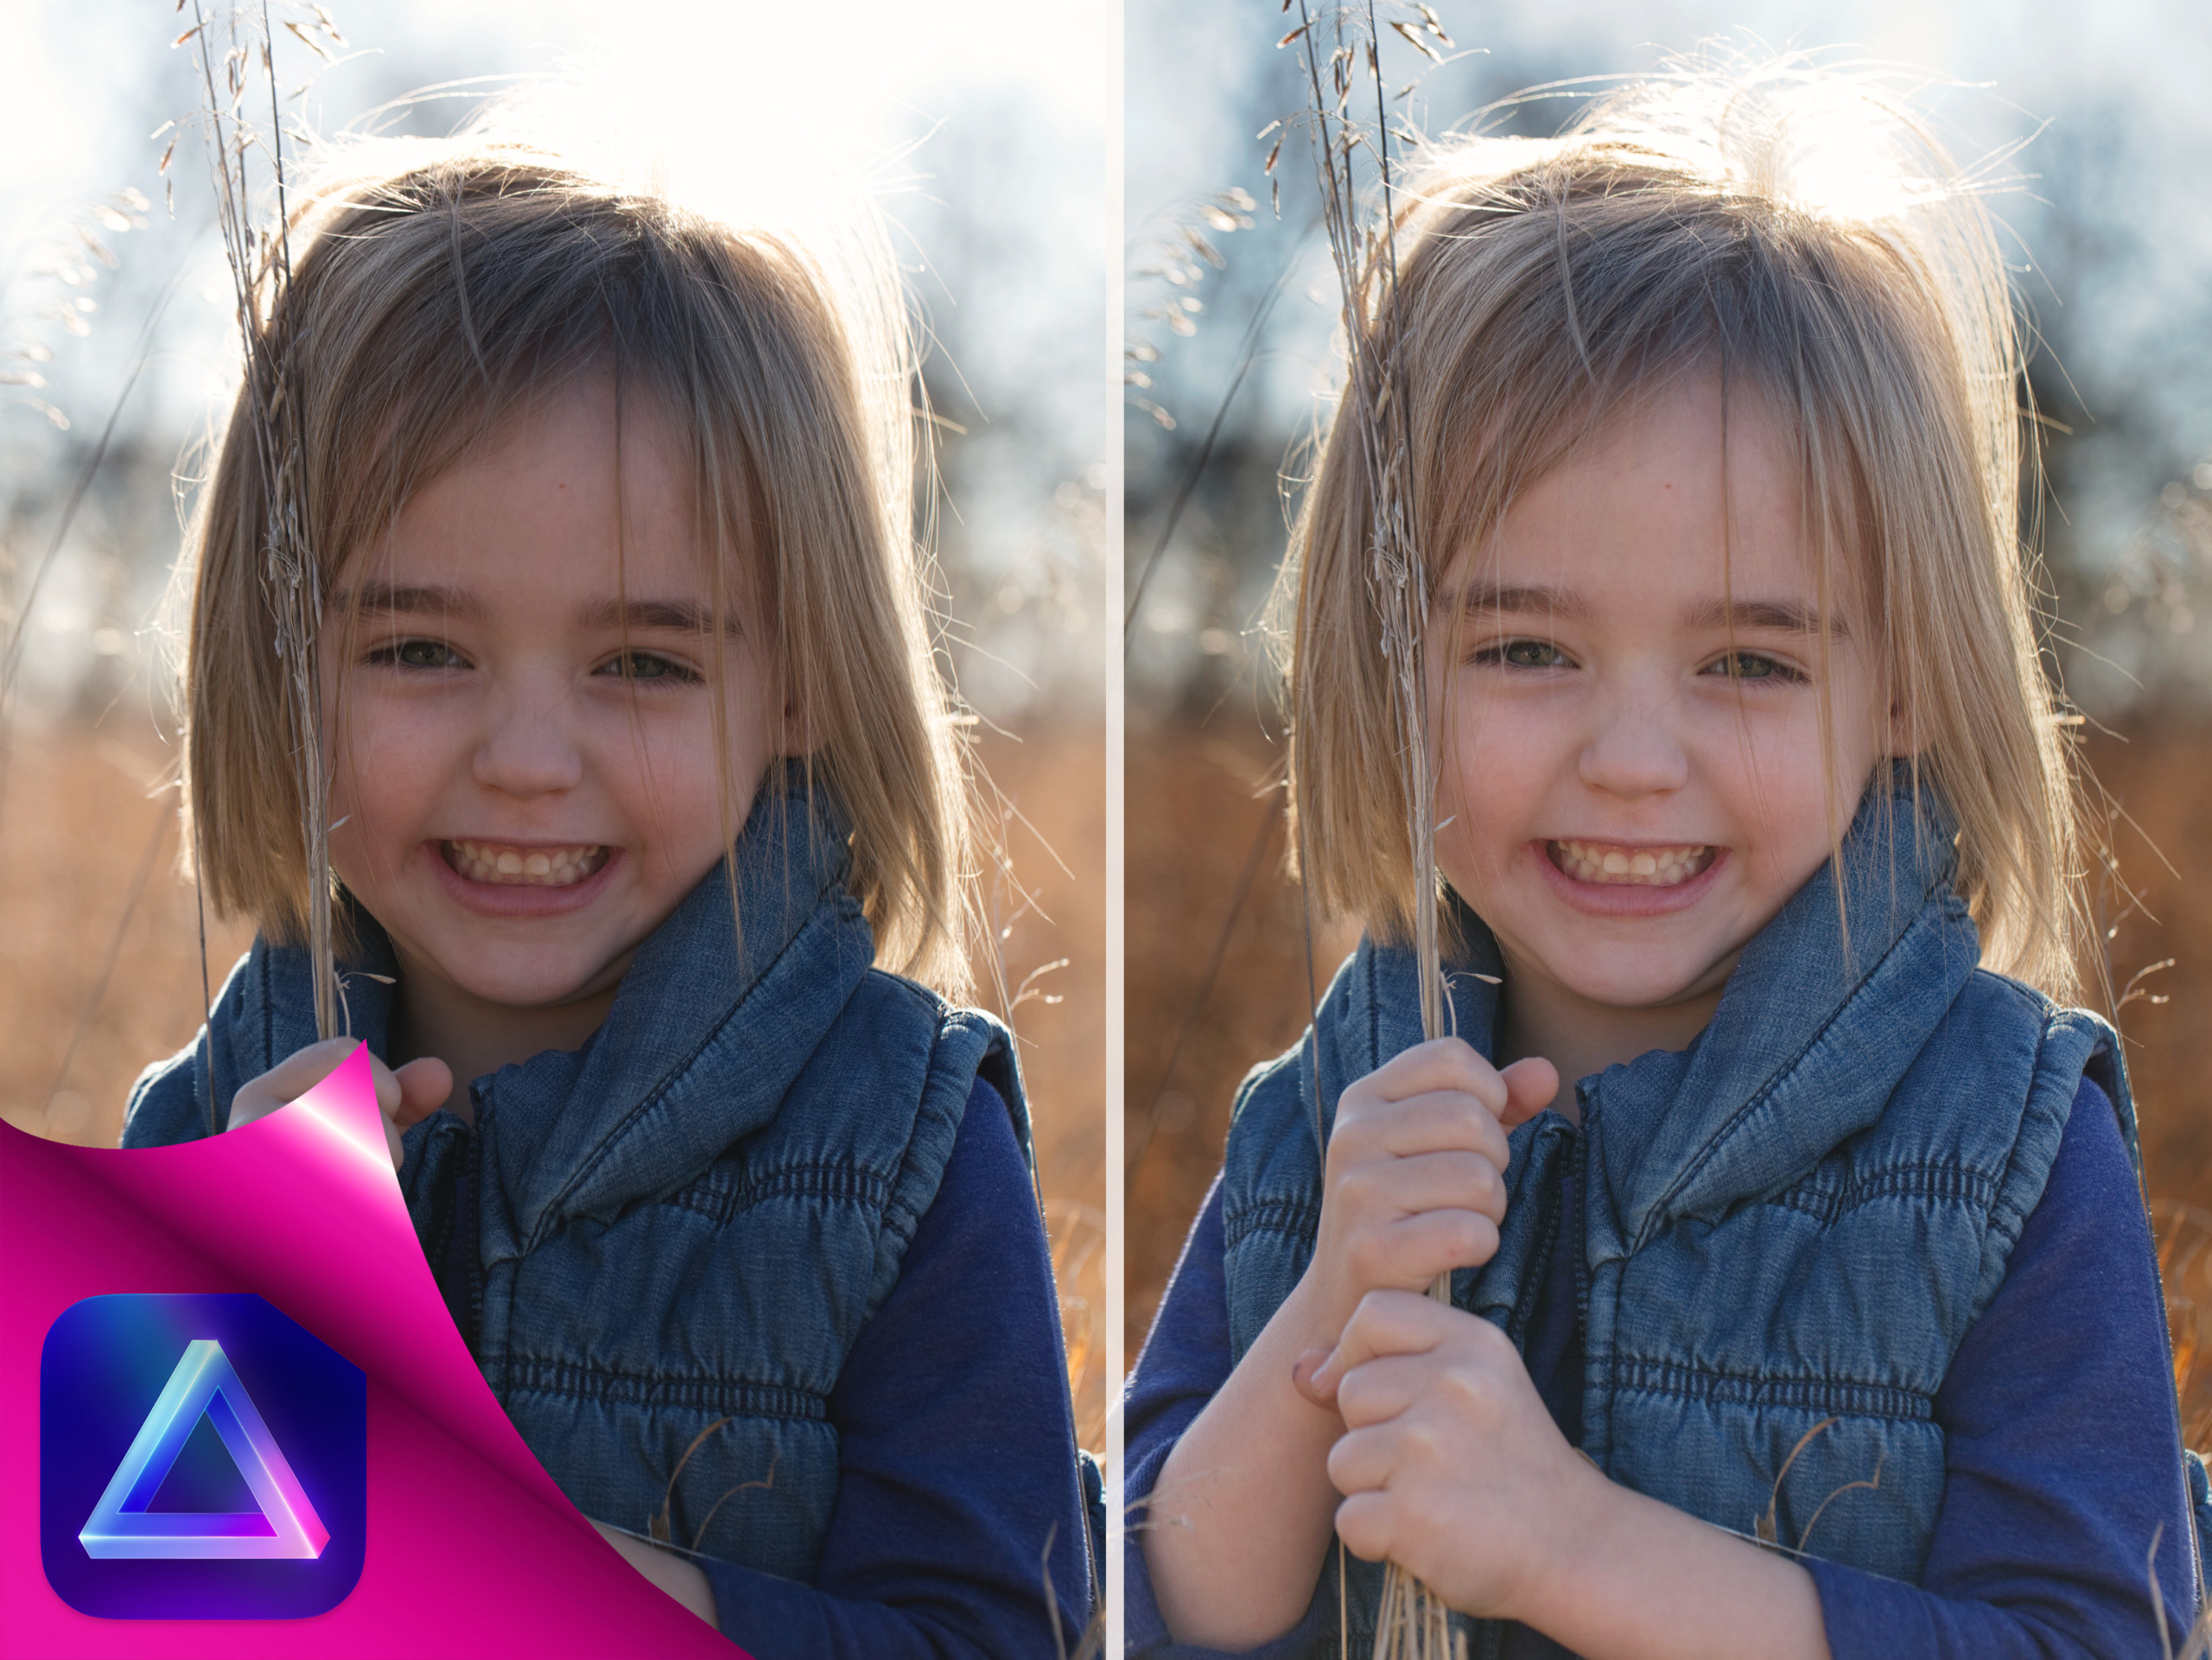
All of the before-and-after examples I have below are from raw images with no other adjustments to them before or after the Relight effect was applied.


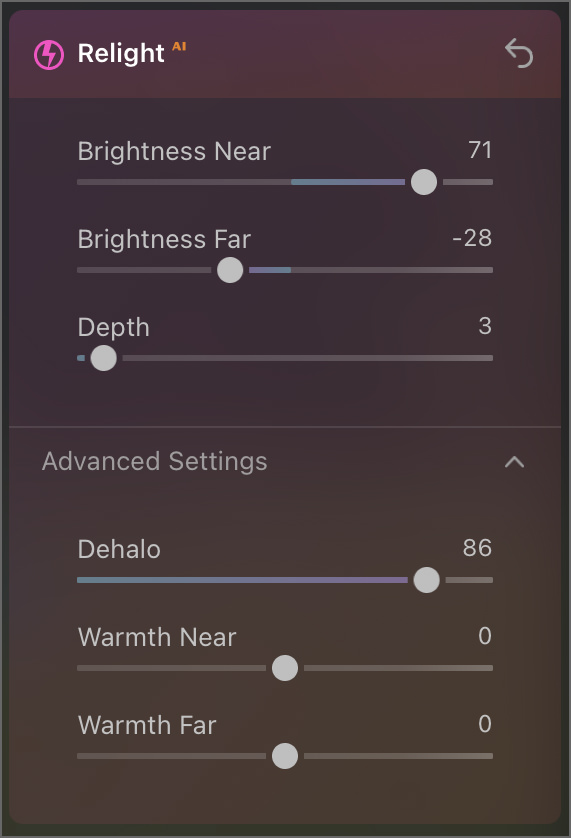
Raw photo before-and-after, with only the Luminar Neo Relight tool applied


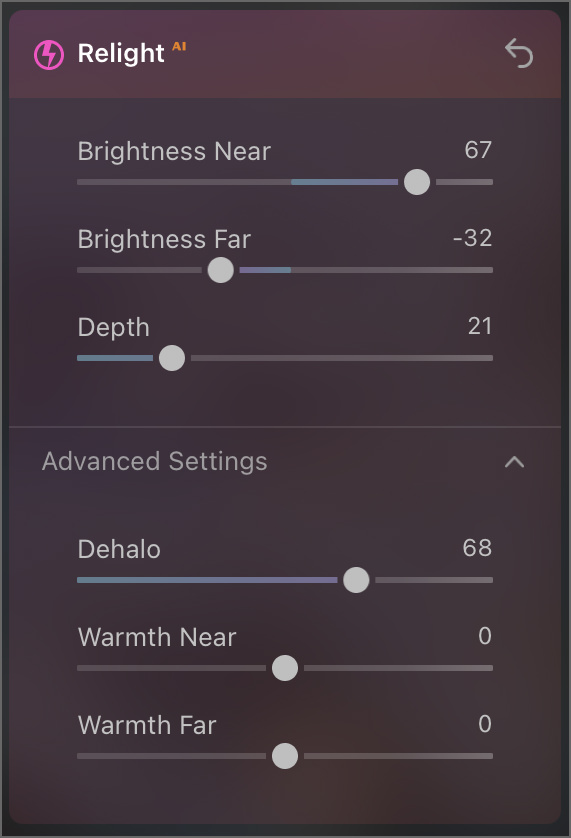
Raw photo before-and-after, with only the Luminar Neo Relight tool applied


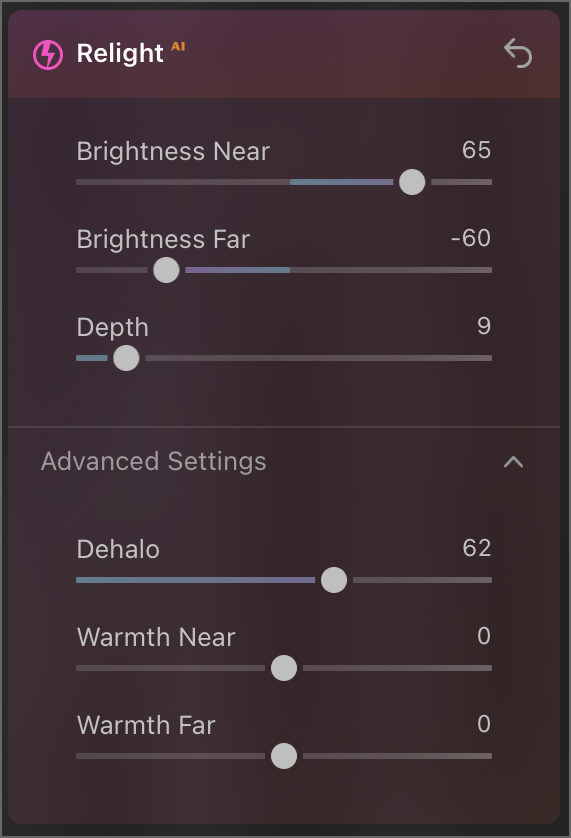
Raw photo before-and-after, with only the Luminar Neo Relight tool applied


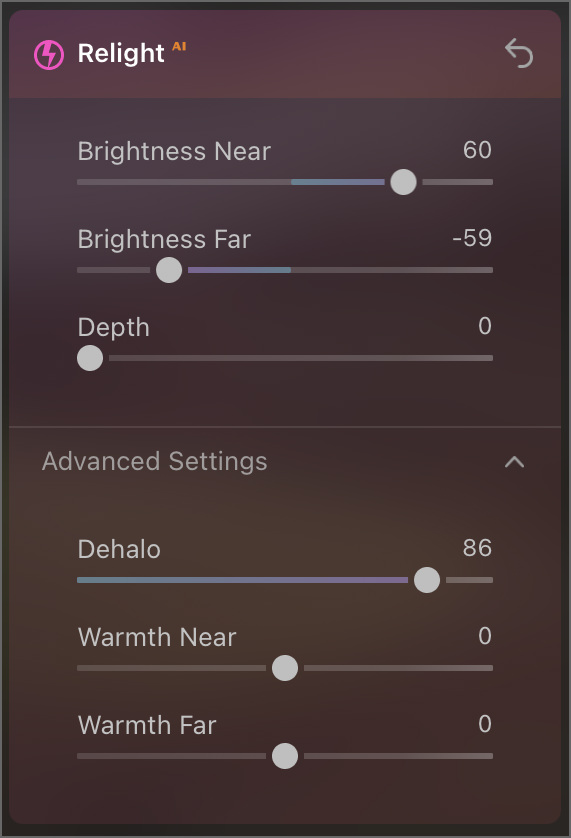
Raw photo before-and-after, with only the Luminar Neo Relight tool applied


Raw photo before-and-after, with only the Luminar Neo Relight tool applied


Raw photo before-and-after, with only the Luminar Neo Relight tool applied


Raw photo before-and-after, with only the Luminar Neo Relight tool applied


Raw photo before-and-after, with only the Luminar Neo Relight tool applied


Raw photo before-and-after, with only the Luminar Neo Relight tool applied


Raw photo before-and-after, with only the Luminar Neo Relight tool applied
I just got my hands on a very early version of Luminar Neo, so I’ve been able to play around with a few of the tools they have. One of these tools that I think is fantastic is the Relight AI tool. This tool uses AI to find the subject in a photo and adjust the light in both the foreground (subject) and background. After experimenting with this tool, here are some of the things I’ve learned about it and how to use to get the best results:
Once the software is fully-functional, it will be interesting to see how well this tool plays with the other tools. I’m hopeful that it will be useful with landscapes, food, and wildlife images as well!
All of the before-and-after examples I have below are from raw images with no other adjustments to them before or after the Relight effect was applied.
Raw photo before-and-after, with only the Luminar Neo Relight tool applied
Raw photo before-and-after, with only the Luminar Neo Relight tool applied
Raw photo before-and-after, with only the Luminar Neo Relight tool applied
Raw photo before-and-after, with only the Luminar Neo Relight tool applied
Raw photo before-and-after, with only the Luminar Neo Relight tool applied
Raw photo before-and-after, with only the Luminar Neo Relight tool applied
Raw photo before-and-after, with only the Luminar Neo Relight tool applied
Raw photo before-and-after, with only the Luminar Neo Relight tool applied
Raw photo before-and-after, with only the Luminar Neo Relight tool applied
Raw photo before-and-after, with only the Luminar Neo Relight tool applied

Nicole is a photographer, published author, and educator specializing in Lightroom, Photoshop, and photography. She is best known for her books on food photography but is widely versed in various photographic genres, including landscape, nature, stock, travel, and experimental imagery.


Hi Nicole
Can you do one or two samples with the Brightness Far setting turned up — so the background is as per the original, and the foreground is brightened ?
That would give us a better indication of how effective the tool is.
At the moment it doesn’t look too impressive.
Thanks, Stephen