
If you photograph landscapes, or anything with a sky, you’re very much aware that the weather does not always cooperate. Whether (no pun intended) it’s a bright blue sky with no clouds, an overcast day, or a sunset when the sky did not cooperate, it’s frustrating when you create a photo with a dull sky. Thankfully, with the use of post-processing, we can easily replace skies in our photos and make them look better than the original.
There are several photography software applications that you can use to replace skies. In this article, I will share three that I am most familiar with—Photoshop CC, Luminar AI, and ON1 Photo RAW—and I will discuss the pros and cons of each of them, along with some tips on using the software to replace skies in your photos. I will also show each application using the same photo and sky so you can see how each program handles the sky replacement.
Want some skies to play with on your own images? Click here or scroll to the bottom of the page to download them for FREE.
Quick Links:


Here’s how to use the Photoshop CC Sky Replacement tool:
Photoshop Pros:
Photoshop Cons:
My Thoughts:
The sky replacement tool in Photoshop works really well and very quickly, and makes it easy to further edit and stylize the sky replacement while already inside of Photoshop.

Here’s how to use Luminar’s Sky AI tool:
Luminar AI Pros:
Luminar AI Cons:
My Thoughts:
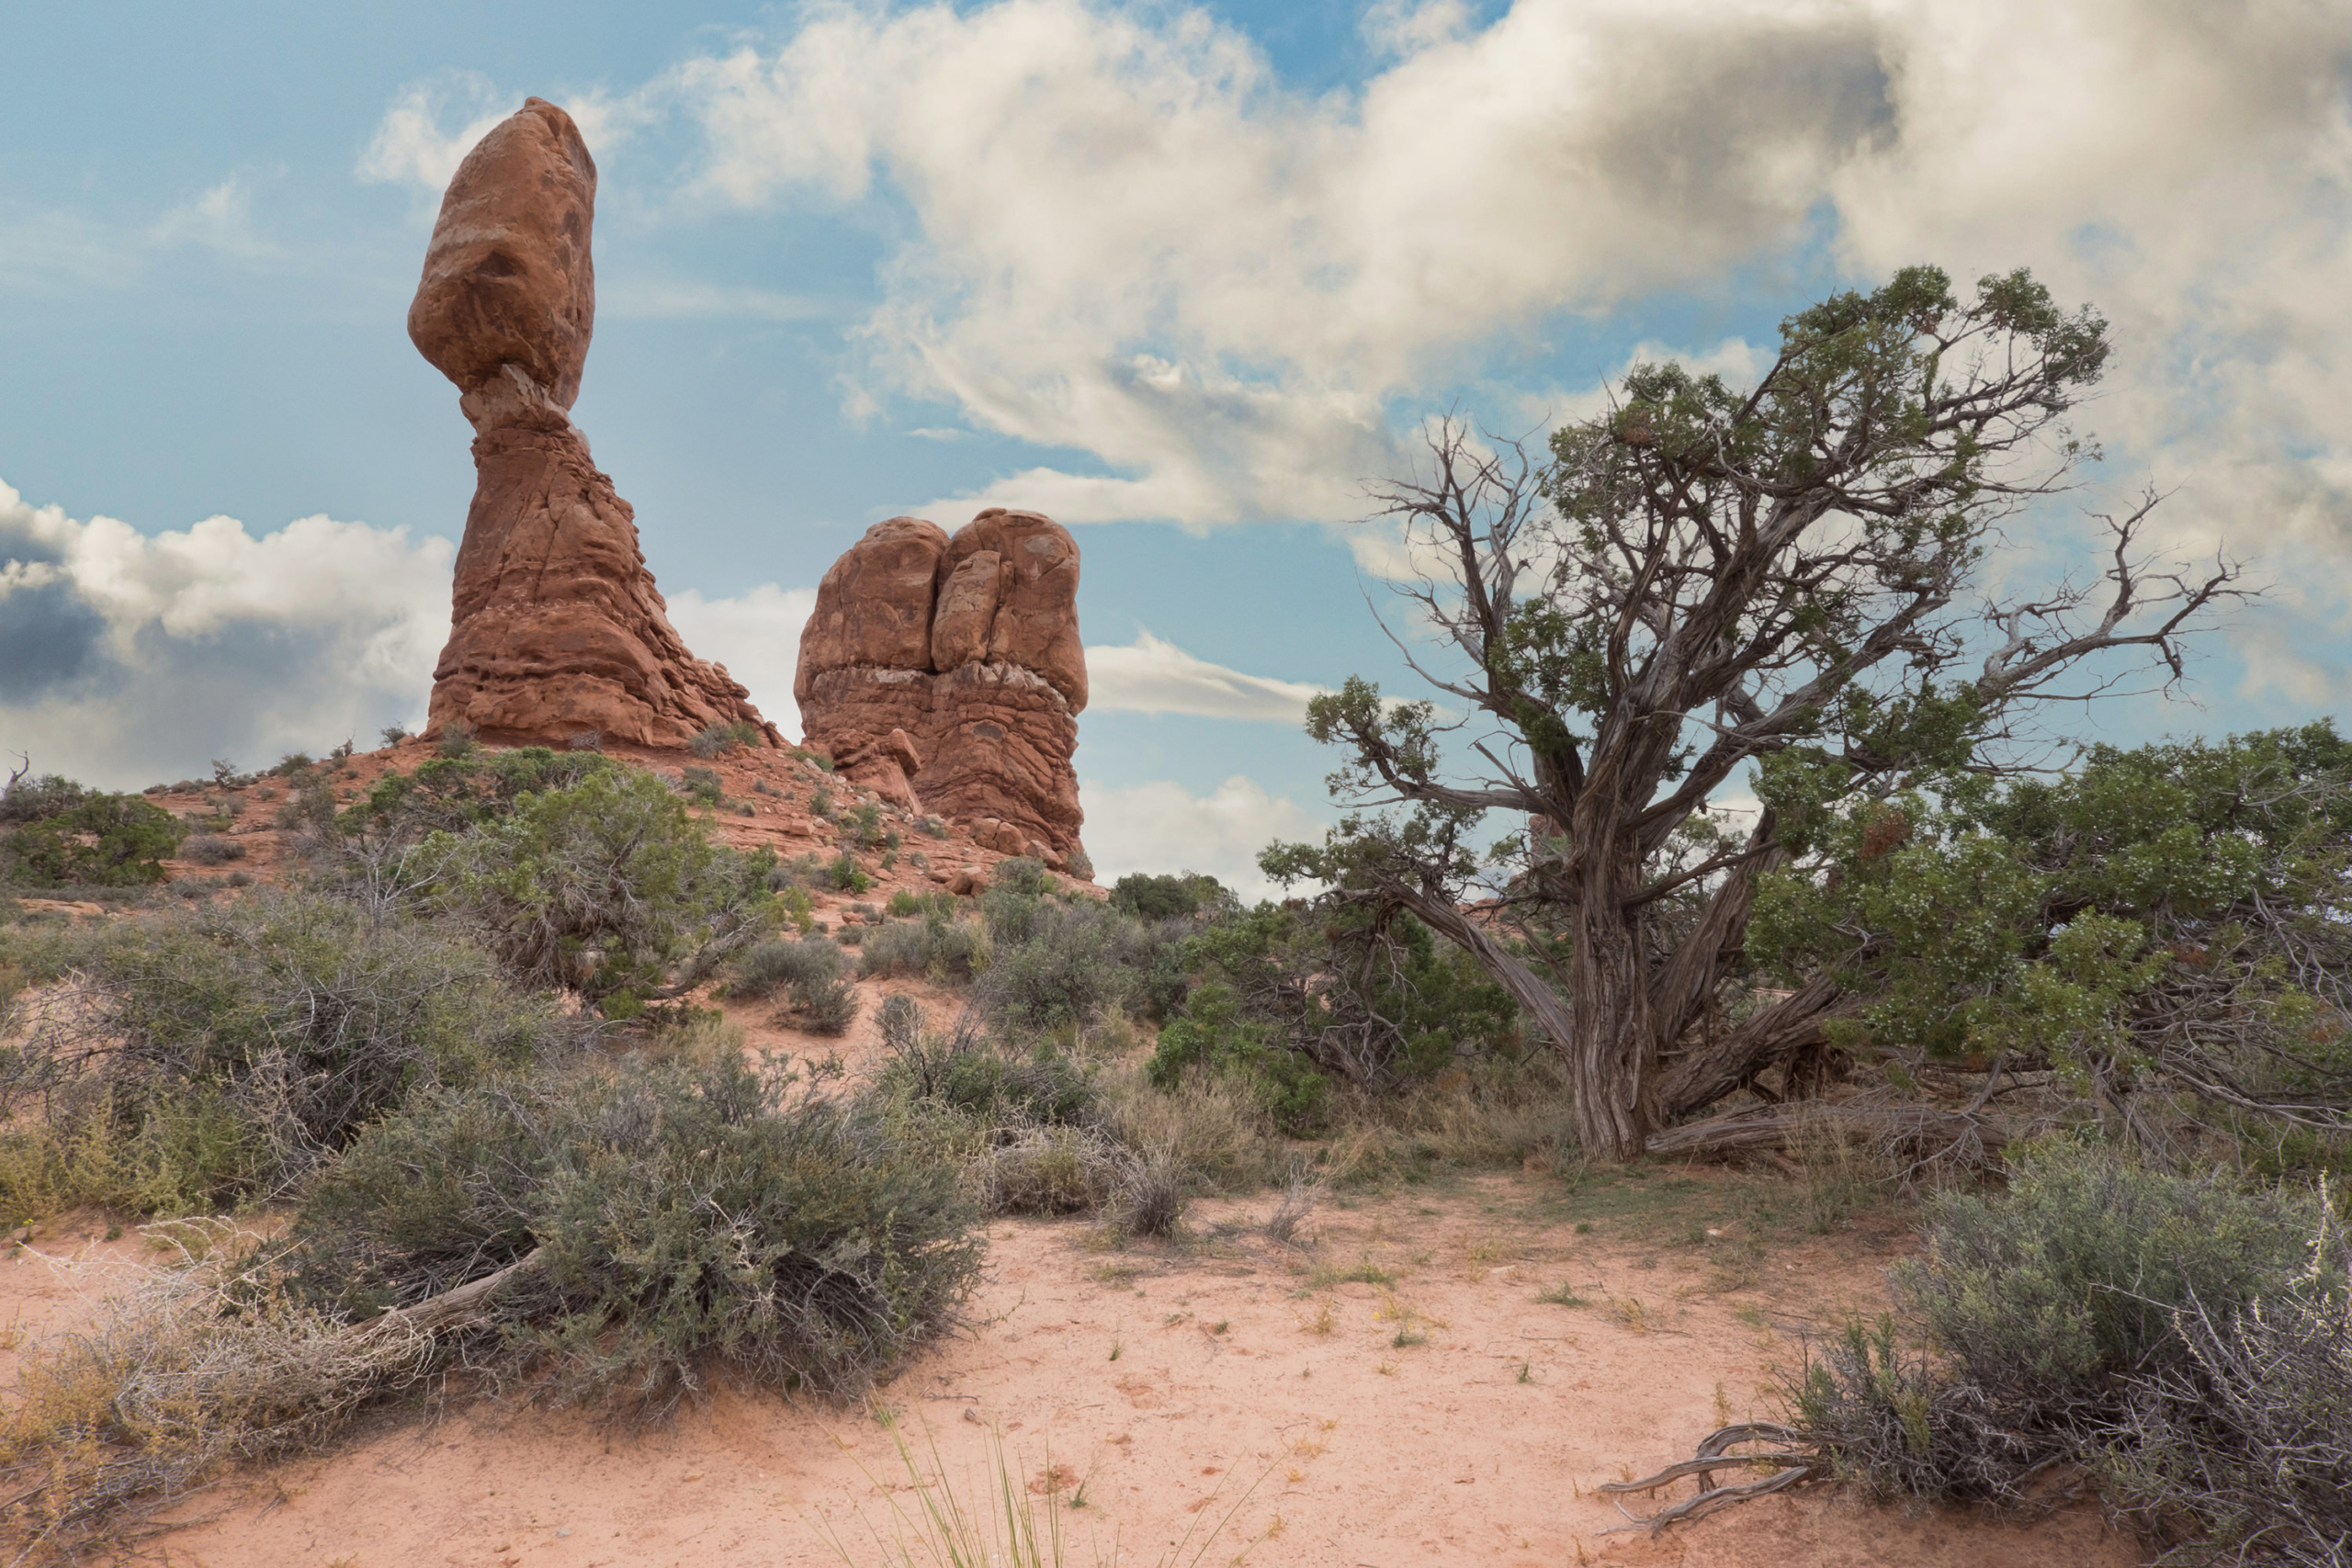
I’m a big fan of Luminar AI and the Sky AI tool is extremely easy to use. One added feature that was not shown here is that it works really well with photos that have water reflections in them, so you don’t need to go back in and add it manually. The masking also seems to be a little cleaner in some areas of this example photo (look at the small branches in the tree on the right) which is nice to see.

Before and after in ON1 Photo RAW 2021
Note: The new version of ON1 Photo RAW (version 2022) includes a sky replacement filter. However, the masking on it is really poor and it does not include things like adapting the foreground area to the color/tone of the new sky. Because of this, I WOULD NOT RECOMMEND using ON1’s new “Sky Swap AI” for sky replacement.

Before and after in ON1 Photo RAW 2022
Here’s how to use ON1 Photo RAW 2021 to replace a sky:
ON1 Photo RAW 2021 — Pros:
ON1 Photo RAW 2021 — Cons:
My Thoughts:
For sky replacement, ON1 Photo RAW would be my last choice, especially since I also use Photoshop CC and Luminar AI. However, it is still possible and if sky replacement is something you do not do regularly then it might work for you.


Free Sky Overlays
Use the form below to access three high-resolution sky overlays:
If you photograph landscapes, or anything with a sky, you’re very much aware that the weather does not always cooperate. Whether (no pun intended) it’s a bright blue sky with no clouds, an overcast day, or a sunset when the sky did not cooperate, it’s frustrating when you create a photo with a dull sky. Thankfully, with the use of post-processing, we can easily replace skies in our photos and make them look better than the original.
There are several photography software applications that you can use to replace skies. In this article, I will share three that I am most familiar with—Photoshop CC, Luminar AI, and ON1 Photo RAW—and I will discuss the pros and cons of each of them, along with some tips on using the software to replace skies in your photos. I will also show each application using the same photo and sky so you can see how each program handles the sky replacement.
Want some skies to play with on your own images? Click here or scroll to the bottom of the page to download them for FREE.
Quick Links:
Here’s how to use the Photoshop CC Sky Replacement tool:
Photoshop Pros:
Photoshop Cons:
My Thoughts:
The sky replacement tool in Photoshop works really well and very quickly, and makes it easy to further edit and stylize the sky replacement while already inside of Photoshop.
Here’s how to use Luminar’s Sky AI tool:
Luminar AI Pros:
Luminar AI Cons:
My Thoughts:
I’m a big fan of Luminar AI and the Sky AI tool is extremely easy to use. One added feature that was not shown here is that it works really well with photos that have water reflections in them, so you don’t need to go back in and add it manually. The masking also seems to be a little cleaner in some areas of this example photo (look at the small branches in the tree on the right) which is nice to see.
Before and after in ON1 Photo RAW 2021
Note: The new version of ON1 Photo RAW (version 2022) includes a sky replacement filter. However, the masking on it is really poor and it does not include things like adapting the foreground area to the color/tone of the new sky. Because of this, I WOULD NOT RECOMMEND using ON1’s new “Sky Swap AI” for sky replacement.
Before and after in ON1 Photo RAW 2022
Here’s how to use ON1 Photo RAW 2021 to replace a sky:
ON1 Photo RAW 2021 — Pros:
ON1 Photo RAW 2021 — Cons:
My Thoughts:
For sky replacement, ON1 Photo RAW would be my last choice, especially since I also use Photoshop CC and Luminar AI. However, it is still possible and if sky replacement is something you do not do regularly then it might work for you.
Free Sky Overlays
Use the form below to access three high-resolution sky overlays:

Nicole is a photographer, published author, and educator specializing in Lightroom, Photoshop, and photography. She is best known for her books on food photography but is widely versed in various photographic genres, including landscape, nature, stock, travel, and experimental imagery.


I’ve purchased some of your sky packs before. I presently have Photoshop and Luminar 4. Both seem to work very well with basic sky replacements. The problem I’m having comes when trying to use the sky in a water reflection. Only a few skies work cleanly. Others have some odd opacity layer around the edges only. I’m using techniques I’ve found from some pros but they don’t work consistently. I’ve asked for help in figuring out what’s wrong but they want a ridiculous sum of money to provide help. Do you have a surefire way of producing sky replacements in a reflection? What would be your charge for following my process in a Zoom call? Thanks very much. Reid
Hi Reid, I have a video tutorial that shows how to add a sky with a water reflection using Luminar 4. A similar method should also work well in Photoshop. If you still have questions please feel free to use my contact form and get in touch directly.
Here’s the Luminar 4 article I mentioned: https://nicolesy.com/2020/02/06/l4-sky-replace-reflection/
I have not found the Luminar AI sky reflection mode to work very well. It will work in cases where the water is easy to mask, but often I’ve found a total failure or else the reflection doesn’t match up with the sky in a natural way. It really needs work.
I use luminar AI and you can edit the mask manually,, it allows you to paint in and delete from areas you don’t want it.
Thank you for a thoughtful review. Although I rarely replace skies, I started with Luminar AI and switched to PS when Adobe added that option, especially because of the layering options. I have used ON1 Photo Raw a couple of times when I was already using that app for my editing but found that it tended to have a ghost especially in B&W that takes a lot of work to refine. Thank you for the bonus skies.
I have both Photoshop and Luminar ai and find Luminar ai much easier and cleaner. Plus I really like the reflection and the options to edit the sky once placed.
Thanks for the great comparison and instructions to use sky replacement.
I have used the older manual sky replacement in Photoshop several times and thought it was great. The new,fairly automatic and fast is a great tool. Makes me want to replace every sky.