I’ve been a Luminar user for several years, and have developed my own style of post-processing with it. Oftentimes, I find myself gravitating to many of the same tools over and over. All of the tools in Luminar AI have a lot of power in them, but I wanted to share with you my top 10 favorite tools that I keep using again and again. Who knows … maybe you’ll discover a tool you’ve never tried before!
Enhance AI
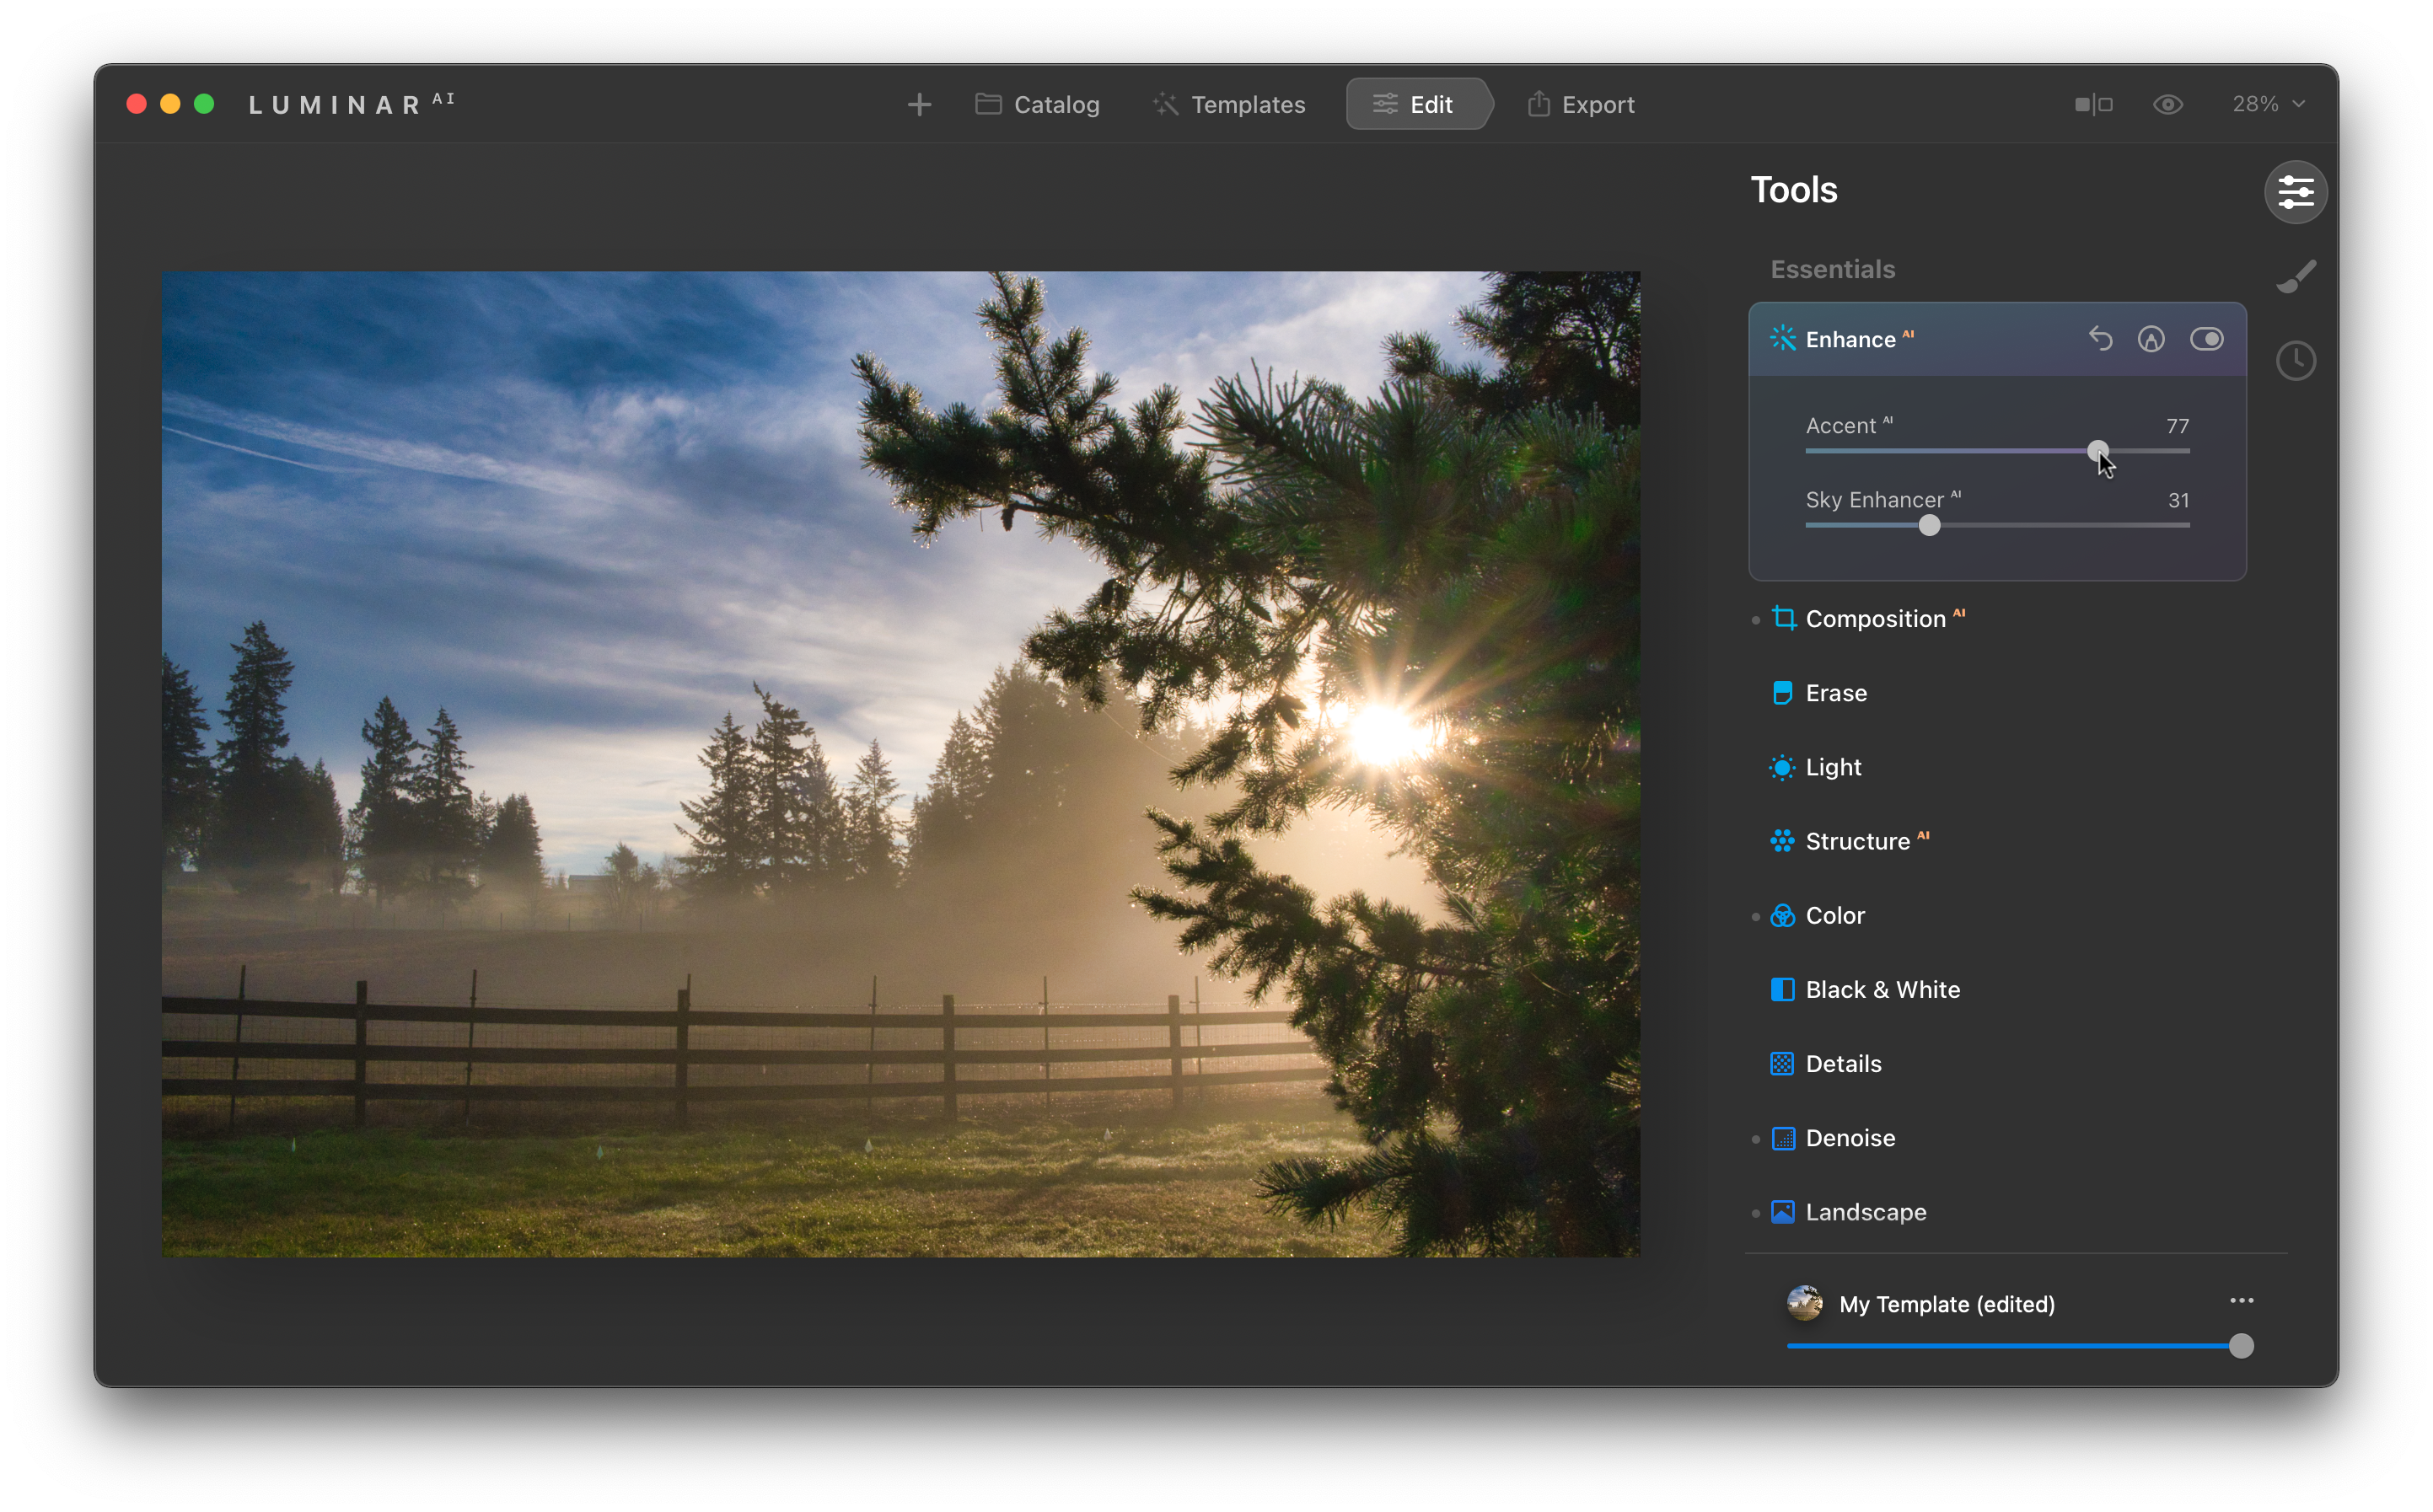
This tool gets added to nearly every photo that I work on in Luminar AI. In fact, when editing raw photos in Luminar, I rarely ever use the Light tool anymore, which could be considered a “classic” raw tool (white balance, exposure, etc.). The Accent AI slider does a good job of making shadows brighter and highlights darker, all while maintaining contrast throughout the image. And, if you have a sky in your photo, the Sky Enhancer AI slider helps darken it and make the clouds stand out. I tend to use the Sky Enhancer AI tool with a lighter touch, as it can make skies become a little bit too dark.
View the before-and-after with this tool:
Drag the slider to preview the photos


Color
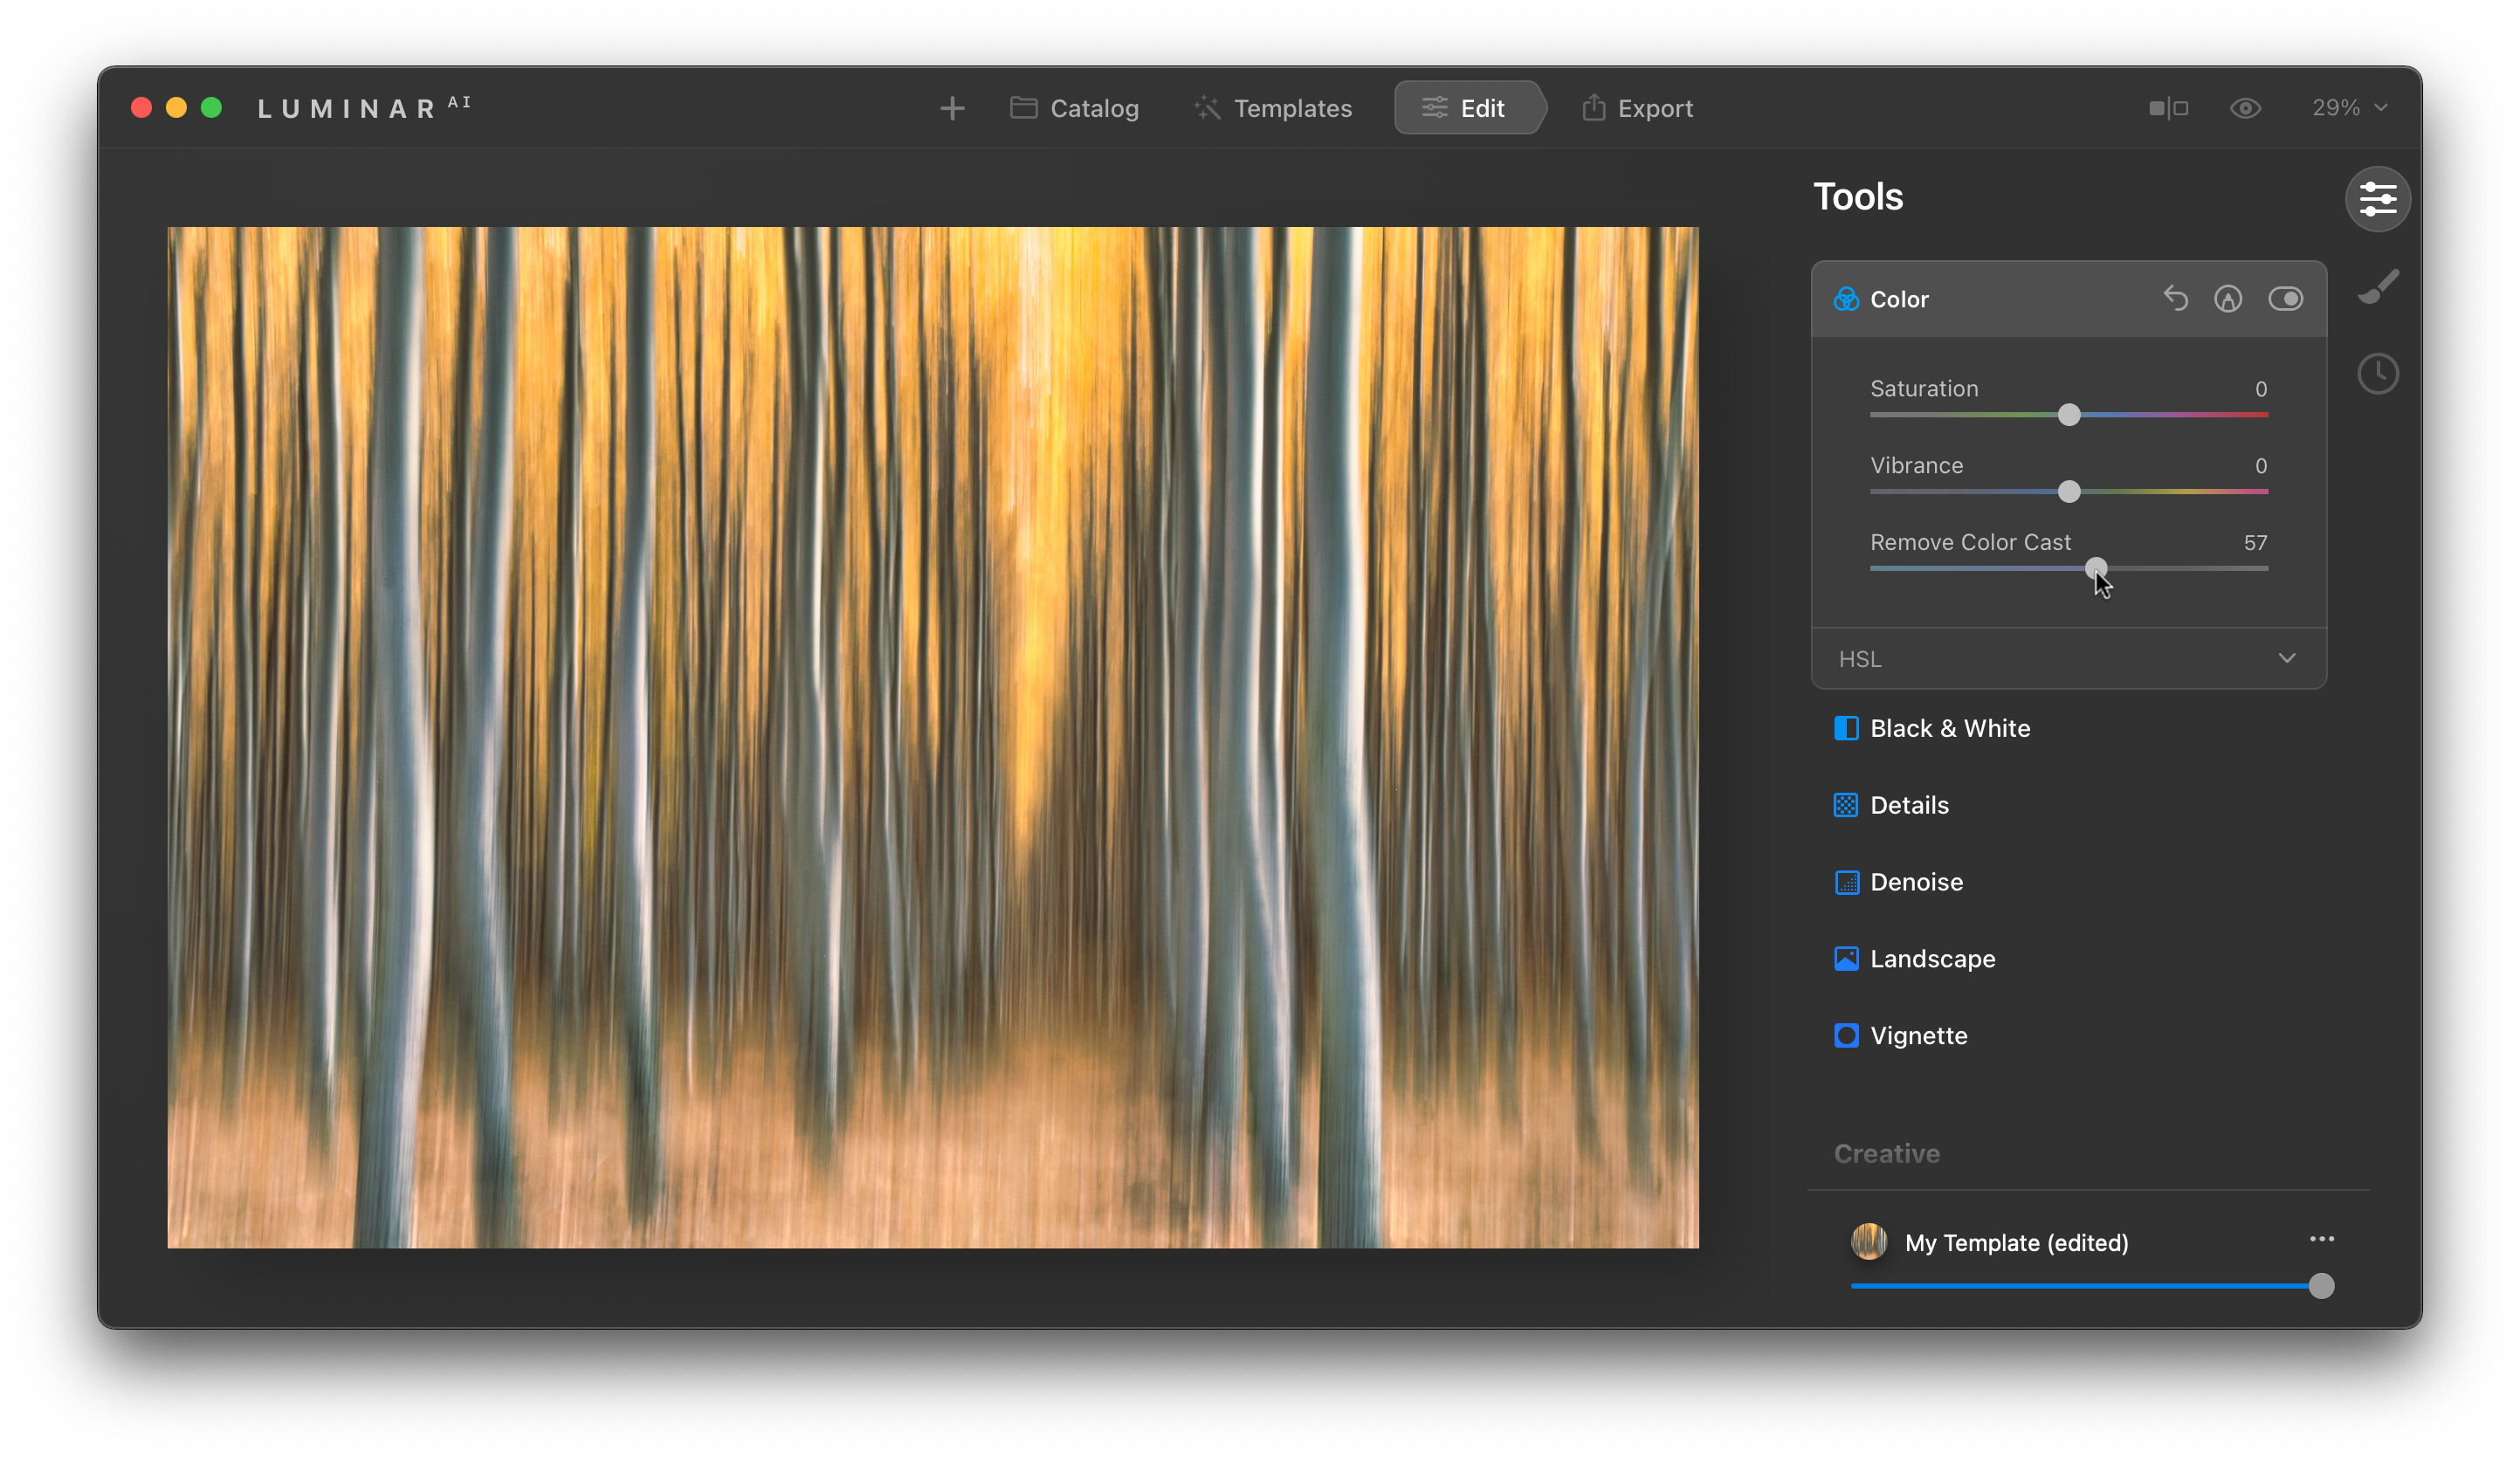
Within the Color tool is a slider—the Color Cast Removal slider— that can be a lifesaver when it comes to removing color casts in a photograph. I will often go into this tool and ignore using the white balance slider because it does such a good job. In fact, even if I do use the white balance slider to try and adjust the color to remove a color cast, oftentimes the Color Cast Removal slider helps to catch what could not be fixed with the raw adjustments. It’s even a good tool to use if you’re not sure if there is a color cast or not; oftentimes Luminar will see things in the photo that we can’t recognize right away, so this is definitely at the top of my favorite tools in Luminar AI.
View the before-and-after with this tool:
Drag the slider to preview the photos


Sky AI
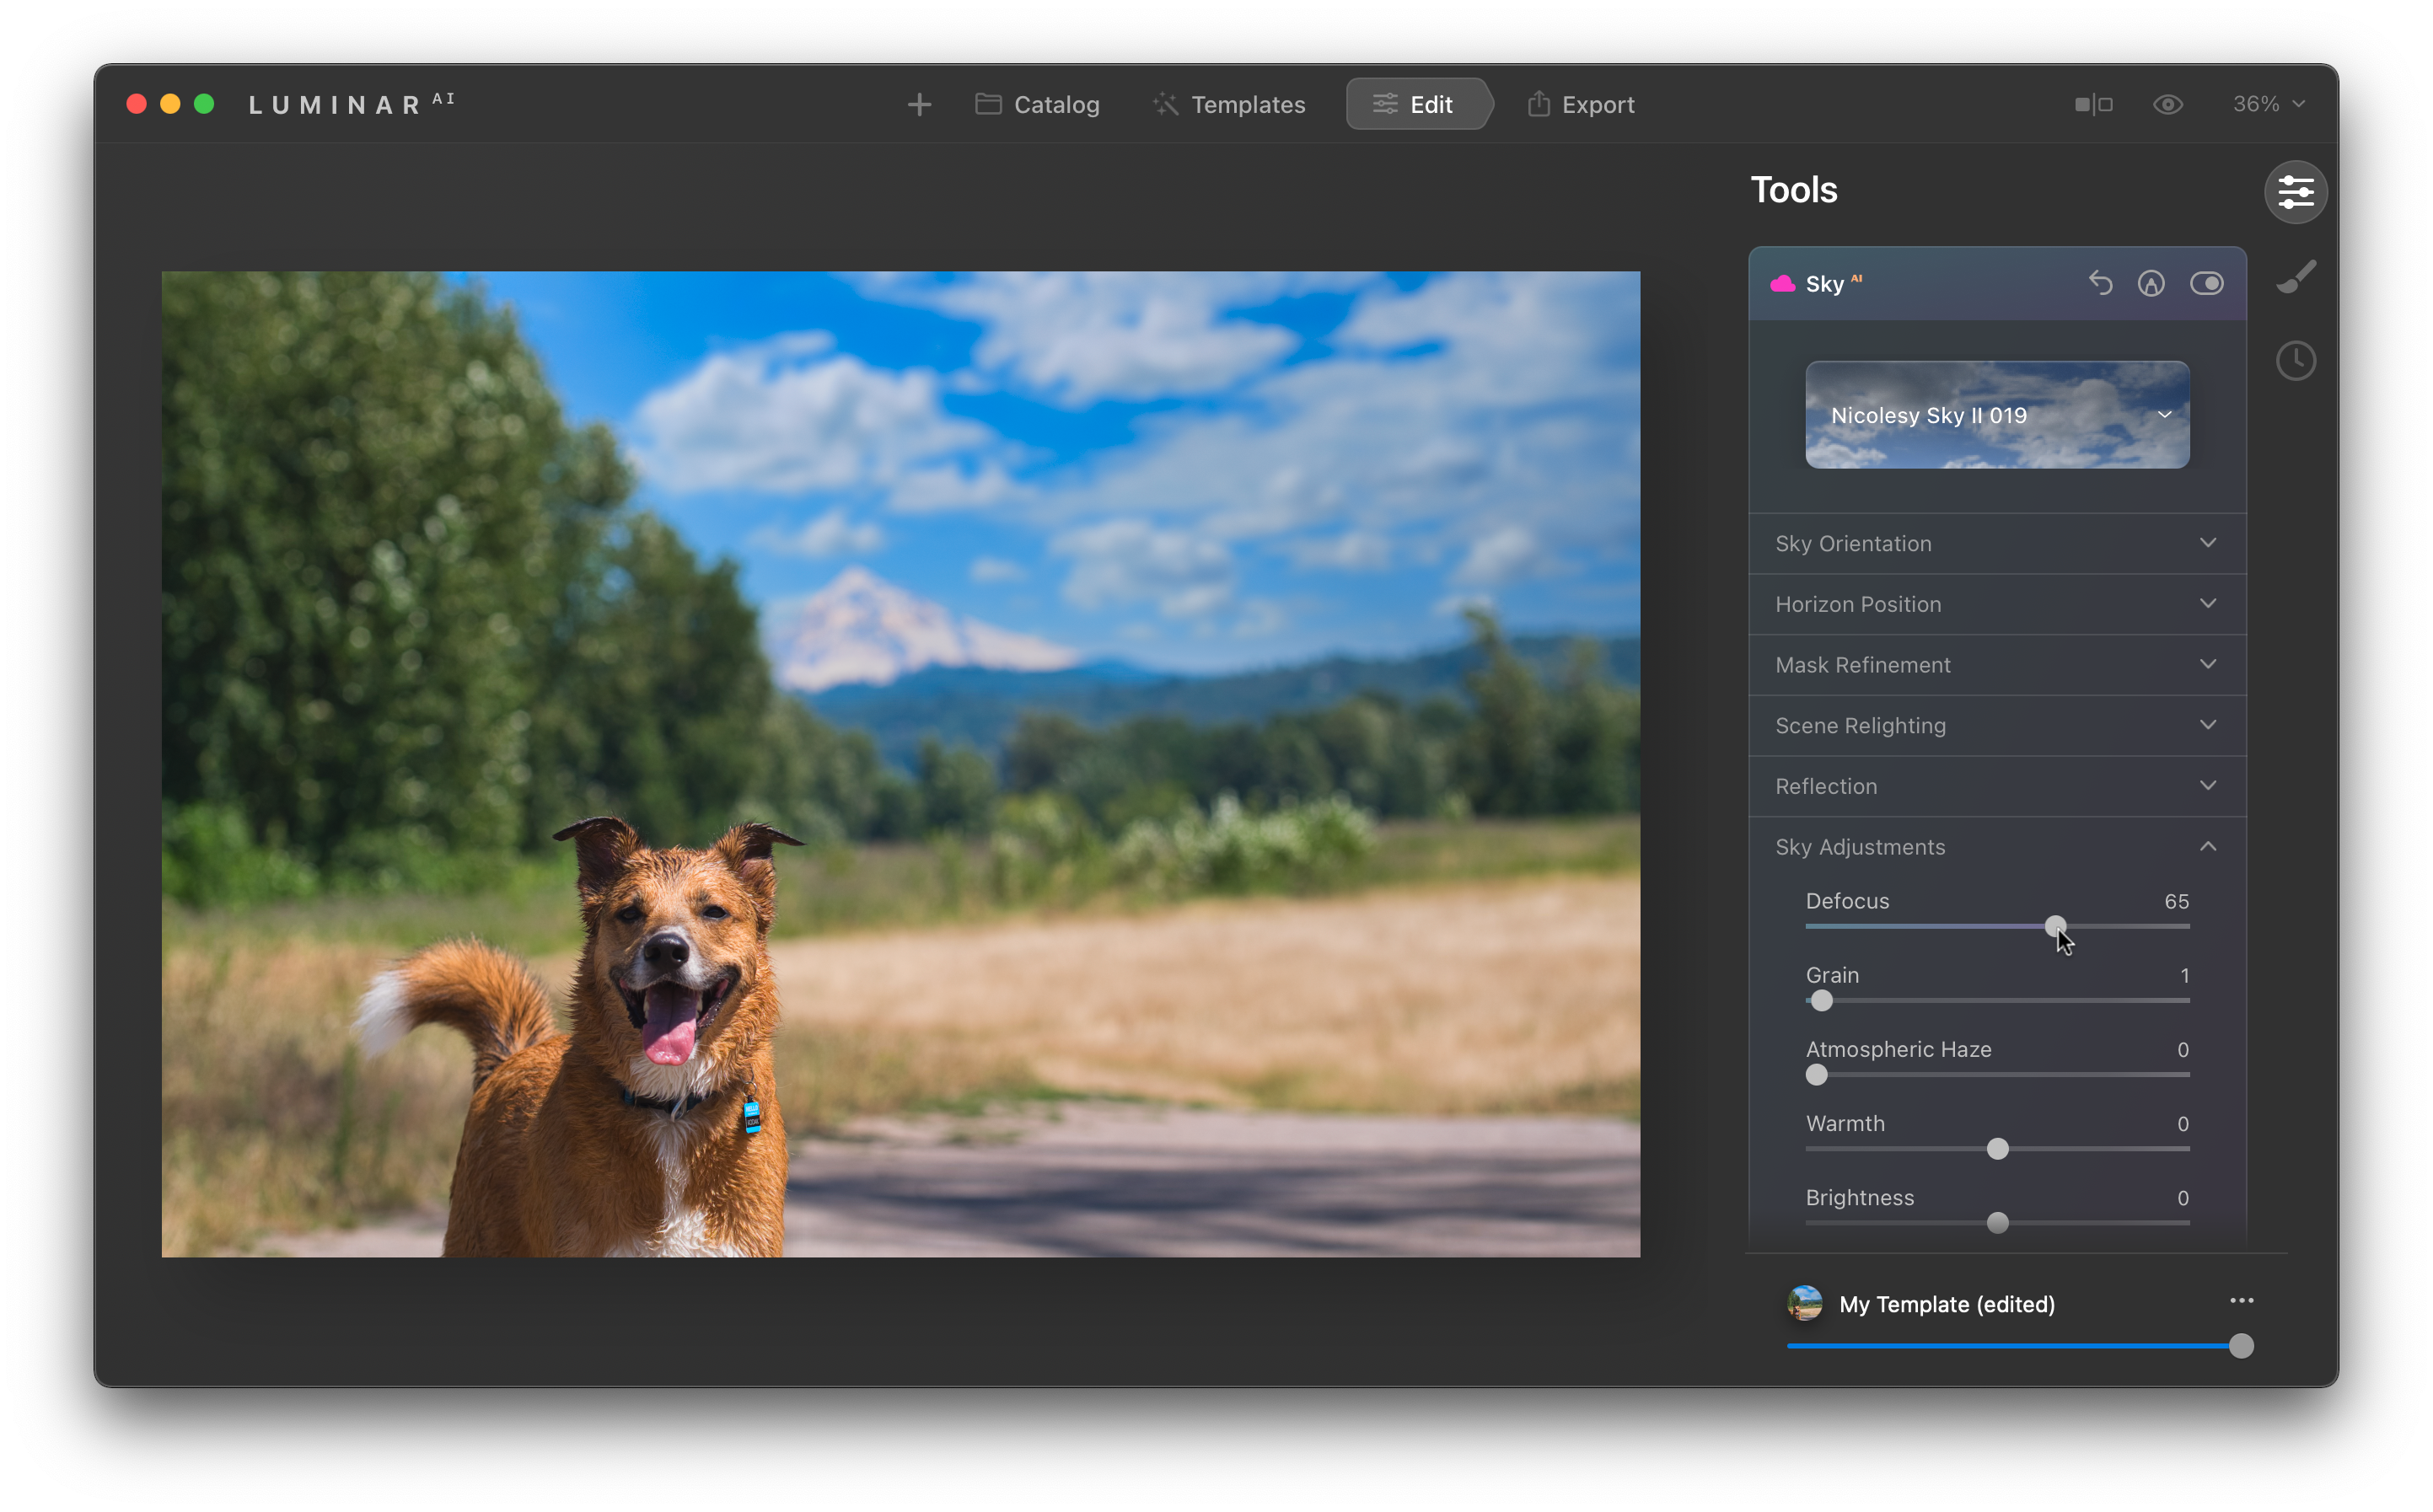
When you want to replace a boring sky, the Sky AI tool makes it really easy to do. Luminar AI will automatically detect the sky in your photo and all you need to do is choose the sky you want to replace it with. You can even import your own skies to add to the dropdown list, so you can work with more than just the default skies that come included with Luminar. After adding the sky you can make adjustments to the masking, focus, and more.
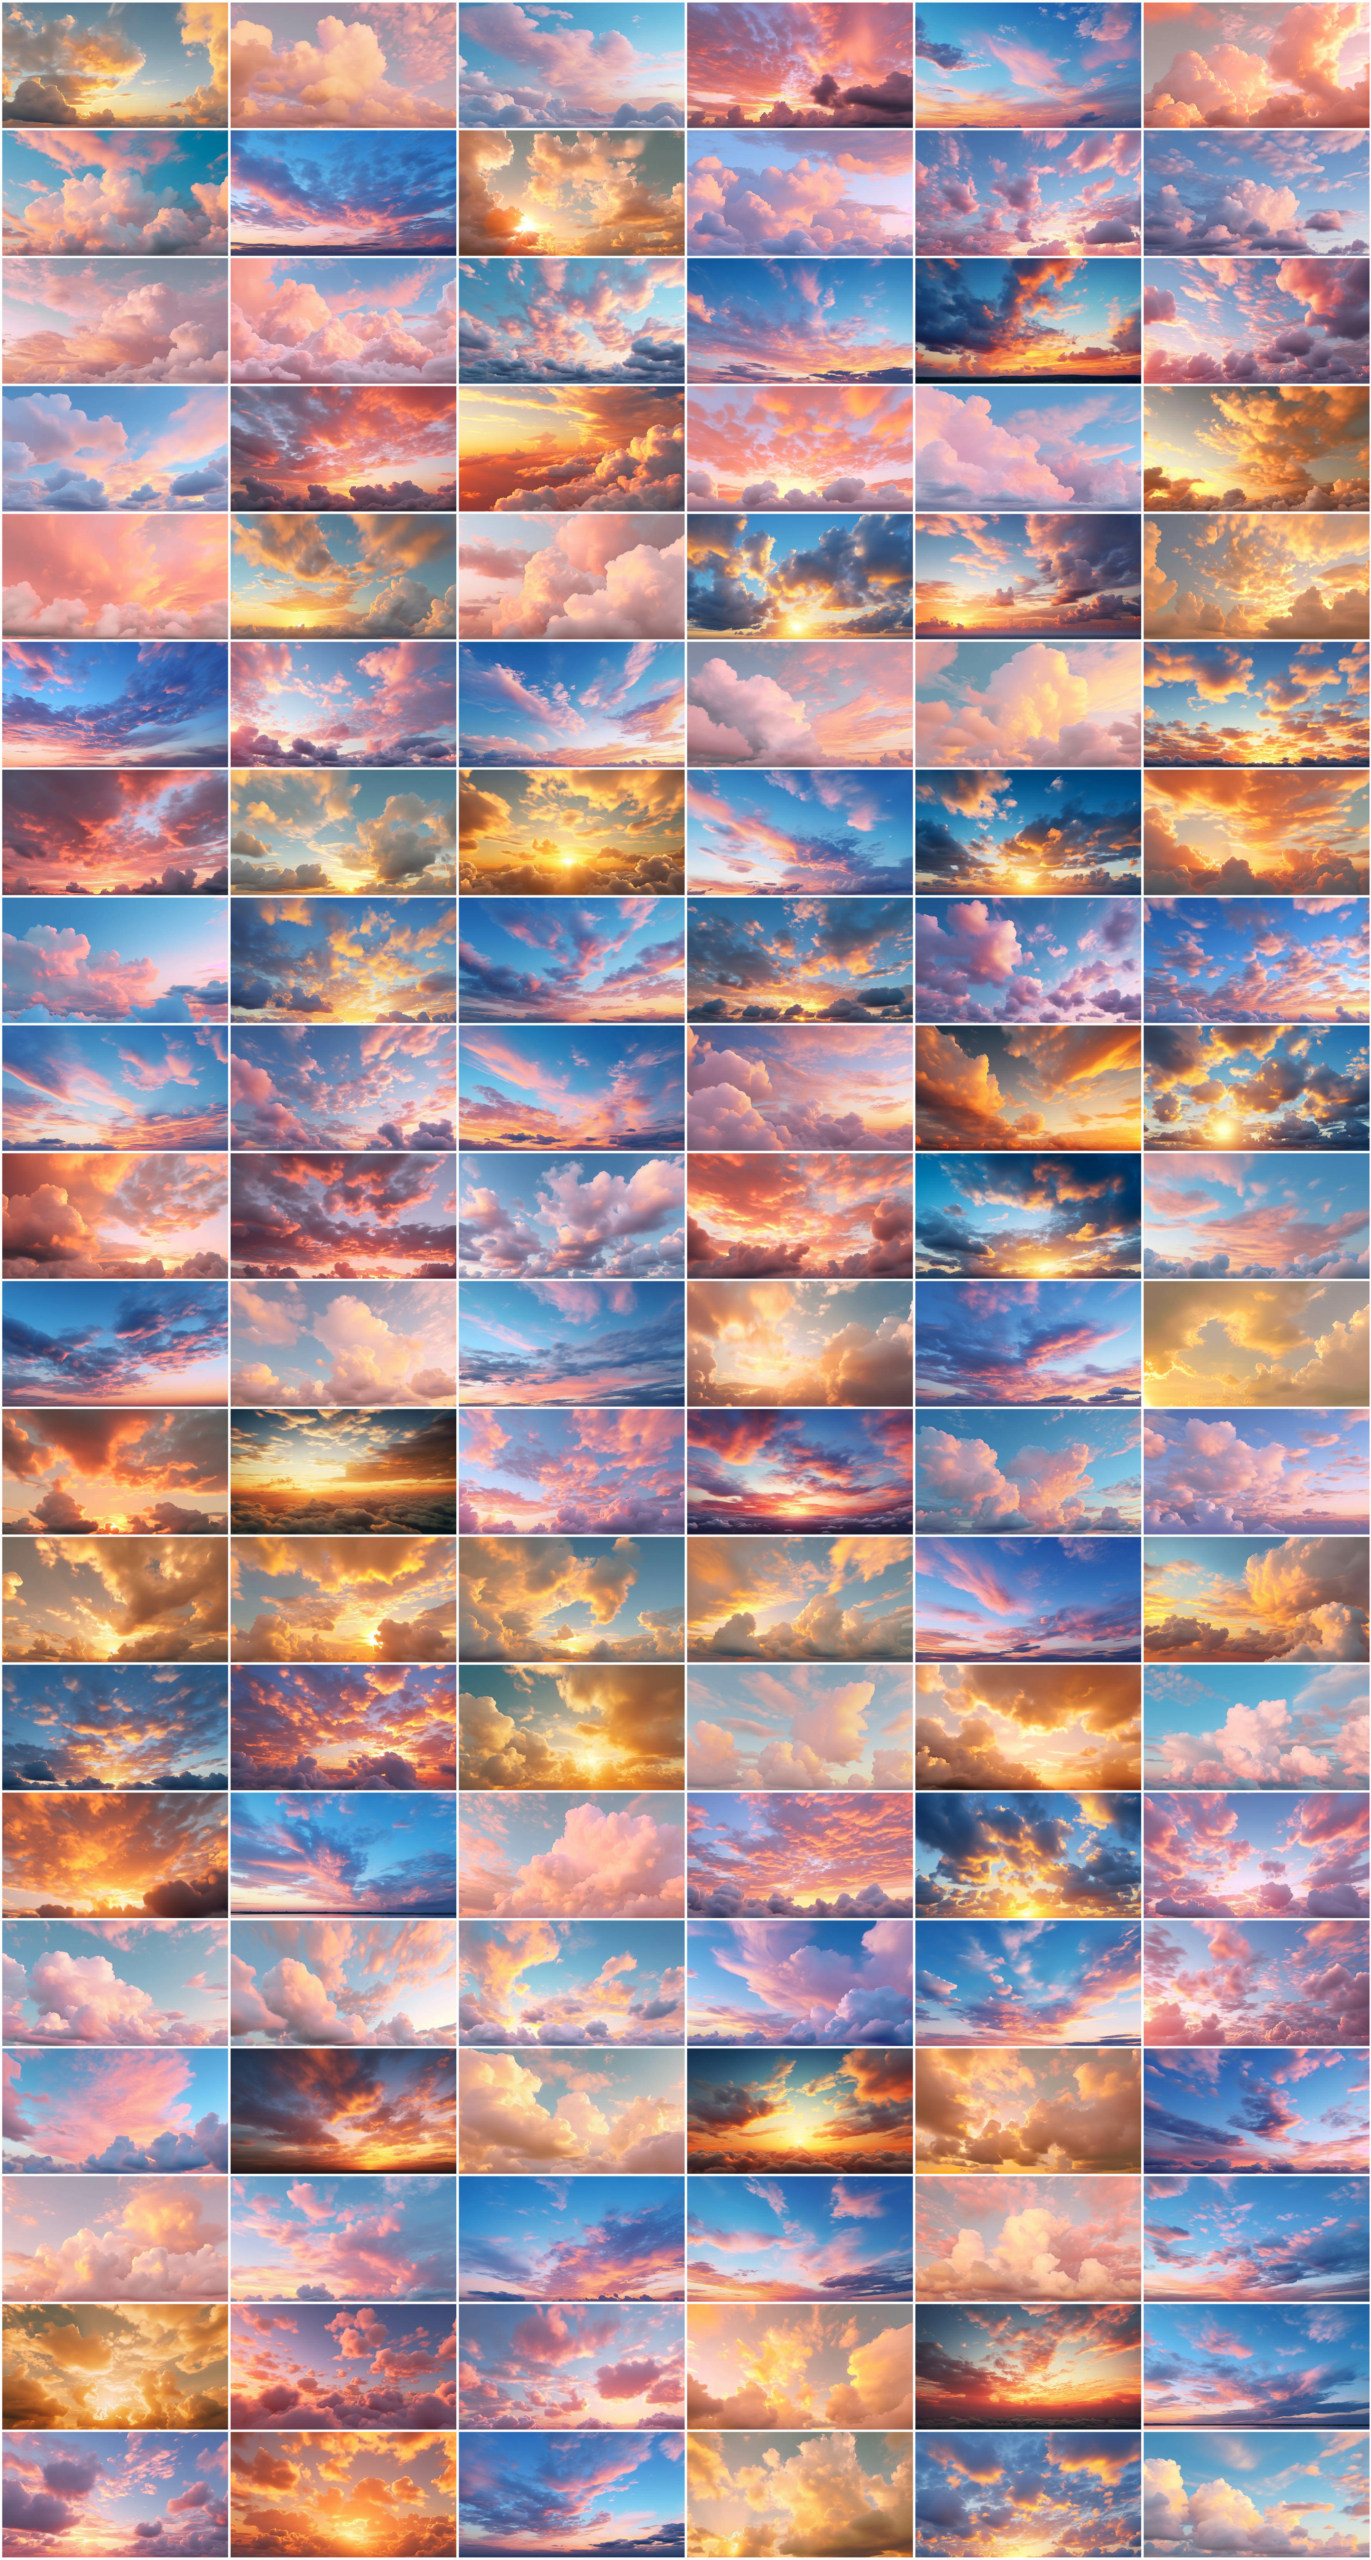
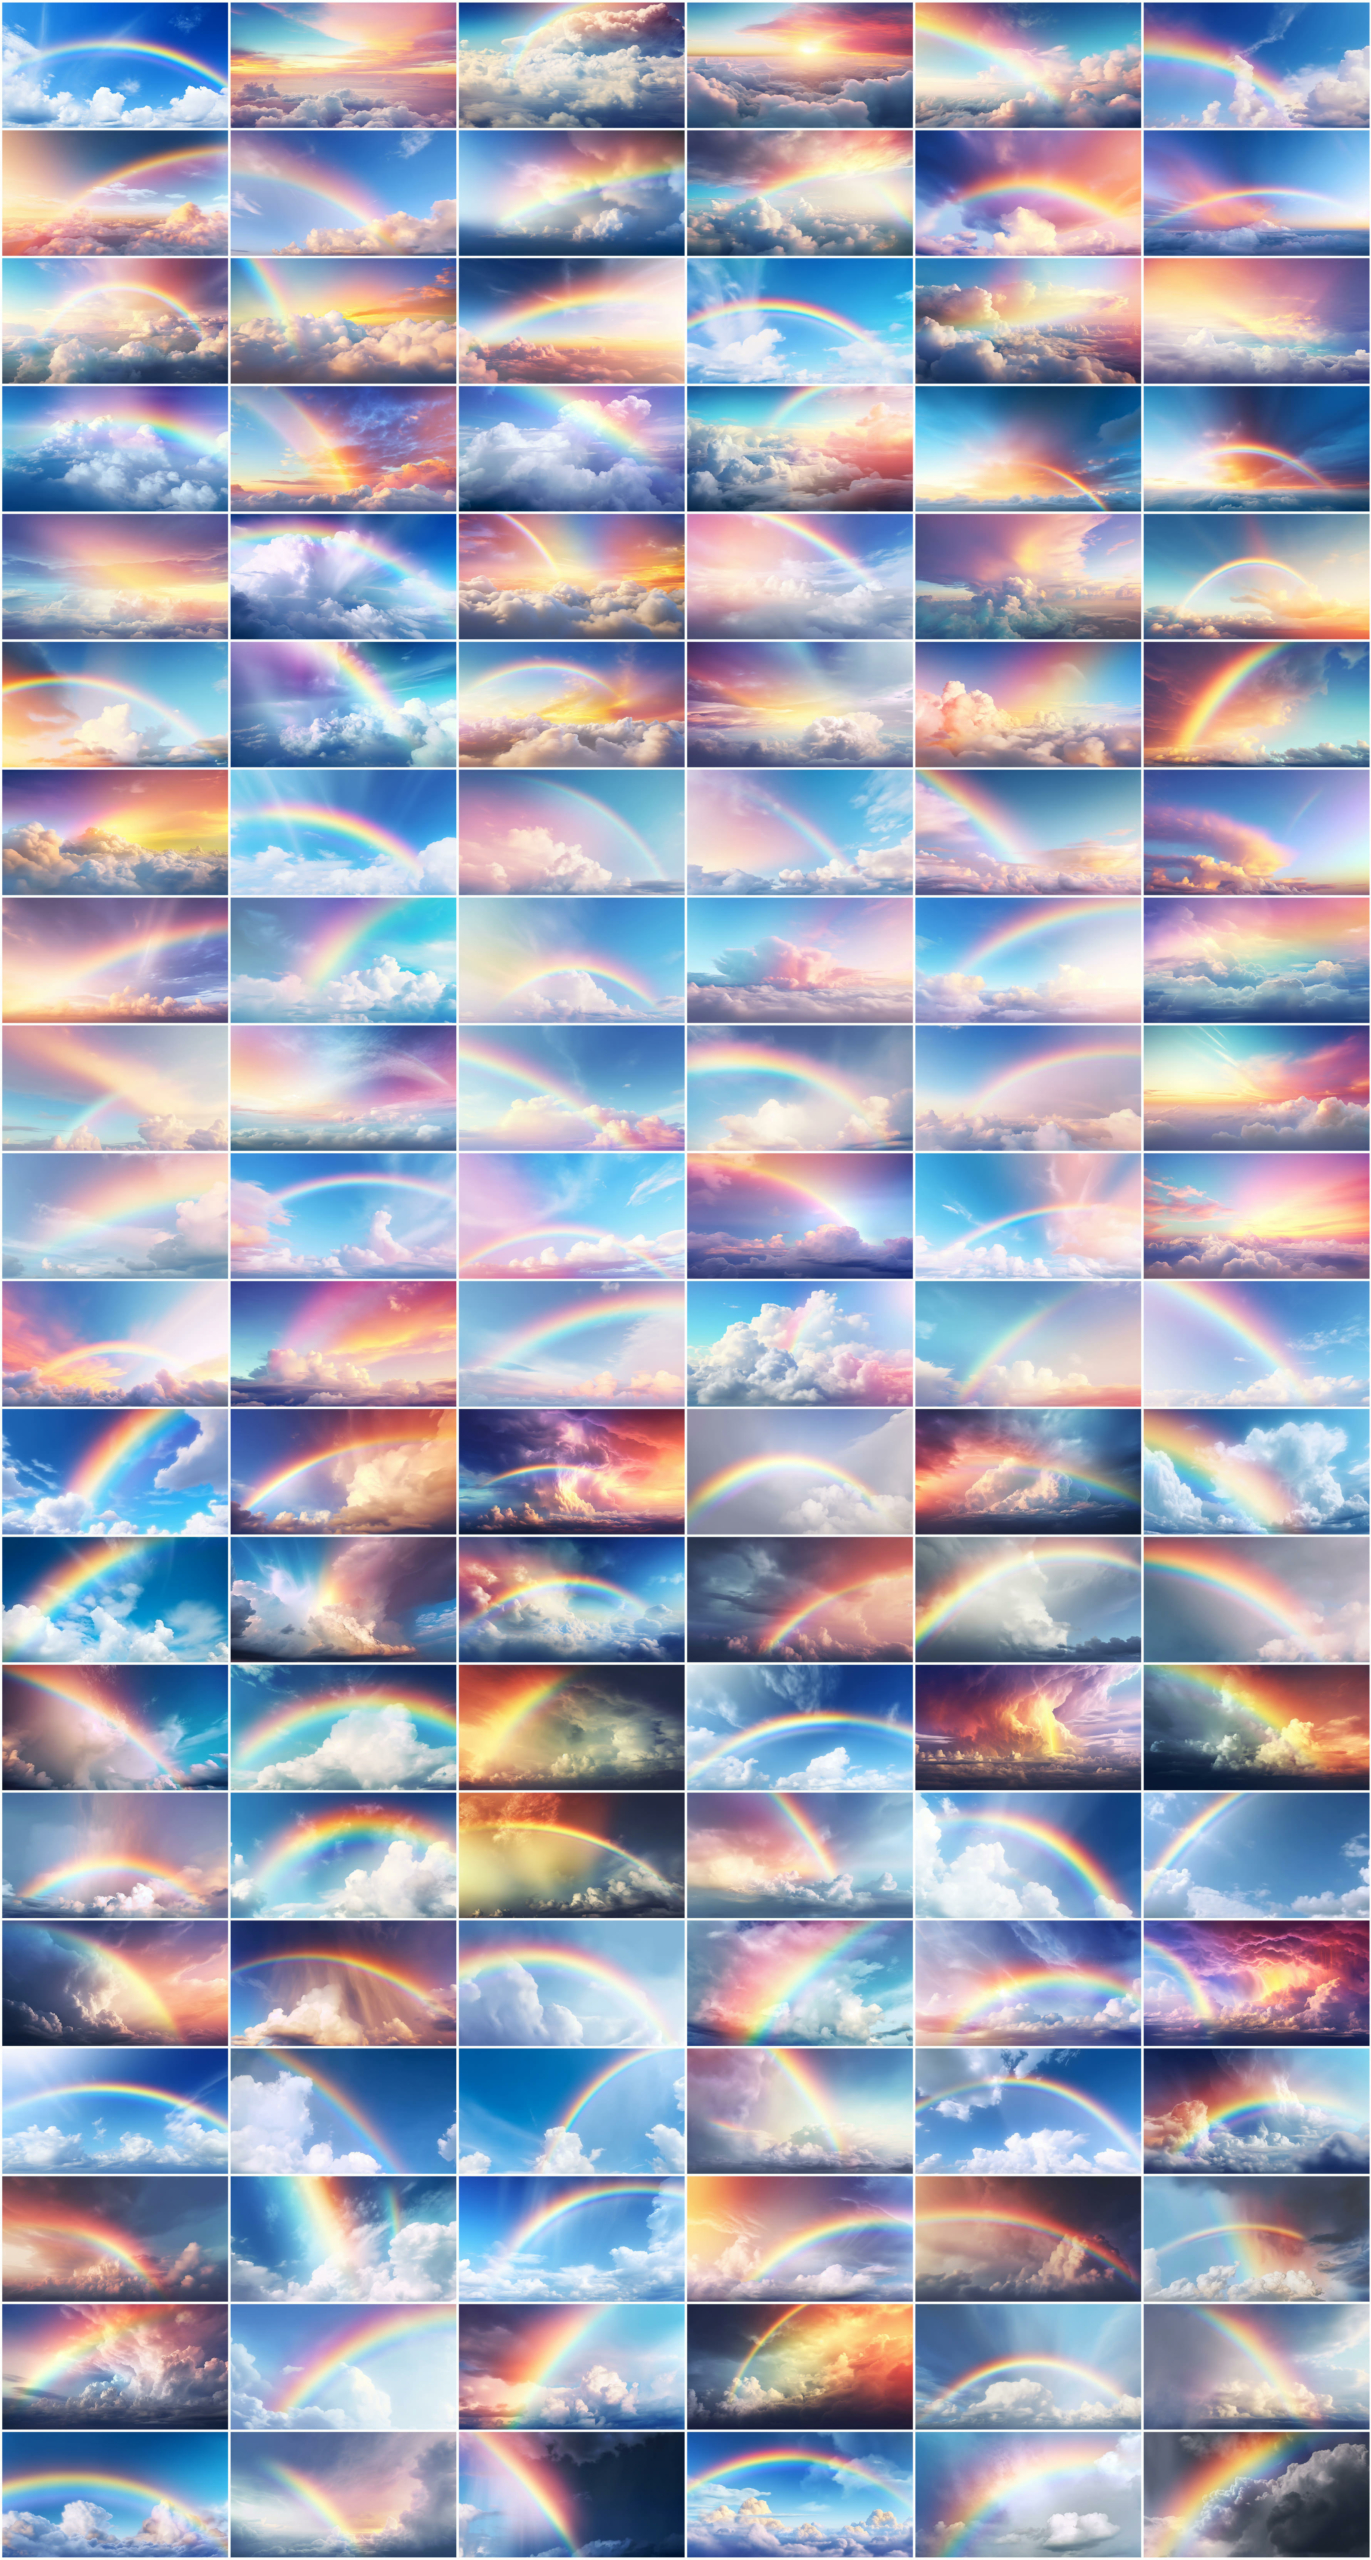
Want a few skies to play around with? Click here to download 6 free sky JPEG overlays!
View the before-and-after with this tool:
Drag the slider to preview the photos


Sunrays
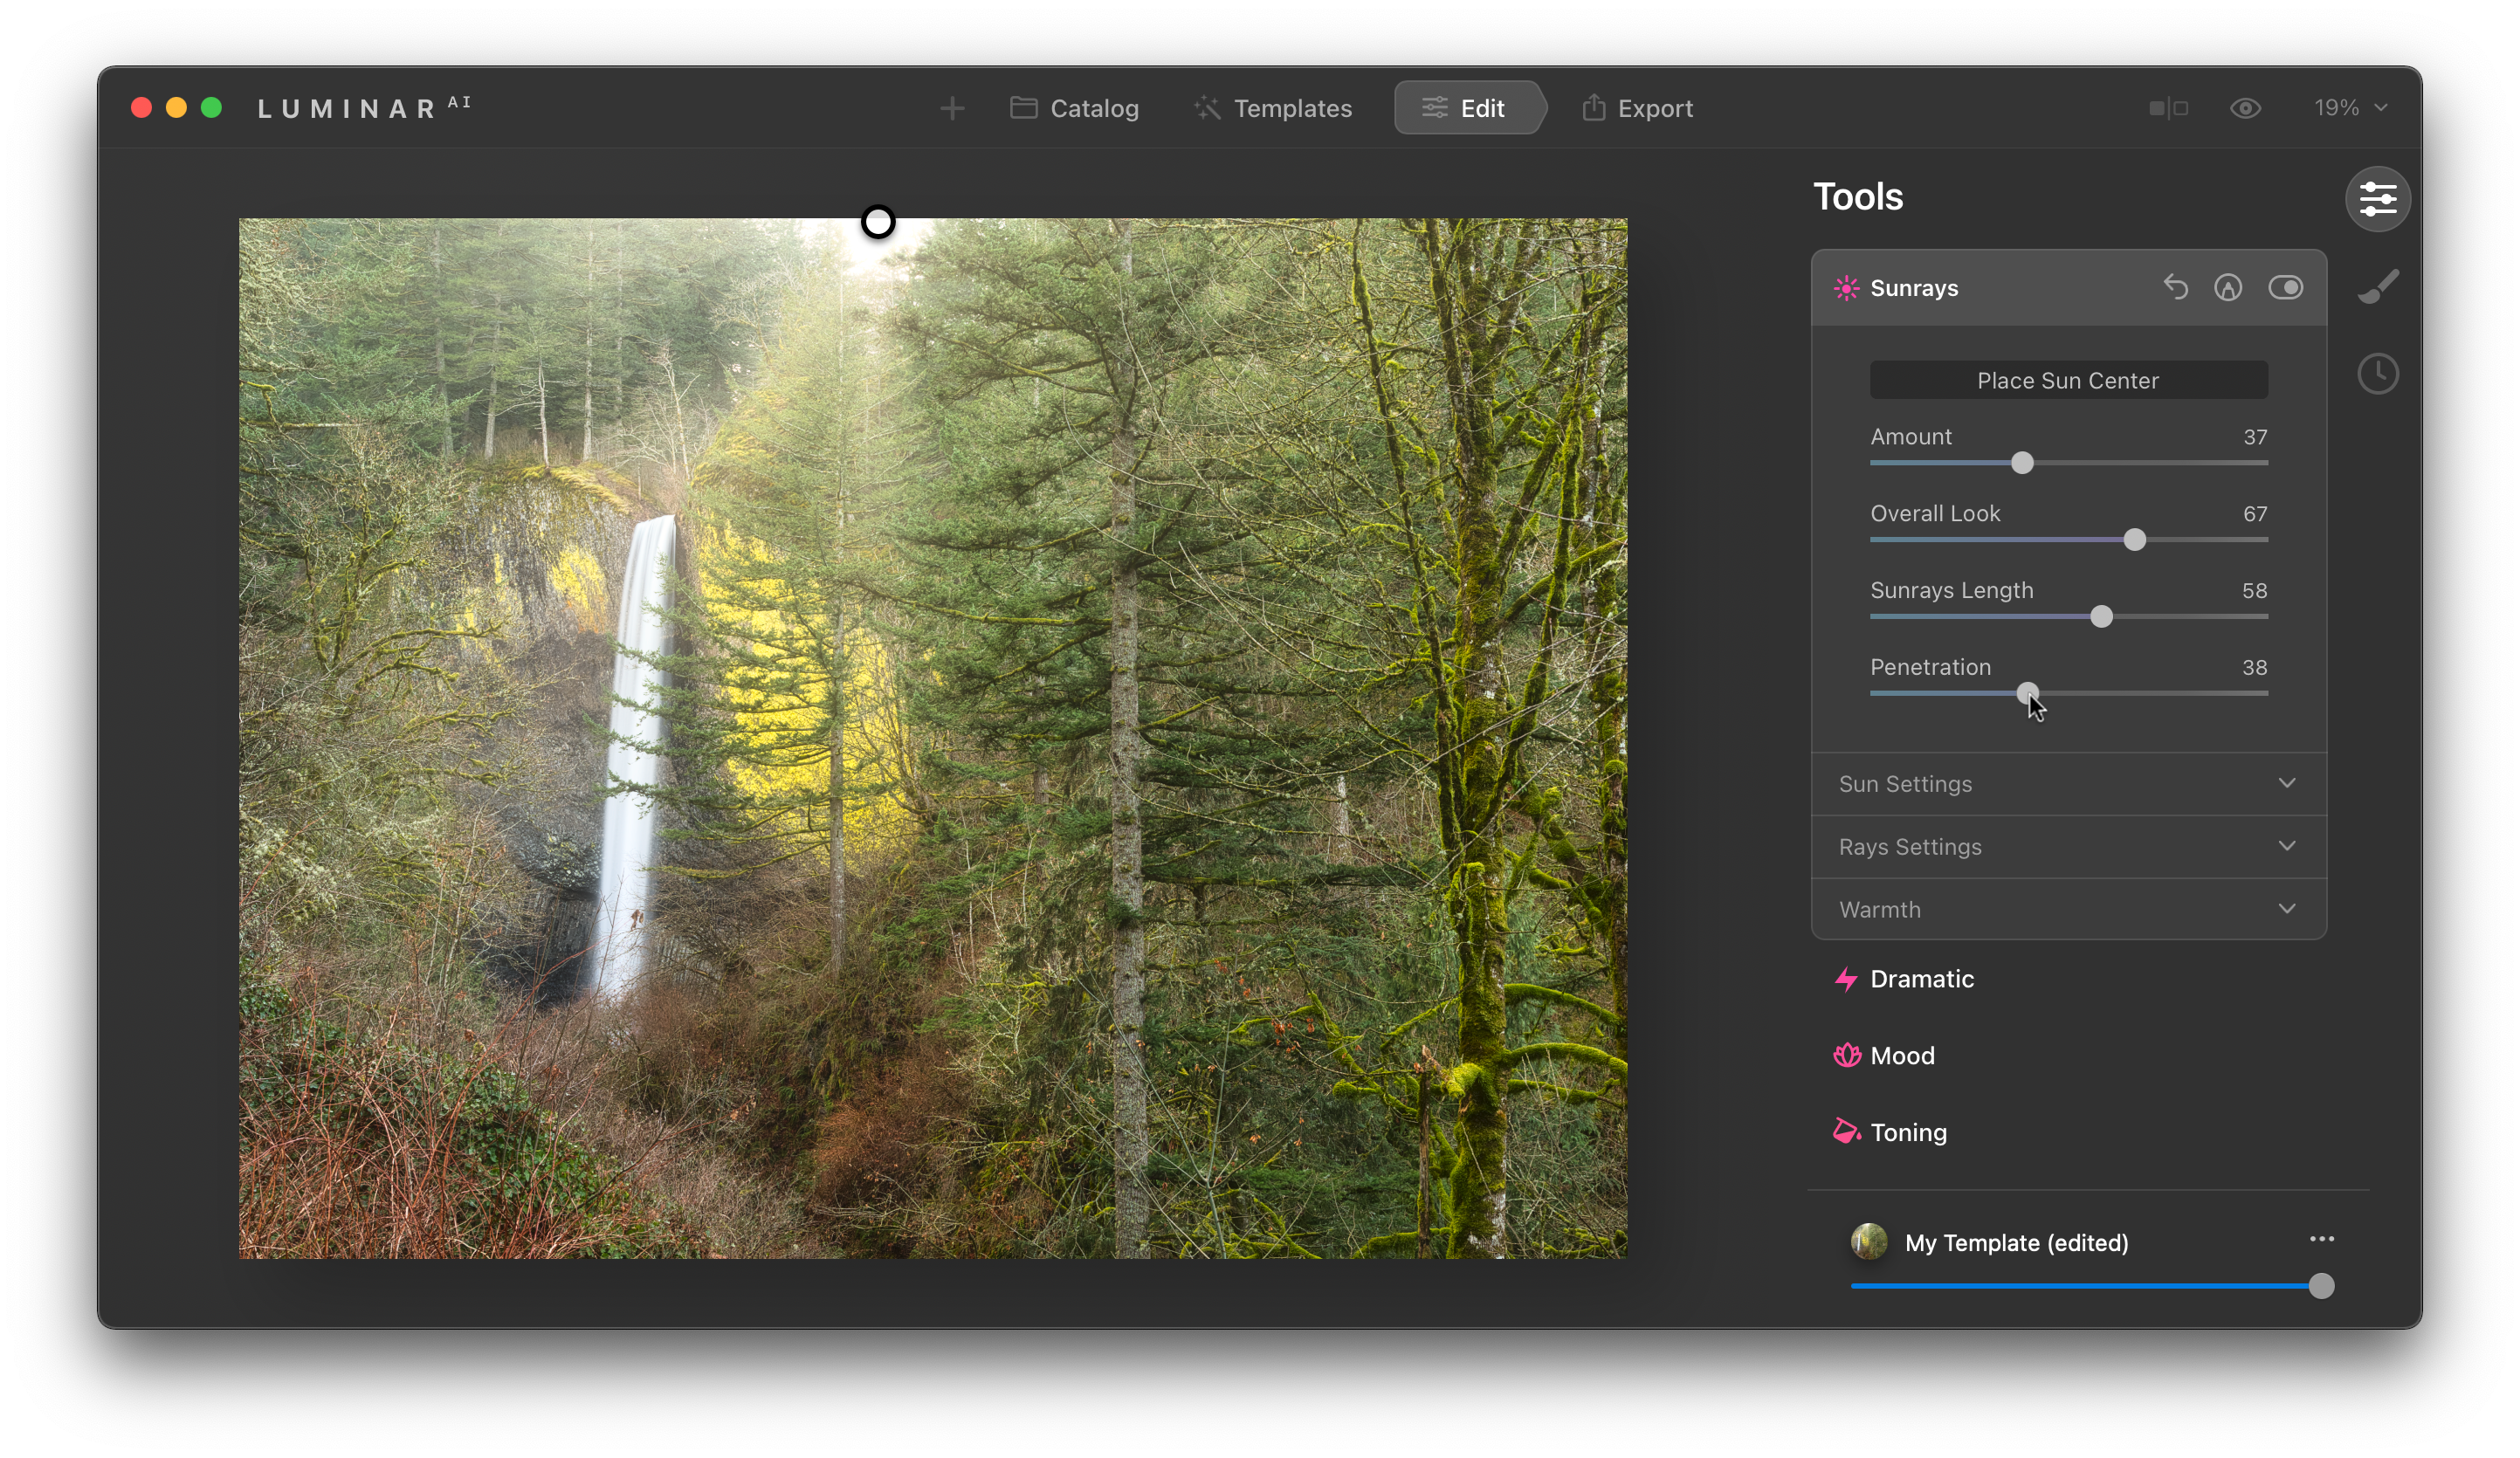
I find myself using the Sunrays tool when I want to add a sun glow to a photograph. I will rarely use it with the sun in the photo, such as hiding behind trees, for example, and prefer to use it off the frame so it adds a hint of a glow and sunlight to the background. This creates a more realistic effect than adding it somewhere in the frame. It works great for landscapes, back-lit scenes, and any image that could use some sunlight.
View the before-and-after with this tool:
Drag the slider to preview the photos


Matte
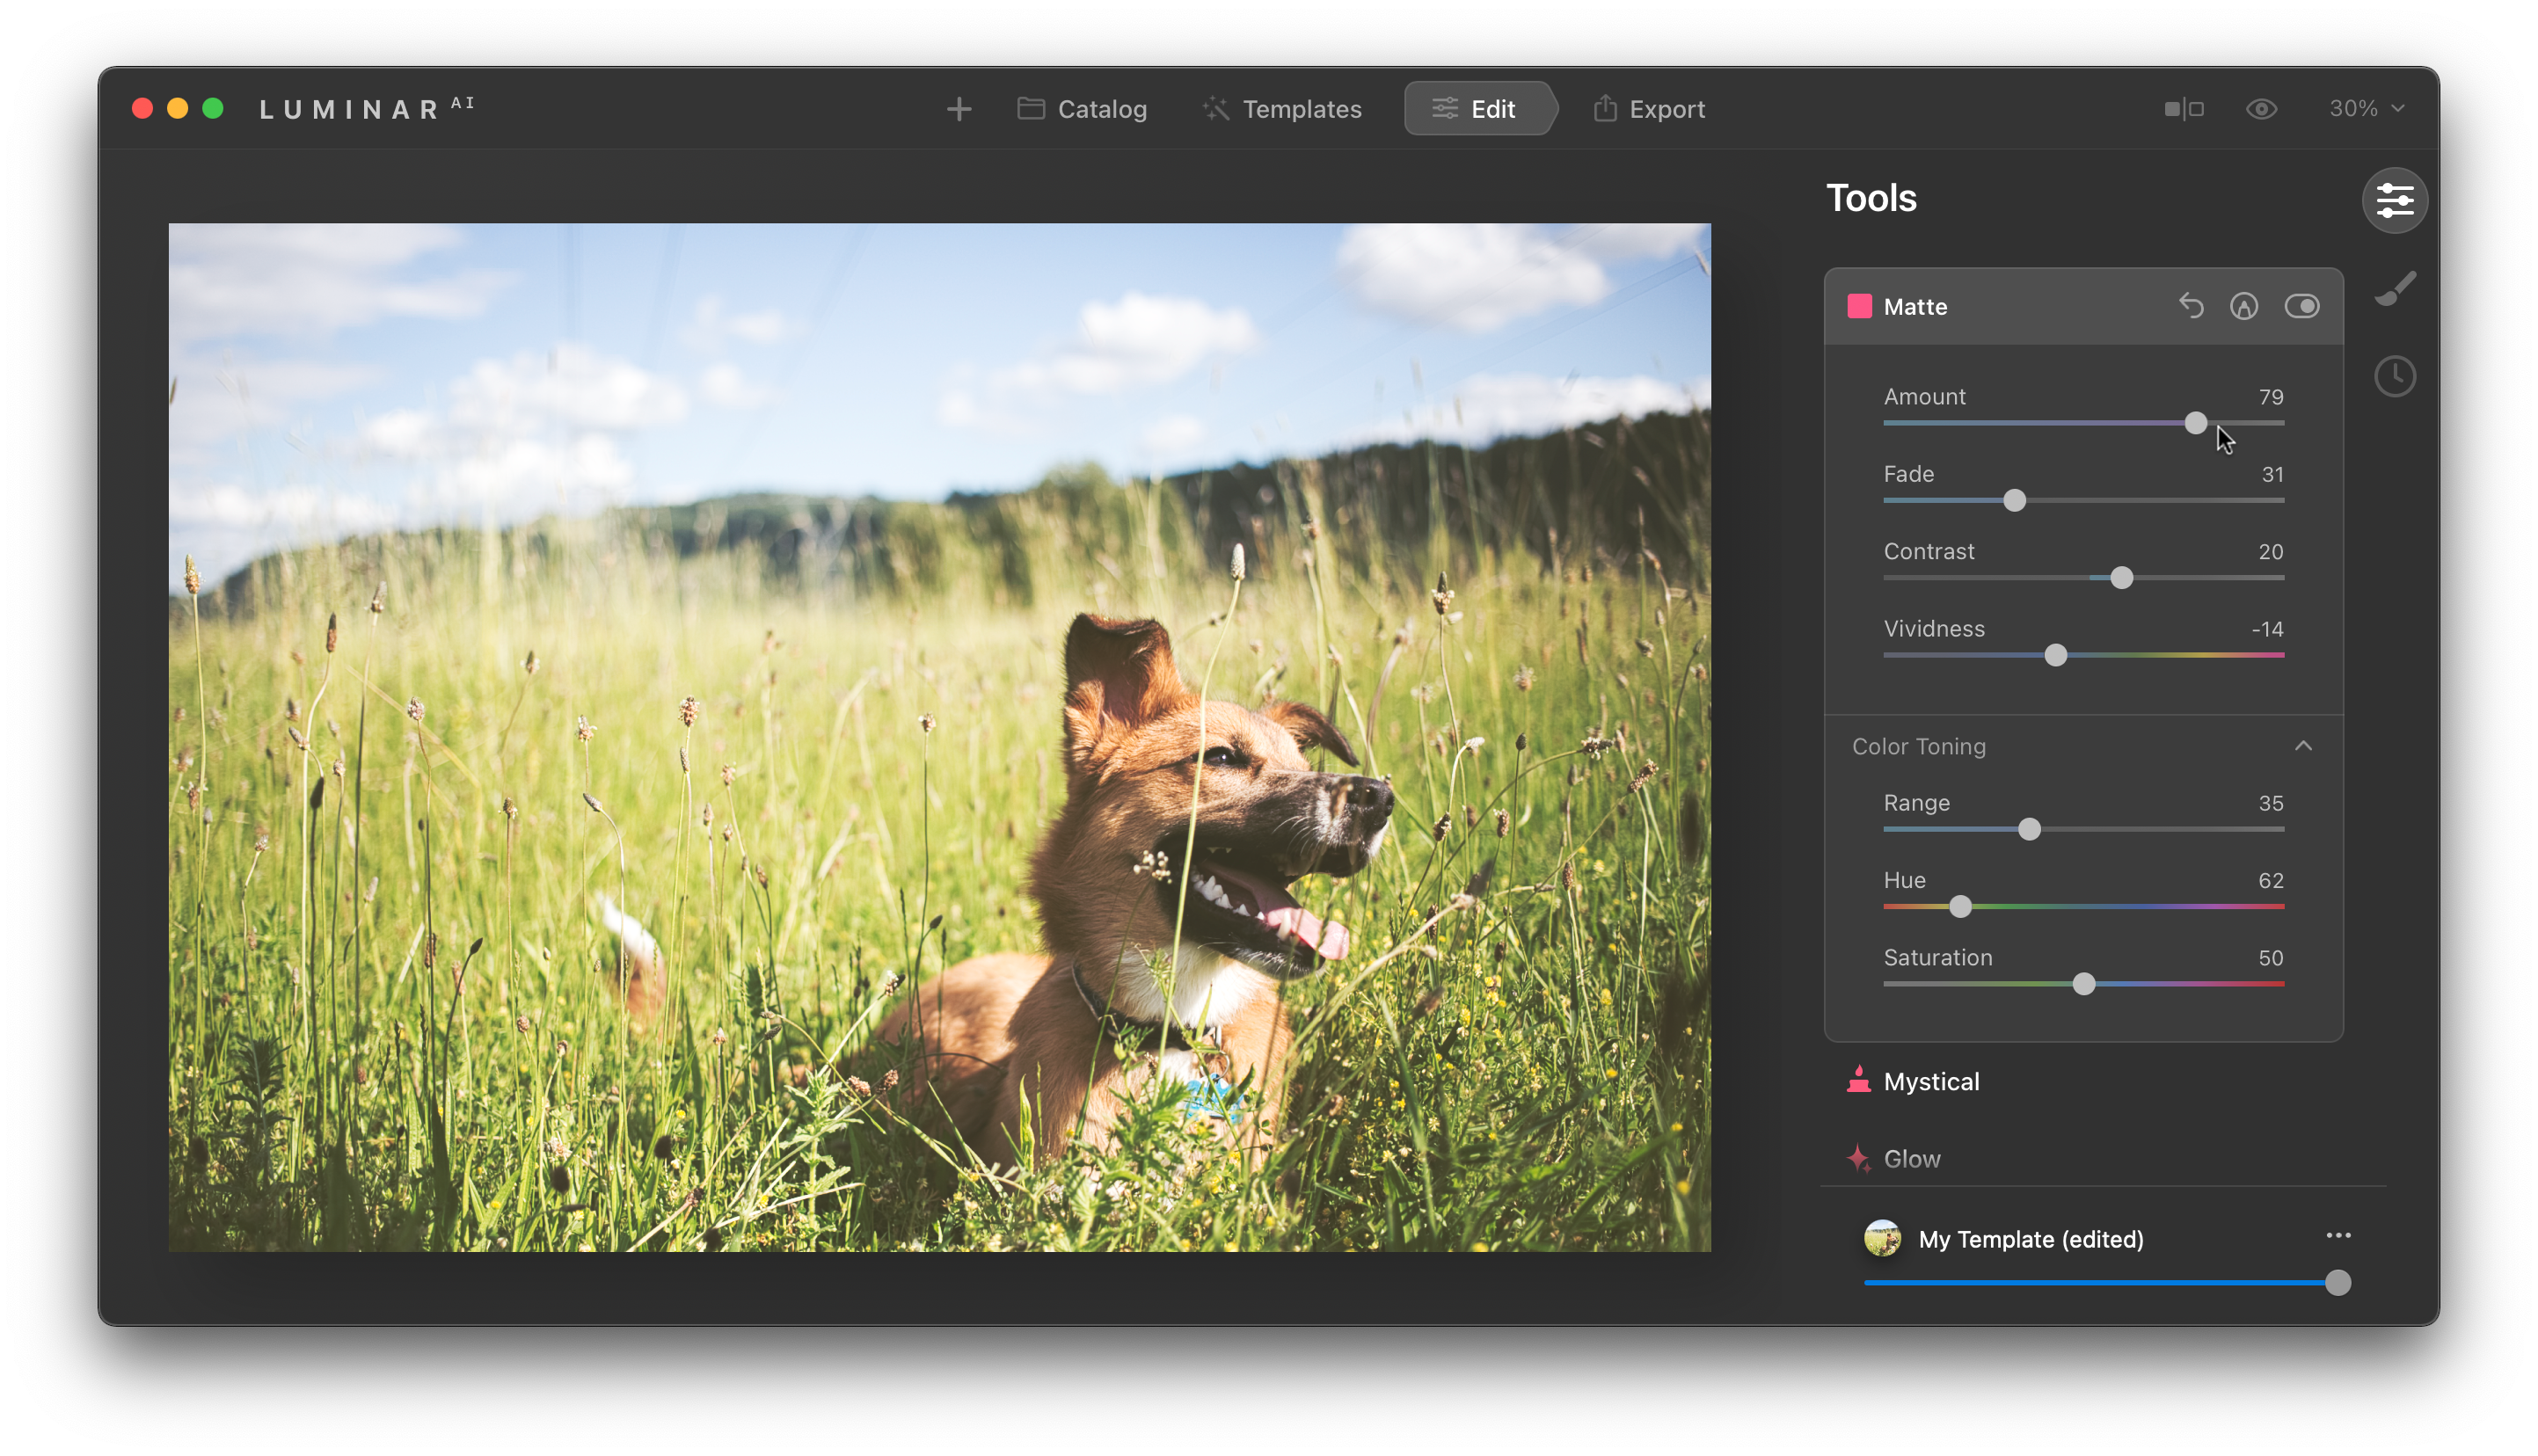
The Matte tool is a nice way to add a trendy matte effect to your photo. You can make this effect as intense or subdued as you like, and sometimes adding only a small amount is a nice way to improve a photo without looking overly trendy. You can also add a colorized effect to it with the Color Toning slider.
View the before-and-after with this tool:
Drag the slider to preview the photos


Mystical
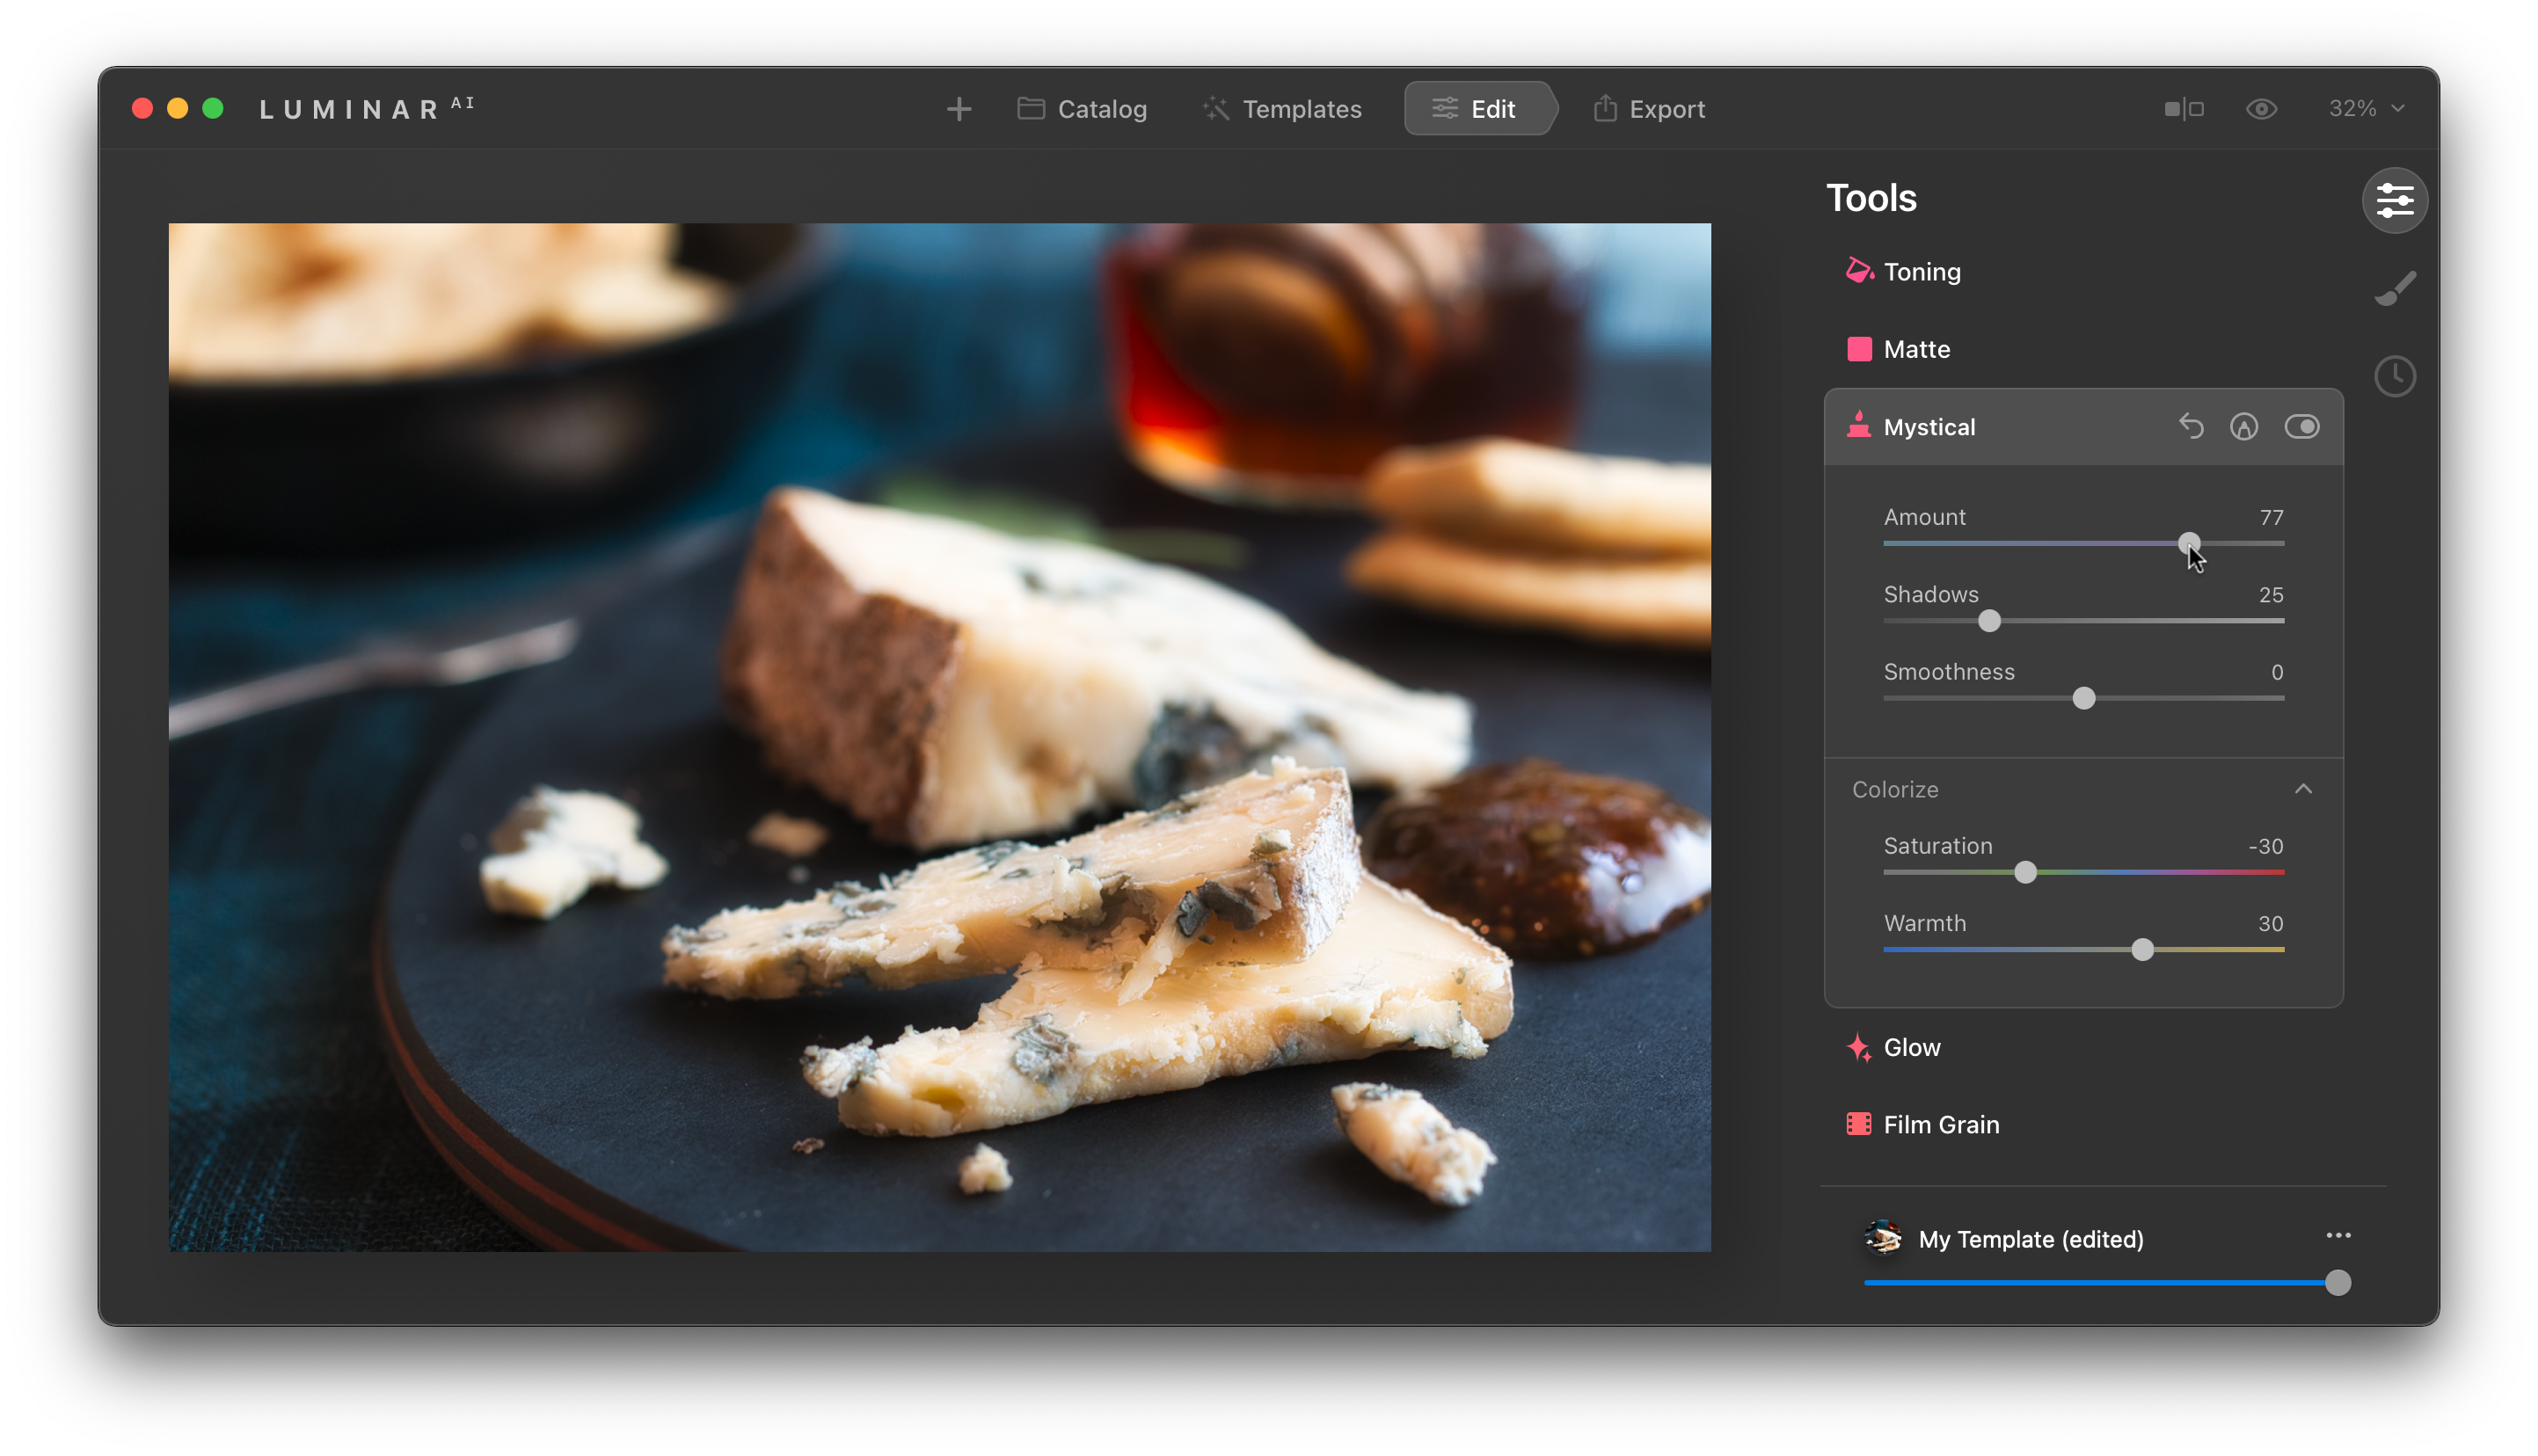
The Mystical tool is hands-down one of my favorite tools inside of Luminar AI. It adds the perfect finishing touch of contrast, a touch of glow (but not too aggressive), and I add it as the last tool to nearly every photo I edit in Luminar. I like that you can also adjust the warmth and saturation of the effect, which works well when applying it at the end of an edit because it allows me to perfectly refine the tool to my liking.
View the before-and-after with this tool:
Drag the slider to preview the photos


Glow
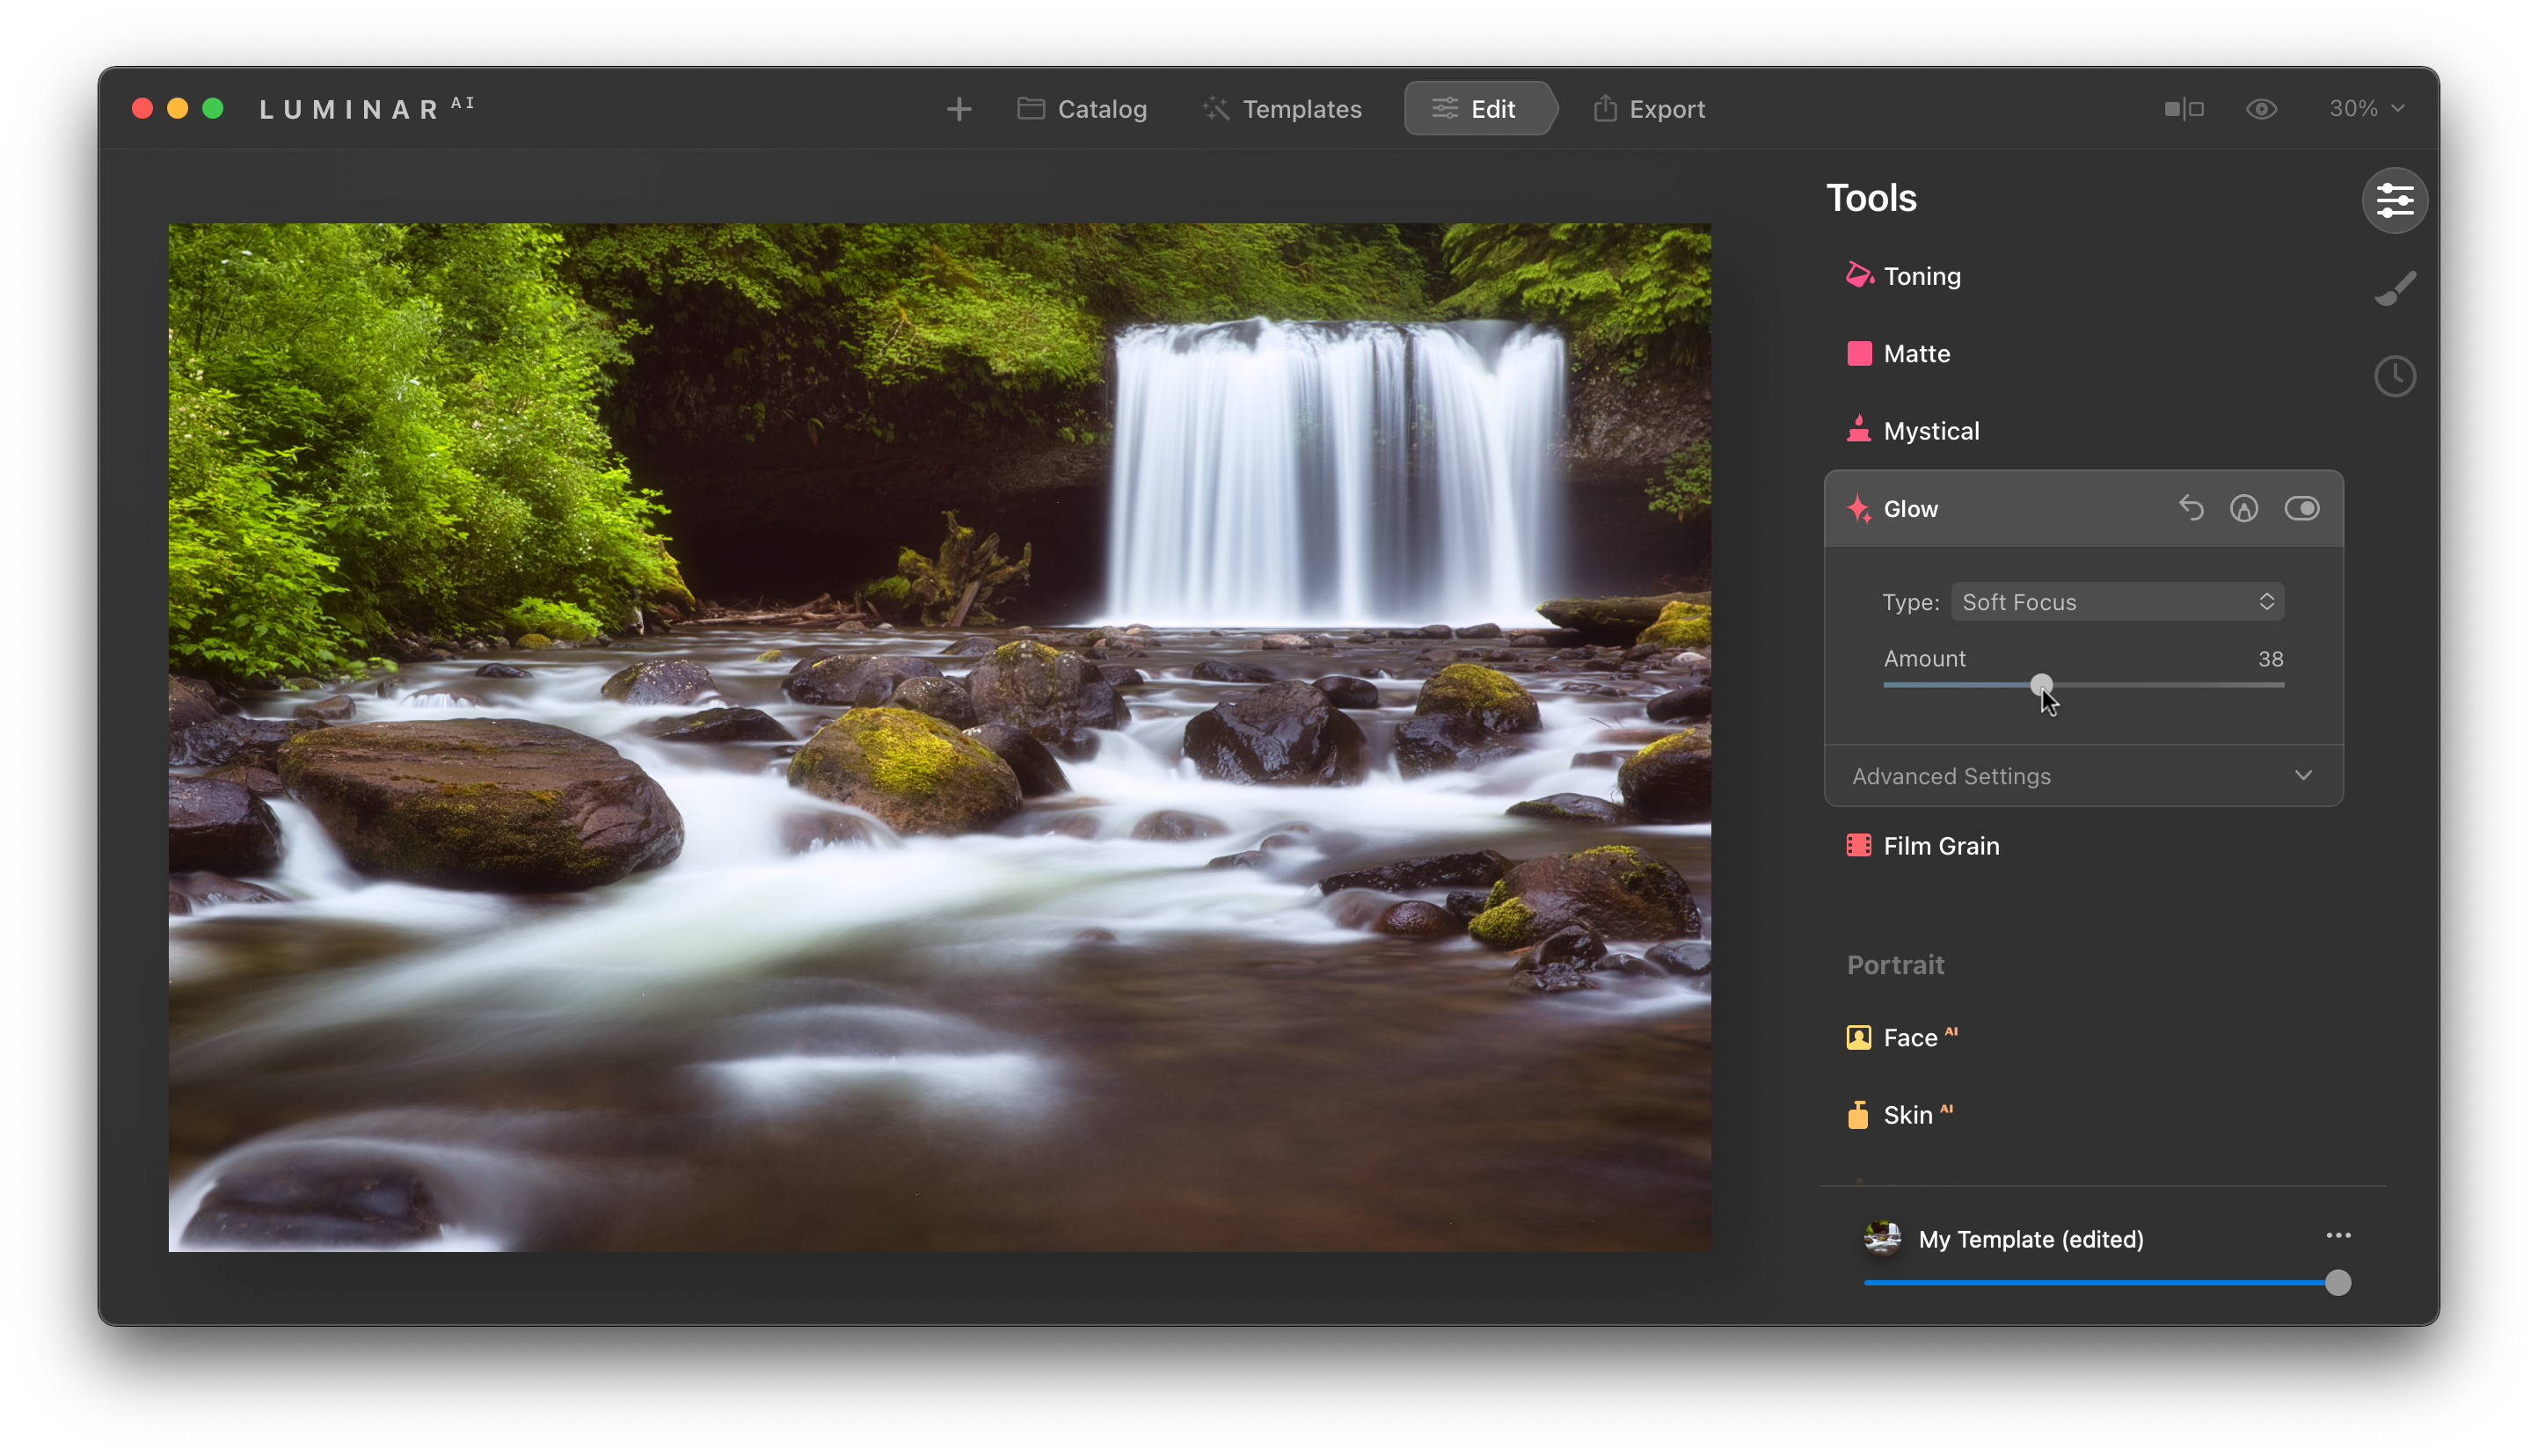
I love using the Glow tool on my landscape photos, especially with images that have either a good amount of sun glow in them or with photos that have a natural water source. Even only a small amount makes a big difference to the photo by adding a lot of brightness and those areas tend to stand out a lot when it is applied.
Pro tip: When using this tool, make sure you press the J key to ensure that you don’t over-expose the highlights too much; you’ll see red appear in areas that are clipping the whites, and blue in areas that are clipping the blacks. This tool will really exaggerate the whites in the photo, so it’s easy to do. And, if you see a lot of red overlays appear in your image when previewing the highlights, go into the Light tool and reduce the Highlights slider until they are gone.
View the before-and-after with this tool:
Drag the slider to preview the photos


Supercontrast
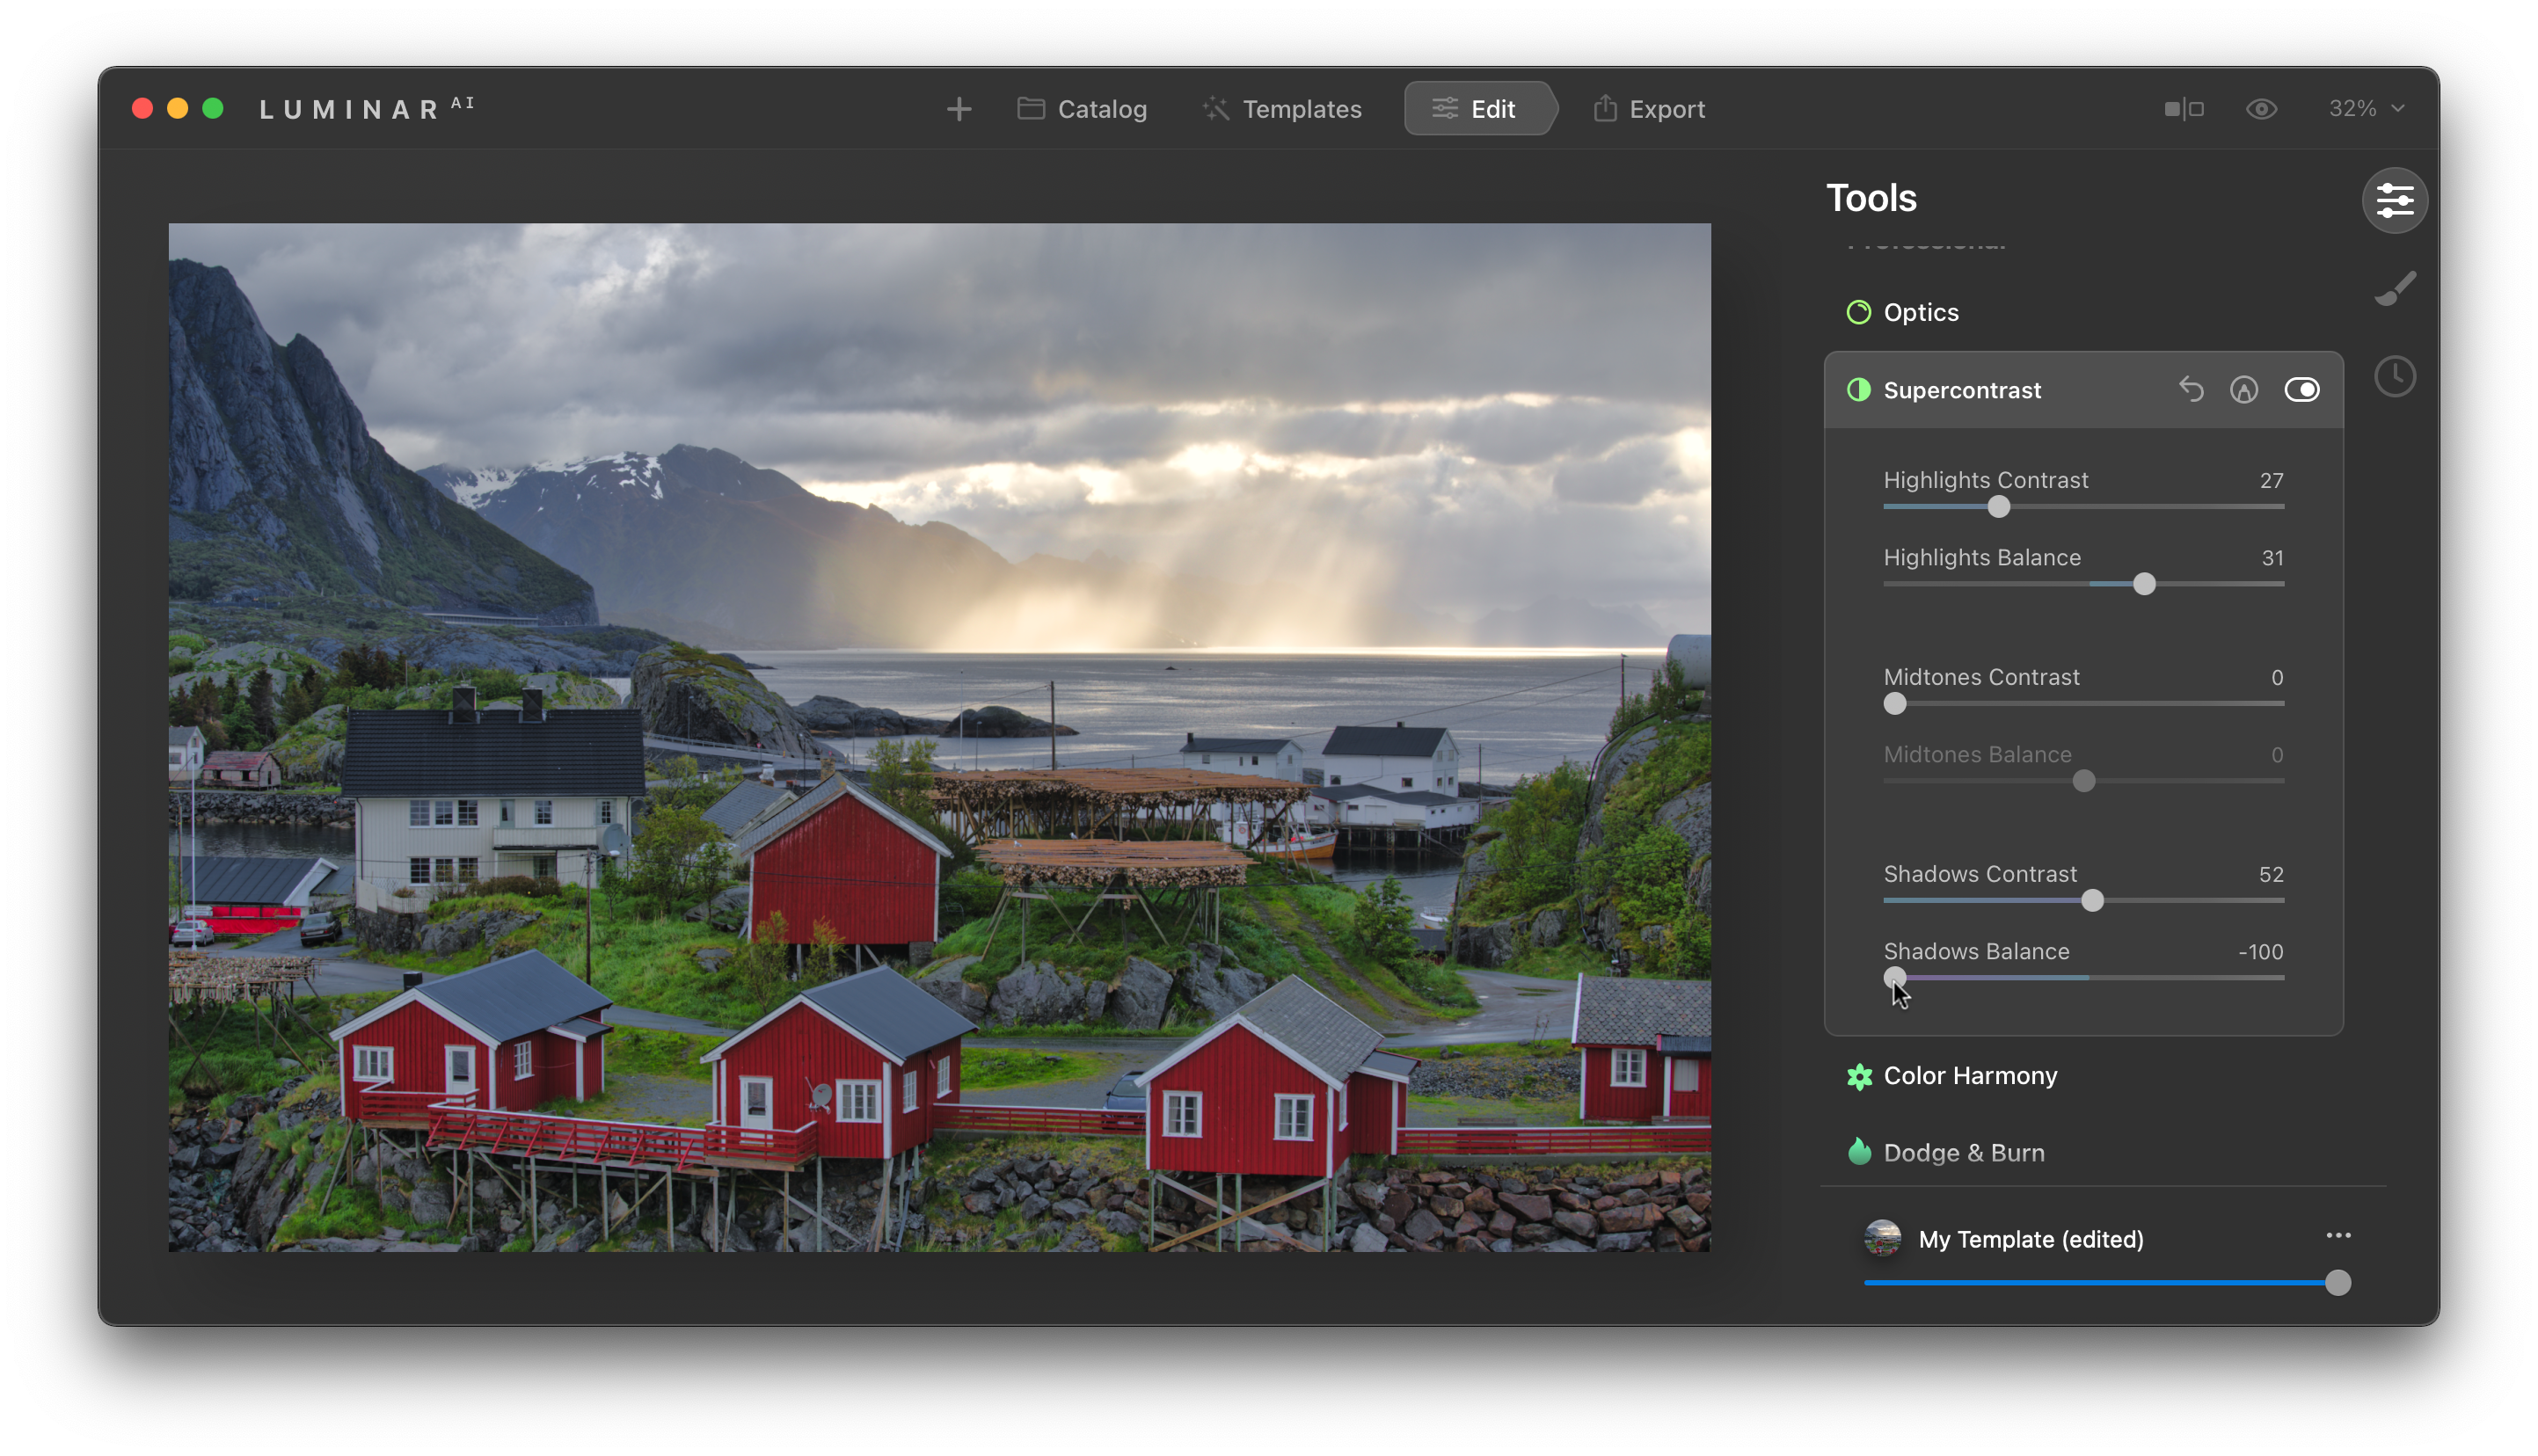
When you want to have an enormous amount of control over the contrast in your image, the Supercontrast tool is a fantastic option. Here you can adjust the amount and intensity of the highlights, mid-tones, and shadows, with sliders that allow you to fully adjust the settings that work best for your image. I encourage you to play around with this on your own photos to see what it can do.
View the before-and-after with this tool:
Drag the slider to preview the photos


Color Harmony
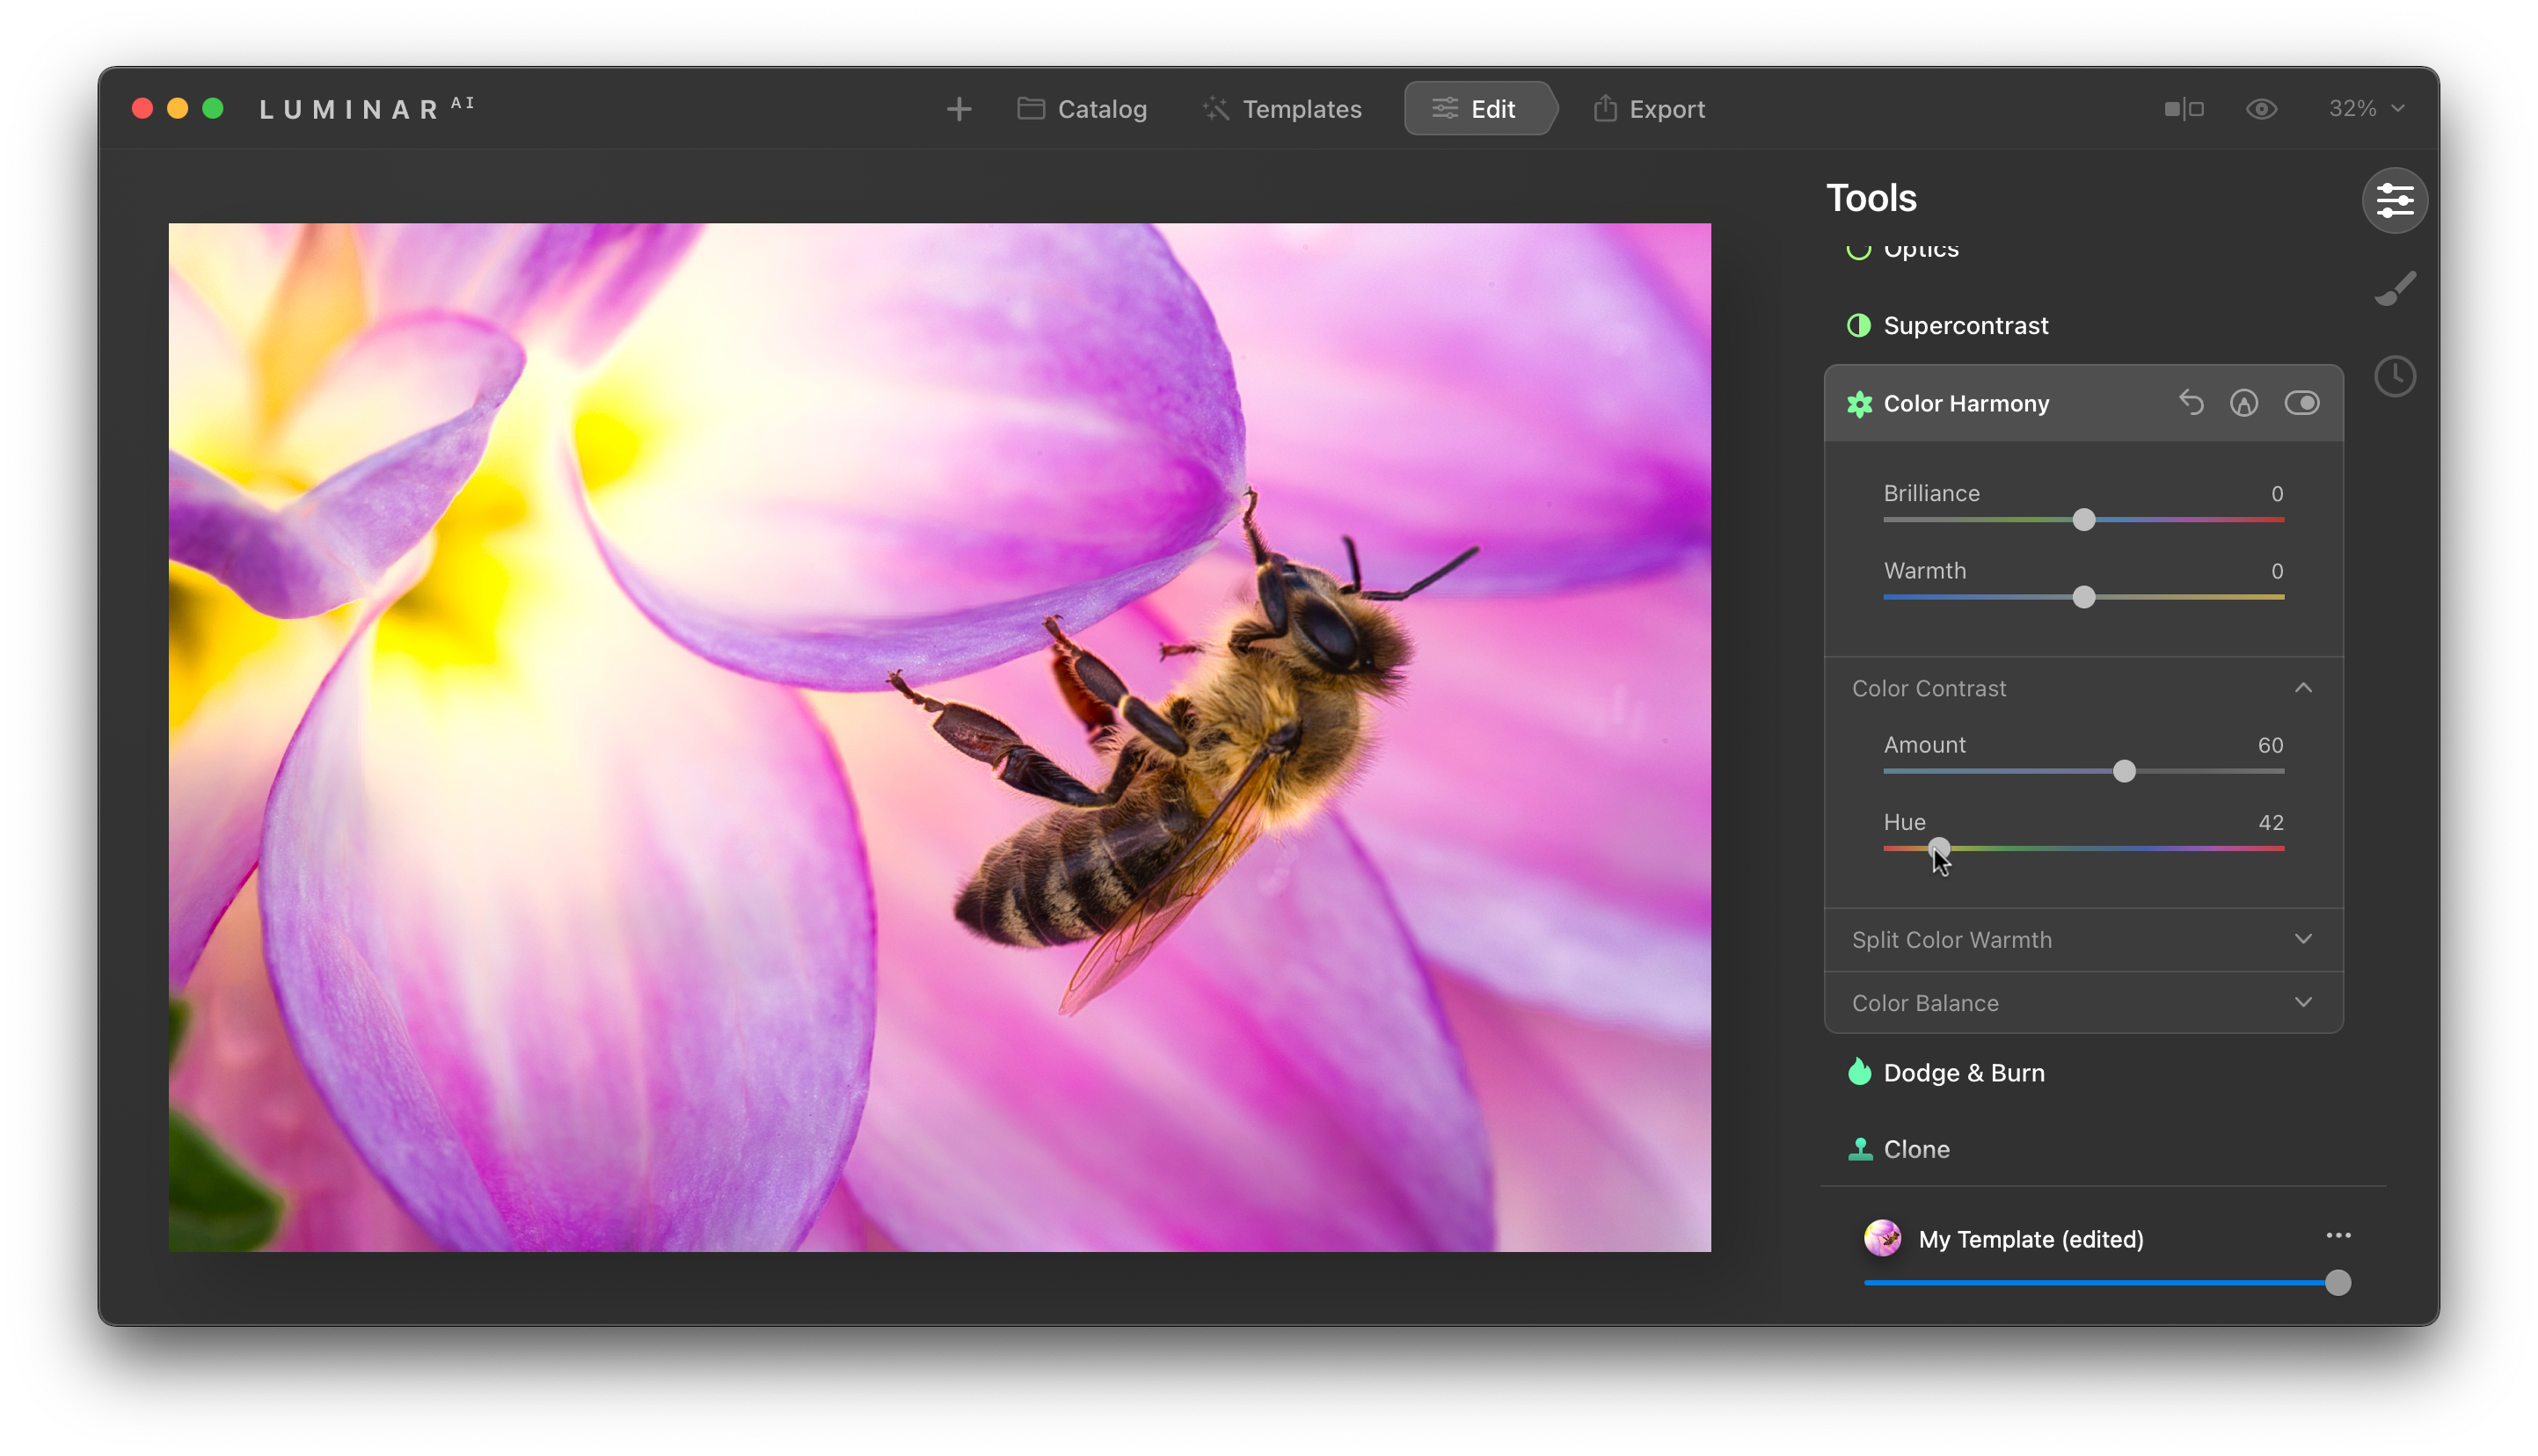
Somewhat hidden in the Color Harmony tool is one of my favorite sections: Color Contrast. These settings add a remarkable amount of brightness and contrast to a photo, especially when your images have colors that are opposite on the light spectrum (red and cyan, blue and yellow, or green and magenta). Simply increase the Amount slider, then adjust the Hue to set the color spectrum and watch your photo change before your eyes!
View the before-and-after with this tool:
Drag the slider to preview the photos


Texture
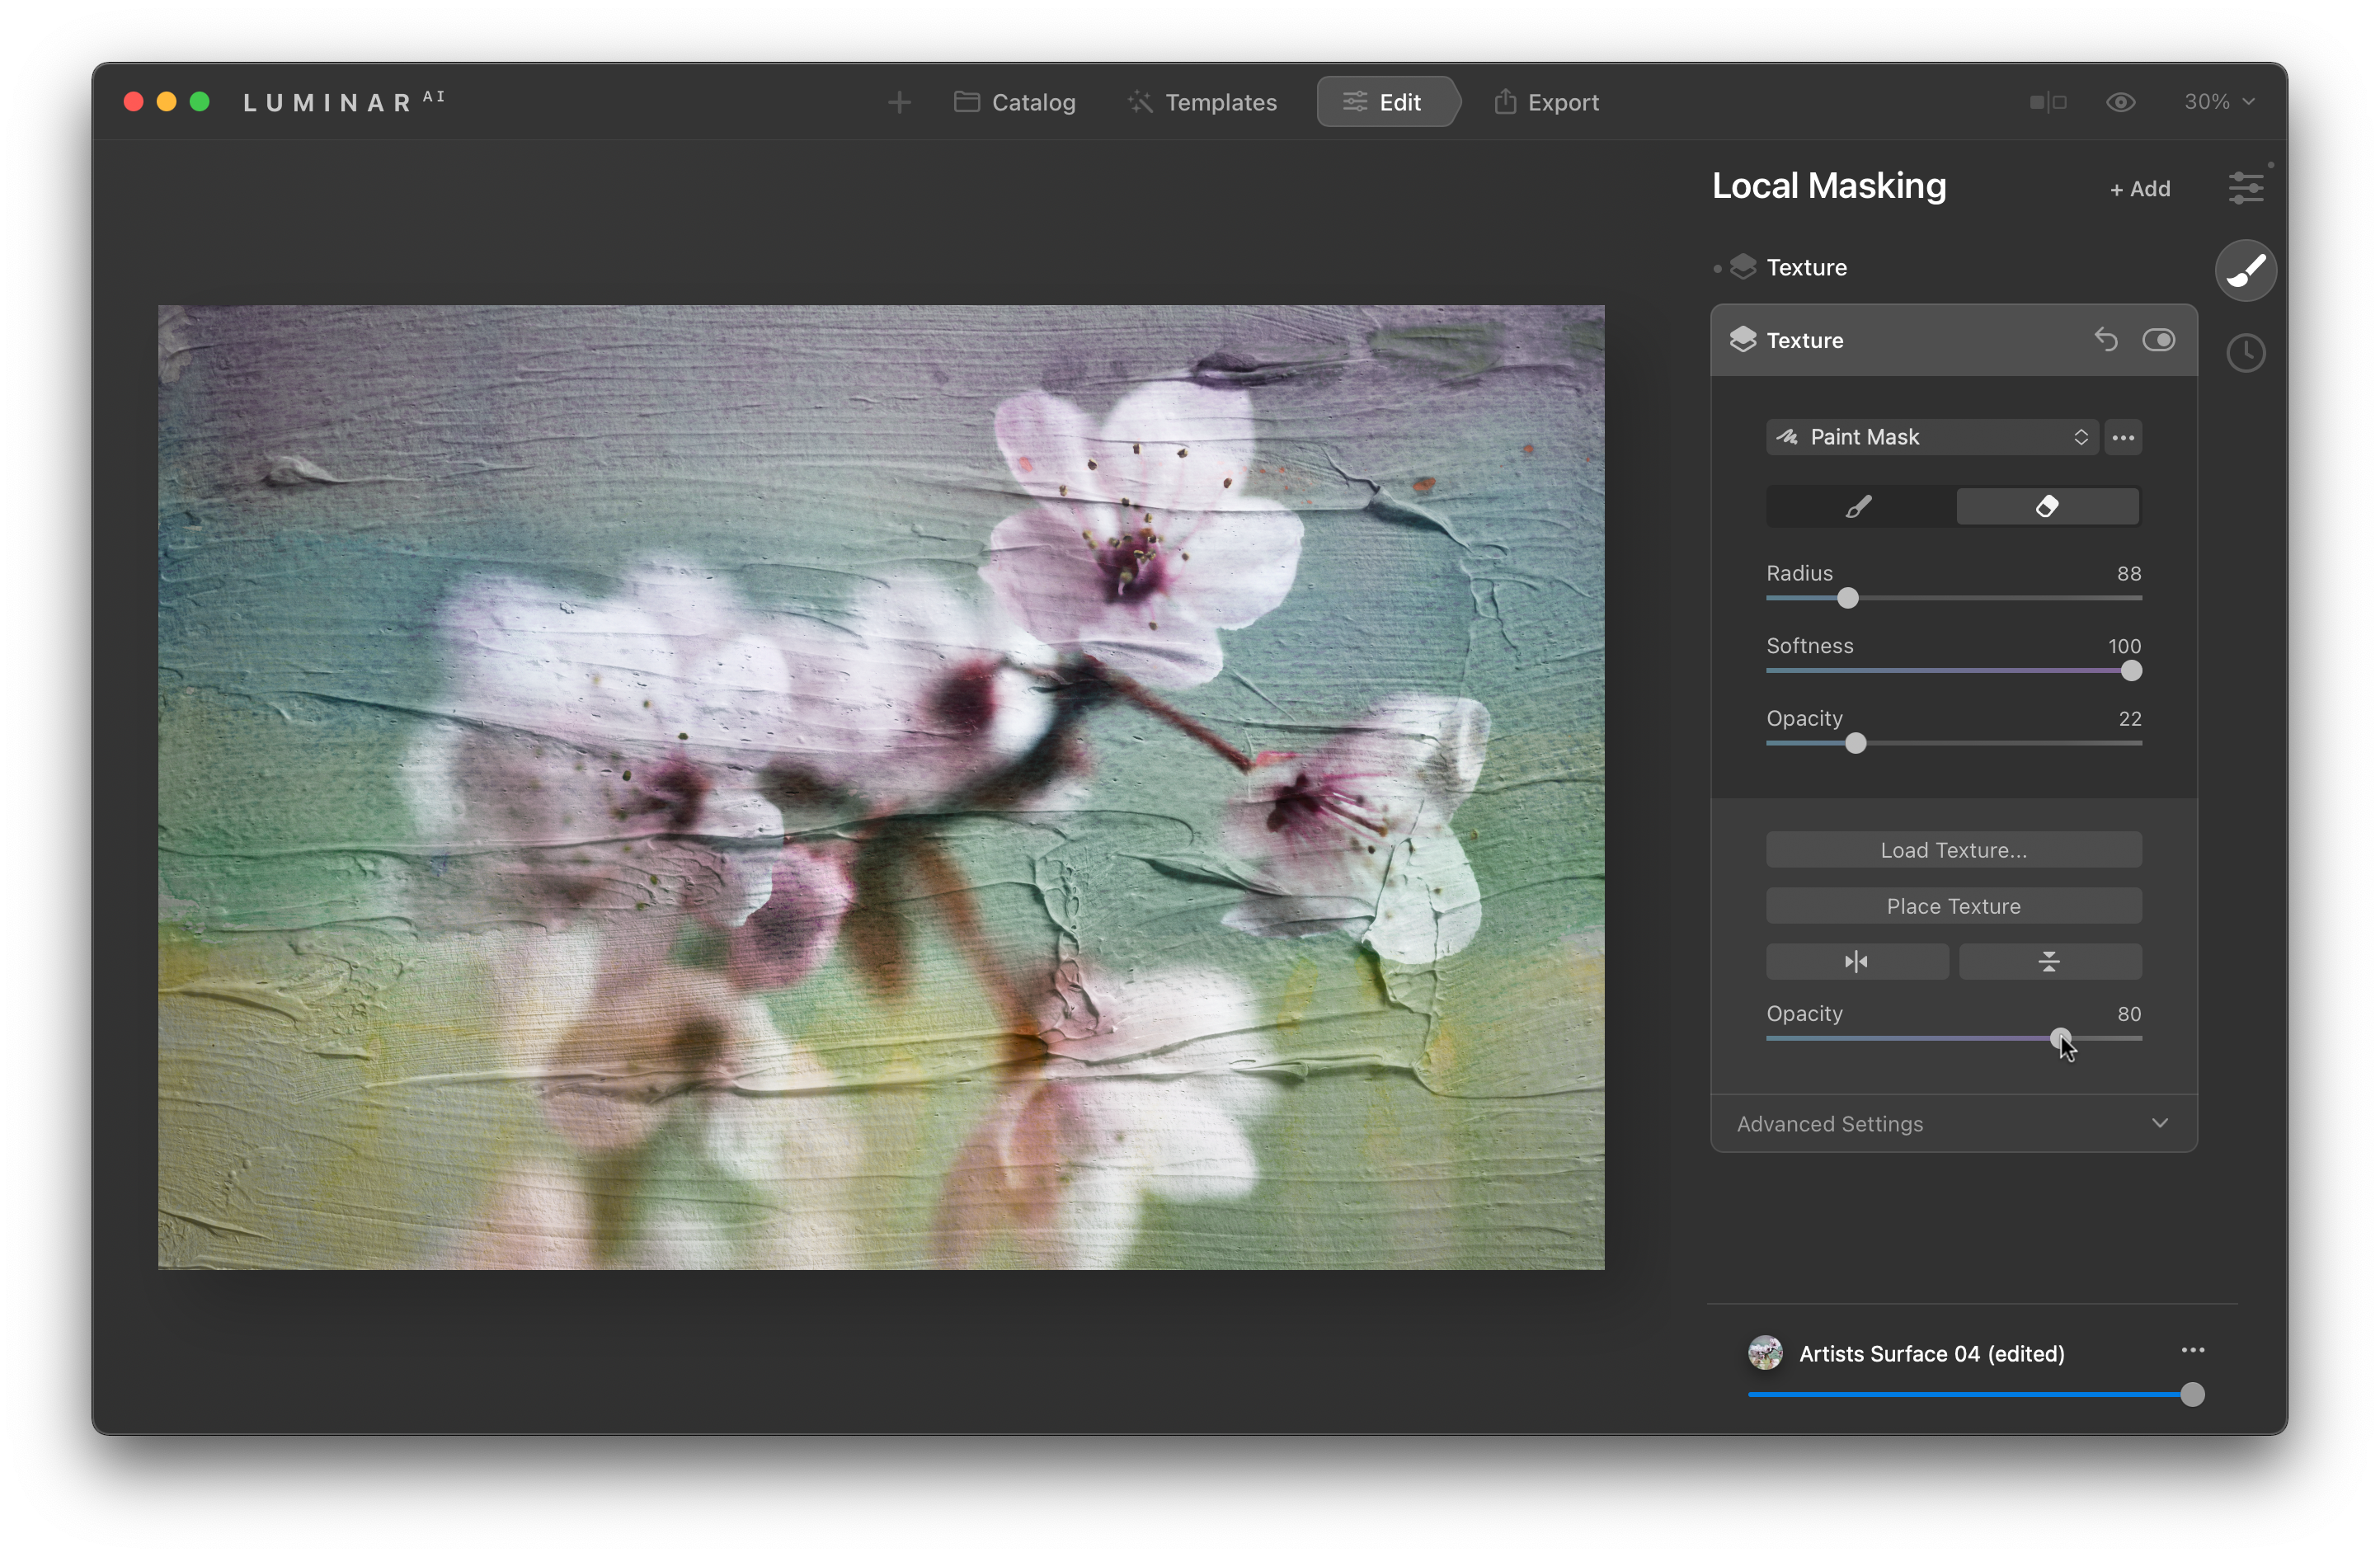
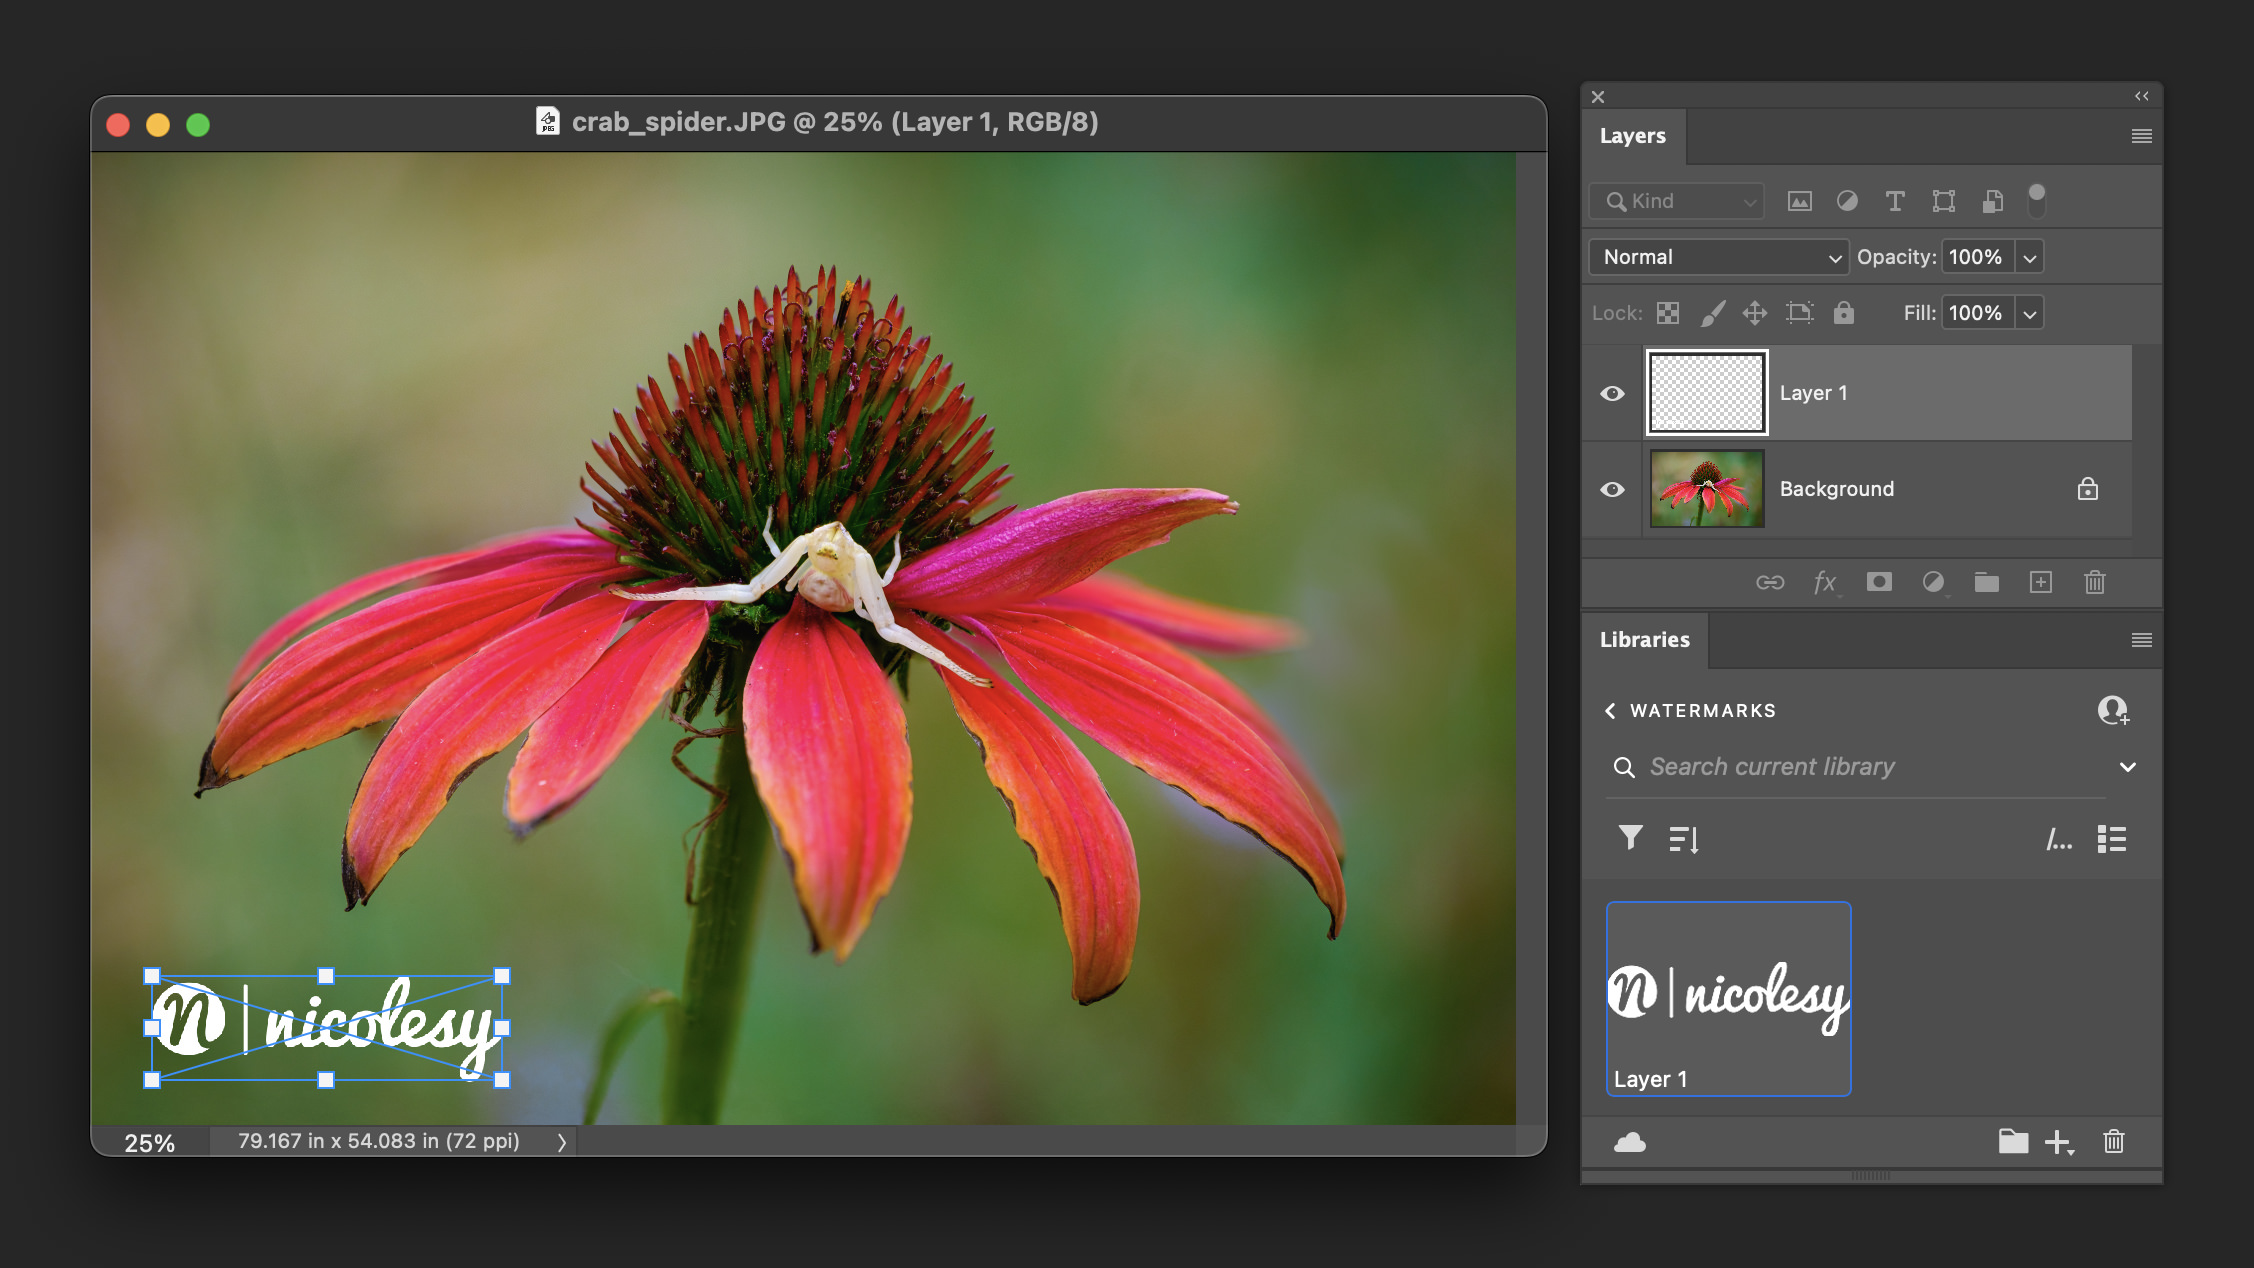
The Texture tool, located in the Local Masking section, is wonderful for adding textures, borders, or even watermarks to your images. You can add up to ten of these total, so it is possible to really layer effects over a photograph. Plus, you can change the blend mode, opacity, and even mask the texture as well.
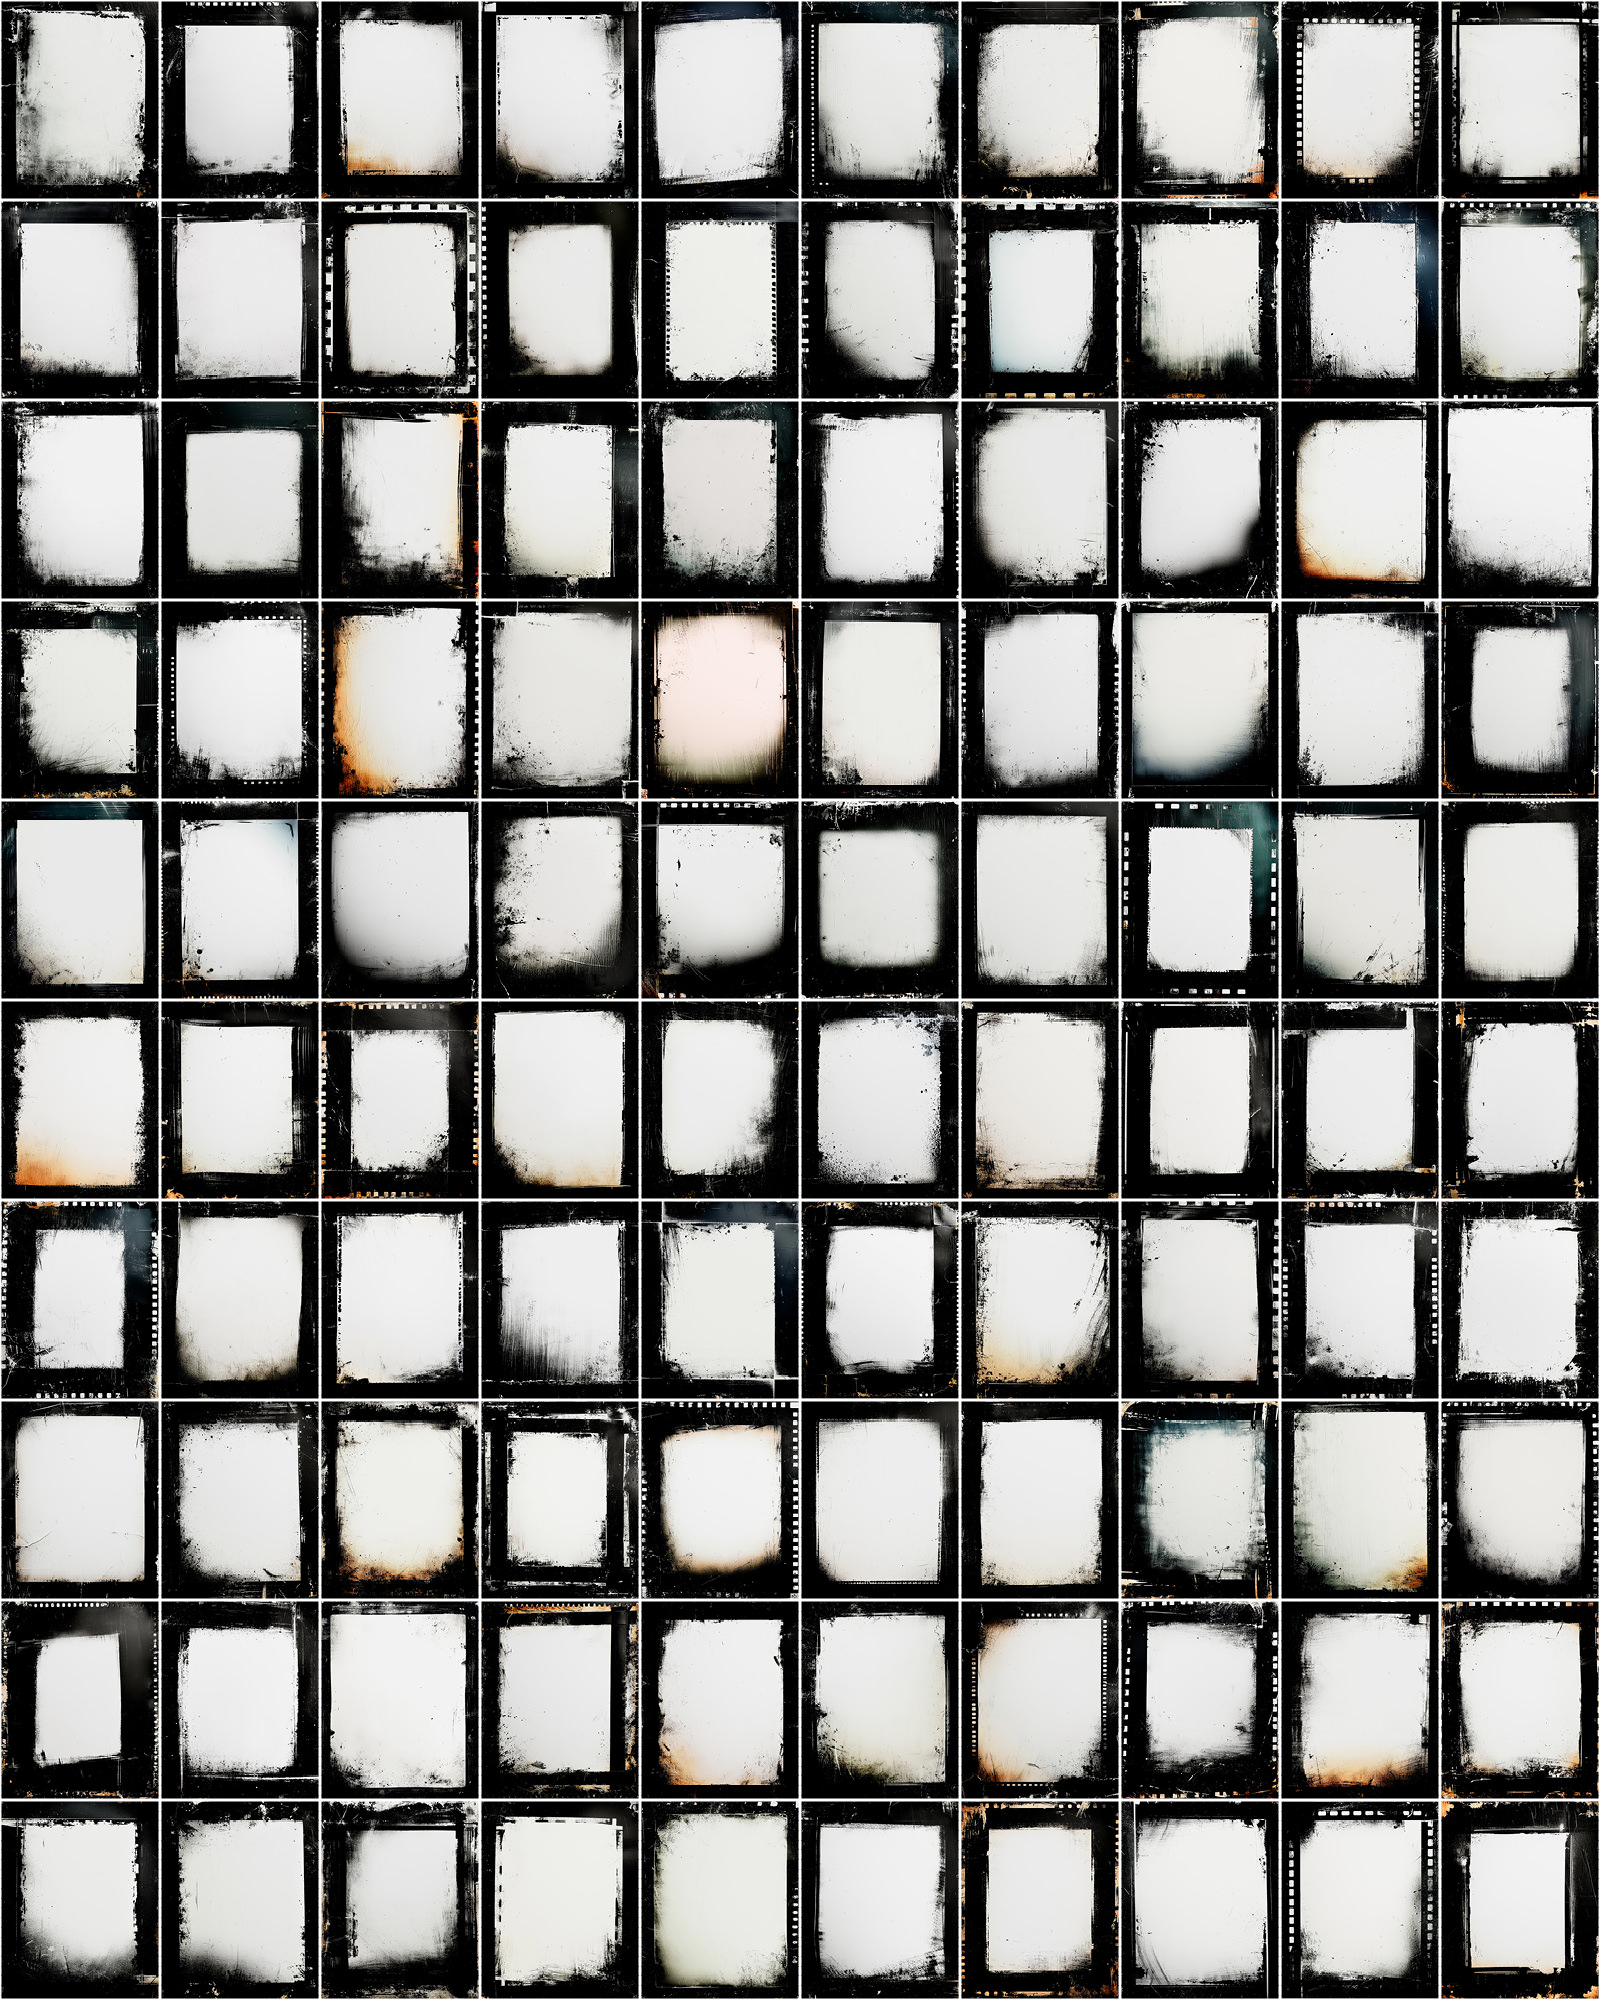
Feel like playing around with some free textures? Click here to access a page where you can download a bunch of fun textures for free!
View the before-and-after with this tool:
Drag the slider to preview the photos


I’ve been a Luminar user for several years, and have developed my own style of post-processing with it. Oftentimes, I find myself gravitating to many of the same tools over and over. All of the tools in Luminar AI have a lot of power in them, but I wanted to share with you my top 10 favorite tools that I keep using again and again. Who knows … maybe you’ll discover a tool you’ve never tried before!
Enhance AI

This tool gets added to nearly every photo that I work on in Luminar AI. In fact, when editing raw photos in Luminar, I rarely ever use the Light tool anymore, which could be considered a “classic” raw tool (white balance, exposure, etc.). The Accent AI slider does a good job of making shadows brighter and highlights darker, all while maintaining contrast throughout the image. And, if you have a sky in your photo, the Sky Enhancer AI slider helps darken it and make the clouds stand out. I tend to use the Sky Enhancer AI tool with a lighter touch, as it can make skies become a little bit too dark.
View the before-and-after with this tool:
Drag the slider to preview the photos


Color

Within the Color tool is a slider—the Color Cast Removal slider— that can be a lifesaver when it comes to removing color casts in a photograph. I will often go into this tool and ignore using the white balance slider because it does such a good job. In fact, even if I do use the white balance slider to try and adjust the color to remove a color cast, oftentimes the Color Cast Removal slider helps to catch what could not be fixed with the raw adjustments. It’s even a good tool to use if you’re not sure if there is a color cast or not; oftentimes Luminar will see things in the photo that we can’t recognize right away, so this is definitely at the top of my favorite tools in Luminar AI.
View the before-and-after with this tool:
Drag the slider to preview the photos


Sky AI

When you want to replace a boring sky, the Sky AI tool makes it really easy to do. Luminar AI will automatically detect the sky in your photo and all you need to do is choose the sky you want to replace it with. You can even import your own skies to add to the dropdown list, so you can work with more than just the default skies that come included with Luminar. After adding the sky you can make adjustments to the masking, focus, and more.
Want a few skies to play around with? Click here to download 6 free sky JPEG overlays!
View the before-and-after with this tool:
Drag the slider to preview the photos


Sunrays

I find myself using the Sunrays tool when I want to add a sun glow to a photograph. I will rarely use it with the sun in the photo, such as hiding behind trees, for example, and prefer to use it off the frame so it adds a hint of a glow and sunlight to the background. This creates a more realistic effect than adding it somewhere in the frame. It works great for landscapes, back-lit scenes, and any image that could use some sunlight.
View the before-and-after with this tool:
Drag the slider to preview the photos


Matte

The Matte tool is a nice way to add a trendy matte effect to your photo. You can make this effect as intense or subdued as you like, and sometimes adding only a small amount is a nice way to improve a photo without looking overly trendy. You can also add a colorized effect to it with the Color Toning slider.
View the before-and-after with this tool:
Drag the slider to preview the photos


Mystical

The Mystical tool is hands-down one of my favorite tools inside of Luminar AI. It adds the perfect finishing touch of contrast, a touch of glow (but not too aggressive), and I add it as the last tool to nearly every photo I edit in Luminar. I like that you can also adjust the warmth and saturation of the effect, which works well when applying it at the end of an edit because it allows me to perfectly refine the tool to my liking.
View the before-and-after with this tool:
Drag the slider to preview the photos


Glow

I love using the Glow tool on my landscape photos, especially with images that have either a good amount of sun glow in them or with photos that have a natural water source. Even only a small amount makes a big difference to the photo by adding a lot of brightness and those areas tend to stand out a lot when it is applied.
Pro tip: When using this tool, make sure you press the J key to ensure that you don’t over-expose the highlights too much; you’ll see red appear in areas that are clipping the whites, and blue in areas that are clipping the blacks. This tool will really exaggerate the whites in the photo, so it’s easy to do. And, if you see a lot of red overlays appear in your image when previewing the highlights, go into the Light tool and reduce the Highlights slider until they are gone.
View the before-and-after with this tool:
Drag the slider to preview the photos


Supercontrast

When you want to have an enormous amount of control over the contrast in your image, the Supercontrast tool is a fantastic option. Here you can adjust the amount and intensity of the highlights, mid-tones, and shadows, with sliders that allow you to fully adjust the settings that work best for your image. I encourage you to play around with this on your own photos to see what it can do.
View the before-and-after with this tool:
Drag the slider to preview the photos


Color Harmony

Somewhat hidden in the Color Harmony tool is one of my favorite sections: Color Contrast. These settings add a remarkable amount of brightness and contrast to a photo, especially when your images have colors that are opposite on the light spectrum (red and cyan, blue and yellow, or green and magenta). Simply increase the Amount slider, then adjust the Hue to set the color spectrum and watch your photo change before your eyes!
View the before-and-after with this tool:
Drag the slider to preview the photos


Texture

The Texture tool, located in the Local Masking section, is wonderful for adding textures, borders, or even watermarks to your images. You can add up to ten of these total, so it is possible to really layer effects over a photograph. Plus, you can change the blend mode, opacity, and even mask the texture as well.
Feel like playing around with some free textures? Click here to access a page where you can download a bunch of fun textures for free!
View the before-and-after with this tool:
Drag the slider to preview the photos


Nicole is a photographer, published author, and educator specializing in Lightroom, Photoshop, and photography. She is best known for her books on food photography but is widely versed in various photographic genres, including landscape, nature, stock, travel, and experimental imagery.



Nifty!
Excellent post! Bookmarking so I can refer to it in the future as well! Thank you.
Great Tips
How about a PDF one sheet for the top ten. Saves me from trying to create one. Afterall you are so good at it.
Excellent. I know Luminar ai is constantly battling mistake unfounded negative comments from users and realize that Skylum is doing what they can to please their customers. But I have stuck with them and support them in any way I can.
These tips are splendid. Thank you.