Last updated: November 19, 2018 | This article contains affiliate links
Today, ON1 released its newest version of their software: ON1 Photo RAW 2019. This program is typically on a yearly update cycle, and it’s always interesting to see what changes come with the new updates. This year they’ve added some features that users have been asking for, such as a text tool, and some other changes to somewhat unify the program and allow for less “jumping around” from module to module.
Below I’ve listed out many of the new additions to this update, as well as some screenshots my own comments on these changes, but it’s not a complete list:
- If you’d like to view all of the features in this version, please click here.
- Or … download a trial version of this software
New Layers workflow
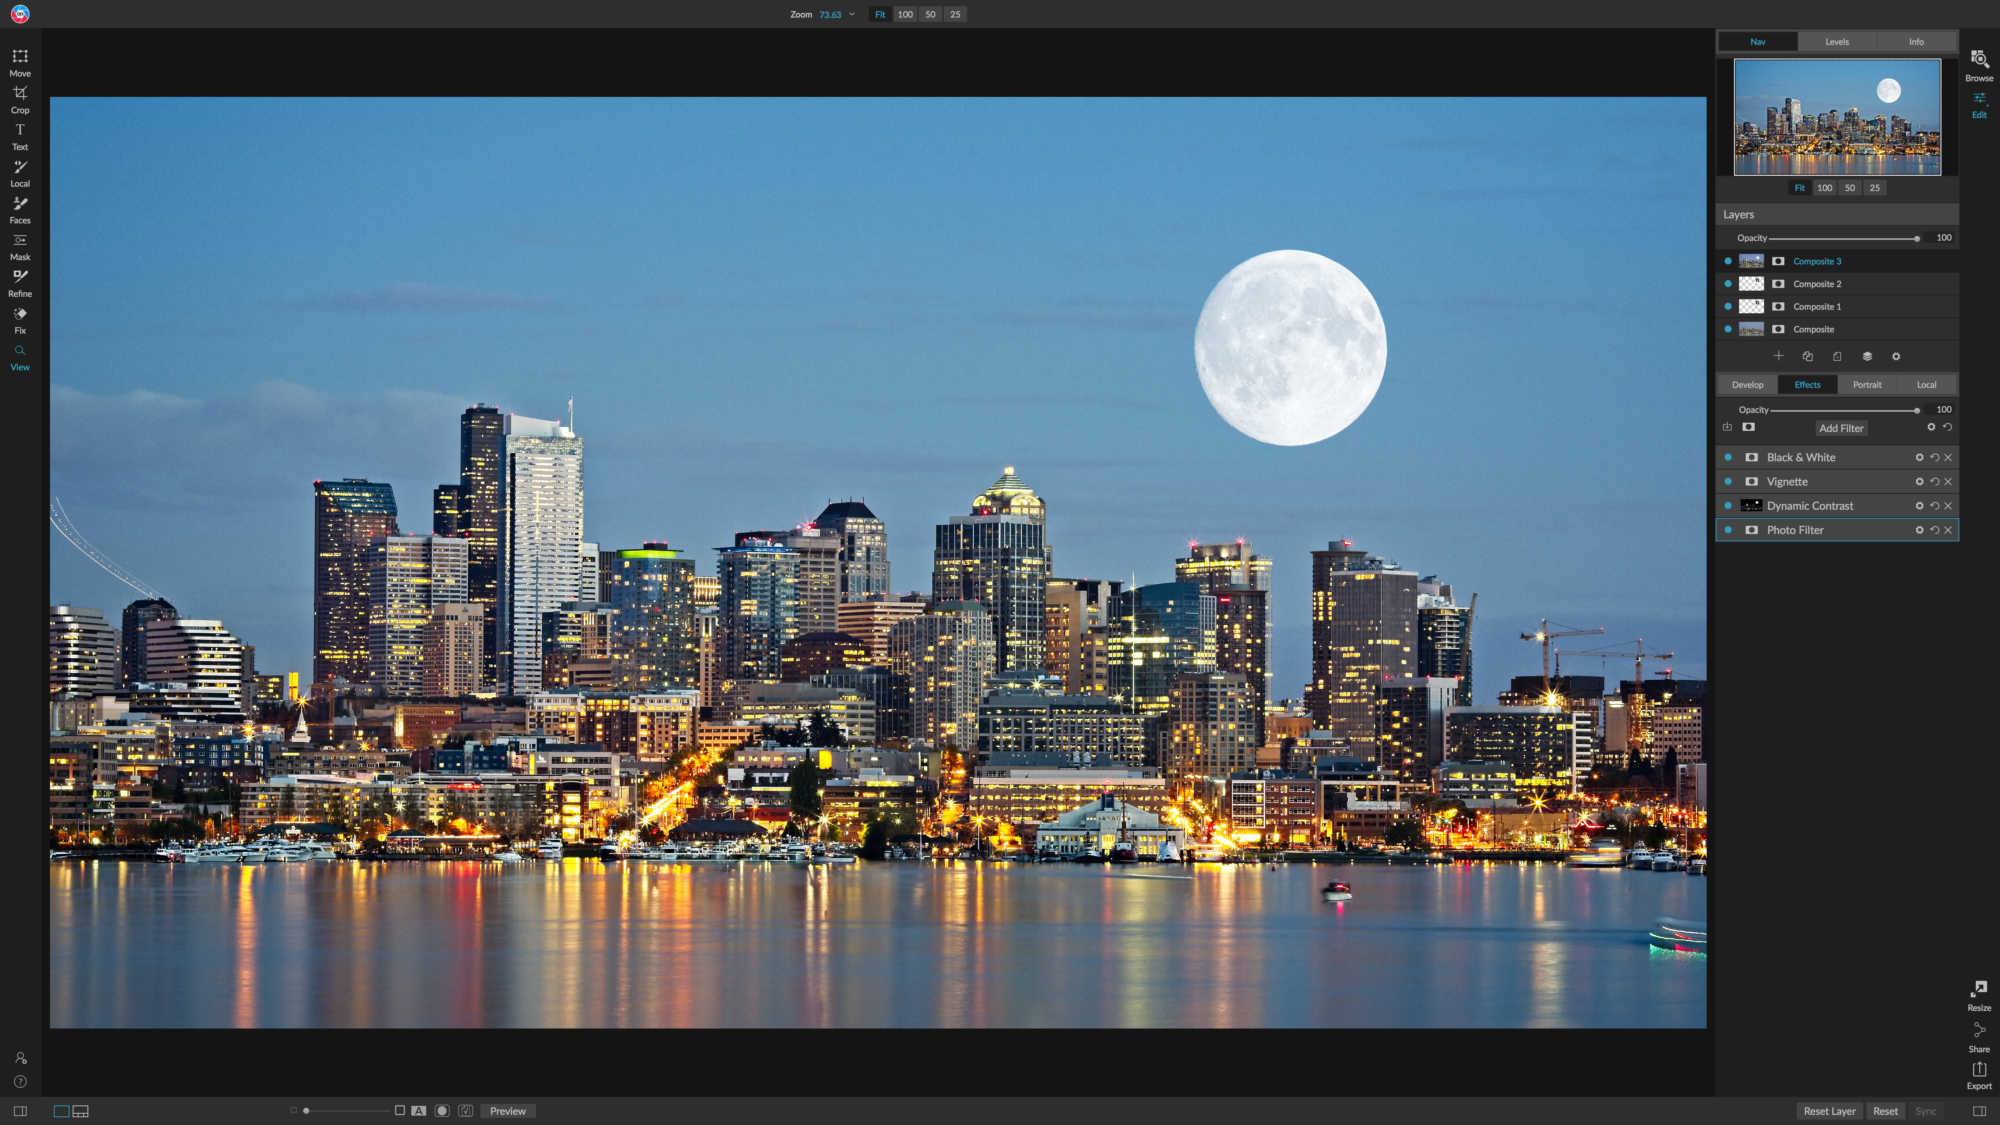
Previous versions ON1 Photo have always had a separate “Layers” module. Now, in the 2019 version, the Layers, Develop, and Effects modules are all combined into one “Edit” module. If you want to do any masking or compositing to an image, you can do all of it in one space and there is no longer the need to convert images to PSD and Smart Layers to work on them nondestructively.
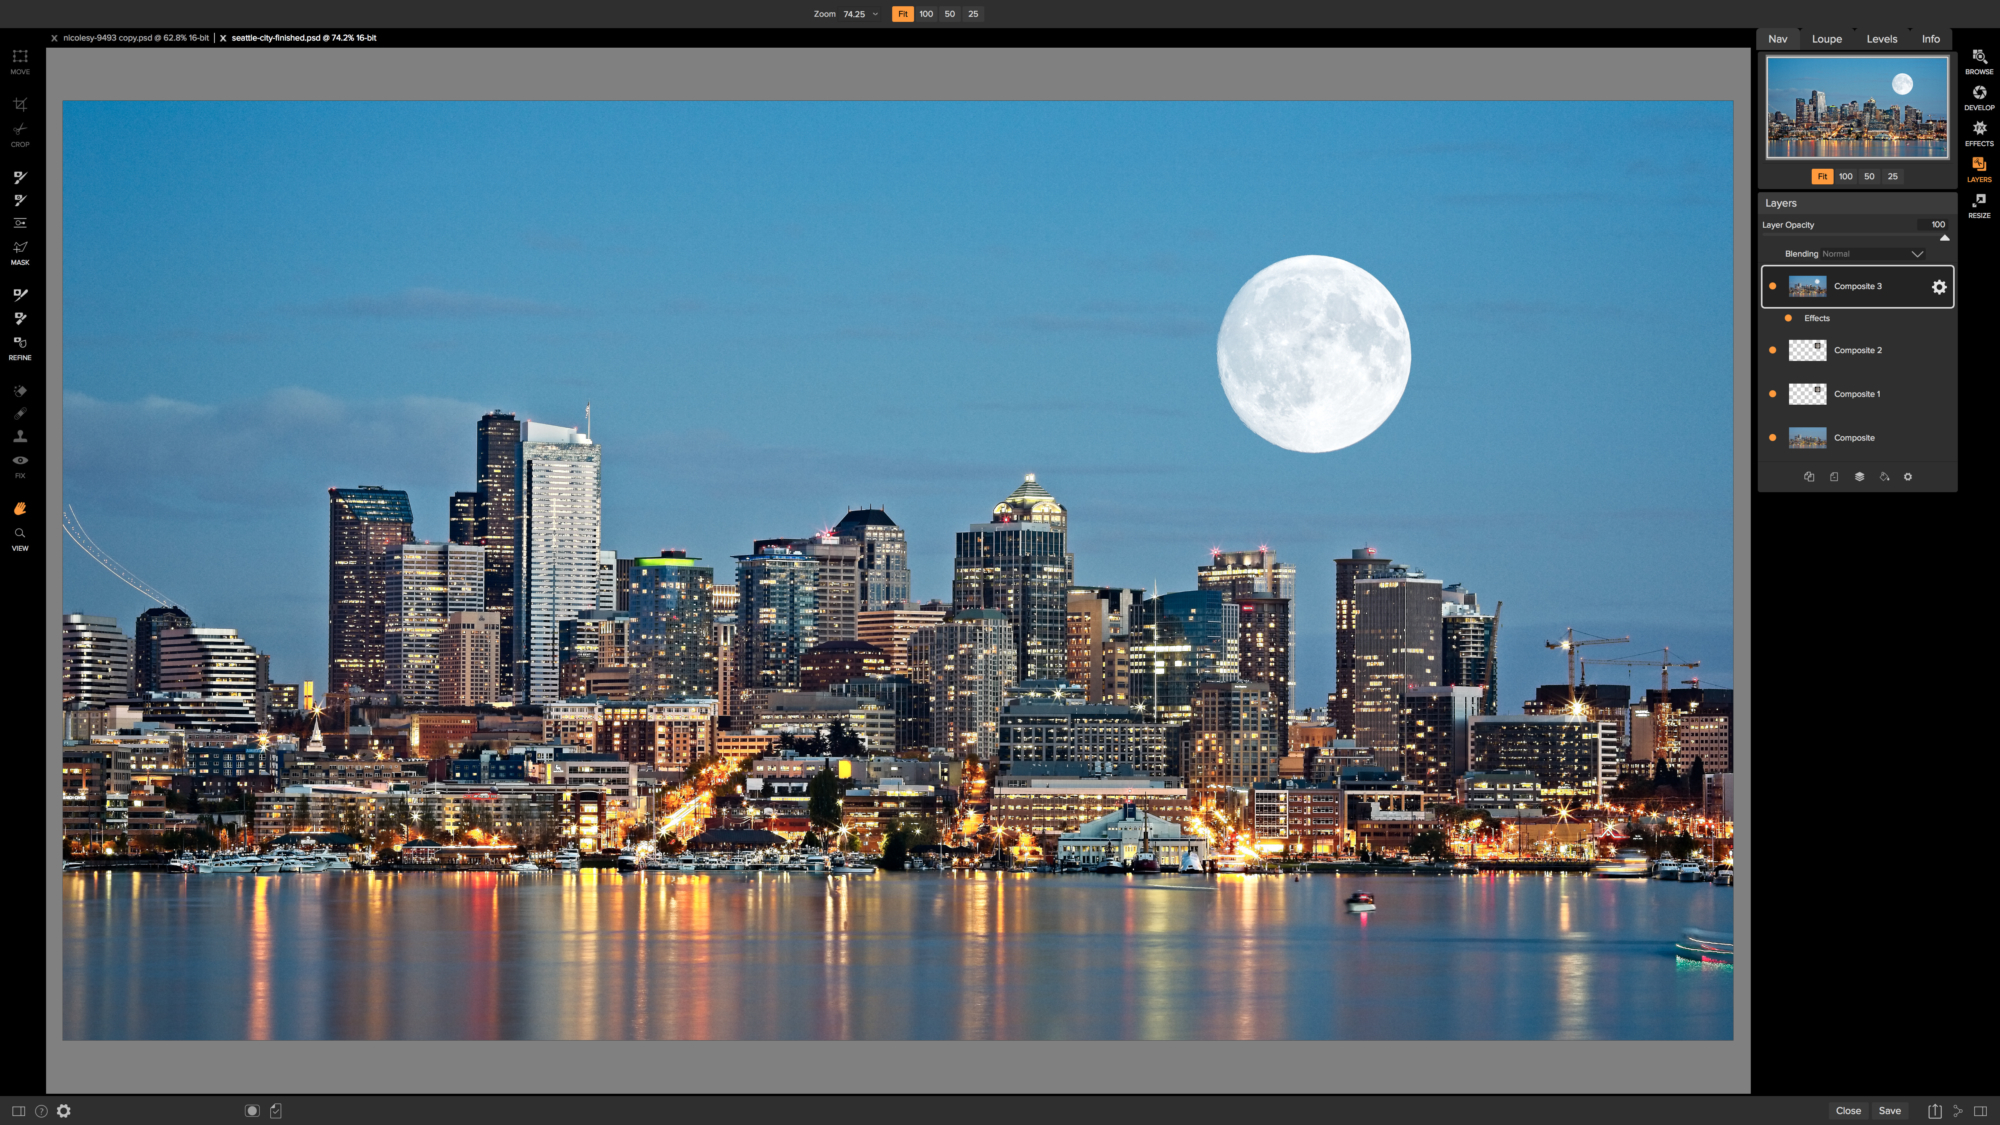
Here’s a photo-comparison between the Layers panel in ON1 Photo RAW 2018.5 and ON1 Photo RAW 2019:
- ON1 Photo RAW 2018.5
- ON1 Photo RAW 2019
Masking tools
While combining the modules makes for a smoother and faster workflow, it comes at a small cost. There are a few masking tools that didn’t seem to make the cut: Quick Mask and Line Mask. (They’re listed on the features page, but I can’t seem to locate them in the toolbar.) Also, many of the other tools that are missing from the main toolbar are now “nested” in the Options bar at the top, so switching over to them now takes an extra click (or, you can use the keyboard shortcuts to access them quickly if you know them).
Update: ON1 mentions in their announcement blog post that there will be a new AI Masking Tool implemented in the Winter of 2019 (sometime between January 1 and March 19). Hopefully this is a new-and-improved, better version of the Quick Mask, but I guess we’ll just have to wait and see! Here’s a screenshot from their blog post so you can read all the details they’ve shared thus far:
No more Color Fill layers
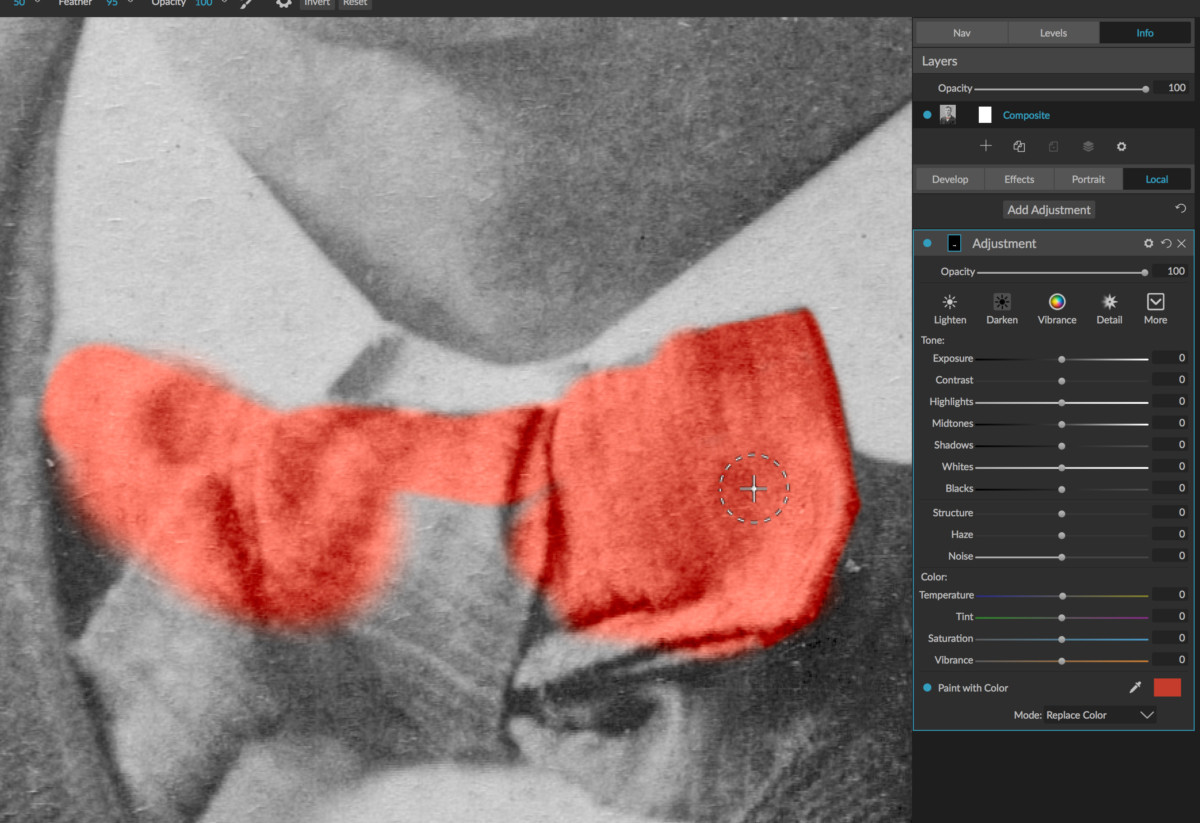
Another missing item is the “Color Fill Layer” option, which has probably been replaced by the Paint with Color feature in the Local adjustment tab. This is one feature I’ll miss. The ability to add a color layer as a completely independent layer—and not as an adjustment—makes it easier to do things such as colorize black-and-white photos or give creative enhancements to images. Now there is no way to add a separate color fill layer without either duplicating the existing layer, or “hacking” the system and add a plain JPEG file that has no purpose but to “carry” the color layer over to the document without bulking up the file-size. If your only reason to add a color layer is to change the color of one or two areas in your photo, then the Paint with Color feature should work just fine. But if you want to get creative with your edits and masking, having the Color Fill Layer option is much more convenient.
Why do I prefer Color Fill layers?
Here are a few reasons why I prefer Color Fill layers to the Paint with Color feature:
- Color Fill Layer names can be edited. This is ideal when working with more than one fill color and you need to organize your edits so you can go back-and-forth easily.
- If you use Paint with Color, the layer names cannot be edited, so all of them will say “Adjustment” with no way to specific what the adjustment is.
- Using a Color Fill Layer allows you to save and work with the layered file in Photoshop.
- The Paint with Color option is an ON1 effect, which means it cannot be edited outside of the ON1 platform. You can still open the layered file in Photoshop, but the Paint with Color edits will be merged with your image.
- You can easily blend the Color Fill Layer using all of the standard layer blending mode options.
- Using Paint with Color, there are only three options: Solid Paint, Replace Color, and Classic. You can get to the “regular” blending modes, but it takes an extra “click” to get to them.
- The Local settings (where the Paint with Color option lives) auto-applies an Exposure adjustment of –1.
- This option has to be reset every time you add a new Adjustment layer; it’s extremely obnoxious and I sometimes forget about it so my local edit is darkened unintentionally.
Text tool
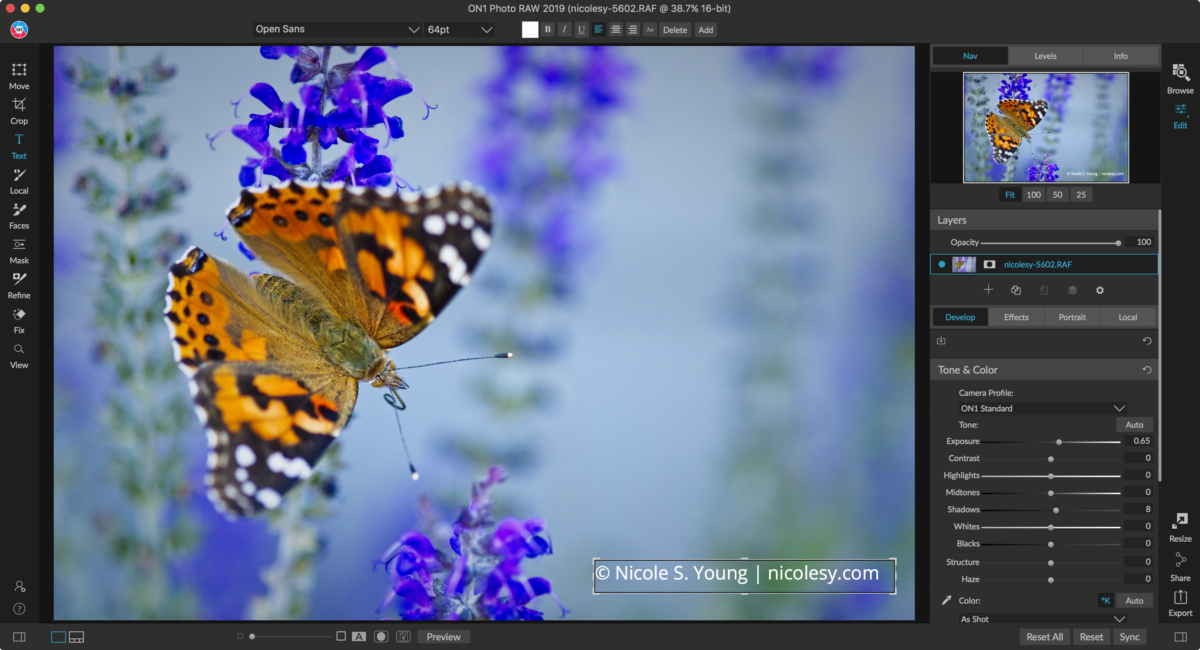
This version finally has a text tool! So far it’s pretty straightforward, so it will be interesting to see if it improves with future updates. Here’s what you can and cannot do with the text tool:
- Add a paragraph of text (single line or more).
- Multiple text boxes can be added to an image.
- Text can be stylized using the options at the top (font, size, color, style, opacity, and alignment).
- You can resize the text box, which does not resize or scale the text.
- Text cannot be rotated or transformed. It can only be added “upright”.
- The text sits in its own space and is always sitting at the top of the image in the preview (regardless of the number of layers added to the Layers panel).
Focus stacking
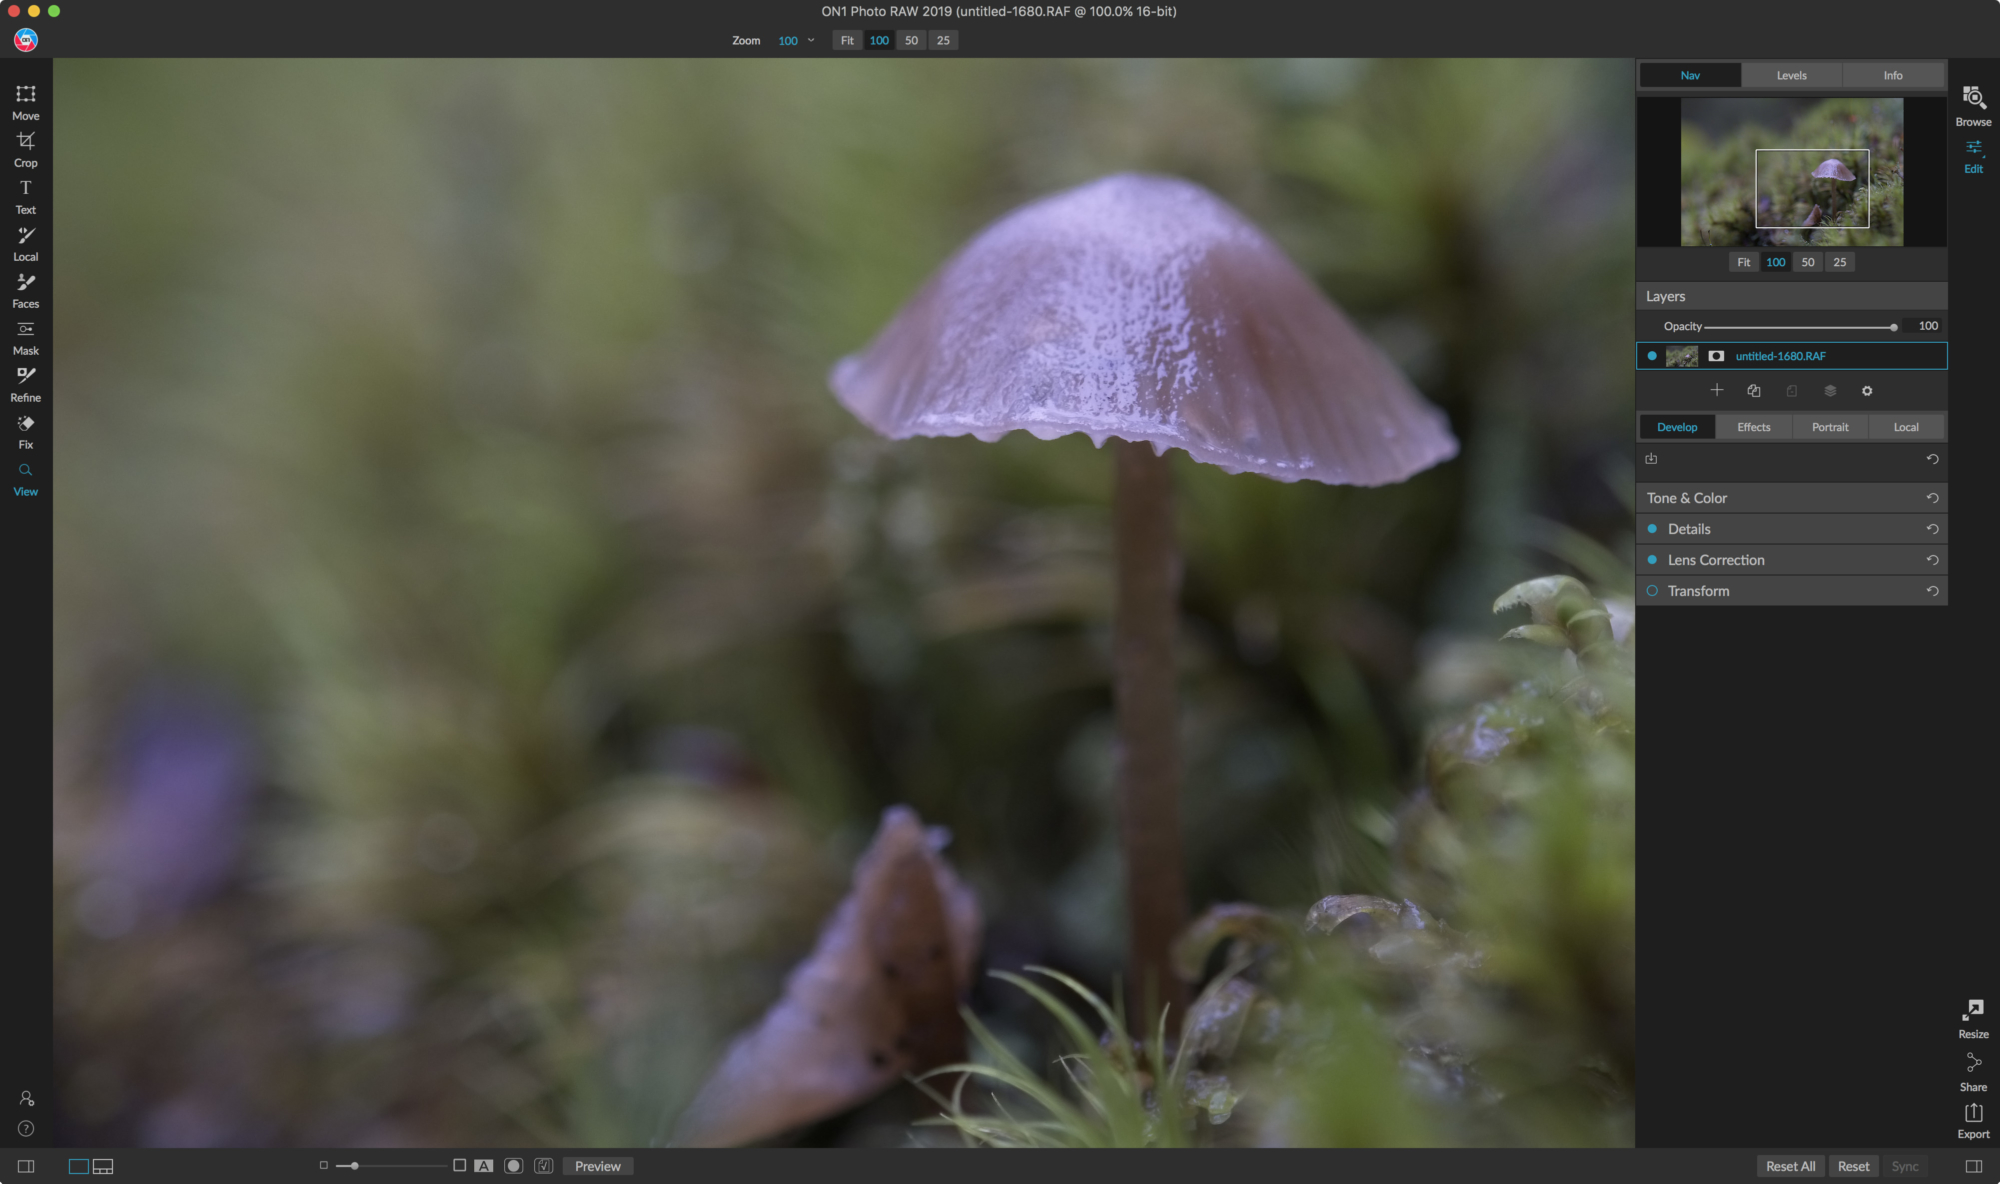
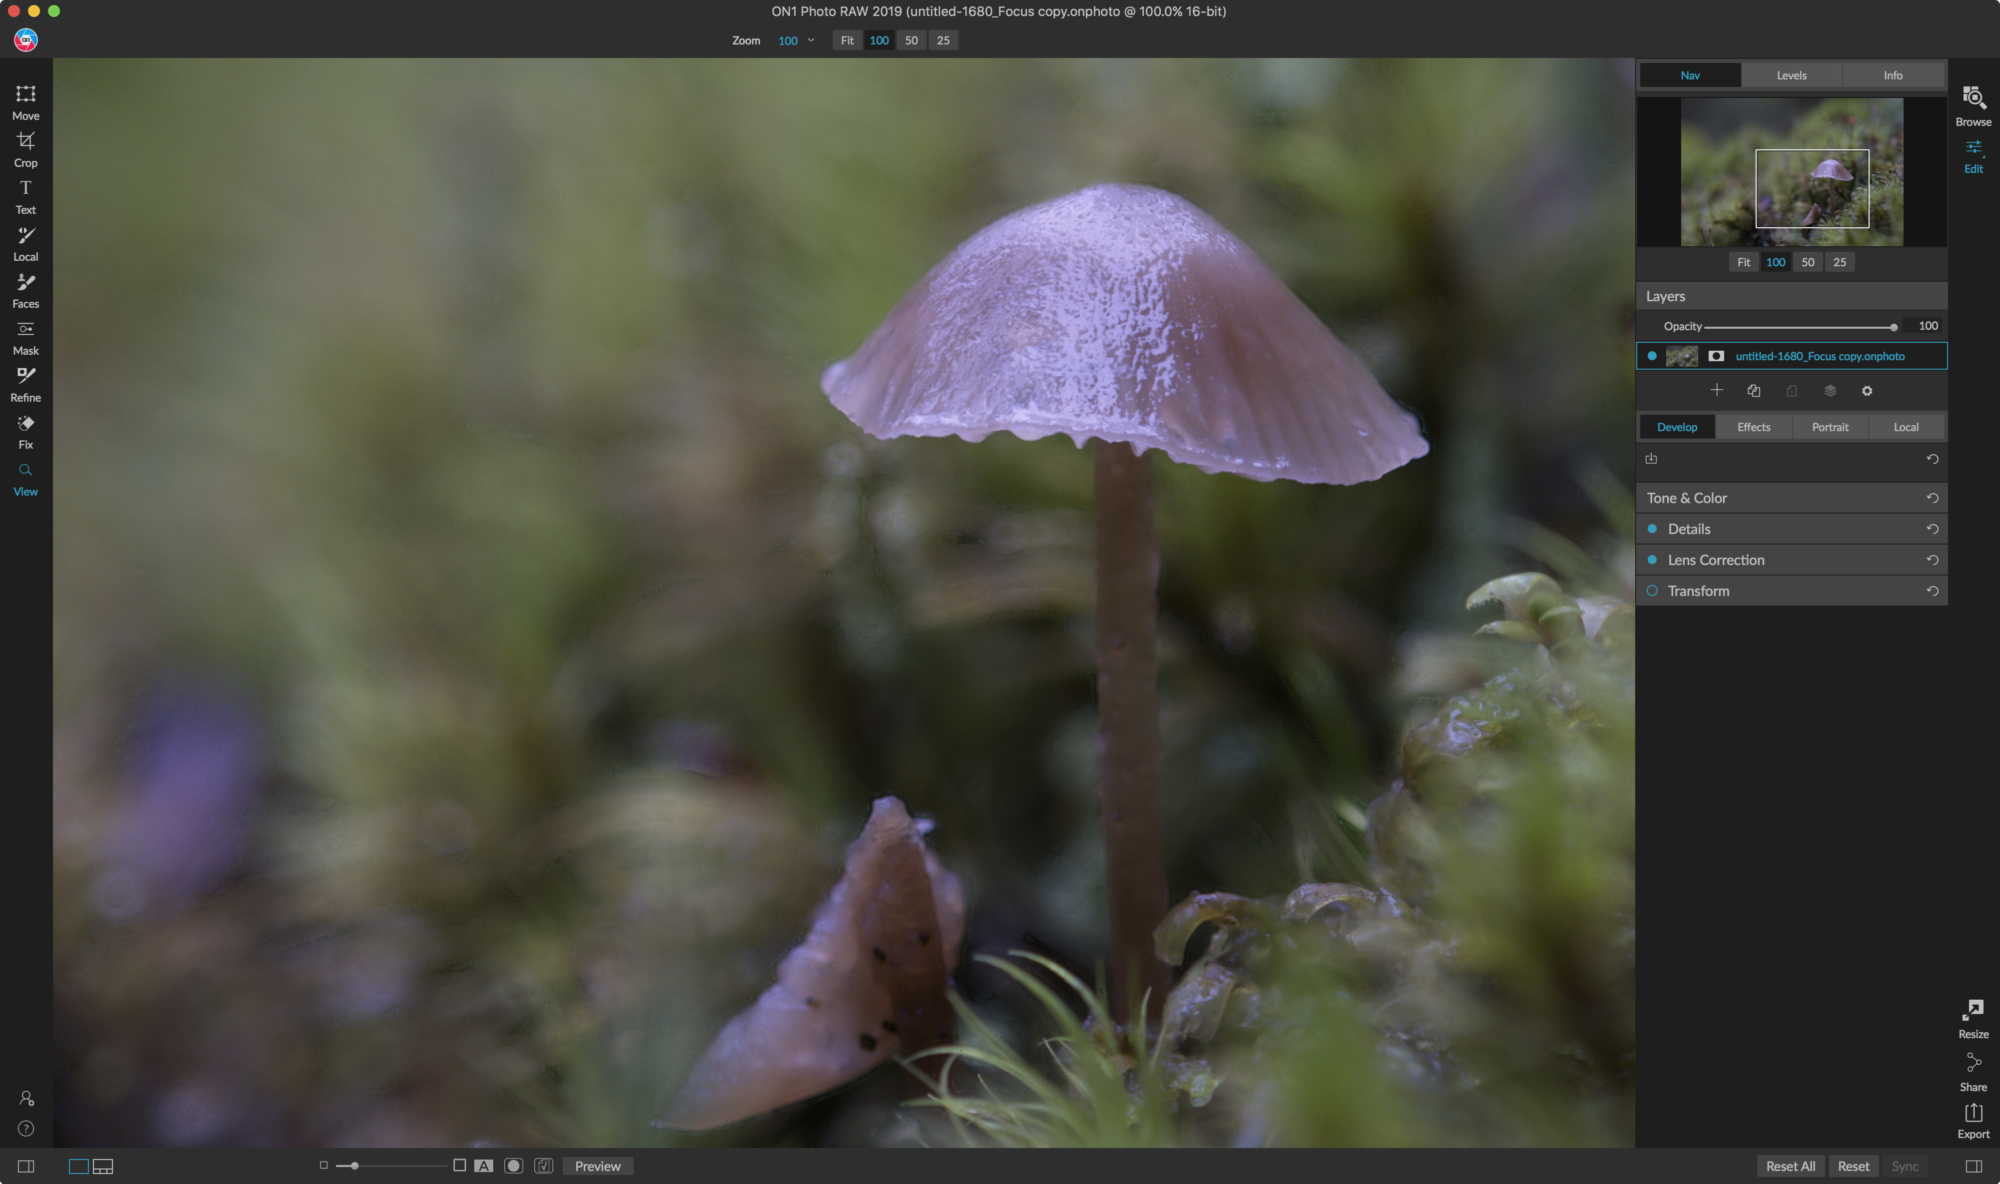
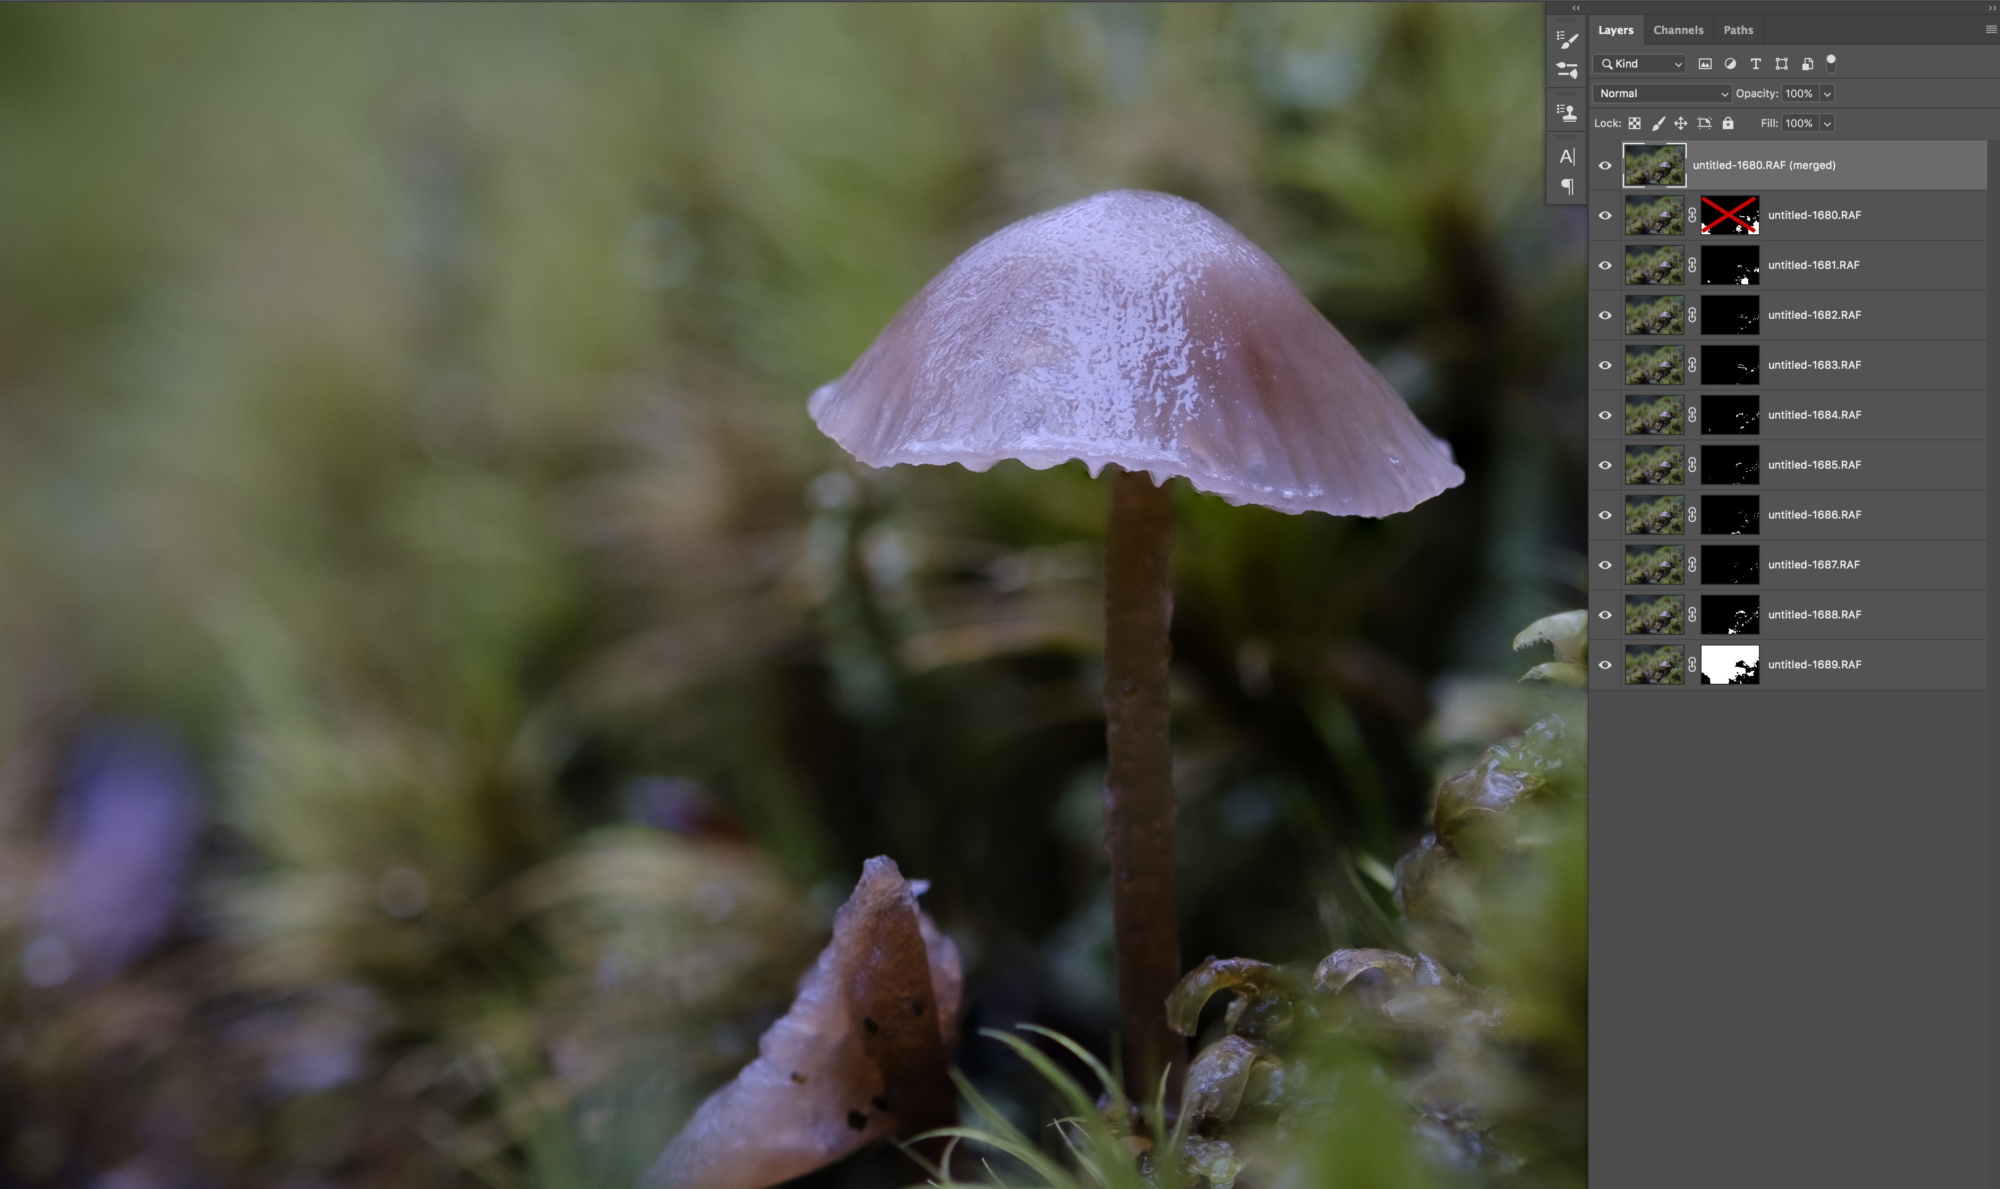
Focus stacking is a brand-new addition to this version of ON1 Photo RAW. It’s apparent that it’s still very fresh, and has room for improvement. I tested it with a 10-photo macro photo of a mushroom, and there are some considerable artifacts appearing in the out-of-focus areas of the image. I focus-stacked the same files in Photoshop, and have that image posted below for comparison.
- Focus stacking in ON1 Photo RAW 2019 (before)
- Focus stacking in ON1 Photo RAW 2019 (after)
Auto-Align Layers
Sometimes it’s nice to be able to align layers. Oftentimes I’ll photograph a landscape and create two exposures: one for the foreground, and another for the sky. Sometimes the alignment of these images was slightly off, so when I would go to blend them together to get a more balanced exposure I would have to move the layers around manually to get them aligned properly. However, now the software can do it for you.
Portrait tools
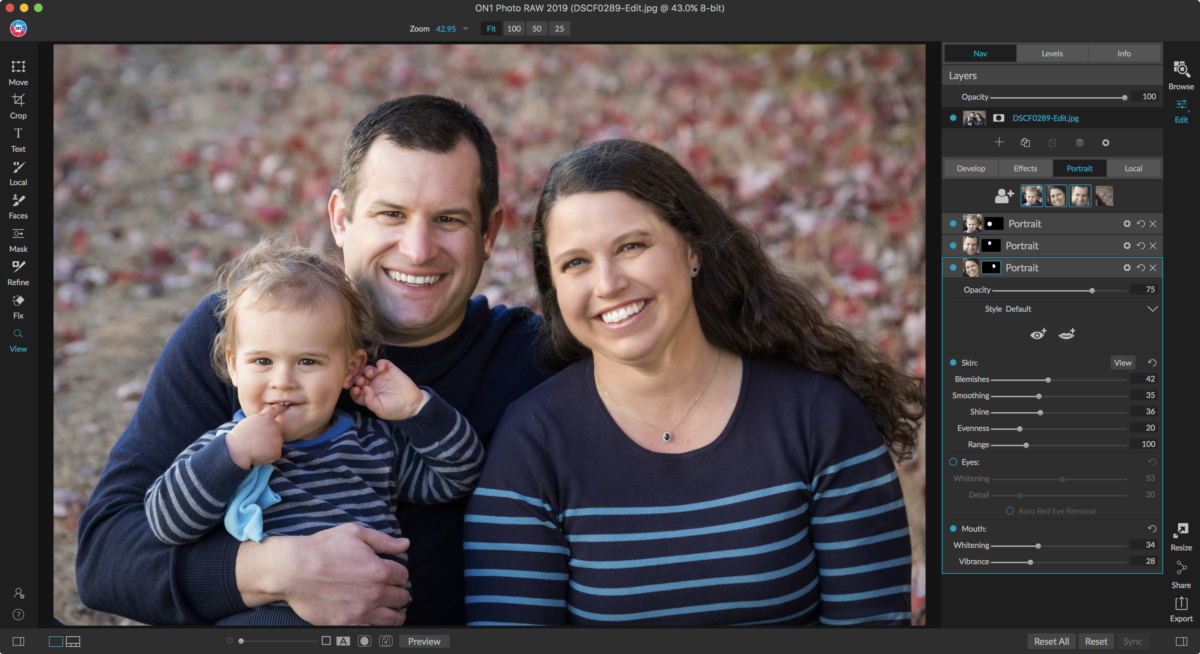
Long ago, ON1 used to have a separate Portrait module. Then, it was removed and merged in with the other modules, and now they’ve brought back some of the features in a much easier-to-use format. The Portrait tab will auto-select faces, and you can also select a face manually if it doesn’t detect it. Then, you can smooth skin, remove blemishes, whiten teeth, and more. If you’re familiar with the previous Portrait effects, then this will be an easy transition for you.
New Effects filters
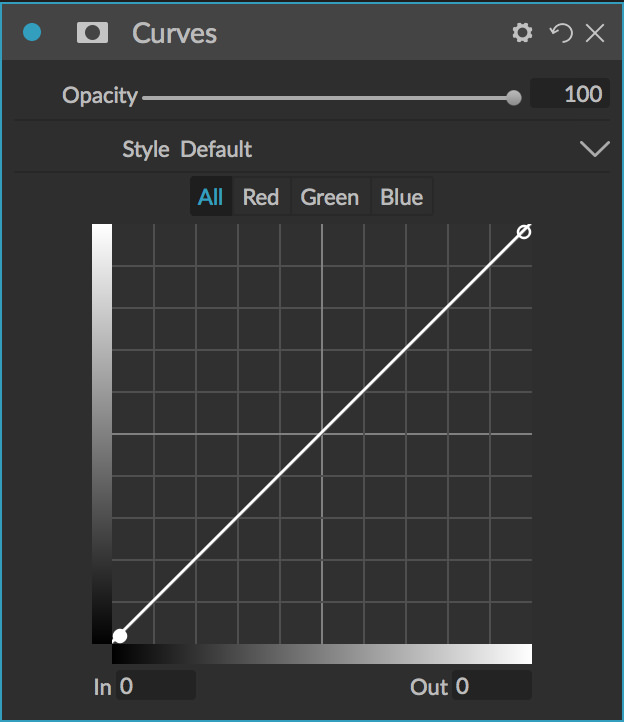
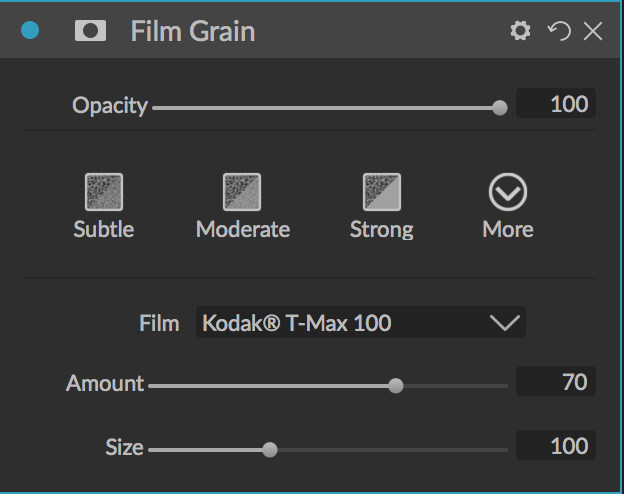
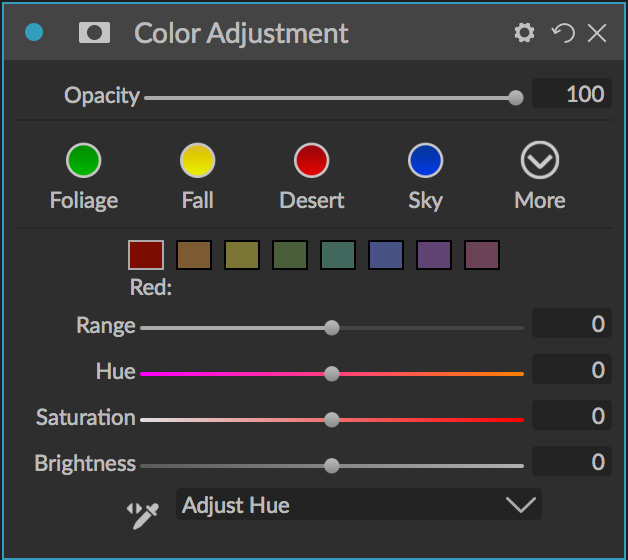
They’ve added a few new filters to the Effects tab: Film grain, Curves, and Color Adjustment. They aren’t technically new features, as there were always other ways to apply these effects using workarounds, but it is nice to now have them as separate filters.
- Curves filter
- Film Grain filter
- Color Adjustment filter
My thoughts on this update
It’s expected to see a new update to ON1 Photo RAW every year, and this year they have added some features that customers have been requesting for quite some time. With that said, many of these new features are still very much in the beginning stages of their implementation into this software and could use some improvement. I do, however, believe that they are making good strides towards listening to their customers and really tightening up the product. It will be nice to not have to jump back-and-forth between the modules; the new workflow does look very promising. I also enjoy the little things added to the UI, such as being able to customize the highlight colors (they added some new colors in this update!).
Should you update?
Ultimately, that’s up to you. If you are happy with the previous version (currently at 2018.5), and don’t need the new features such as Text and Focus Stacking, then you should be fine waiting this one out until the next big update (2020?) or until they release a 2019.5 update to fix bugs and refine some of the features.
Want to learn more?
If you’d like to see more of what ON1 Photo RAW 2019 offers, please click here to visit their website.

Nicole is a photographer, published author, and educator specializing in Lightroom, Photoshop, and photography. She is best known for her books on food photography but is widely versed in various photographic genres, including landscape, nature, stock, travel, and experimental imagery.





ah, man. I just discovered Quick Mask. Amazing tool.
Great review, Nicole! I enjoy using ON1, but at around 80% of the program’s initial cost, annual updates with minor additions don’t seem worth it. We’re practically re-buying the product every year. They really ought to be giving their loyal, long-time customers a better break on the upgrades, IMHO.
I just did my first edit in 2019. I found it difficult to bounce from Lightroom to On1 and back to Lightroom. Finally exported to an original folder and reimported to Lightroom. Didn’t find a simple “Save” option that was available in the old version?
Was disappointed to not find “Quick-Mask, with a simple “W” keystroke? Had to do my mask using “Perfect mask,” which on this particular file was a bit tedious. Since I am working on a project with previously edited files from the former version, I am going back there to finish, and will explore the new version when I have more time!
I’ve emailed On1 with no reply yet, so maybe people here will know.
My workflow for LR after culling is to go through each picture for individual tweaks. I shoot in ever changing light so I have to manually adjust exposure on almost every picture. In lightroom in the develop / edit module, switching picture using the film strip is near instant. In on1, it’s 4-6 seconds to load each picture. Using the catalogue folder doesn’t help. I’ve maxed the cache to 10gb in settings. Every time you view a different photo in the edit module, it freezes for 4-6 seconds. Even if I went from picture 1,to picture 2, back to picture 1, it has to render again.
Has anyone figured out a way to get on1 to render faster? I don’t have this problem on LR or Luminar.
I pretty much agree with the review and your assessment of On1 Photo Raw 2019. After using the 2019 beta version and having used the 2018 version for about a year, decided it was time to bite the bullet. I asked for a refund on the 2019 version, which they refunded without question. I stopped using the 2018 version back in August. I had hopes that the 2019 version would live up to the marketing hype. Sadly, I gave up on Photo Raw. When it comes right down to it, the $120.00/yr subscription to the other guys gets me the professional tools I need. There is only one product that does content aware and does so at a professional quality level and workflow. Sorry On1. For all the marketing and sales efforts, Photo Raw 2019 still isn’t ready for primetime. And, it will never be a PS & LR replacement, at this rate.
Sadly I agree. My post above yours says it all. If I have to wait every time I change photos, I can’t use it. I literally want to punch my computer every time I change photos to work on another. I’m not even a pro, but I can’t imagine anyone processing a high volume of images using On1. I’m editing 30-40 at a time after culling, and I did that once with On1 and went immediately back to LR for the next editing session…..
Don’t even get me started on how Noise Reduction is pretty much non-existent on On1……
Hi,
I am really disappointed with the 2019 release.
None of these new features work fine; further, some good tools have disappeared.
I hope the 2019.5 release change in a positive way.
At the moment, all my work is worse and slower than before.
Disappointing and disturbing as I have really liked and preferred on1 for years. Wish I had read this before upgrading. However, I only finished the upgrade on my laptop and had not gotten around to doing it on my desktop, so, thankfully, I still have a working version of 2018 on1Raw. I hope they work on these things and fix and/or return the things that make the new release not a good as the previous version.
Thank you for this. I have your most useful training on 2018, but 2018 won’t open, so I use 2017 which works well. on1 has some features that beat anything else I know, but there must be some powerful bugs. Frustrating.
I am using on1 since the PPS 7.5 version, or something like that. Had a good times, and bad times with the software. E.g. the transition to RAW 2017 made my girlfriend to switch to LR, as it was not really useable on our notebooks. But – the situation pretty much changed and 2019 version is really a solid piece of sotware. Now as to some complaints / observations above:
Layers are a new implementation. Color fill layers are missing, but if my understanding is correct, those will come back, along with some other features.
Now as for LR come-on – just show me layers along with blending modes and opacity settings in LR. In fact – while I was proponent for LR in terms of our studio, I am not anymore – I prefer on1, Luminar or Exposure nowadays. While LR’s Library and Develop are still a defacto industry standard, and maybe apart from Printing, all the other modules are pretty much useless. And one of the reasons I don’t like LR anymore is for its users pushing on1 to implement stuff like hierarchical keywords, now – how many users do use any such feaure? I would trade it for even better masking tools anyday.
I don’t use filmstrip much, mostly a browse + edit, but can’t see the 4-6 sec lag moving between the pictures. But then – I am a SW guy and do a clean install from time to time. And don’t worry, I am not biased – I had my gripes with the SW too. My take though is, that 2019 in its initial release is even more stable than 2018.5 latest release. Actually – for me it is the first on1 RAW version I enjoy to use. What might be still buggy is the PS plugin (quite laggy experience), and the export functionality. on1 knows that and are working on improvements.
As for Quick Mask – do you guys follow their blogs? It was stated several times already, that the functionality is coming in new, free update, next month. It should be a reimplementation using some AI stuff. We should be imo more careful at our claims, as by what we say we influence others. There were times where I would NOT suggest on1 RAW at all, but not so with 2019 anymore ….
Hi Peter, thanks for your comments!
Also, I do see the AI mask mention in the announcement articles. That could be anything … it might be similar to the Quick Mask, but who knows, lol. I’m not opposed to new features, but I see it as being very frustrating when they remove a tool for several months with the promise of something new being re-added eventually, with a very vague timeframe. Hopefully it works well right out the gate.
I havent upgraded using trial for 30 days . Unfortunately Panoramic is very ‘wormy’ in 2019 vs. 2018 so much that they are unusable.
Neglected to mention I use Fuji XT2 RAF files