

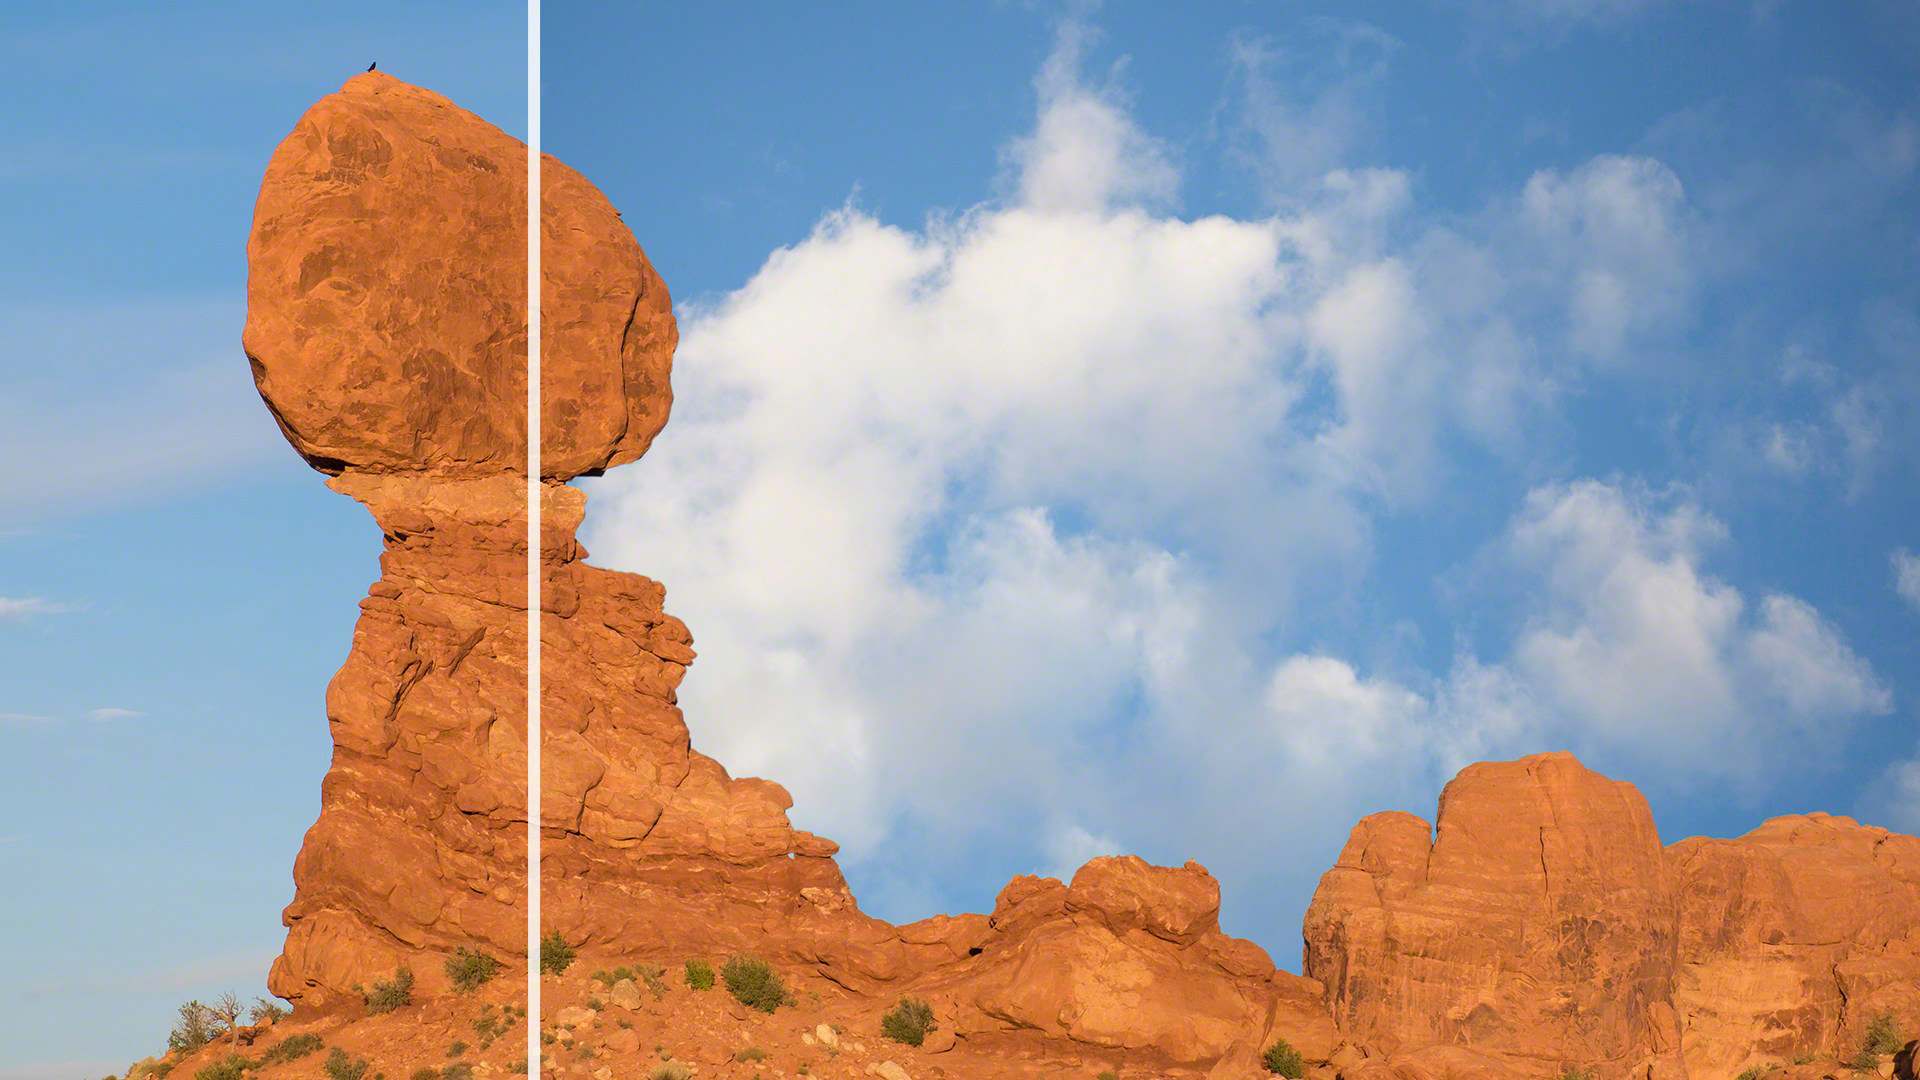
The masking tools in Luminar are straightforward, but that doesn’t mean that you can’t create detailed masks! I have a technique that I use to replace skies and solid backgrounds using Luminar. It’s pretty slick! Below you’ll find a short video where I demonstrate a technique you can use to make a very quick and detailed mask to replace backgrounds and skies. And, if you’d like to give Luminar a try for yourself, click here (or use the button below).
Please note: This post contains affiliate links.
Use the code NICOLESY to save $10 on Luminar 2018:
Watch the Tutorial
Watch below to learn my masking technique:

Nicole is a photographer, published author, and educator specializing in Lightroom, Photoshop, and photography. She is best known for her books on food photography but is widely versed in various photographic genres, including landscape, nature, stock, travel, and experimental imagery.





Hi Nicole, Great presentation with a lot of steps. But putting it all together incredibly effective. I am so used to see you doing stuff for On1 Photo Raw, which I have given up on a dozen times and now finally gave up completely with the “””upgrade””” 2018.
There have been times, working with Luminar that I was frustrated with the way it handled Fuji files but with their recent developments that no longer seems to be an issue.
Thanks for the presentation on replacing the sky. It was great. I am sure I shall be pre ordering their new version shortly.
Elliot
im trying to mask out a sky by painting the mask in. (using windows). I create the mask, click done, drop in the sky, and nothing happens. All I see is the sky- my original picture does not show at all. (In this case its a mans head in front of a picture- trying to get rid of the picture). Followed the directions in the manual, but to no avail.
It sounds like you might be masking the wrong layer. If you like, you can send me an email and send some screenshots of your layers panel so I can take a look and help you out! Use this link so you can submit an attachment with your message: https://support.nicolesy.com/hc/en-us/requests/new
Very nice. Easy to understand and perform. Thanks. Wish Skylum would implement multiple (Zone-based) masks, or allow developers an API that would allow them to create panels that would allow masks by Zone. Just a more detailed version of what you needed to do with Luminar’s elementary mask. But until that alternative becomes reality, I’ll use your workflow. Thanks for sharing.
Nicole, this may not be a question you can answer but, if not, maybe you can lead me in the right direction. I discovered your tutorial via Jim Nix, who’s version of your directions I followed to great success a few times. But then something started going wrong and I could no longer copy and paste the luminosity mask, so I searched your tutorial out to see what I was doing wrong and I can’t seem to figure it out. I am able to make the luminosity mask but when I try to copy and paste, the copy button is grayed out. It would seem that the mask does not work or has not been made properly. Any help would be appreciated. Thank you.
Hi Paul, I assume you are using Windows? I have heard from some Windows users that in order to copy a mask you need to activate the Brush tool and then actually use the brush tool on the mask before the “Copy” menu item will work. It seems like a weird bug and should not be happening.
Yes, I’m using Windows. Thanks for that tip. I’ll let you know whether or not that fixes the problem once I am able to work on it again.
Hi Nicole-
Nice technique…can also be used to make heavy adjustments to an existing sky (polarizer, curves) without affecting the foreground.
Readers should be aware that Windows version may actually a little differently. My observation is that Luminar computes the mask based on the luminosity of the layer output on Mac and layer input on Windows. Therefore, I had to create a layer above the silouette then create the luminosity mask there.
Thanks again…will use this a lot.
Hi! Can you update these instructions for Luminar 3.1. The “create luminosity mask” is no longer available it seems, so I can’t save the black and white mask once I create it. Thanks.
Nicole, that’s a great technique. Now that Luminar 4 does sky replacement I’ve modified your approach slightly by using Topaz AI Mask to create the black and white mask for any object. This lets me make very detailed masks for any element not just the sky including things like birds sat in a tree. I load the black and white mask created in AI Mask in as a layer to Luminar then use your luminosity mask approach from there. Seeing the direction skylum are taking I wouldn’t be surprised if they added an AI masking option in Luminar 5 but Using Topaz makes this very achievable right now.