Landscape photography is a huge passion for many photographers, myself included. The enjoyment I get when photographing landscapes stems from the desire to be in a beautiful location, and also to come home with an image that I would gladly hang on my wall. There is definitely an art to photographing landscapes, so here are some tips I put together for both new and experienced photographers to help improve the quality of your landscape images.
Be patient
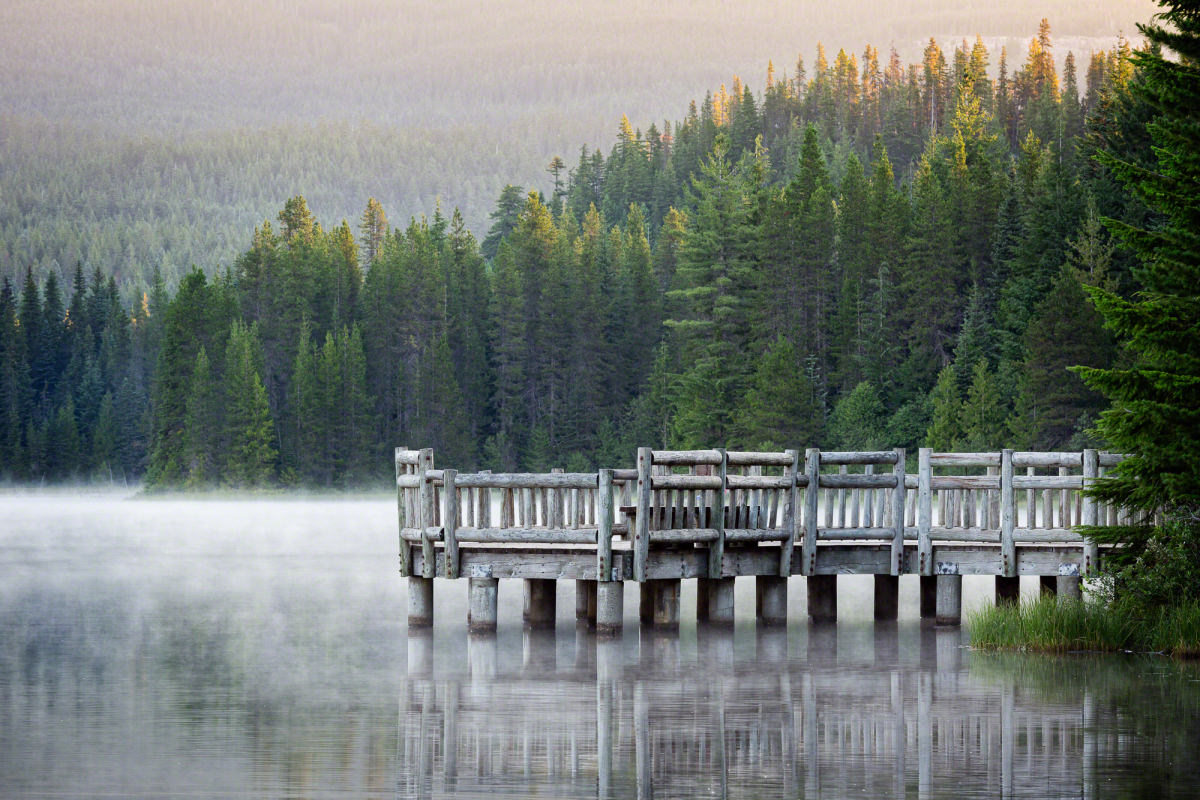
Sometimes the “perfect” moment to photograph a scene is a few minutes (or hours) away. The light will change and move throughout the day, and if you are going to photograph sunrise or sunset then you will usually arrive long before the light is at its best. In these moments, you will need to be patient and wait.
For this photograph, the sunrise that day was less than inspiring. We had a gorgeous scene in front of us at Trillium Lake, with Mount Hood in the backdrop and the lake in the foreground, but there were no clouds in sight. So I decided to photograph the dock, surrounded by the mist of the lake. There was enough light to get a good image, but the sun had not yet appeared. So I patiently waited, and eventually the light caressed the trees at the top of the frame.
Create a Silhouette
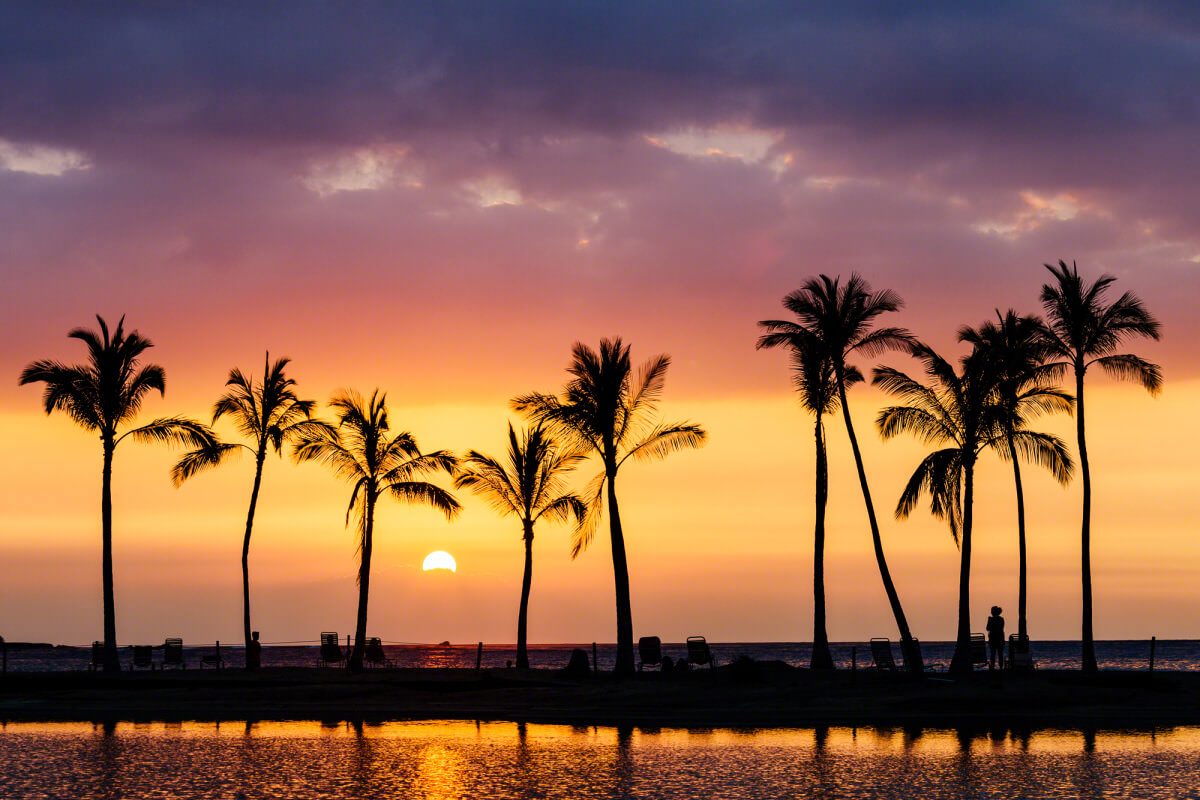
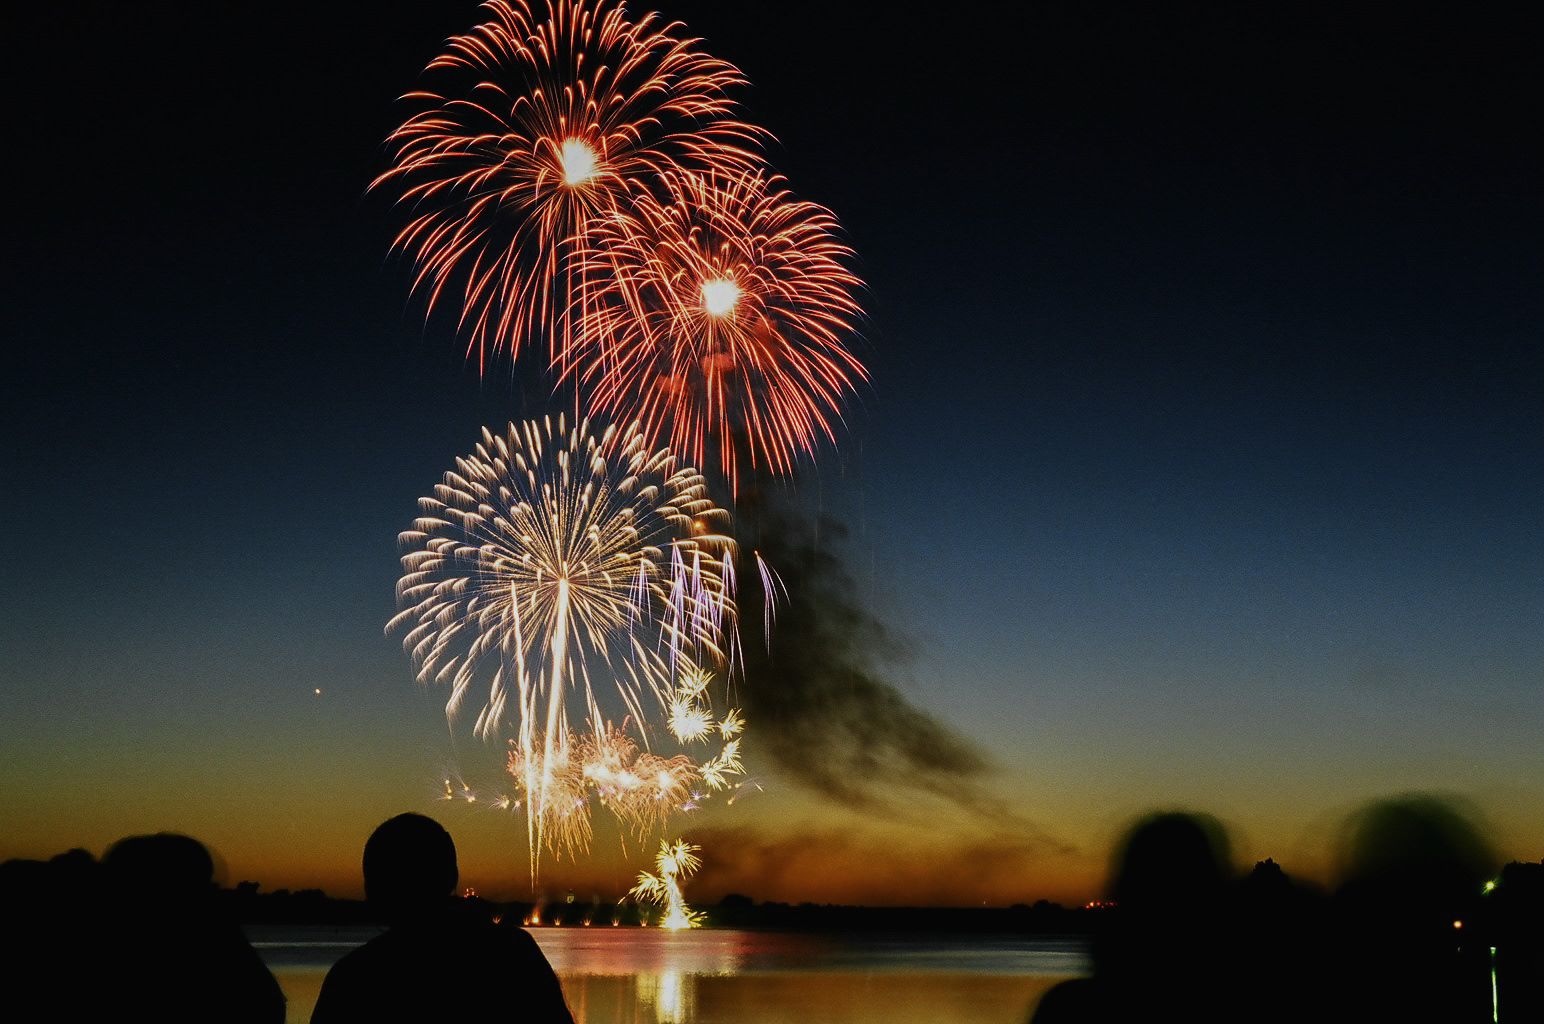
Sometimes we get a sky that is so beautiful that a silhouette is the best way to go. Or maybe you have a scene where the sky is boring, but the outline of what you are photographing really stands out compositionally. In these scenarios, a good plan-of-attack is to create a silhouette.
Create Alternatives When the Weather Doesn’t Behave
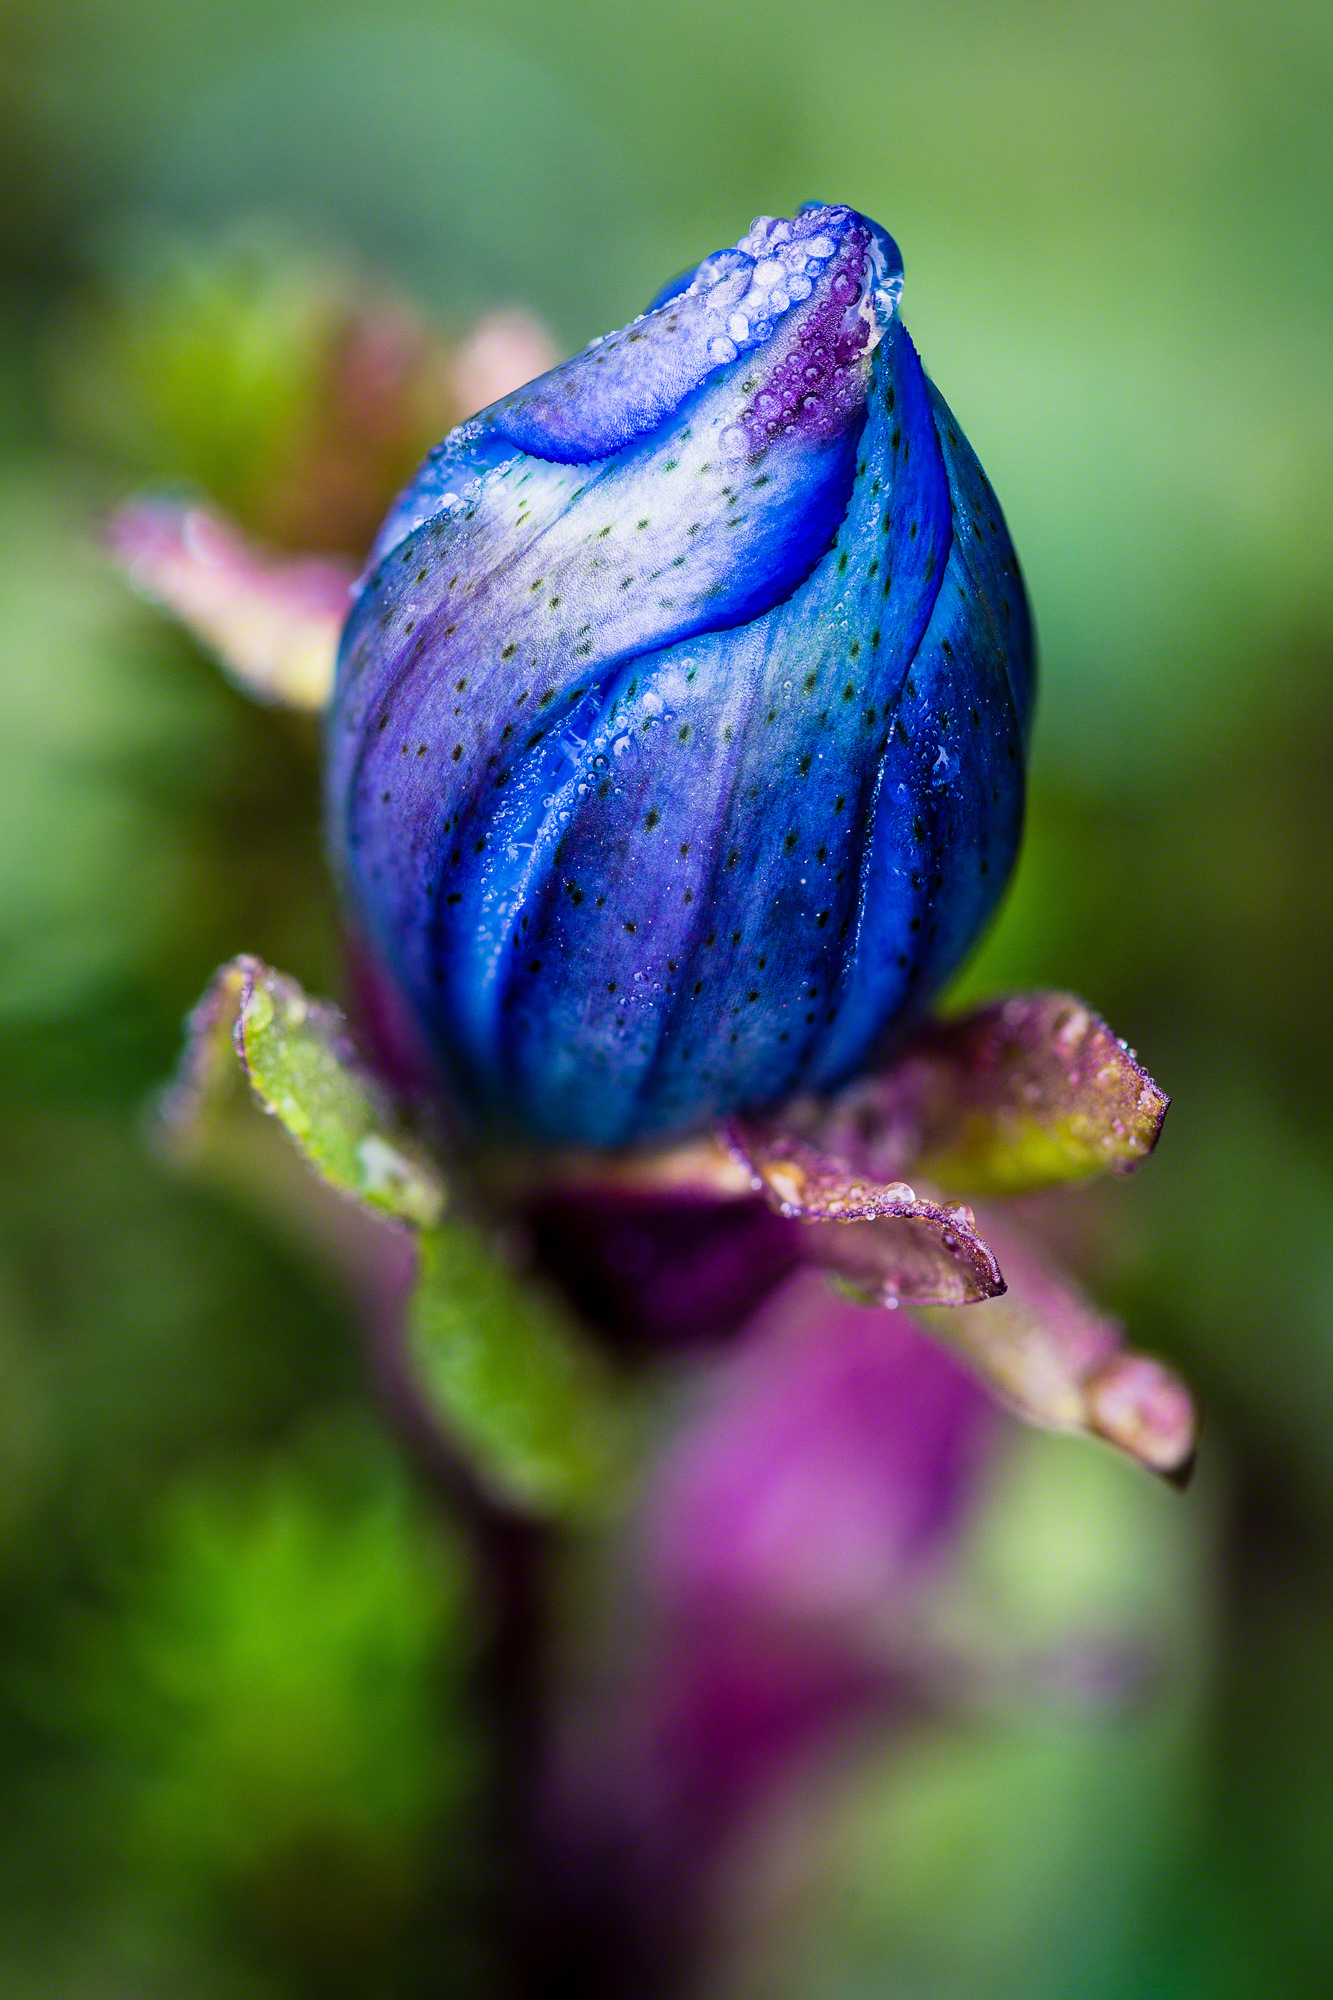
A few years back I decided to take a short quick trip out to Mount Rainier as I was traveling between Portland and Seattle. It was a good time of year to visit and see the plethora of wildflowers in the region, but unfortunately the clouds descended on the mountain so much that I never once saw Mount Rainier, even though I was right next to it! So instead I decided to get in close and photograph the details. I used a macro lens and got extremely close to this tiny little flower bud, and ended up with a gorgeous photo of a tiny little flower.
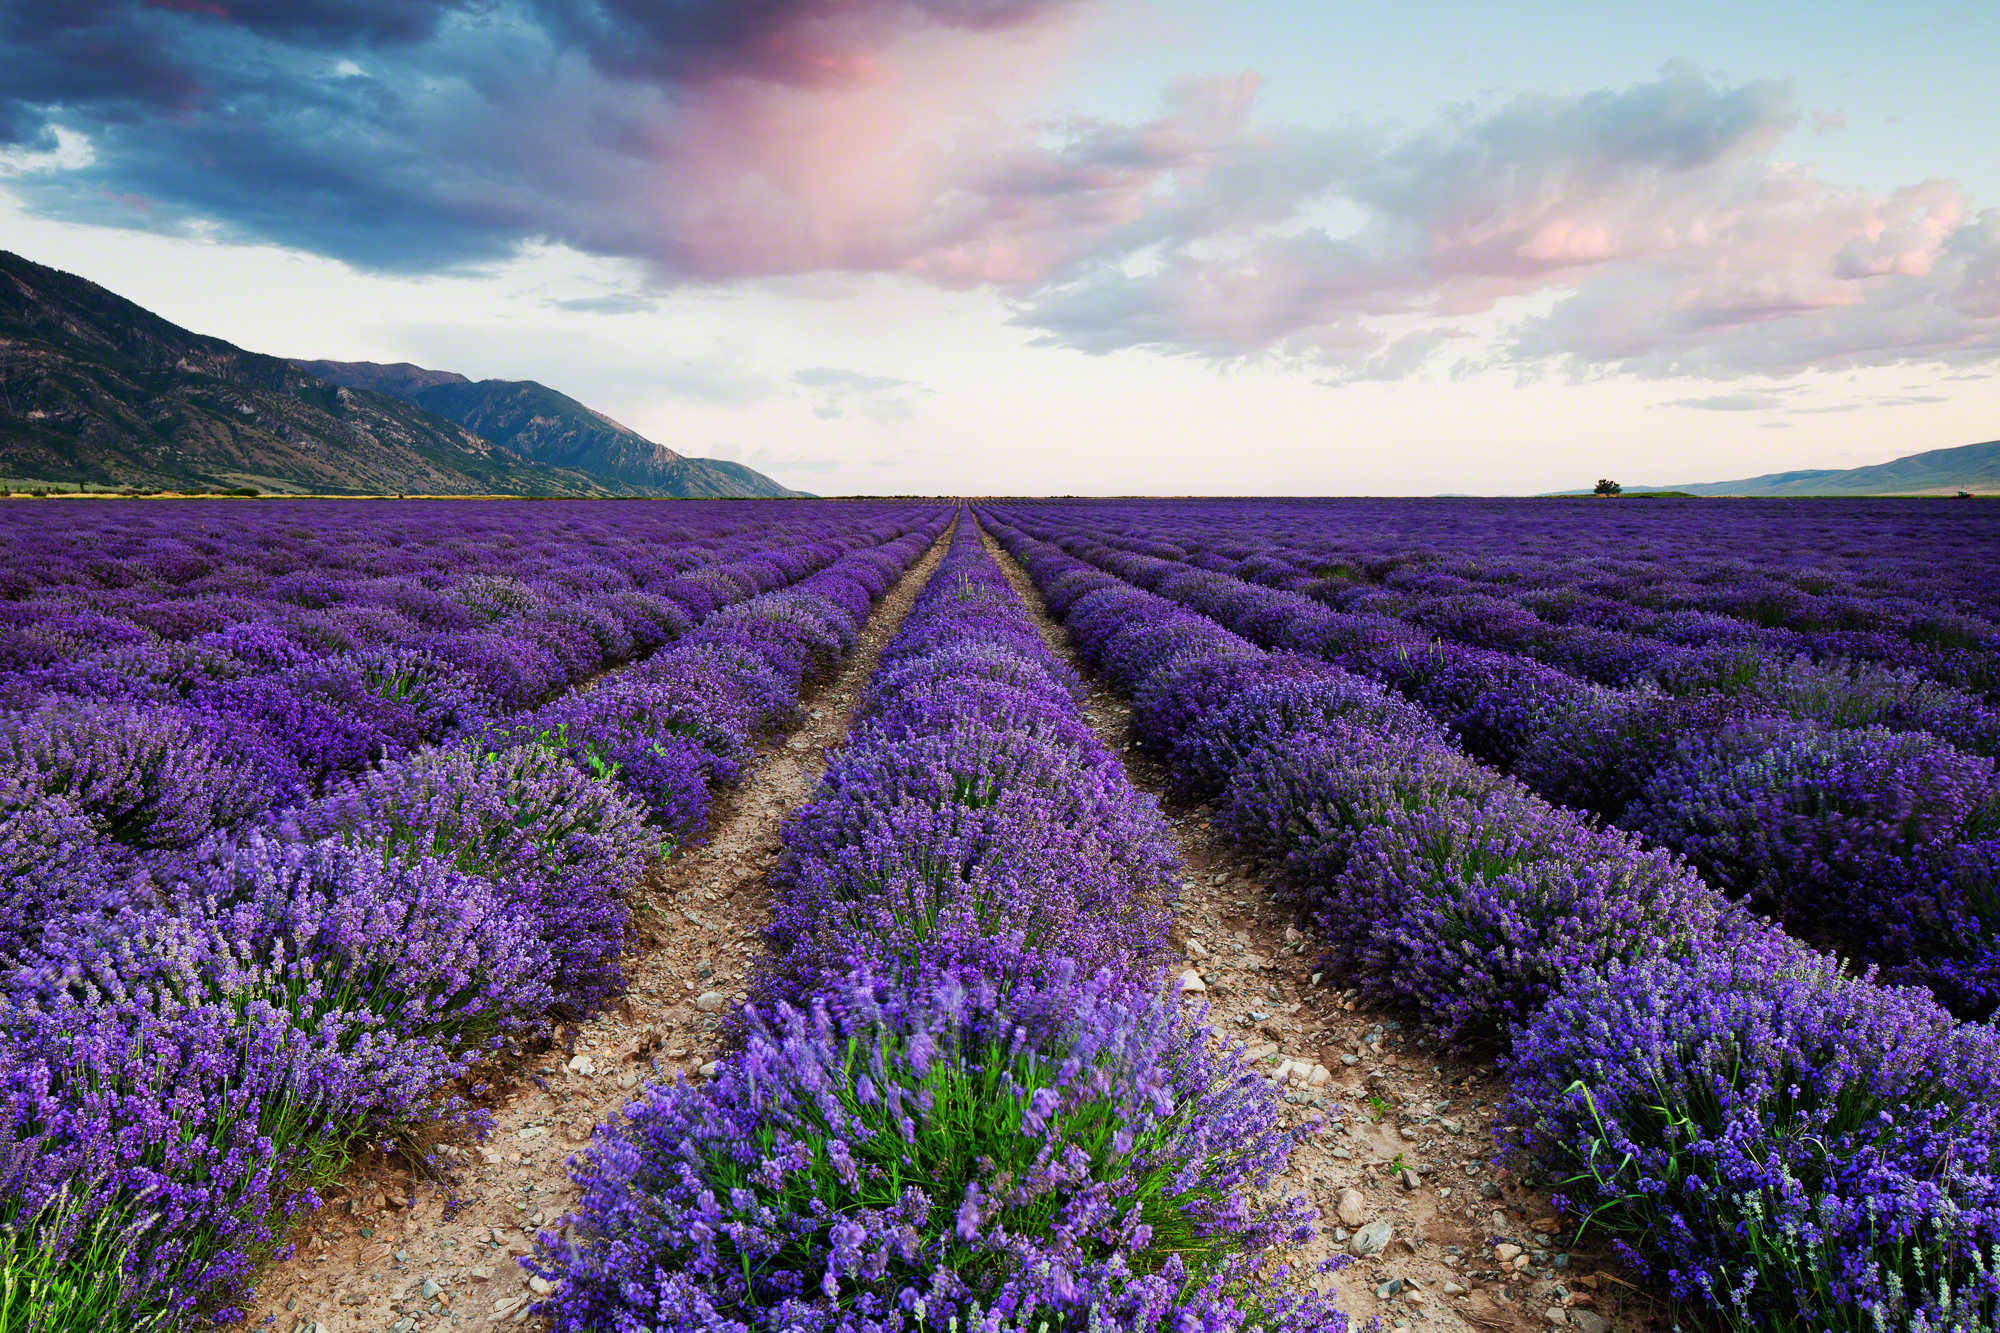
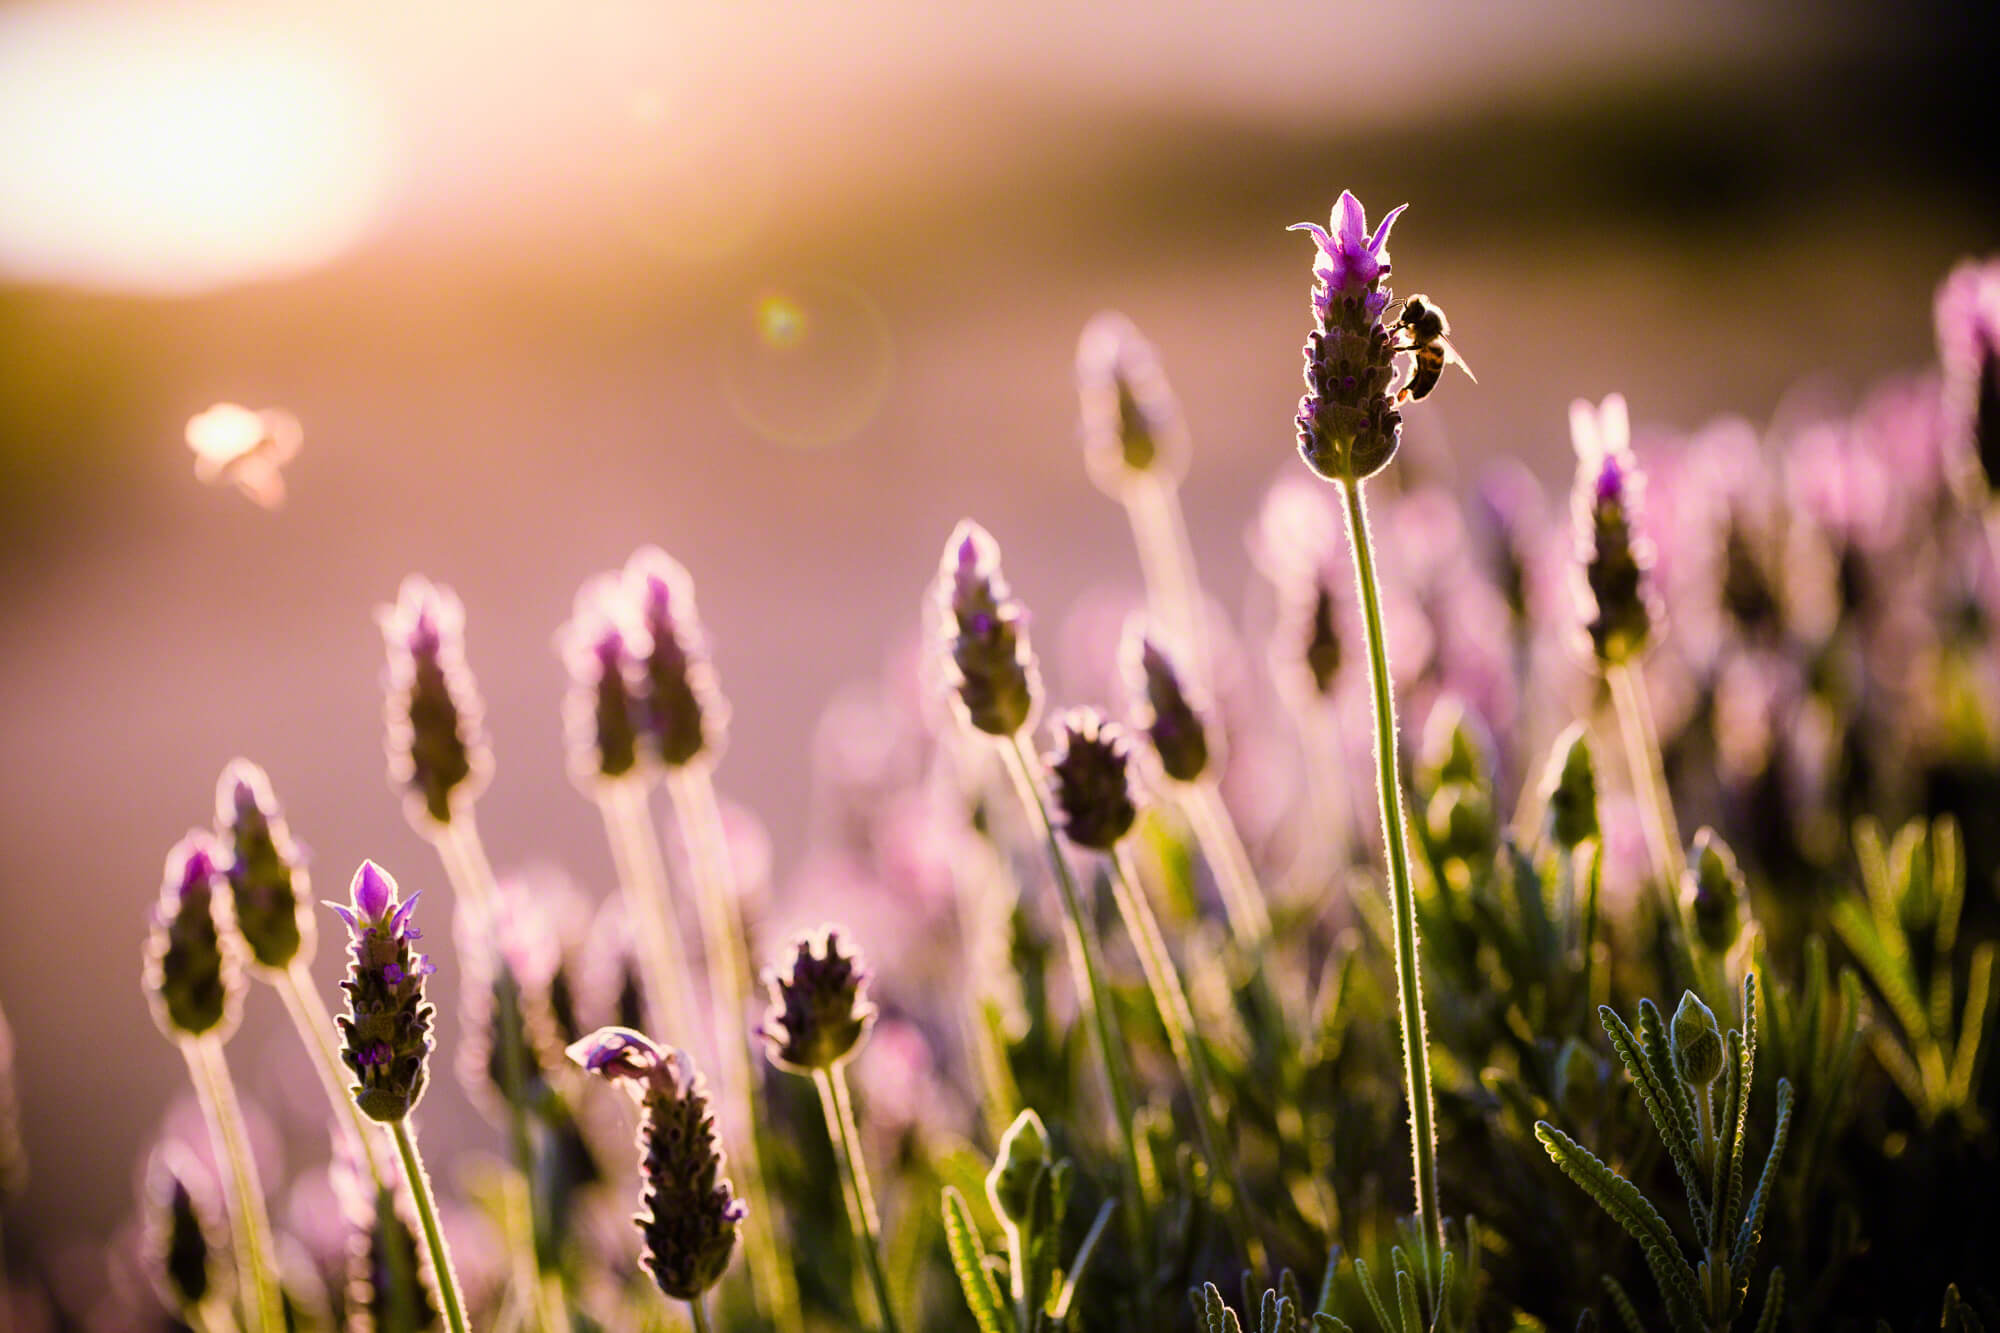
Another time, while in Australia, I was photographing the sunrise. It ended up being a dud, with very few clouds in a boring sky, so I knew that I would have to reassess my scene if I wanted anything worthwhile. So instead I focused on a patch of lavender with bees floating around it and captured what is now one of my favorite photographs.
Find layers
Some of the best landscape photographs have depth. This can either be a strong foreground image with a beautiful background, or a mountain scene with layers and layers of foggy hillsides.
Add movement
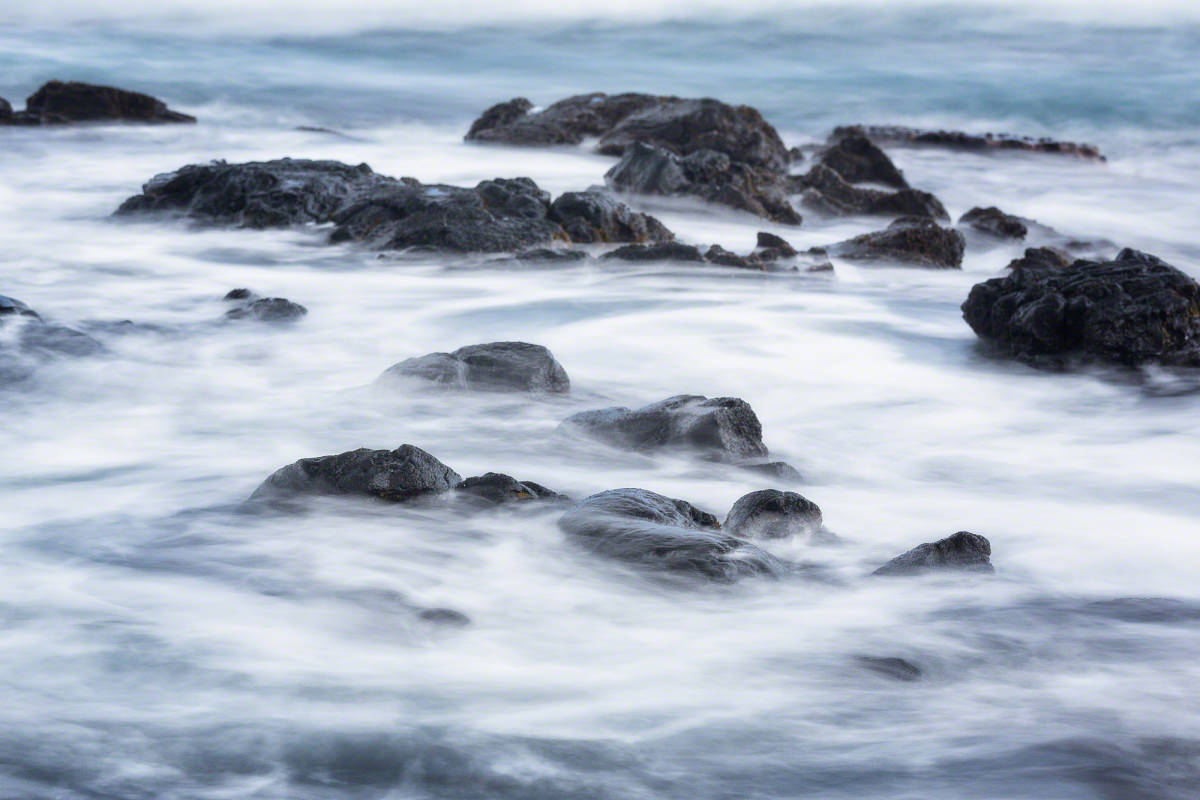
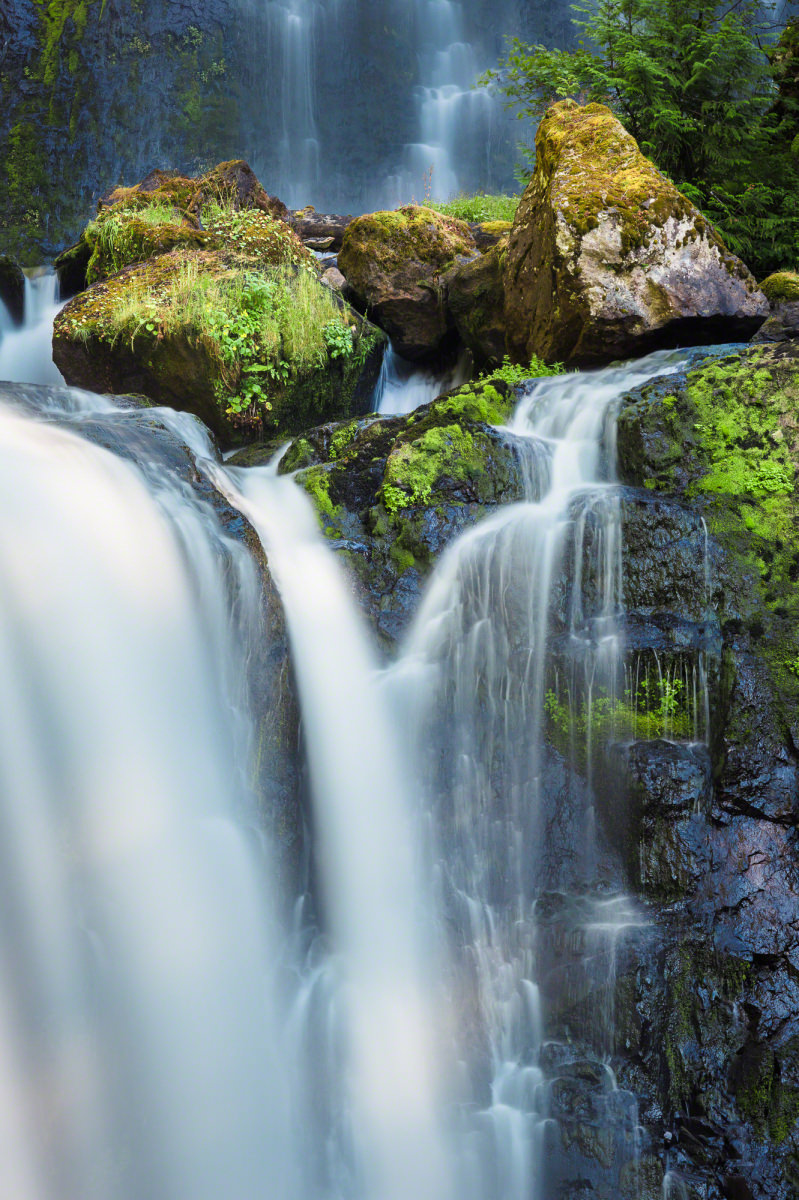
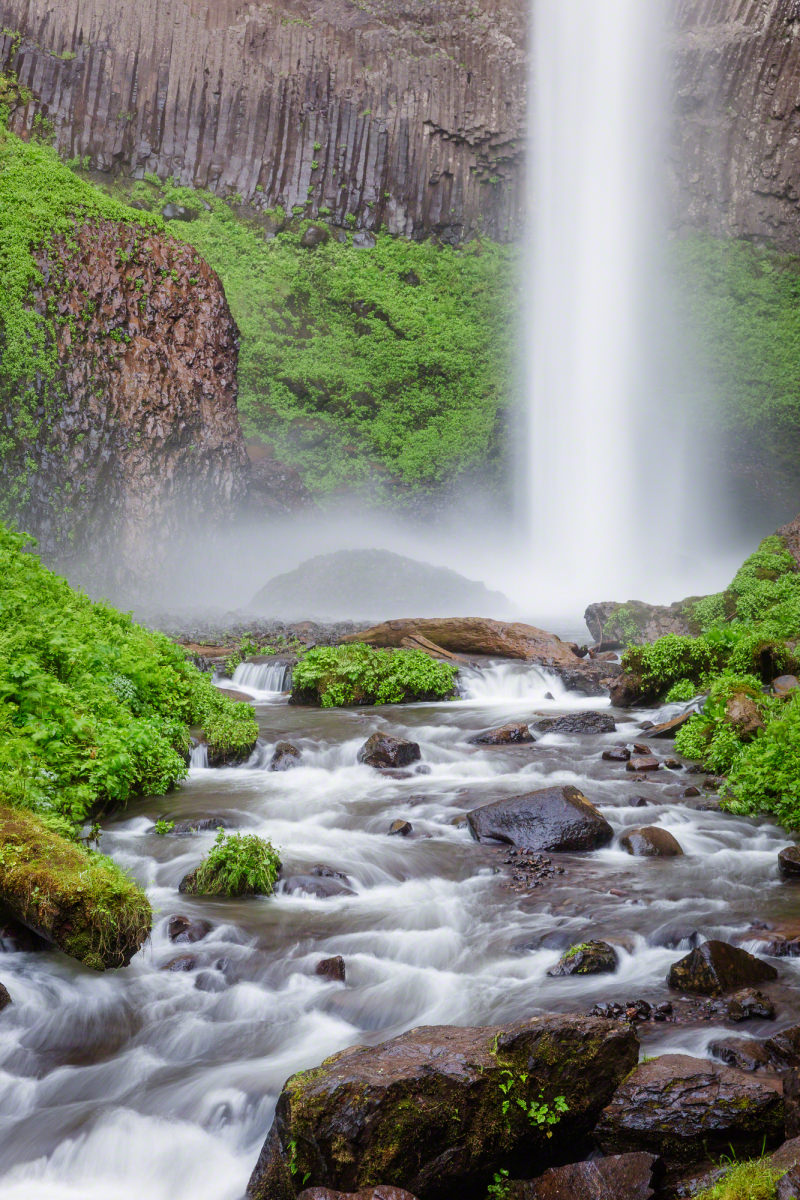
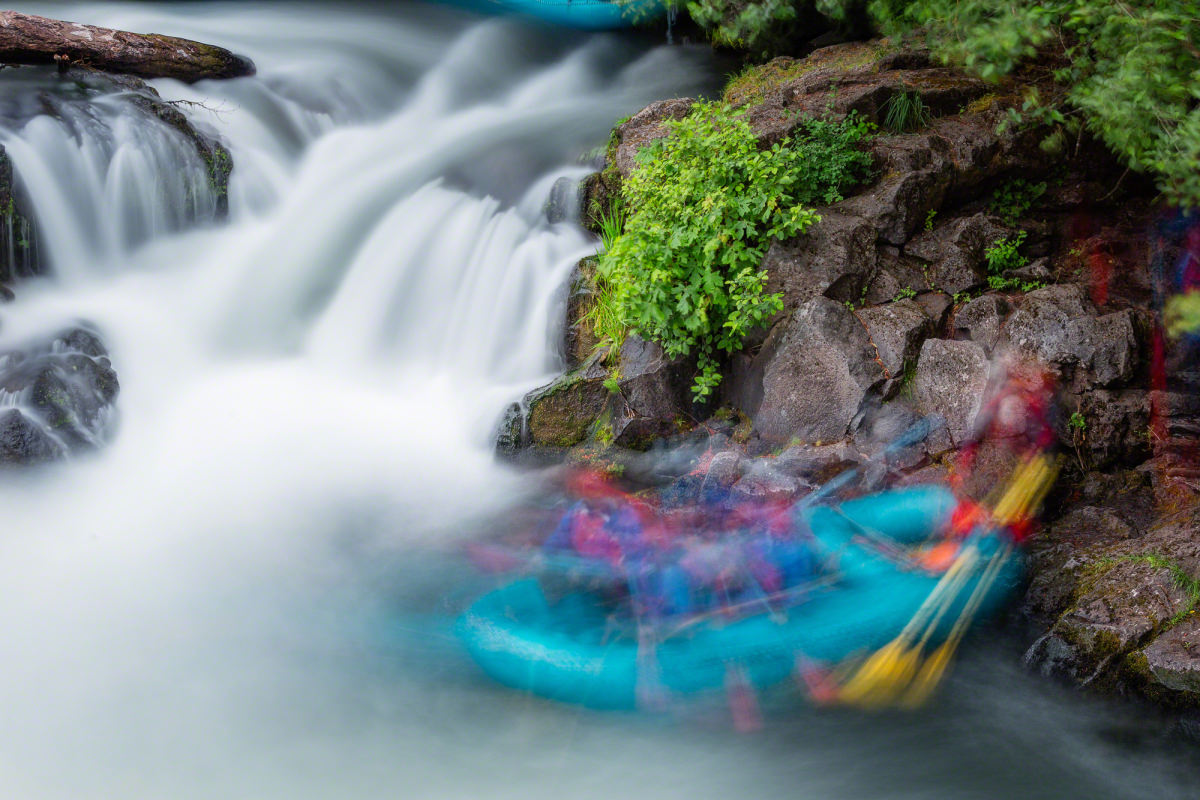
Using ND filters is a great way to add another dimension to your photographs. You can give clouds or other moving elements the sense of blurred movement, and you can even soften the water to look like cotton candy. (Click here to learn more about how to use ND filters with long exposures.)
Find patterns
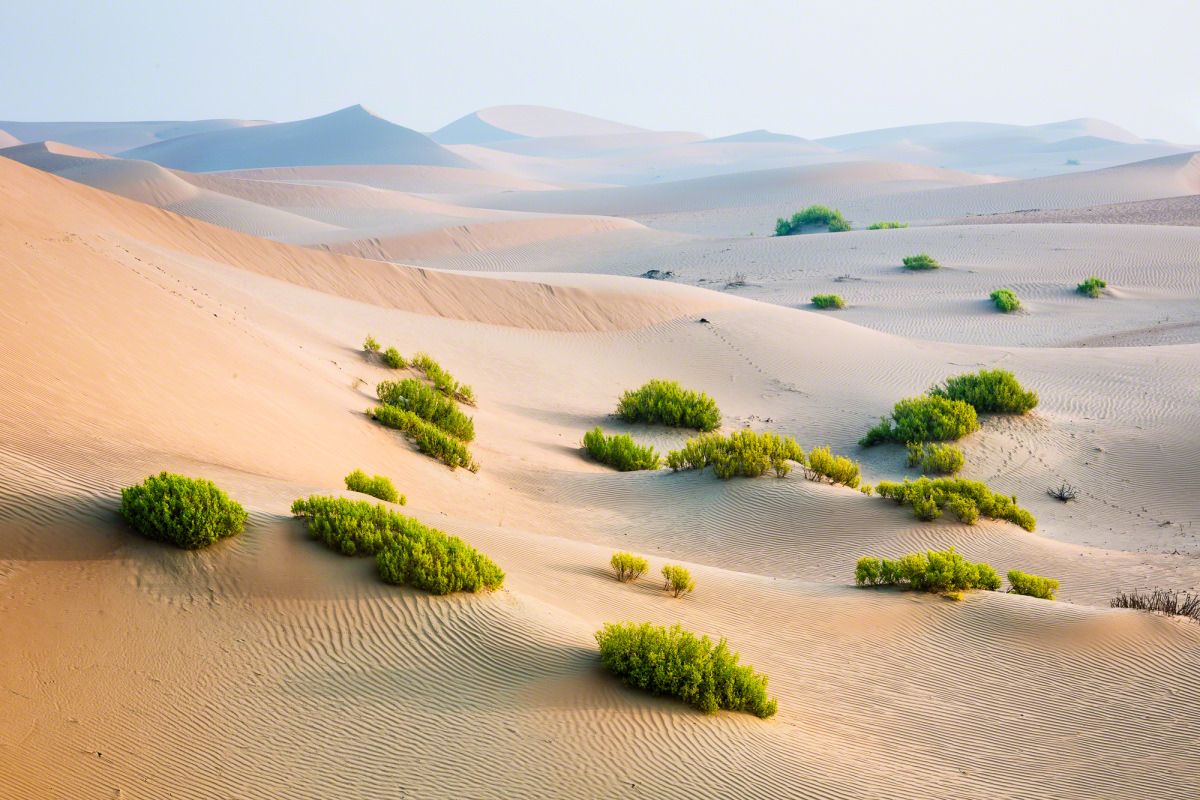
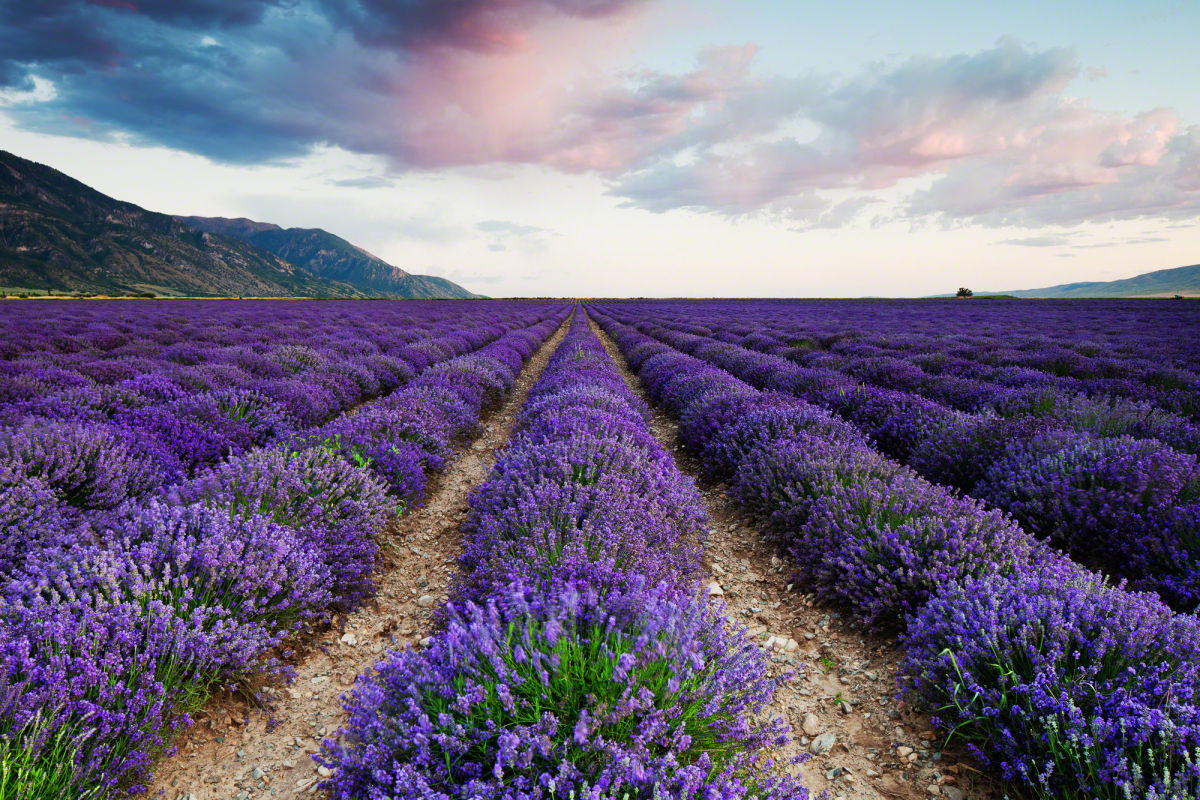
Symmetry can be a landscape photographer’s best friend. When your scene calls for it, balancing the elements can really add a big impact to your images.
Go vertical
Sometimes it can be easy to keep the camera horizontal with landscapes. However, in some cases, a vertical (or “portrait”) image is more appropriate.
Side-note: If you plan on doing more vertical landscapes, I would suggest looking into an L-Bracket and tripod head from Really Right Stuff (there are also other “Arca-swiss” style systems out there that work similarly). Here’s a blog post I wrote that discusses how and why to use this type of setup.
“Star” the sun
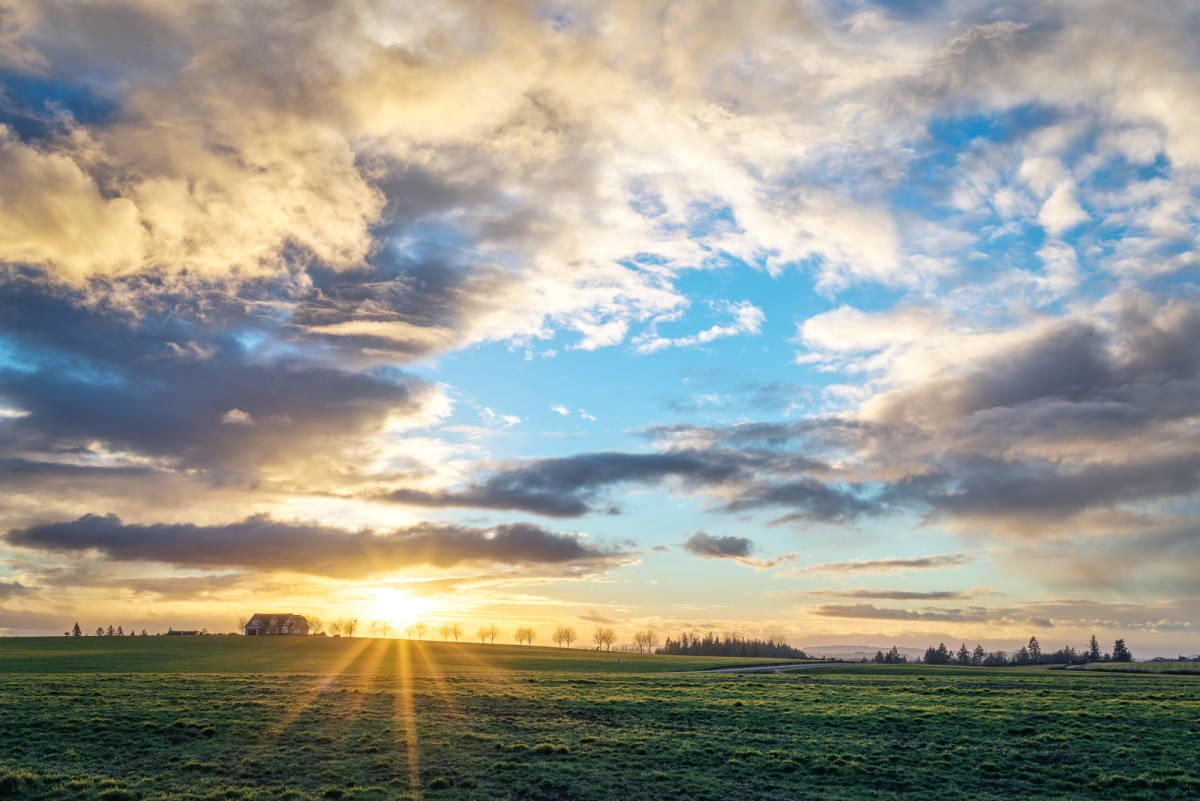
If you are photographing landscapes, odds are that you are probably using a small aperture already, such as f/11 or f/16. And, when you are shooting directly into the sun (or any type of pin-point light), a small aperture setting will give that light source a “star” look. The lower the number, the more “starry” your light will be. (On the flip-side, a wide aperture, such as f/2.8 or f/4, will soften the look of these light-sources.) Also, the quality of your lens will severely impact the quality of your starburst. If you have a cheap, plastic lens, then the lens flare on your image may not be as clean as it would with pro-level glass.
Include people
There will be times, especially at popular locations, when you will not be able to avoid having people in your images. I have learned to embrace these moments and just go with the flow. People can ground a photograph and also add scale. And, if you don’t want them, you can always use Photoshop to remove them! (Click here to learn how to remove people in your photos with Photoshop.)
Think minimal
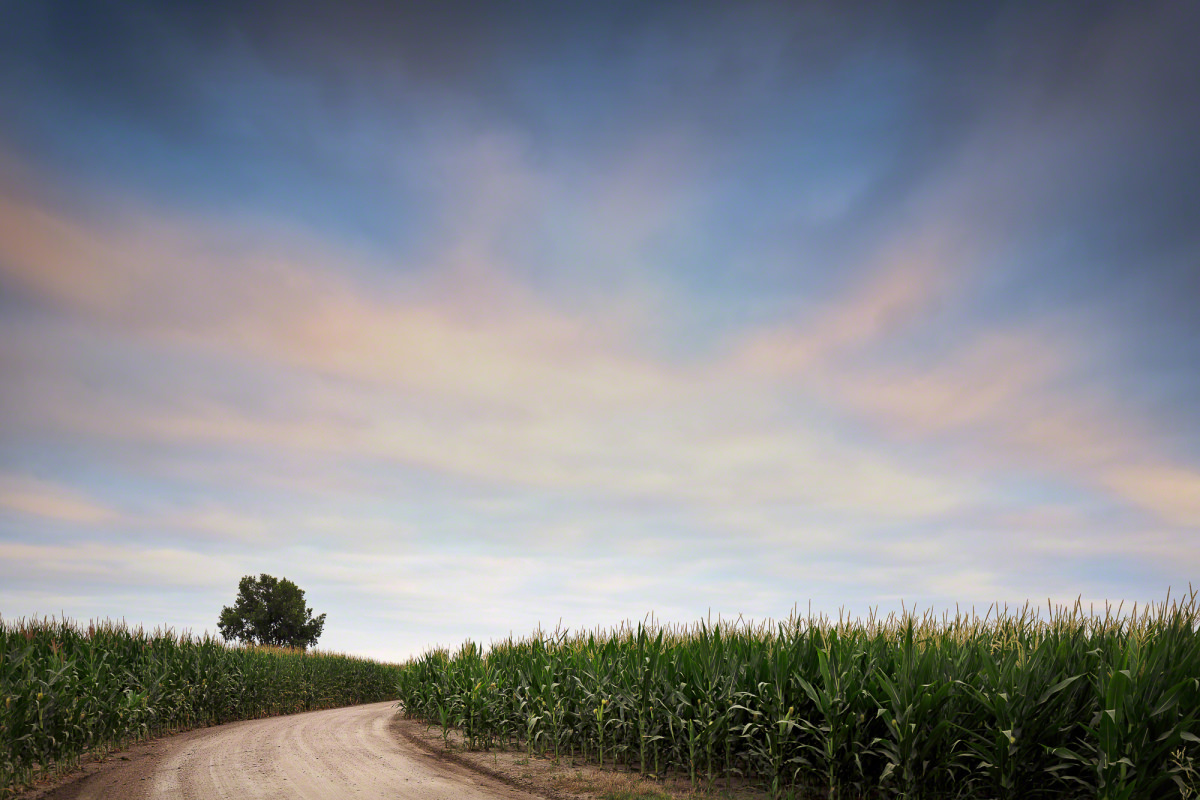
It can be tempting to fill your frame with as much content as possible. However, sometimes, less is more. This can translate into including a lot of sky in your frame with a small portion of earth, or just having plenty of empty space in the scene.

Nicole is a photographer, published author, and educator specializing in Lightroom, Photoshop, and photography. She is best known for her books on food photography but is widely versed in various photographic genres, including landscape, nature, stock, travel, and experimental imagery.





Thank you for making simple. Actually, I was looking for some exclusive tips on food photography. Nice to be here.