
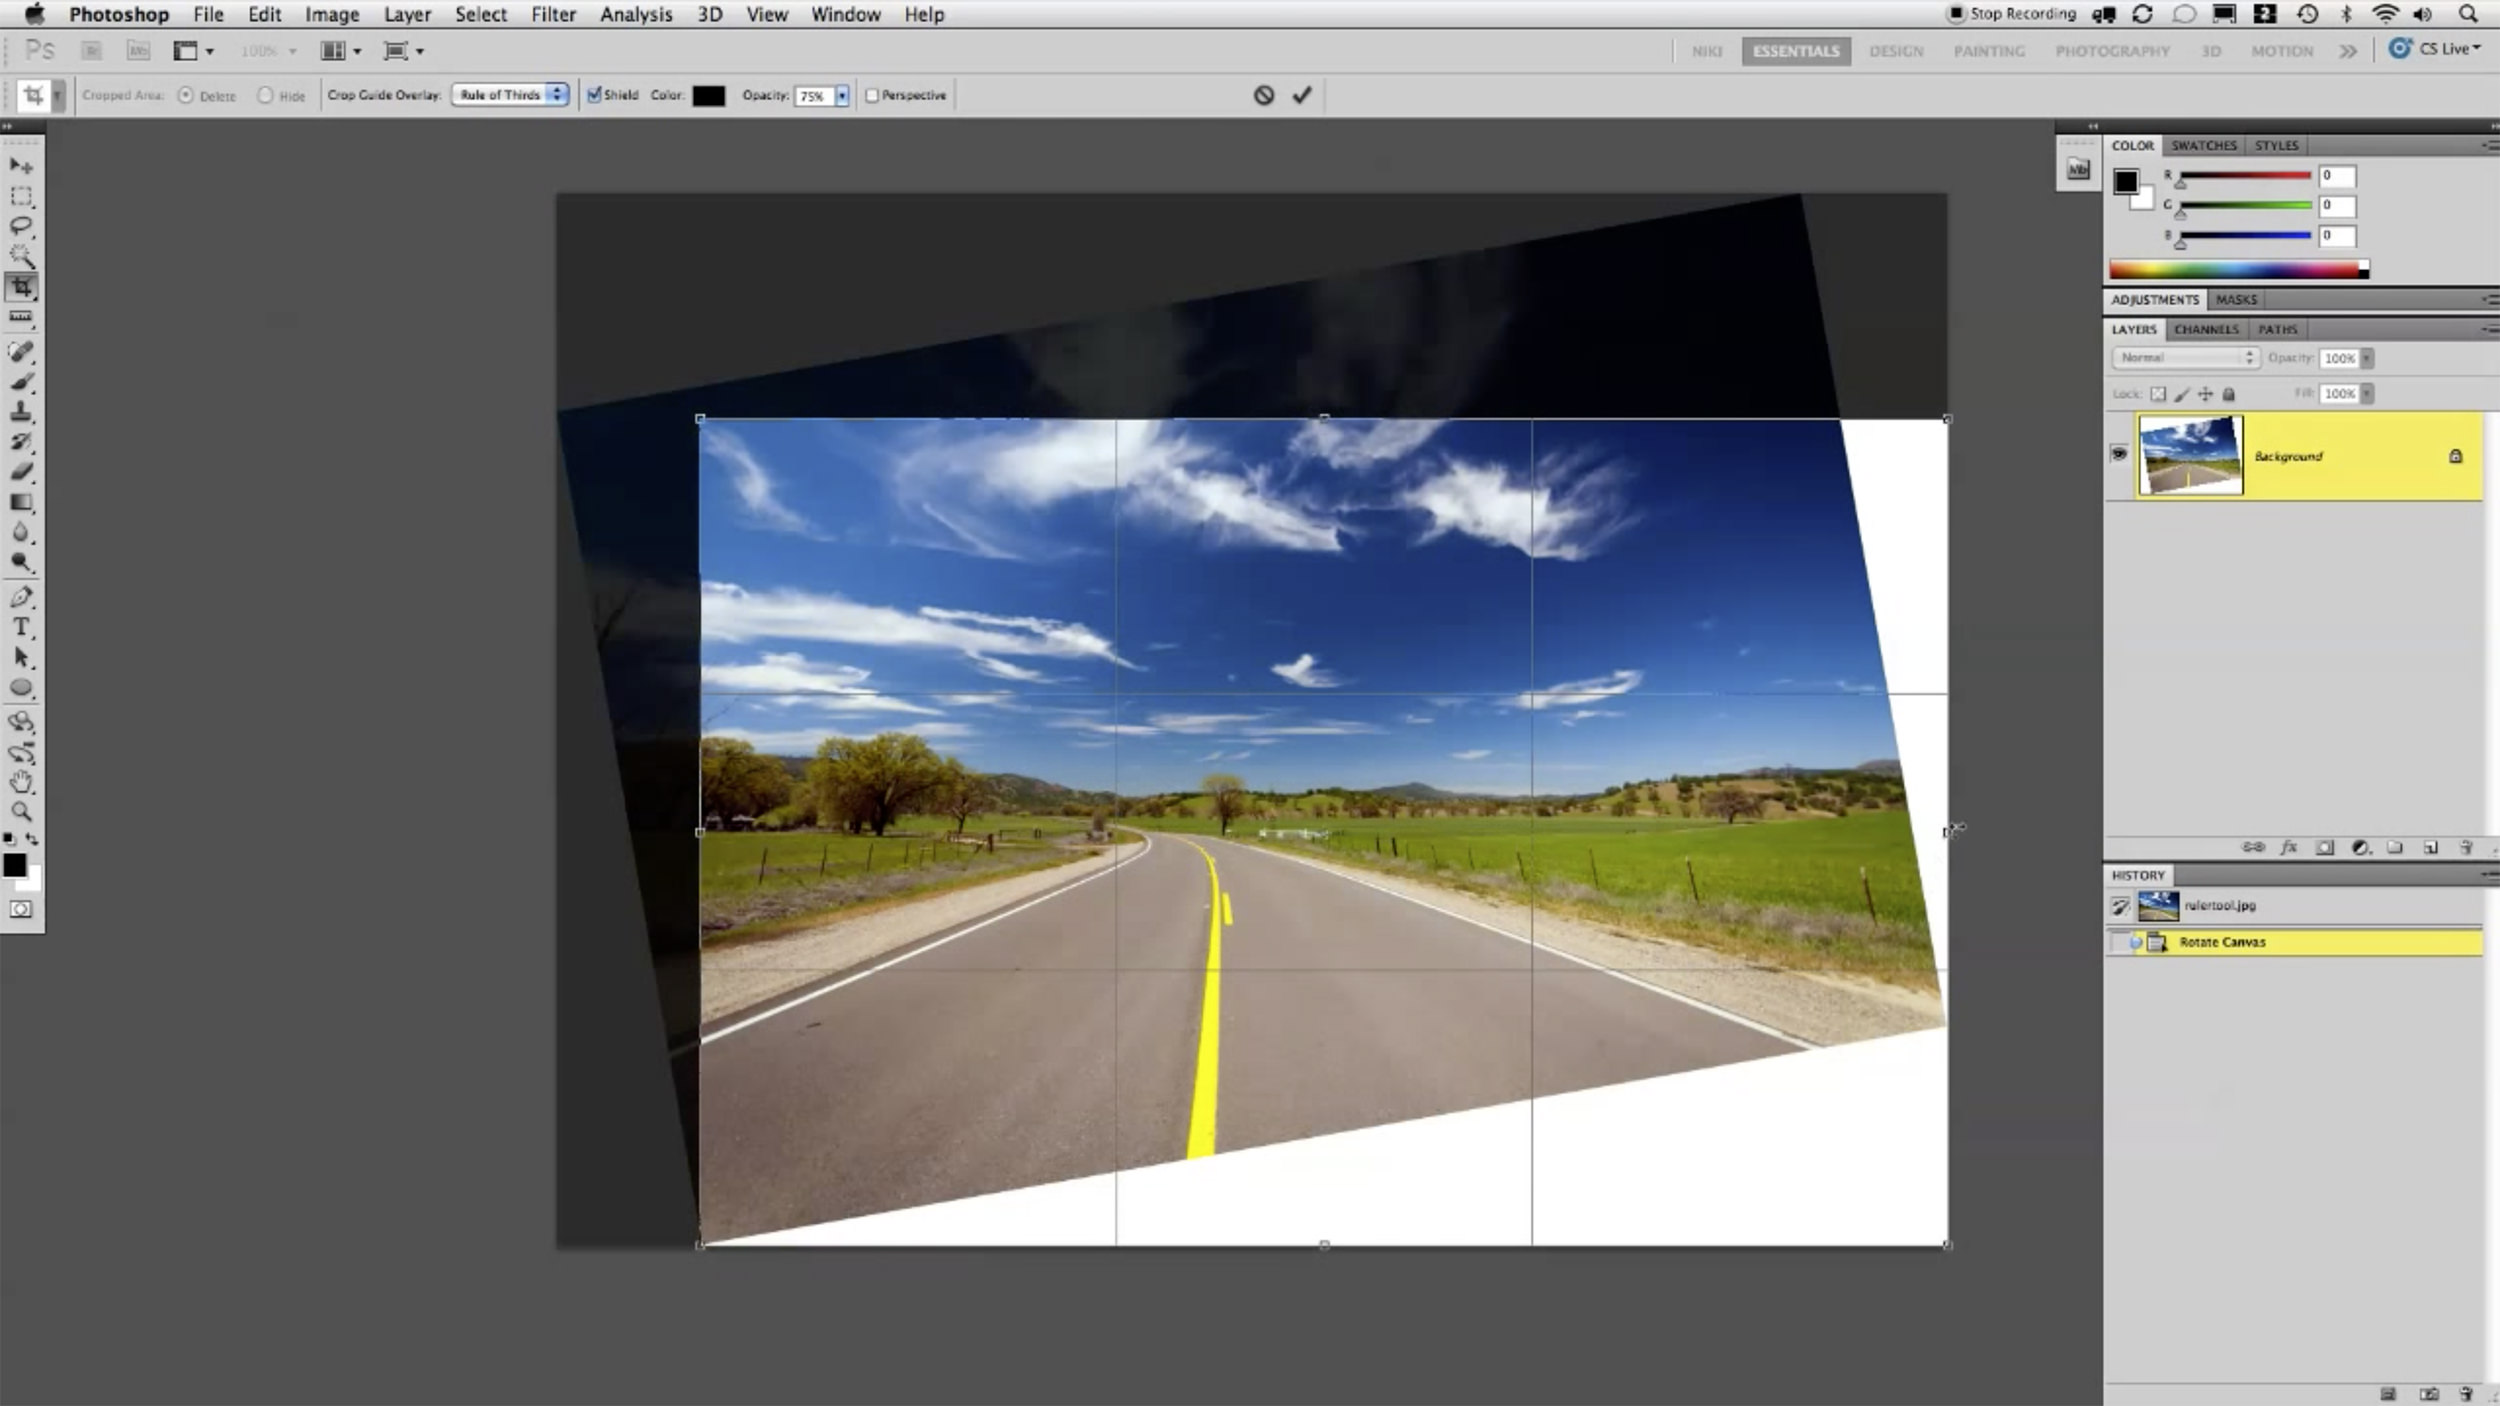
In this tutorial I demonstrate two different methods you can use to straighten a photo using the ruler tool in Photoshop.
Watch the Video
To view more Two Minute Tips video tutorials, please click here.
In this tutorial I demonstrate two different methods you can use to straighten a photo using the ruler tool in Photoshop.
Watch the Video
To view more Two Minute Tips video tutorials, please click here.

Nicole is a photographer, published author, and educator specializing in Lightroom, Photoshop, and photography. She is best known for her books on food photography but is widely versed in various photographic genres, including landscape, nature, stock, travel, and experimental imagery.


Wow! So easy, thanks!
Nice, I didn’t know the CS5 method. Thanks :)
Really great tip. I also really like the Two Minute concept, really just within my attention span,
Lightroom 3 has a really great tool that does the same thing. Go into the Crop and Straighten tool. While holding the command key on a Mac(not sure of the Windows key) you can draw a line on whatever you want to be straight in the photo, in your case the horizon. LR will rotate and set the crop for you.
great tip – thanks for sharing
Good to know I was doing it “right” intuitively. But that CS5 method? Snap. That’s where it’s at. Amazing. Thanks for sharing!