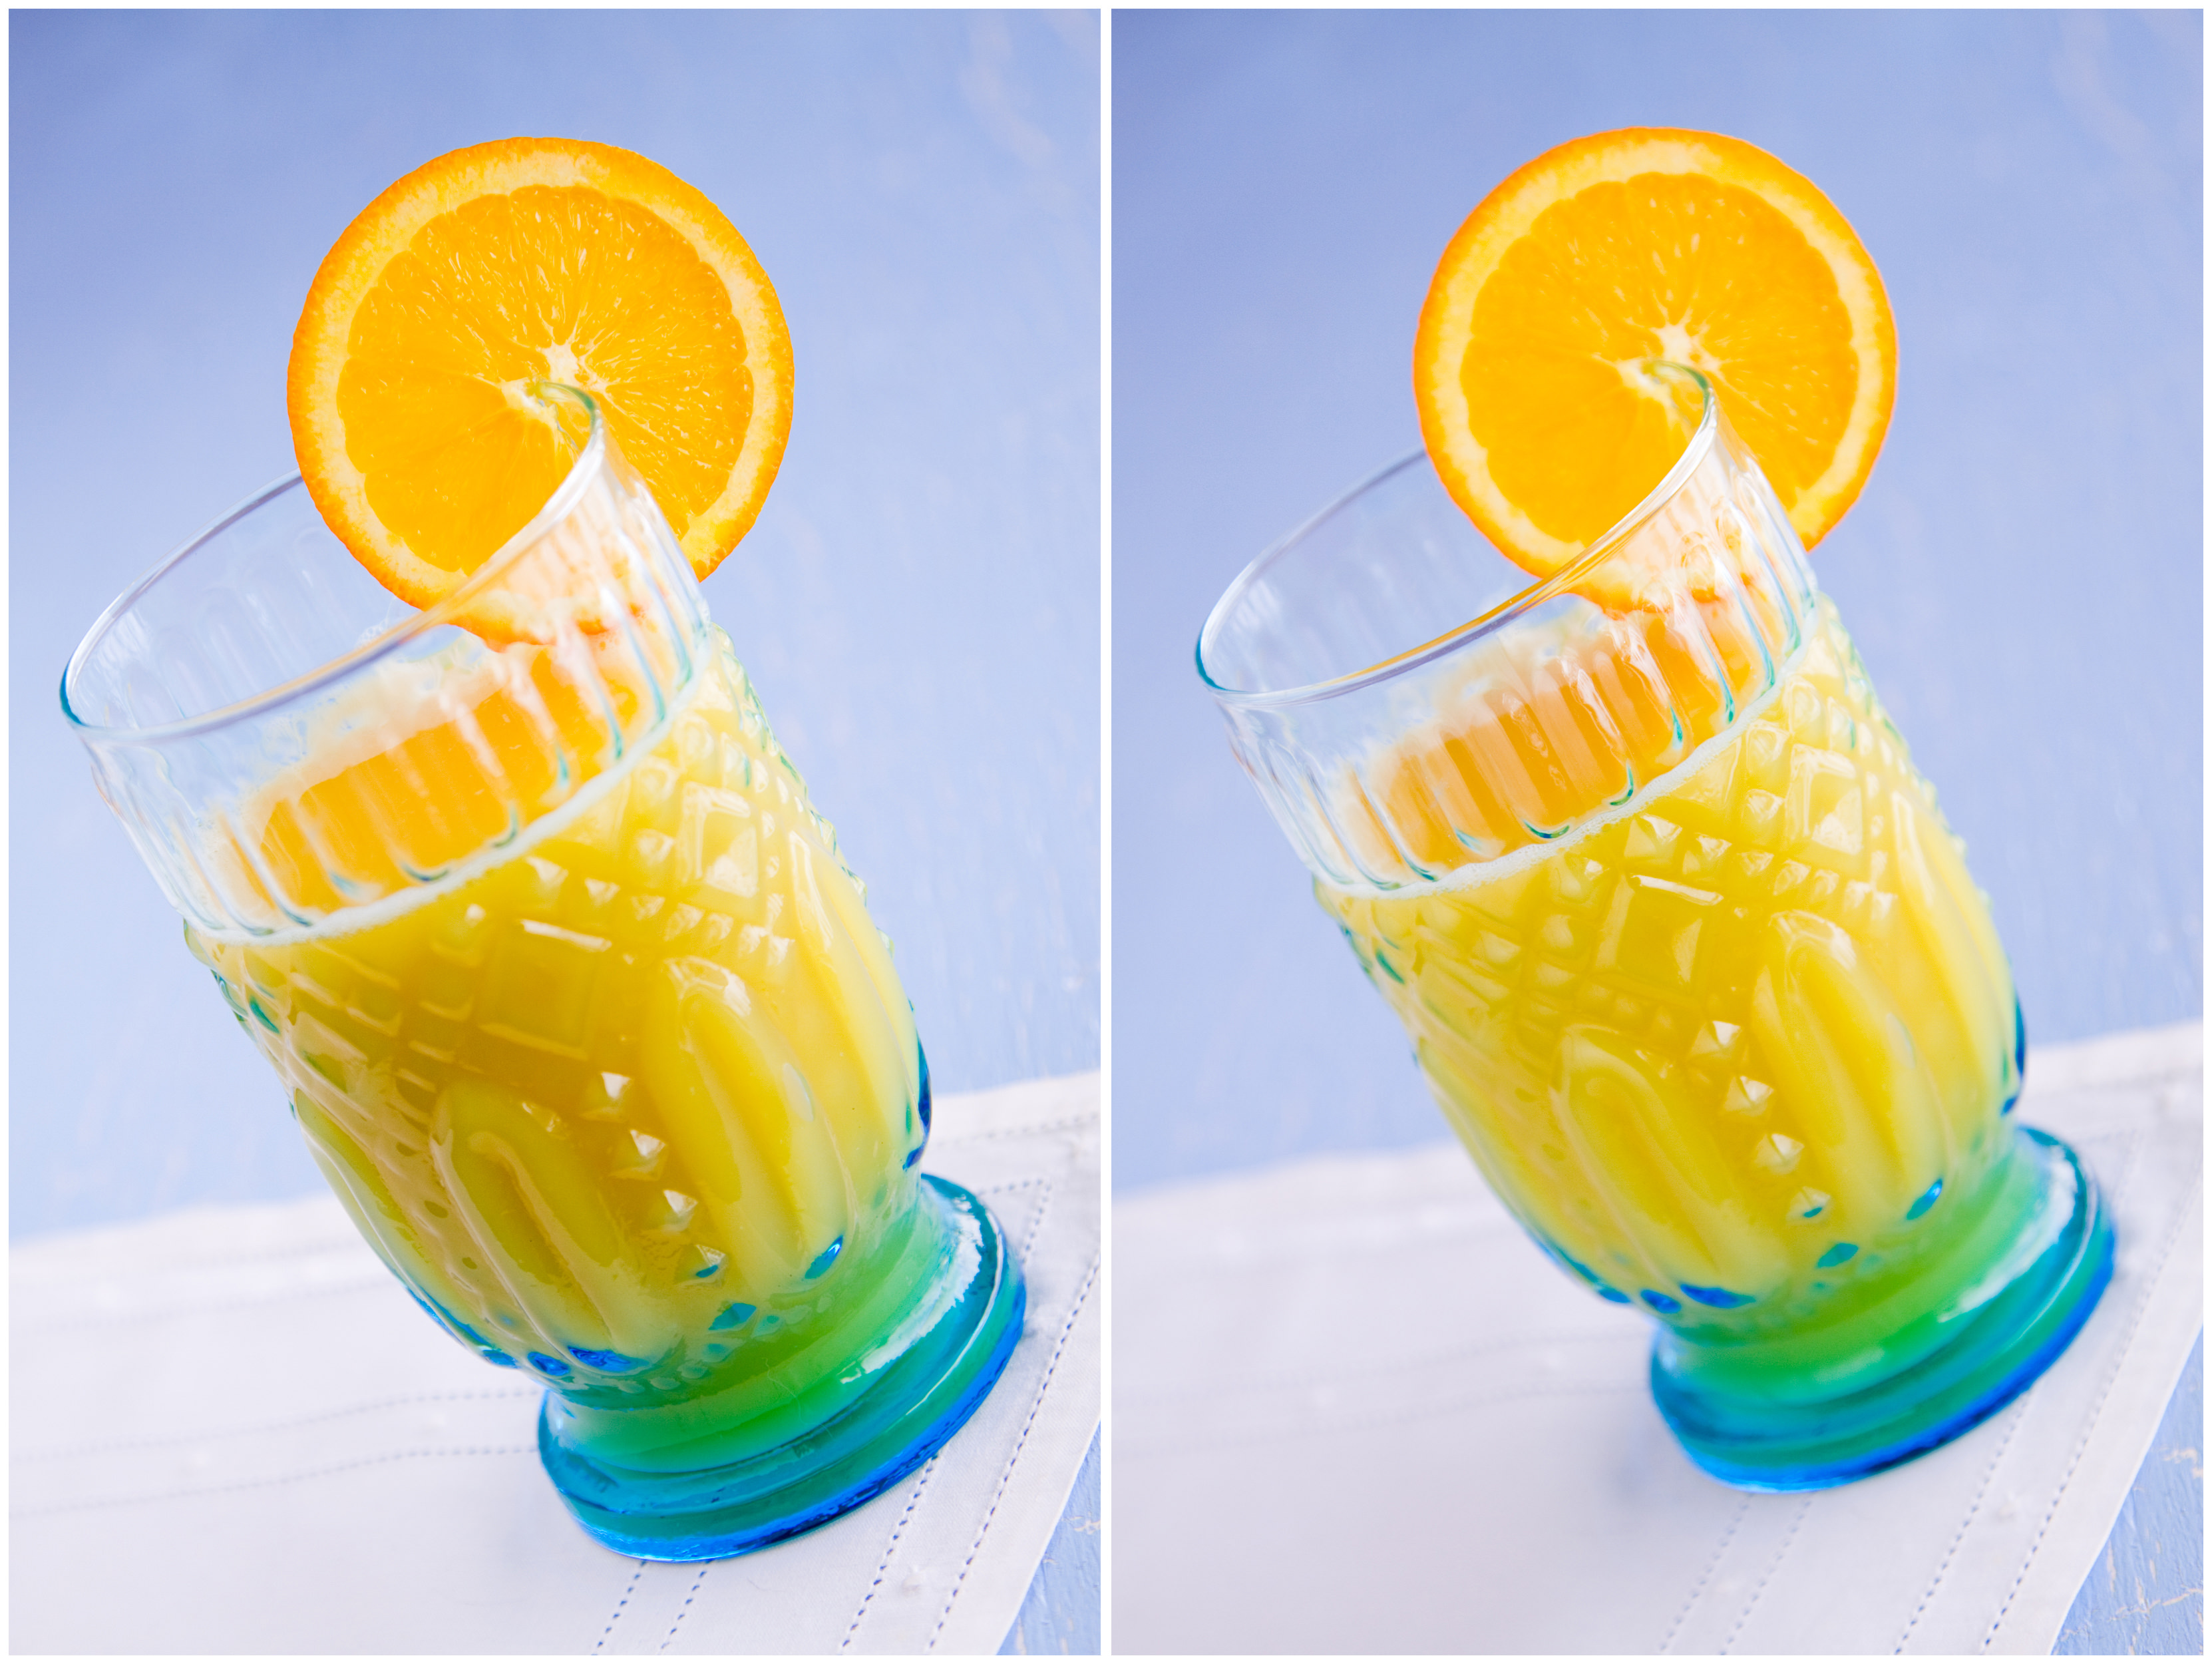
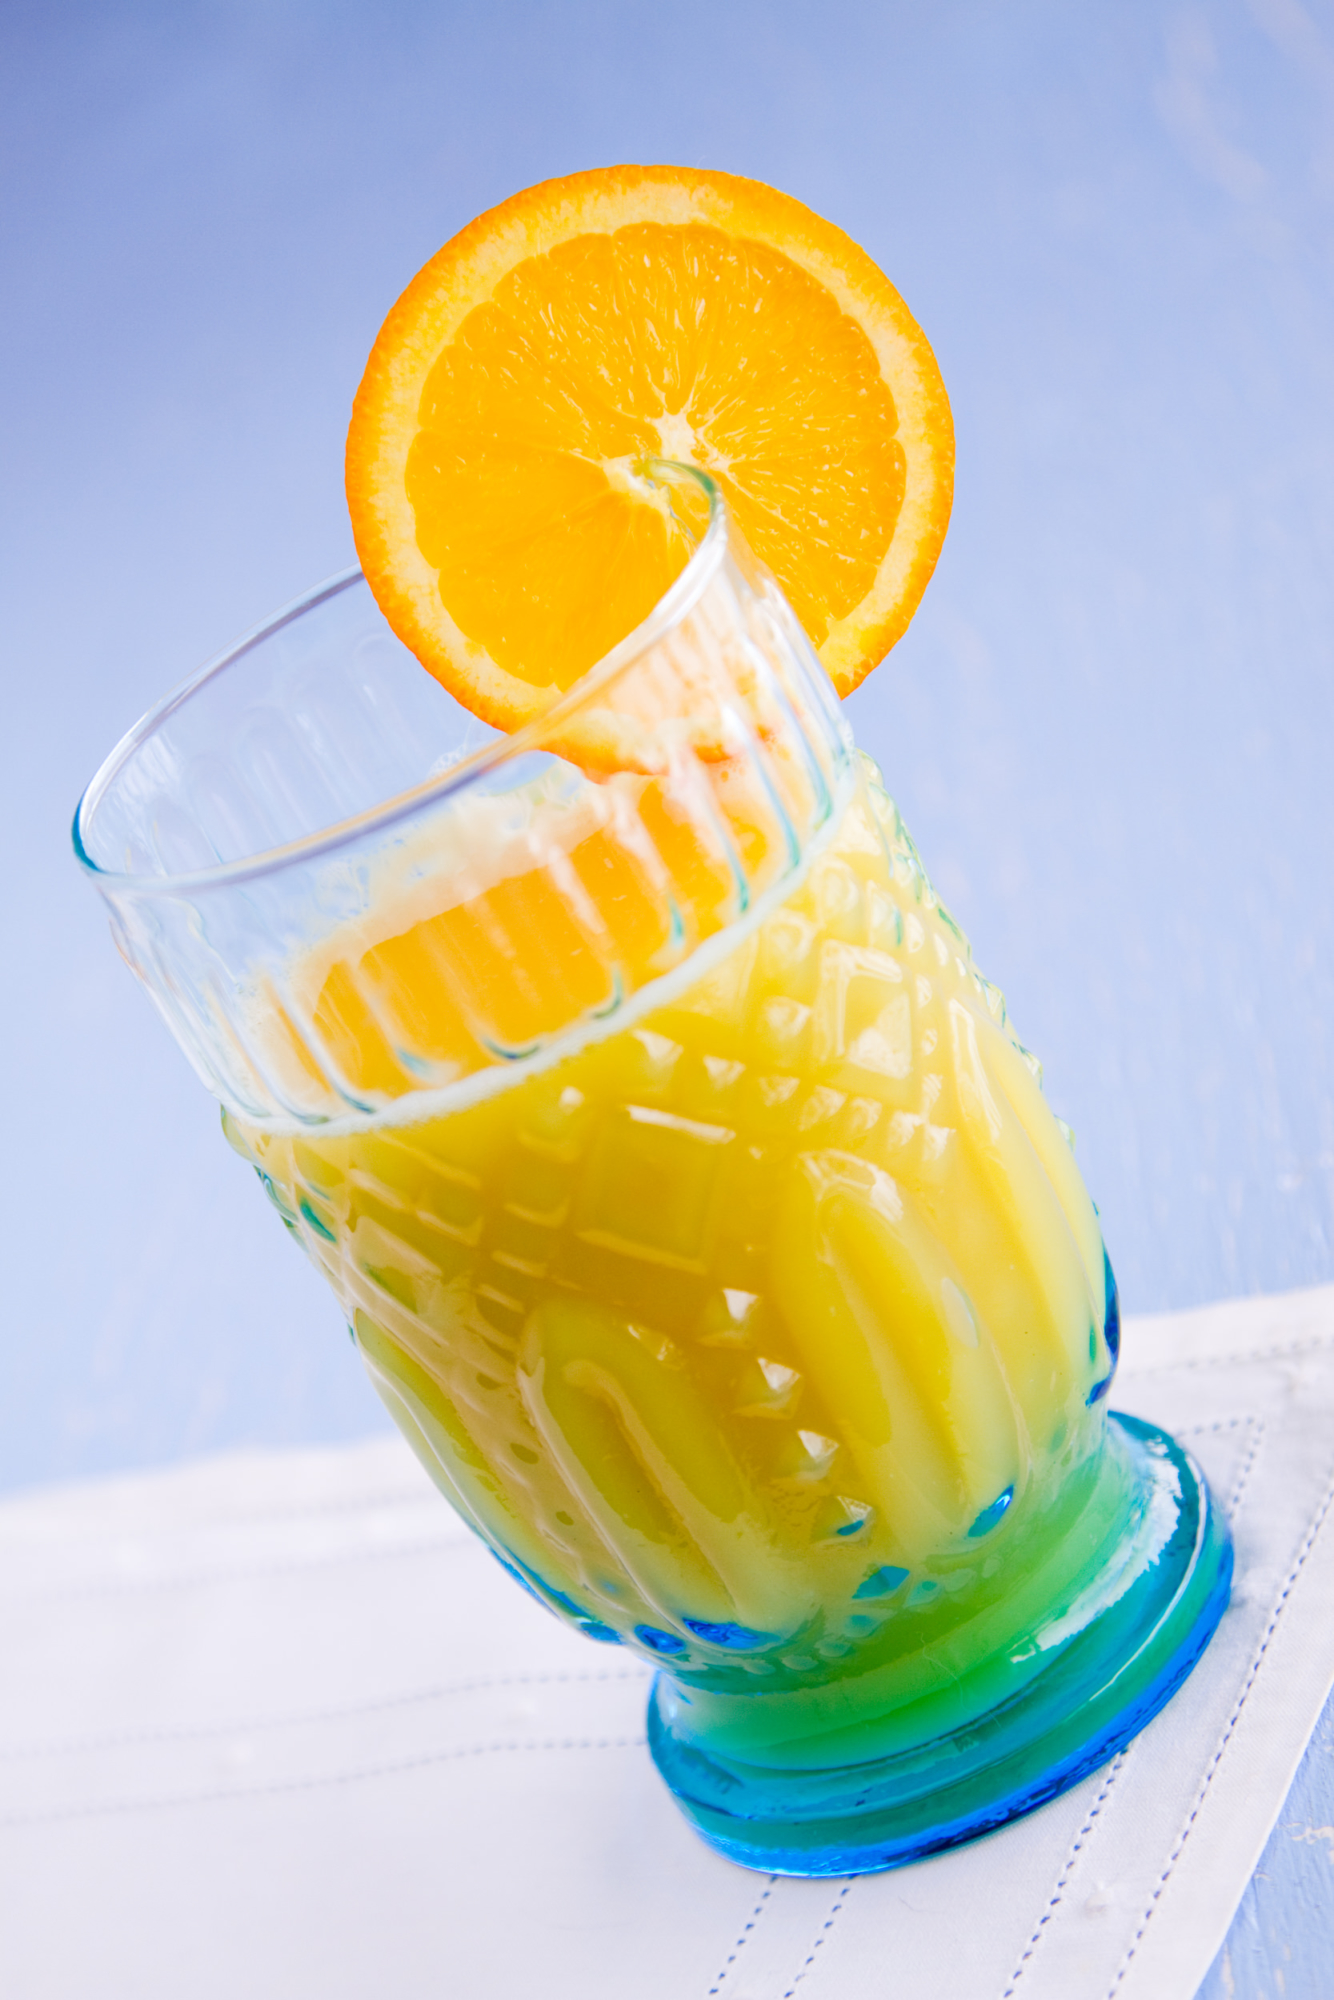
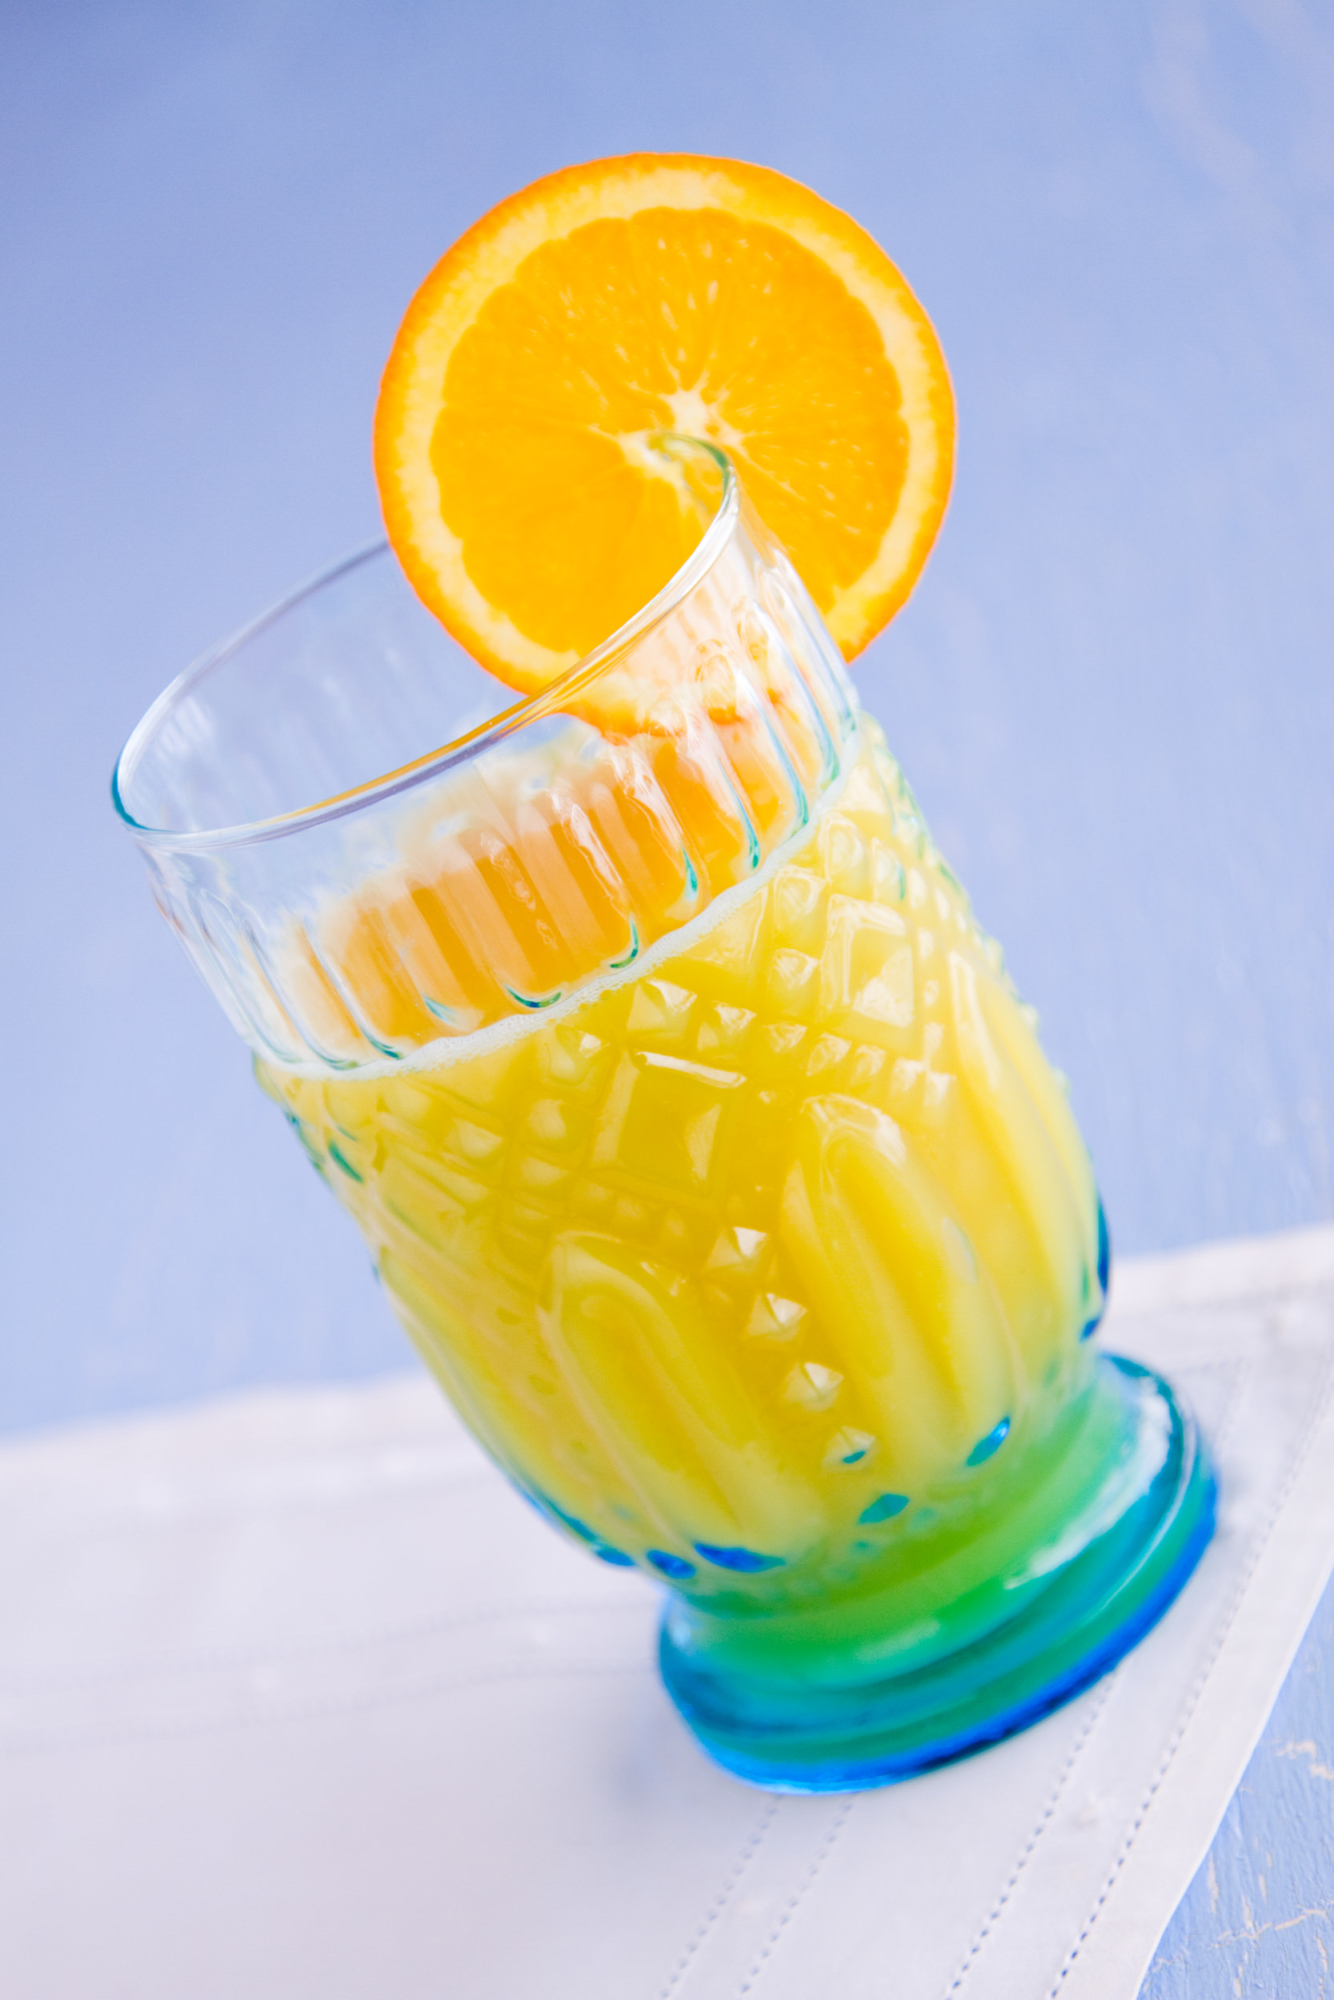
When I photograph food I do my best to use as much natural light as possible. The images above both have natural, diffused sunlight coming in from the right with a reflector to the left, but there is a slight difference between them.
- Without reflector
- With reflector
Can you see it?
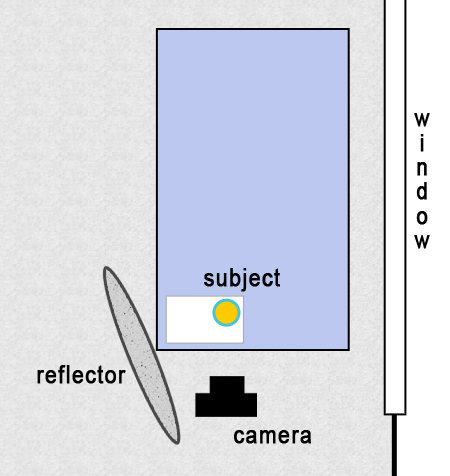
It’s important that you not only have your reflector filling in the subject opposite the main light, but also that you make sure it’s angled in a way that it’s pleasing to your photograph. You don’t need anything fancy to use as a reflector – a large piece of foam-core will do the trick. But if you do have a traditional reflector (this is the one I use) then you are also able to bend and warp it to wrap more light around your image.
When I photograph food I do my best to use as much natural light as possible. The images above both have natural, diffused sunlight coming in from the right with a reflector to the left, but there is a slight difference between them.
- Without reflector
- With reflector
Can you see it?

It’s important that you not only have your reflector filling in the subject opposite the main light, but also that you make sure it’s angled in a way that it’s pleasing to your photograph. You don’t need anything fancy to use as a reflector – a large piece of foam-core will do the trick. But if you do have a traditional reflector (this is the one I use) then you are also able to bend and warp it to wrap more light around your image.

Nicole is a photographer, published author, and educator specializing in Lightroom, Photoshop, and photography. She is best known for her books on food photography but is widely versed in various photographic genres, including landscape, nature, stock, travel, and experimental imagery.

Wow! That really does make a difference! I am definitely a beginning photographer and it’s easy to get bogged down by all the terminology and equipment. This post was short, sweet and VERY helpful! Thanks!
Thanks for the tip! I don’t do much photography that requires setting up much…but this I will use! Out of curiosity, what color on the reflector did you choose to use and why?
This is how I spend my lunch break :)
-Ryan
Ryan – for this setup I used the silver side of my reflector. When I photograph food it’s what I use most often.
I used this exact set up to take a food shot for my wife’s recipes she’s compiling. Your posts have been helpful in thinking of new presentation, lighting and processing for these food shots. Thanks!
What a difference! Do you have any more tips on how to create your own reflector? You suggested using a large piece of foam core… what would you suggest covering it in? Aluminum foil?
Amy – you could just get a piece of white foam core, and wouldn’t need to add anything else to it to get a reflection. The white will make it a very soft light. If you wanted more reflection you could add aluminum foil to it as well. :)
Hi Nicole, this is such a helpful article. I noticed Amy asked about the white ‘foam core’ you mentioned. Do you mean like the big pieces of white protective foam one might find in say a T.V. that is being shipped, etc.? -Cam
You can get them at craft or office stores – they are large “display” foam boards.
Great post. I use a white binder (yes, a school binder) as my reflector, and so far, it has worked just fine. I would love to upgrade one day, though.
I’m looking forward to more tutorials.
That was really helpful! Especially the diagram!
Thanks, Nicole! I just ordered a Canon XSi (my old camera, a point and shoot, recently died) and I look forward to trying out this little trick with my new gear.
Really great post… thanks for the great advice on bounce…it’s most generous.
Thanks Again. Great Tips
Thanks for the post, I am a very amateur photographer who is about to embark upon food photography for the first time and your clear and concise tips are greatly appreciated.
p.s. I’ve just pre-ordered your new book “Food Photography: From Snapshots to Great Shots” on Amazon, looking forward to it arriving in the near future!